Fix: Windows 10 Display Issues or Stretched Screen
A number of users reported that they were experiencing problems on their screen from the last couple of months. This problem resurfaced after the Fall Creators Update 1709. This problem also includes pixels broken and text being distorted from one side. There are a number of workarounds available to tackle this problem. Take a look.
Solution 1: Changing Display Settings
Most of the time, the problem lies within the display settings where it isn’t properly configured. We can try changing your display settings and check if it helps.
- Press Windows + S to launch the search bar. Type “settings” in the dialogue box and open the application.
- Once in the application, select the sub-category System.

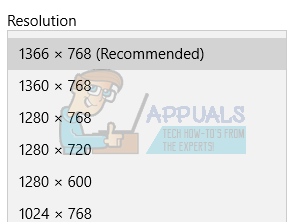
- Here you will the see “resolution” on the first tab (Display). Change it to the recommended level and check if it makes a difference. If it doesn’t, change the resolution to another level and keep checking if you hit perfect fit.
- Restart your computer after saving changes to make sure that the changes are implemented permanently.
Solution 2: Installing Default Graphic Drivers
If the above solution didn’t work for you, it means there is probably a problem with your graphics drivers. We can try installing the default graphic drivers on your PC by deleting them and restarting the computer. The machine will automatically detect the graphics hardware and install the default drivers present.
- Press Windows + R to launch the Run application. Type “devmgmt.msc” in the dialogue box and press Enter.
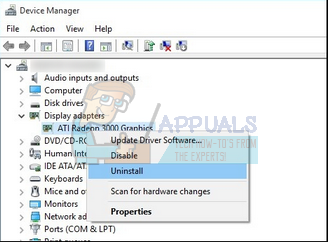
- Once in the device manager, expand the category of “Display adapters”. Your graphics card will be listed here.
- Right-click on it and select “Uninstall”.
- Now reboot your computer and check if this solves the problem. If you are prompted with a UAC while uninstalling, don’t worry and click Yes.
Solution 3: Rolling Back to Previous Drivers
If your display started giving problems after a Windows Update, it probably means that the graphics drivers were updated. You can try rolling back to the previous drivers and check if the display gets better. If it doesn’t, you can always revert the changes back.
- Navigate back to the device manager and select your graphics hardware.
- Right-click it and select ‘Properties’. Once in Properties, select the tab of ‘Driver’. Here you will see a button “Roll Back Driver”. In many cases, it will not be greyed out as seen in the following image. If it isn’t, try rolling back your driver and restart your computer.
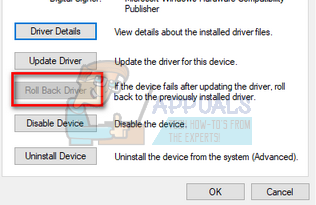
If the icon is greyed out as shown in the picture, follow the steps given below.
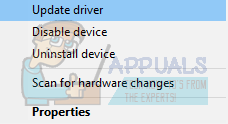
- Right-click on the hardware and select “Update driver”.
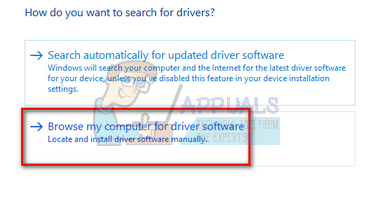
- Select the option “Browse my computer for driver software”.
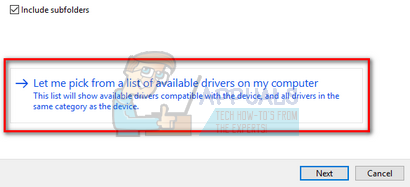
- Instead of browsing to the given driver, select “Let me pick a list of available drivers on my computer”.
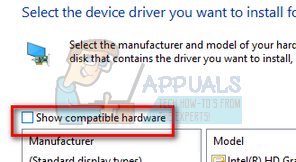
- Uncheck the option “Show compatible hardware”. This will display all the available drivers on your computer. Select the previous driver (the one you had before the update) and install it.
- Restart your computer after installing the driver and check if the problem got solved.
Note: If you can’t find the previous drivers for your hardware, you can head over to your manufacturer’s site and download it manually. Once downloaded, repeat the above steps until you come across “Browse”. From there browse to your downloaded driver and install it. Don’t forget to restart your computer after the installation.
Solution 4: Changing Resolution and Refresh Rate of your Graphics Hardware
If all the above solutions don’t work, we can try changing your display hardware settings and change the resolution/refresh rate from there. If this doesn’t work for you or makes things worse, you can always revert the changes.
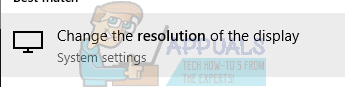
- Press Windows + S to launch the Search application. Type “resolution” in the dialogue box and open the application which comes forth.
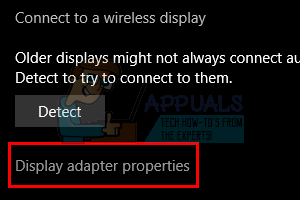
- Once in Settings, browse down to the end of the page and select “Display adapter properties”.
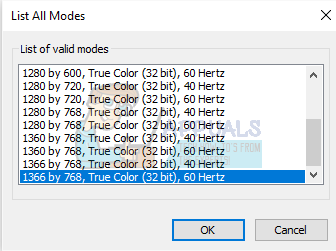
- Now your hardware properties will pop up. Click on “List All Modes” present in the tab “Adapter”.
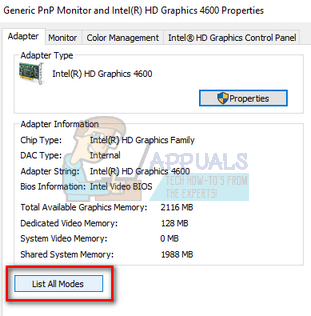
- You will see a list of different resolutions present on the screen. Change them according to your hardware specifications and after press “OK” each time, check if they make a difference.
- Restart your computer after you have successfully changed the settings and the problem is solved.