Fix: Can’t Connect To This Network Error on Windows
The “Can’t connect to this network” error shows up after choosing a Wi-Fi network and entering the right password, showing short connection tries before failing.It means Windows could not finish the handshake and setup needed to join the network, often because of hardware, driver, or sign-in issues.

The most common cause is a loose or bad wireless adapter, with other causes including old drivers, security type mismatches, and wrong IP setup.
Now that we know the likely causes, let’s go through the fixes that have worked for other users.
1. Restart Your Router
Rebooting your router (also called power cycling) clears its short-term memory (cache). This can fix temporary glitches and lets the router choose the least crowded channel for each frequency, which often improves the connection.
Unplug the router for at least 10 seconds, then plug it back in and wait for it to fully start. While you’re at it, restart your computer as well. When both devices are back up, check if the error is gone. If not, move on to the next method below.
2. Run Network Adapter Troubleshooter
Using the Network Adapter troubleshooter is a good way to resolve connection problems in Windows. This built-in tool scans your system and suggests (or applies) fixes for the issues it finds.
- Open Control Panel and set View by to Small icons to see all items.
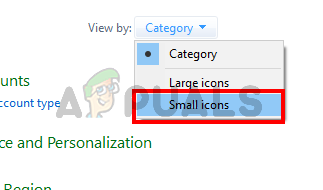
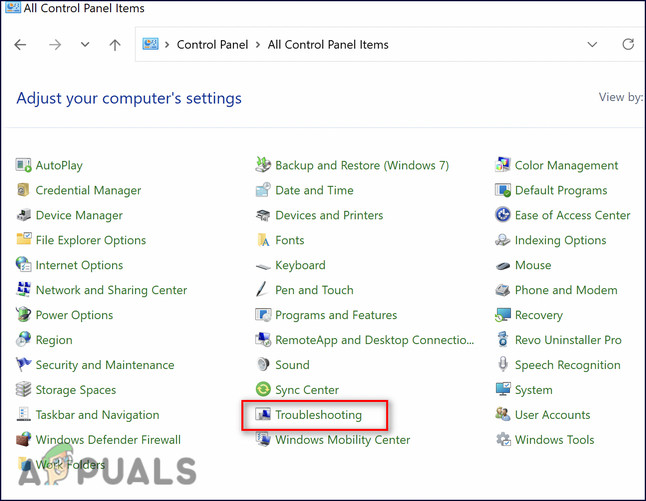
Switch to Small Icons in Control Panel to Access AutoPlay - Select Troubleshooting from the list.
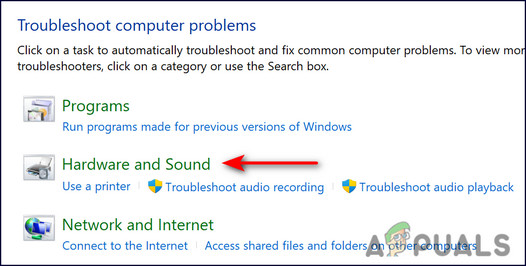
Click troubleshooting - Click Hardware and Sound, then choose Network Adapter to launch the troubleshooter.
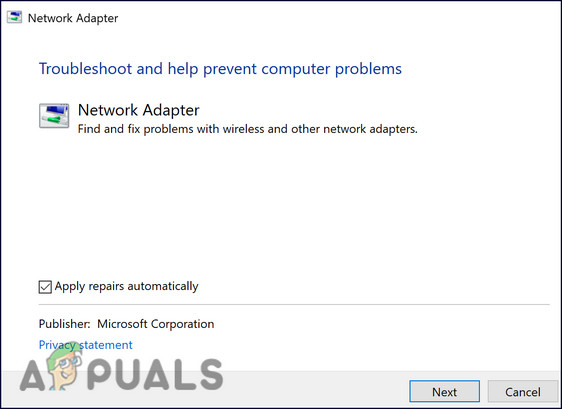
Go to hardware and sounds - Click Next in the window that appears to start the scan.
- Wait for the scan to complete, then select the network adapter you want to diagnose. To check all adapters, pick the last option.
- In the next window, choose the problem you’re experiencing.
- Follow the on‑screen instructions. When it’s done, try connecting again to see if the error is resolved.
3. Reinstall Network Adapter Driver
For a stable connection, your network drivers must be working properly. If they’re damaged or outdated, you may see the ‘Can’t connect to this network’ message.
If you haven’t updated your network adapter drivers in a while, now is a good time. If the driver is corrupted, reinstalling it usually fixes the problem. After you uninstall the driver, Windows will install a fresh copy on the next restart.
- Type Device Manager in the taskbar search and click Open.
- In the window that opens, find Network adapters and expand it.
- Right‑click your target adapter and select Uninstall device.
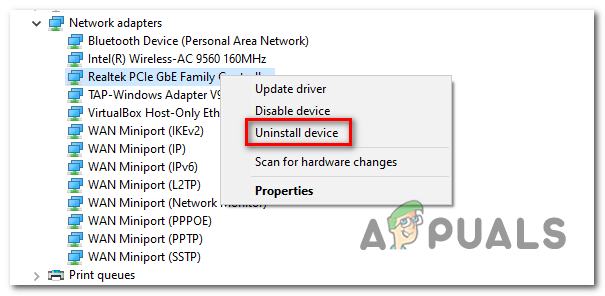
Uninstalling the Network Adapter - Check Delete the driver software for this device, then click Uninstall.
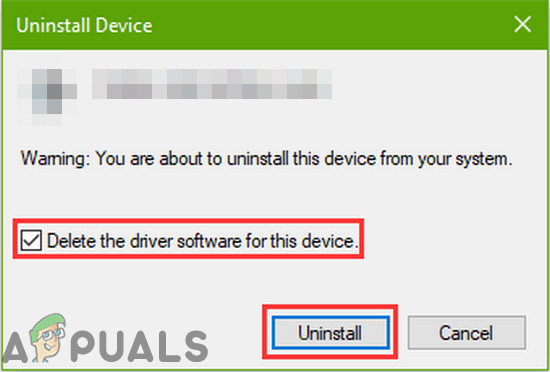
Select Delete the Driver Software For This Device and Click on Uninstall - When it’s done, reboot your PC.
- After the restart, Windows should reinstall the driver automatically. If it doesn’t, download the latest driver from your PC or adapter manufacturer’s website and install it manually.
- Restart your PC again and check if the connection works.
4. Create a Restore Point
Sometimes an error is hard to track down. In those cases, you can use System Restore to return Windows to a point when everything was working.
Windows does this by creating “restore points” from time to time.
A restore point contains snapshots of your system files, program files, registry settings, and drivers. Windows creates them automatically before major changes, and you can create one whenever you like.
- Type Control Panel in the taskbar search and click Open.
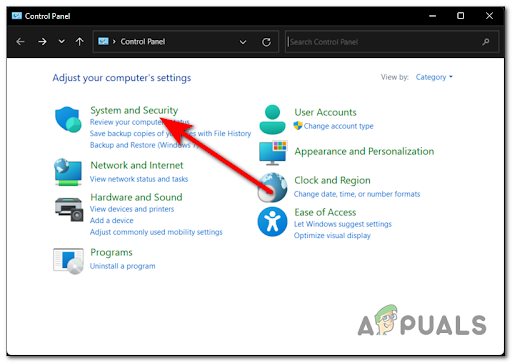
- In the window that opens, click System and Security.
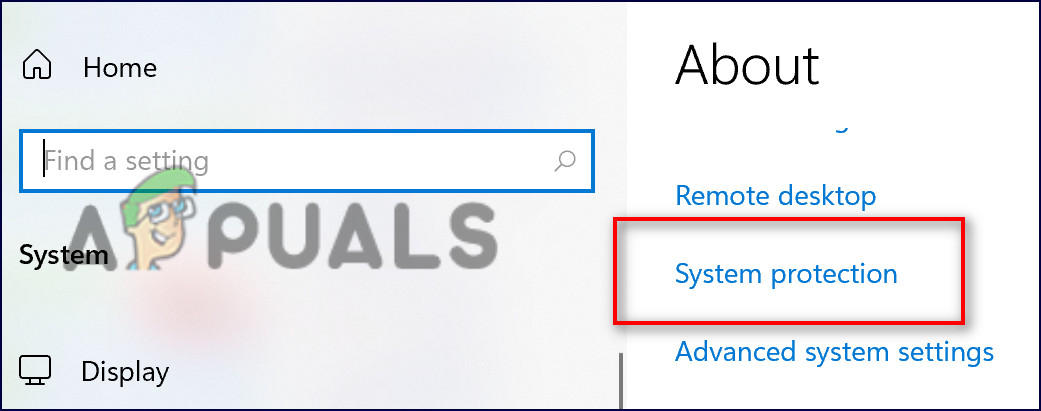
Accessing the System and Security tab - Click System, then choose System Protection.
Open system protection - Go to the System Protection tab and click System Restore.
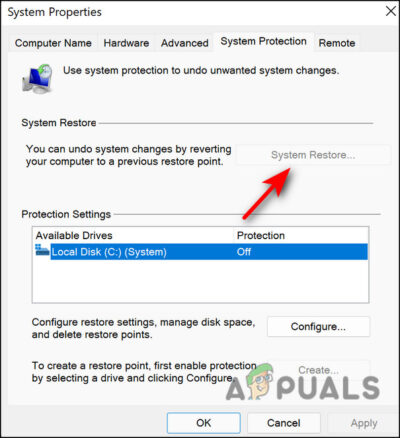
Click system restore - Follow the on‑screen steps. When asked, choose Recommended restore (or pick a restore point from a date when the error wasn’t happening).
- When the process finishes, Windows will roll back to the selected point in time.
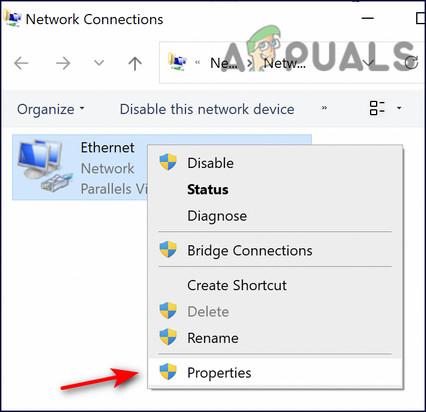
5. Enable Internet Protocol Version 6 (TCP /IPv6)
Another fix that worked for many users was enabling Internet Protocol Version 6 (TCP /IPv6). If it’s disabled on your PC, follow these steps to turn it on. If it’s already enabled, move to the next method.
- Right‑click the Windows icon on the taskbar and select Run.
- Type ncpa.cpl and press Enter.
- Right‑click your wireless adapter and choose Properties.
Click properties - In the Networking tab, find Internet Protocol Version 6 (TCP /IPv6) and check the box next to it.
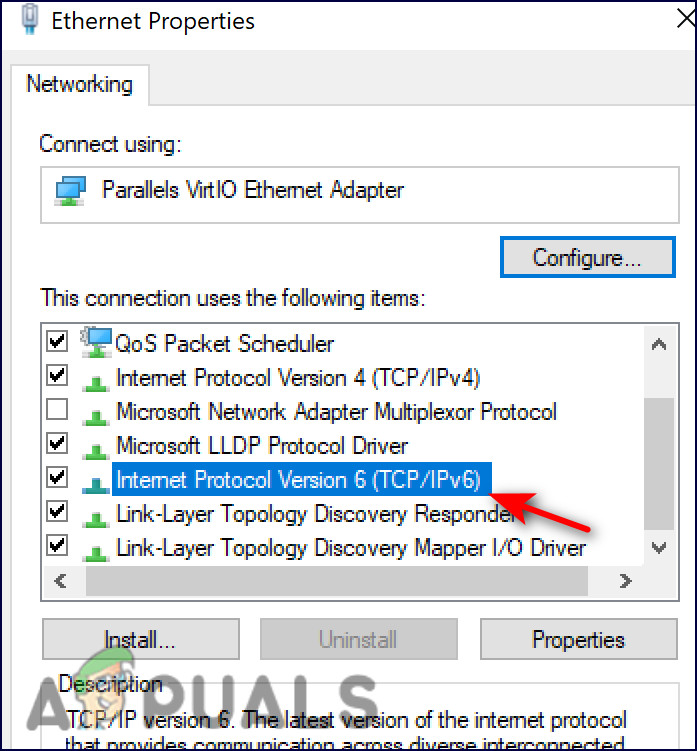
- Click OK, then restart your PC to apply the change.
- After the restart, try connecting again.
In-Place Upgrade
If you’ve tried everything above and still see the error, go ahead and perform an in-place upgrade.
This installs a fresh copy of Windows over your current one while keeping your files and apps. It takes roughly the same time as a full reinstall, and some custom settings may reset during the process.


