How to Cancel Windows 11 Update and Stay on Windows 10?
Windows 10 will continue to receive support until October 14, 2025, but Microsoft is already encouraging users to upgrade to Windows 11. While Windows 11 offers many exciting new features, not everyone is ready to make the switch right away. You may have essential software that hasn’t been tested on Windows 11, or maybe you simply prefer the familiarity of your current setup.
Whatever your reason, this guide will help you postpone the upgrade and keep using Windows 10 for now. Here’s how you can take control of when you choose to update.
Note: If your PC is managed by your organization and you can’t make these changes yourself, it’s best to contact your IT department or system administrator. They can provide more guidance and might be able to make these adjustments for you.
1. Pause Updates
If you want to temporarily delay the Windows 11 update, the simplest way is to pause updates through Windows Settings. This option lets you postpone updates for 7 days or more.
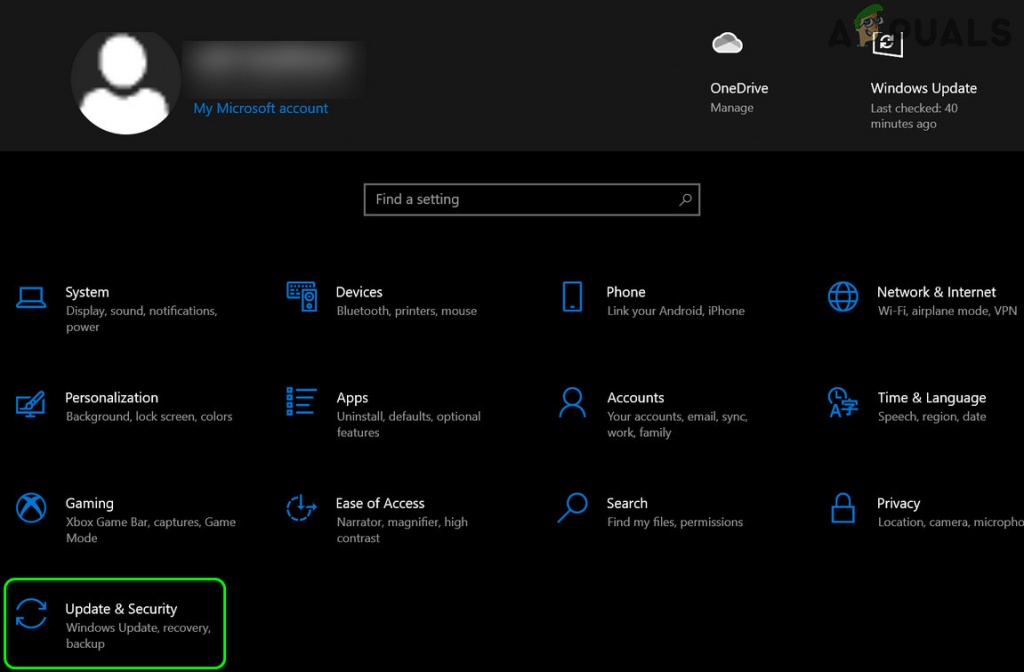
- Press the Windows + I keys on your keyboard to open Windows Settings.
- Click on Update & Security.
- Select Windows Update from the menu on the left.
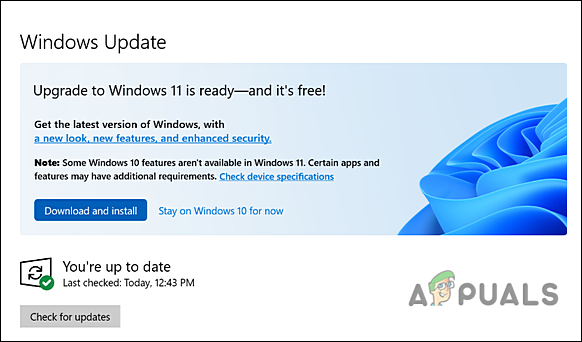
- If you see the “Stay on Windows 10 for now” option, click it.
Note: Depending on your Windows version and settings, you might not see this option. If you don’t, follow the next steps: - To pause updates, click Pause updates for 7 days.
- If you want to pause updates for longer, click Advanced options.
- In Advanced options, find and expand the dropdown under Pause updates.
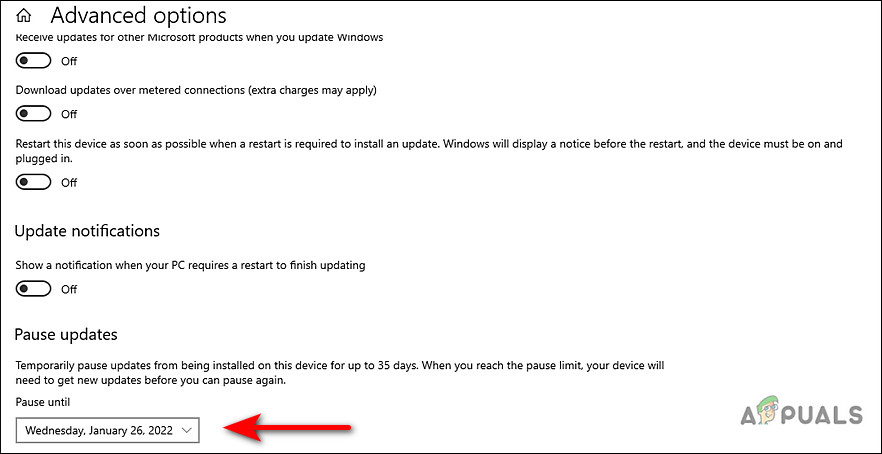
Pause Windows 11 updates until a fixed time - You can pause updates for up to 35 days.
- Select the date you prefer from the dropdown menu.
2. Block Update using Windows Registry
The “TargetReleaseVersionInfo” setting is a configuration you can add to your computer’s registry (the database that stores Windows settings) to specify which Windows version you want to stay on. By setting a specific version, you ensure your PC only gets updates for that version and won’t upgrade to a newer one like Windows 11 automatically.
This helps you keep using Windows 10 without worrying about surprise upgrades. For safety, make sure to create a registry backup before making any changes.
- Press the Windows + R keys together to open the Run dialog box.
- In the text field, type winver and press Enter to check your current Windows version.
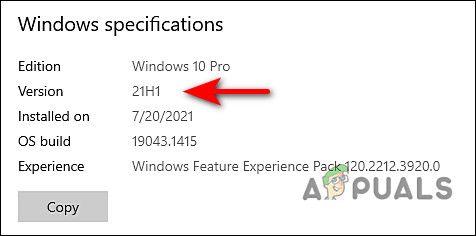
- Write down your current Windows version for reference.
- Press Windows + R again to open another Run dialog.
- Type regedit and press Enter to open the Registry Editor.
- Navigate to:
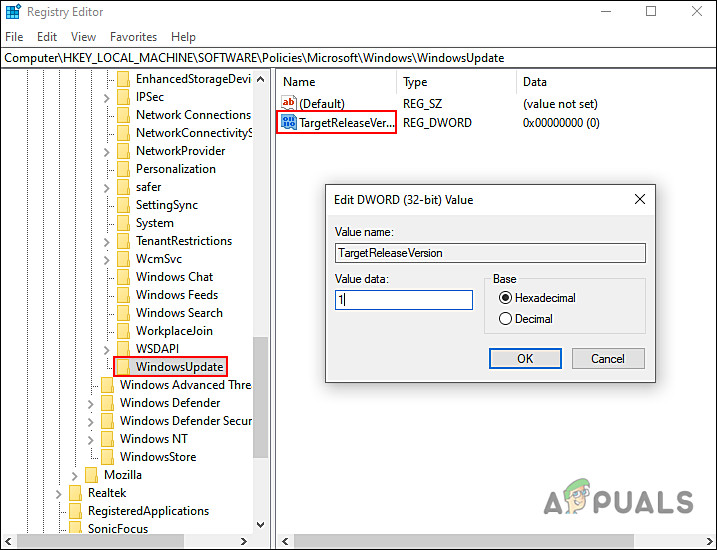
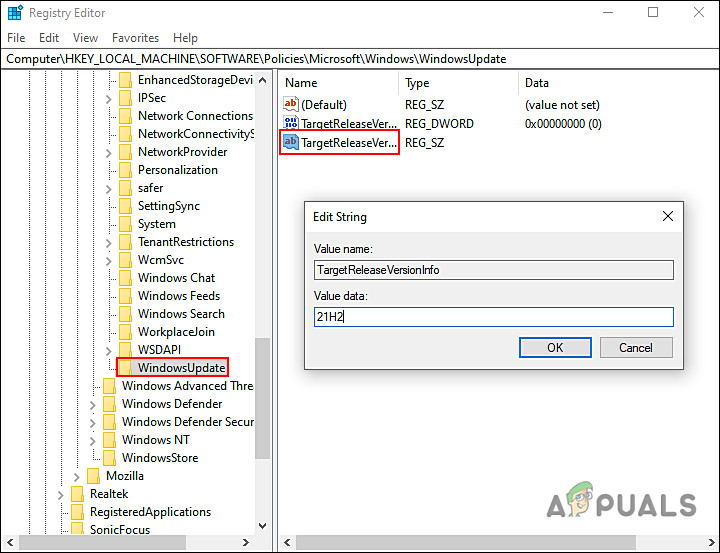
HKEY_LOCAL_MACHINE\SOFTWARE\Policies\Microsoft\Windows\WindowsUpdate
- If the WindowsUpdate key doesn’t exist, right-click the Windows key, select New > Key, and name it WindowsUpdate.
- Right-click in the right pane, select New > DWORD (32-bit) Value, and name it TargetReleaseVersion. Then, double-click it and set its Value data to 1.
- Right-click again, select New > String Value, name it TargetReleaseVersionInfo, double-click to edit it, and enter your Windows version (like 21H2 or 21H1) in the Value data.
- Restart your computer to apply the changes and prevent the Windows 11 update.
3. Set Target Release in Group Policy Editor
This option does the same thing as Option 2, but you’ll use the Group Policy Editor instead of editing the registry manually.
Note: The Group Policy Editor is available mostly in Windows 10 Pro, Education, and Enterprise editions, and may not be present in the Home edition.
- Press the Windows + R keys together to open the Run dialog box.
- Type gpedit.msc in the box and hit Enter.
Opening up Local Group Policy Editor - Go to:
Local Computer Policy > Computer Configuration > Administrative Templates > Windows Components > Windows Update > Windows Update for Business
- Double-click on Select the Target Feature Update Version.
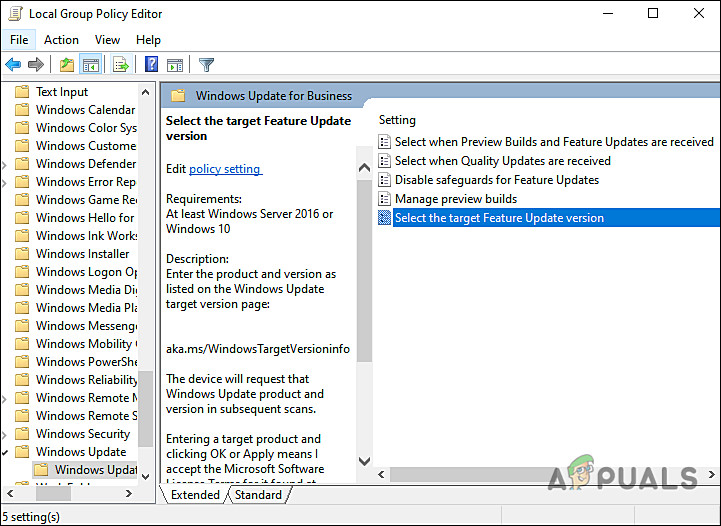
Double-click on the highlighted policy - Choose Enabled. Under Target Version for Feature Updates, enter your preferred Windows 10 version.
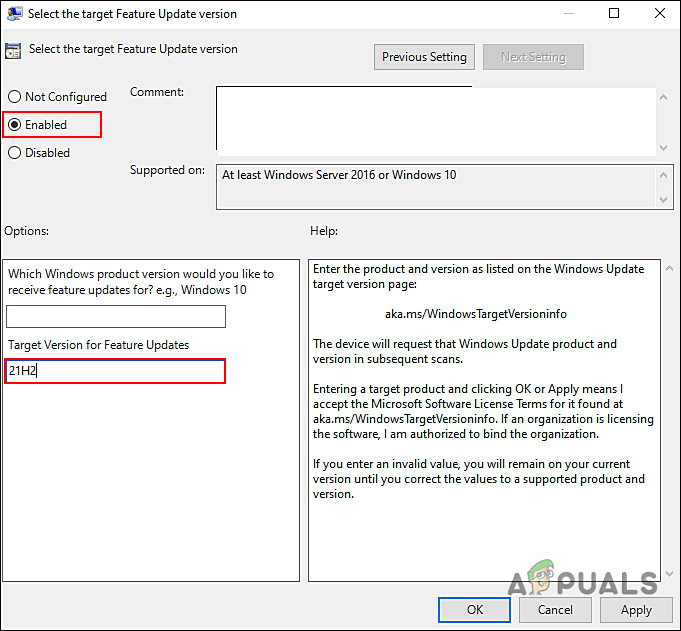
Configure policy - Click Apply and then OK. This will set your device to remain on Windows 10.
4. Turn Off Windows Update Service (Not Recommended)
If you want a more permanent solution, you can disable the Windows Update service entirely. Please be careful though! Disabling this service will stop all updates, including important security and bug fixes.
Remember, you’ll need to manually turn the update service back on when you’re ready for updates again. Avoid leaving updates turned off for too long, as it can make your computer vulnerable.
- Press the Windows key, type Services, and hit Enter.
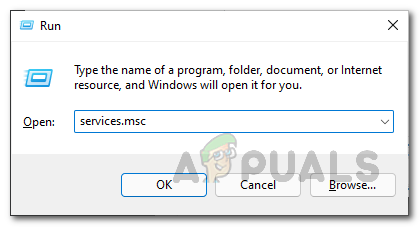
Opening the Services Window - In the Services window, find the Windows Update service and double-click it.
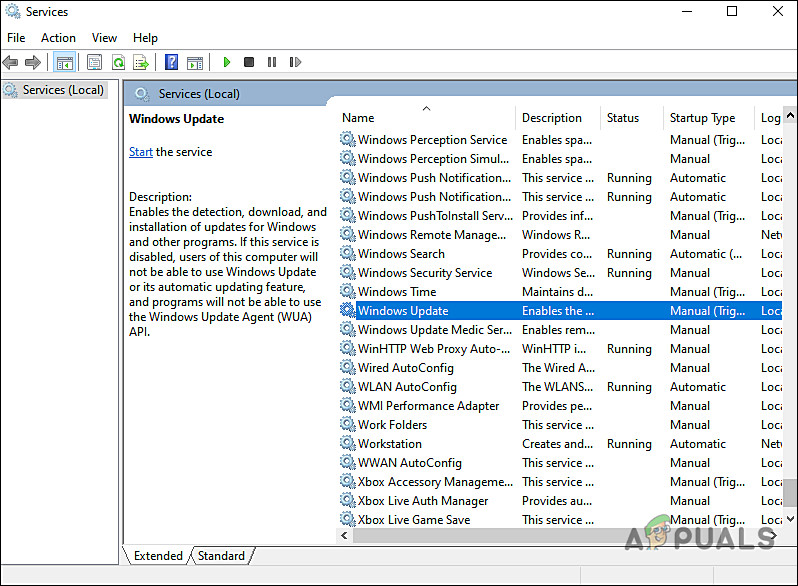
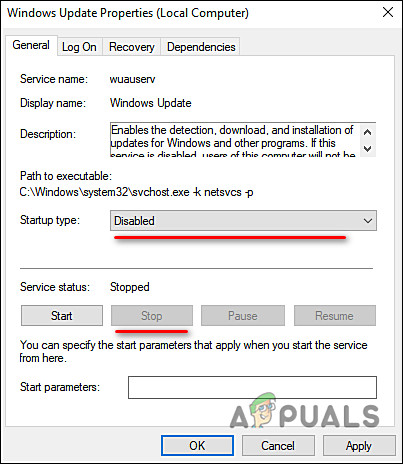
Open Windows Update Service Properties dialog box - In the Properties dialog, set Startup type to Disabled.
- Click Stop under Service status, then click Apply and OK to save the changes.
5. Use a Third-Party Tool
If you’re not comfortable editing the registry or using the Group Policy Editor, third-party tools designed to manage Windows updates can help. Programs like “StopUpdates10” offer user-friendly interfaces for controlling Windows updates. With these tools, you can pause or completely disable updates with just a few clicks, ensuring your computer stays on Windows 10 without unexpected upgrades to Windows 11.
By following these steps, you can easily manage when (or if) you move to Windows 11—according to your needs. Remember, each method has its own advantages and disadvantages, so choose the option that best fits your situation.
Have you tried any of these steps? Did they work for you? Share your experiences and any additional tips in the comments below.


you need to put Windows 10 in the Windows product version as Windows 11 uses the same build numbers ie 21H2. Also to continue receiving W10 updates set the Target version to something like 24H2