Call of Duty Warzone Crashing? Here’s how to fix
Warzone often freezes or crashes during matches or on the end-game screen, either getting stuck or suddenly closing and going back to the desktop. This crash doesn’t show a normal Windows error message, but it’s usually linked to problems with DirectX or your graphics card (GPU) drivers.
The most common reason is old or unstable GPU drivers (from Nvidia or AMD). Other causes can be broken DirectX files, issues with the shader cache, or problems with overlays from other software.
Before you try the steps below, we recommend verifying that your third-party antivirus software isn’t interfering with Warzone. Disable your antivirus temporarily to see if it resolves the issue. This helps rule out the possibility that your antivirus is mistakenly blocking some game files. If you need guidance on how to do this, check out our article on turning off your antivirus.
1. Update Your Graphics Drivers
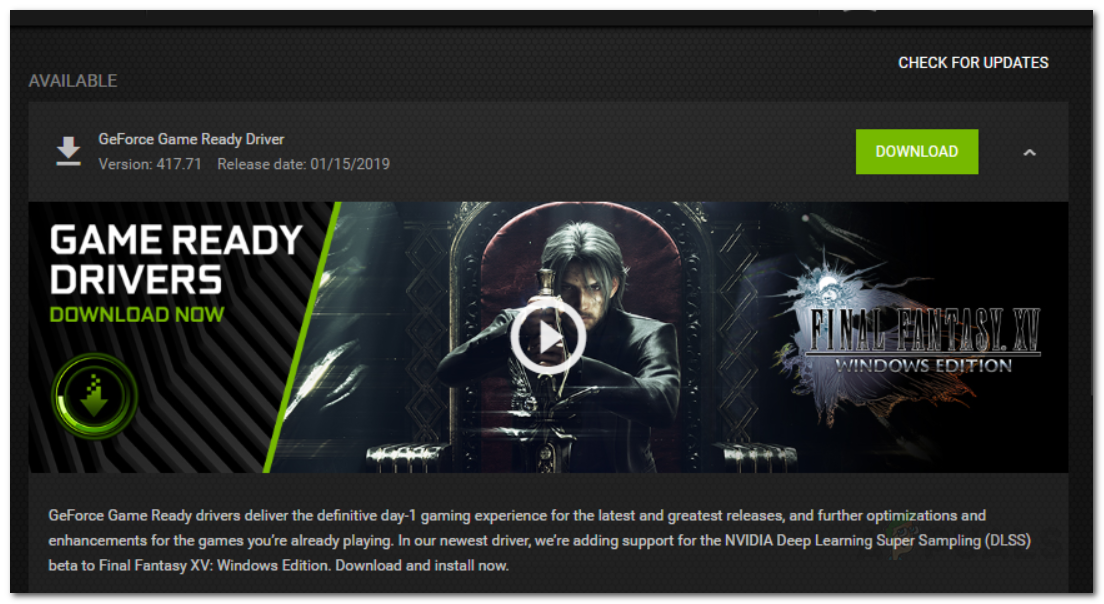
One of the most frequent causes of Warzone crashing is outdated graphics drivers. Keeping your drivers up to date ensures better compatibility and stability for the latest games. If you’re running into crashes, your first step should be to download and install the latest drivers for your GPU.
If you have an Nvidia graphics card, you can update your drivers easily using the GeForce Experience software. If you don’t have it installed, you can go directly to the Nvidia website and download the newest driver for your card.
For AMD users, you can update your driver using the AMD Radeon Software. If you don’t have it already, just head to their official site and download the latest drivers for your GPU.
2. Lower the Game’s Process Priority
Sometimes, giving the game high priority in Task Manager can actually make it less stable by taking up too much CPU and memory. By default, Warzone may be set to “high” priority, which can trigger crashes for some users. To address this, try lowering its priority to “normal”. Here’s how:
- Right-click your taskbar and select Task Manager.
- In Task Manager, switch to the Details tab to see all running processes.
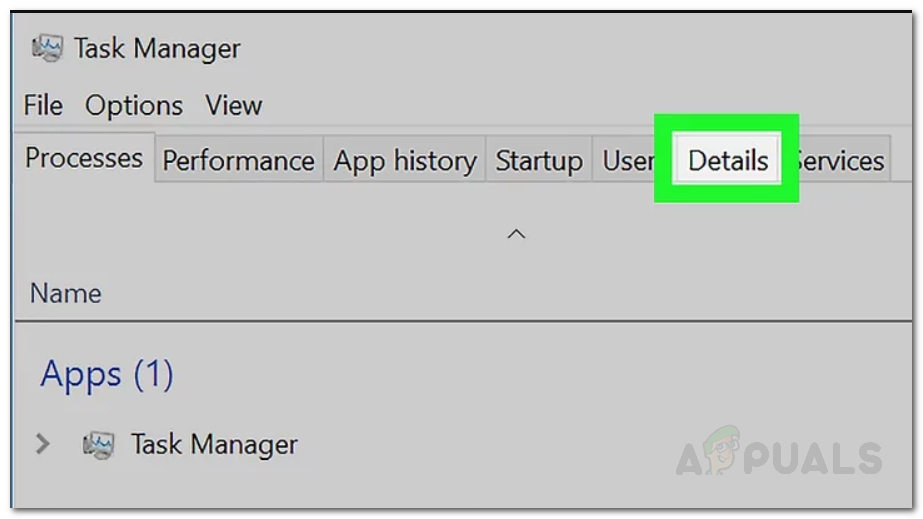
Task Manager - Find Warzone’s process, right-click it, hover over Set Priority, and select Normal.
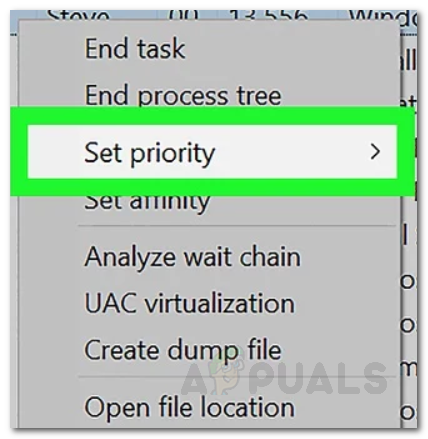
Setting Priority - If prompted for confirmation, click Change Priority.
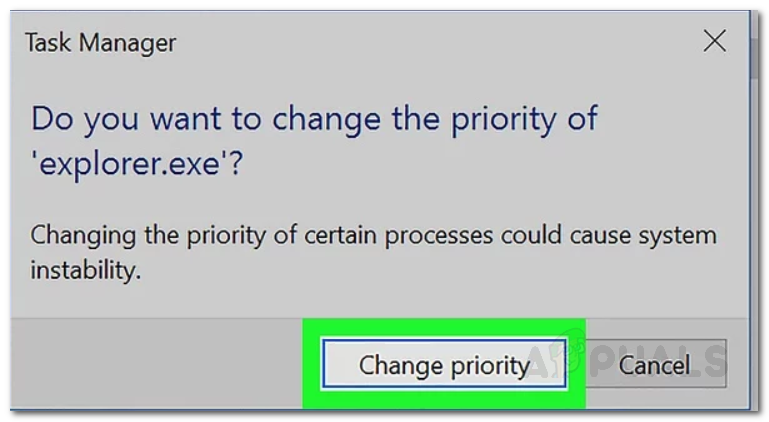
Changing Priority - That’s it! Relaunch the game to see if the issue is resolved. (Double-check that the priority remains set to “Normal” after restarting the game.)
3. Disable NVIDIA In-Game Overlay
The NVIDIA in-game overlay has also been identified as a cause of Warzone crashes for some players. Until this is fully patched, the workaround is to disable the overlay in the GeForce Experience settings.
- Open GeForce Experience on your computer.
- Click the Settings icon in the top right corner (next to your profile avatar).
- You’ll land on the General settings tab.
- Under the Language heading, find the In-game Overlay option.
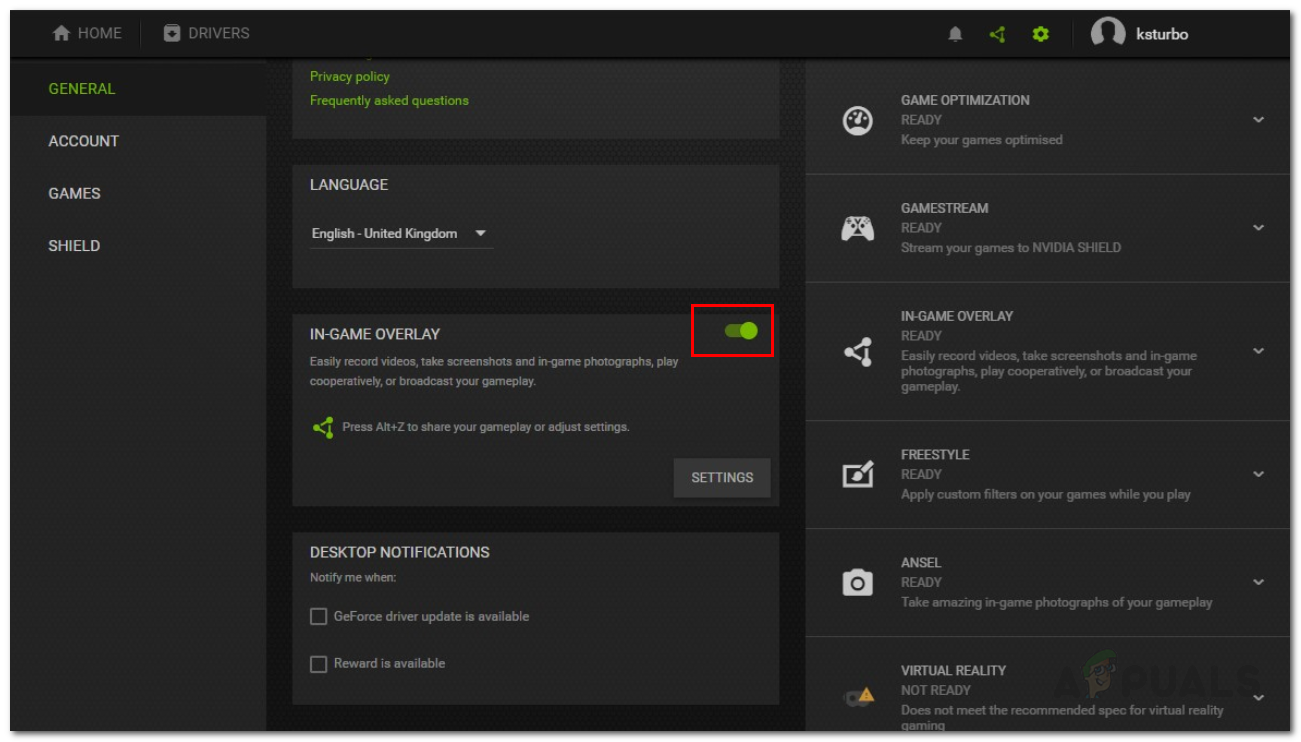
Disabling In-Game Overlay - Turn it off by clicking the switch next to it.
- Close GeForce Experience and restart your game.
- Check if the crash issue is resolved.
4. Increase Virtual Memory Size
In some cases, Warzone may crash because of not having enough virtual memory (also called a page file) on the drive where it’s installed. Virtual memory acts as an extra piece of RAM using space from your hard drive. If it’s too small, the game might not run smoothly.
- Go to your Desktop, right-click My Computer (or This PC), and select Properties.
- On the left, click Advanced system settings.

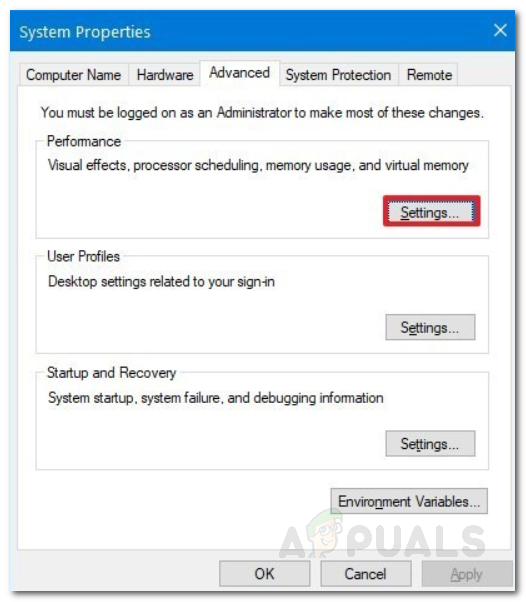
System Properties - In the System Properties window, go to the Advanced tab.
- Under Performance, click Settings.
Advanced System Properties - Switch to the Advanced tab again.
- Under Virtual Memory, click Change.
- Make sure that the ‘Automatically manage paging file size for all drives’ option is unchecked.
- Select the drive where Warzone is installed, then choose Custom size.
- The Initial size and Maximum size should differ by at least 2GB (2048 MB).
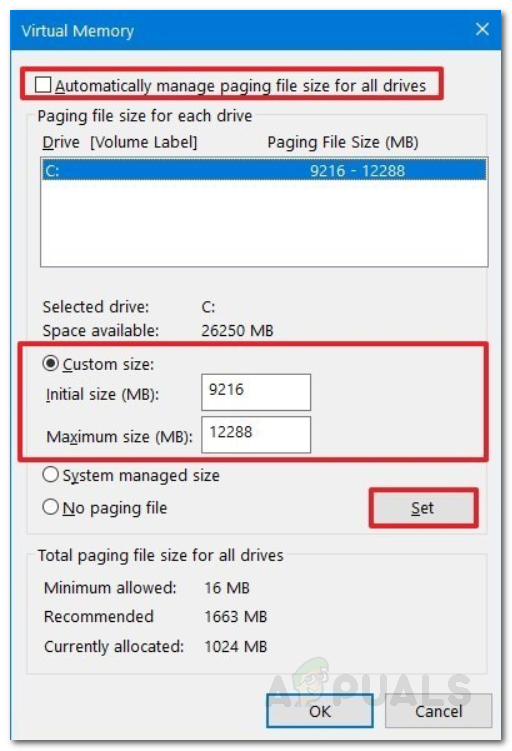
Changing Virtual Memory Size - Click Set and then OK.
- Click OK again and restart your PC.
- After restarting, launch Warzone to see if the crashing continues.
5. Changing the Executable File Name
For some gamers, a simple trick like renaming the game’s executable file while it’s running has helped prevent crashes.
- Start Call of Duty: Warzone and wait until you’re in the main menu, then minimize the game.
- Navigate to the game’s installation folder, right-click on the main executable file.
- Note: Make sure you have checked the “File Name Extensions” box in Windows Explorer before making changes.
- Rename “ModernWarfare.exe” to “ModernWarfare.exe1”.
- This prevents the crash during gameplay. Once you finish playing, rename the file back to “ModernWarfare.exe” so you can start the game next time without issues.
- You can automate this with a script created by Daddeldore on Reddit:
:: Simple script to rename the file ModernWarfare.exe to ModernWarfare1.exe to prevent crashes
@ECHO off
:: Change your install path here
set place=C:\Games\Call of Duty Modern Warfare
set PROCNAME="ModernWarfare.exe"

:initialbattlenet
CHOICE /M "Start Battle.Net Client?"
if "%ERRORLEVEL%" == "1" GOTO startbattlenet
if "%ERRORLEVEL%" == "2" echo Then why are you clicking me?
goto exitscript

:startbattlenet
Echo Start Battle.net...
"%place%\Modern Warfare Launcher.exe"
@ping -n 5 localhost> nul
cls
:checkstart
TaskList|Find "Blizzard Battle.net App" >NUL || If Errorlevel 1 Goto startgame
Goto checkstart

:startgame
echo checking game status...
tasklist /FI "IMAGENAME eq %PROCNAME%*" 2>NUL | find /I /N %PROCNAME%>NUL
if "%ERRORLEVEL%"=="0" (
Goto gameruns
)
cls
Goto startgame

:exitgame
CHOICE /M "Did you quit playing?"
if "%ERRORLEVEL%" == "1" GOTO gamequits
if "%ERRORLEVEL%" == "2" GOTO exitgame
@PAUSE

:gameruns
@ping -n 5 localhost> nul
ren "%place%\ModernWarfare.exe" ModernWarfare1.exe >nul
if exist "%place%\ModernWarfare1.exe" goto startrenameok
echo Oops, something went wrong. Let's try it again
@pause
goto startgame

:startrenameok
cls
ECHO File renamed successfully!
ECHO Have fun playing
@ping -n 5 localhost> nul
cls
GOTO exitgame

:gamequits
ren "%place%\ModernWarfare1.exe" ModernWarfare.exe >nul
if exist "%place%\ModernWarfare.exe" goto quitrenameok
echo Oops, something went wrong. Let's try it again
goto startgame

:quitrenameok
cls
ECHO File renamed successfully!
ECHO I hope it was fun.
GOTO exitscript

:exitscript
echo.
echo Script will be terminated...
@ping -n 3 localhost> nul
exit
- Be sure to update the “Installation Path” in line 4 of the script to match your game’s installation path.
Note: If nothing so far works, try creating a new Windows user account, let the game recognize the install from its current location, and check if the crashes still happen.


nope i did the same and still crashing .