How to Fix CACHE_MANAGER BSOD in Windows?
When users encounter the Blue Screen of Death (BSOD) with the stop code ‘CACHE_MANAGER’ in Windows, it indicates a serious problem with the cache manager. The cache manager is a part of Windows that manages cached data in your computer’s memory, helping improve file access speeds and overall system performance.
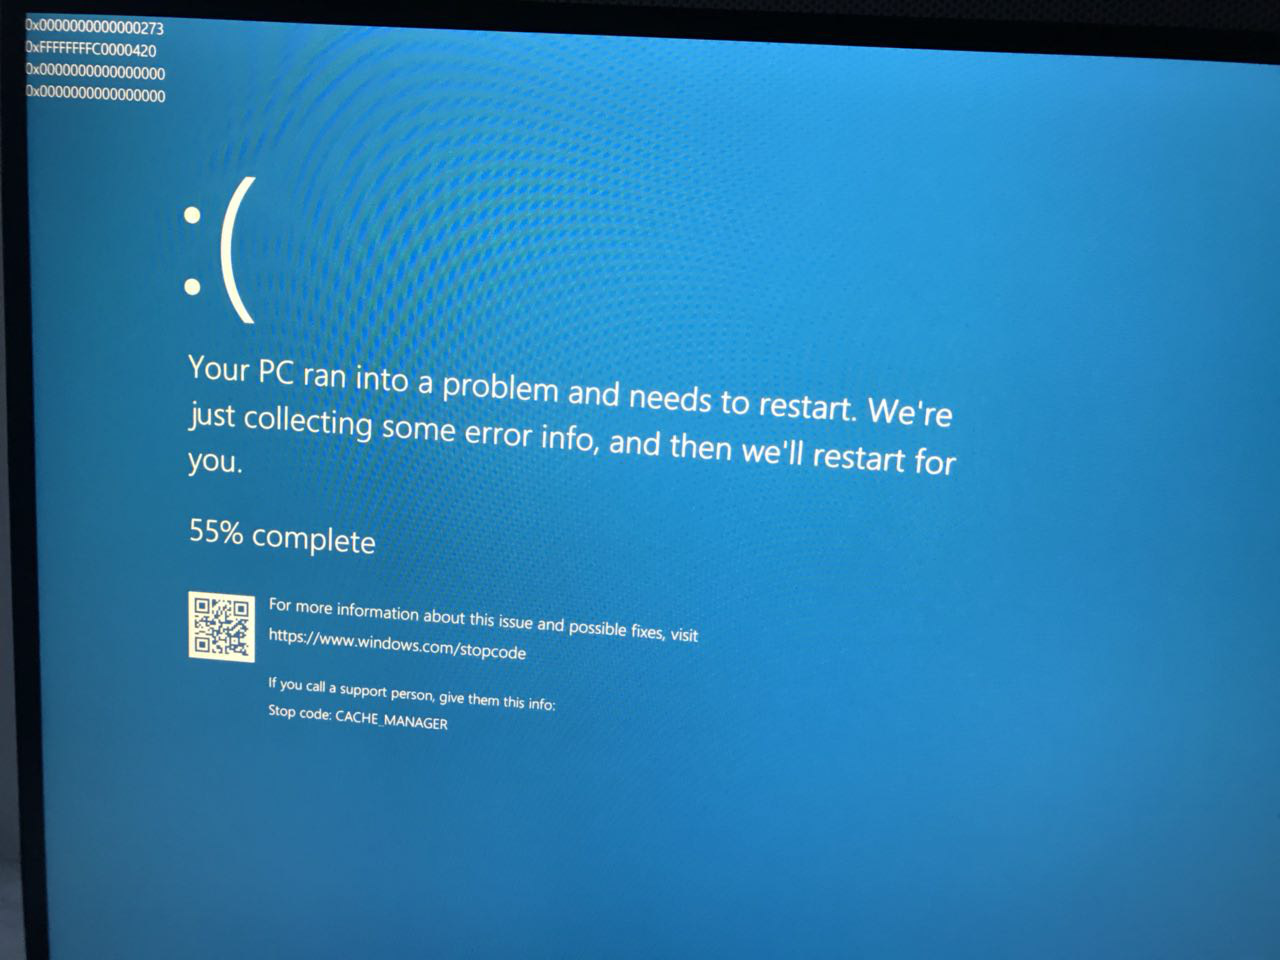
This error means that Windows had trouble reading from or writing to cached data, which can lead to system instability, crashes, and further BSODs. Common reasons for this include memory problems, damaged hard drive sectors, outdated or incompatible drivers, or hardware and software conflicts.
The CACHE_MANAGER error is more likely to show up on systems under heavy use, such as computers running demanding applications or working with lots of data.
This article will guide you through solutions to fix this error.
1. Run SFC, DISM, and CHKDSK
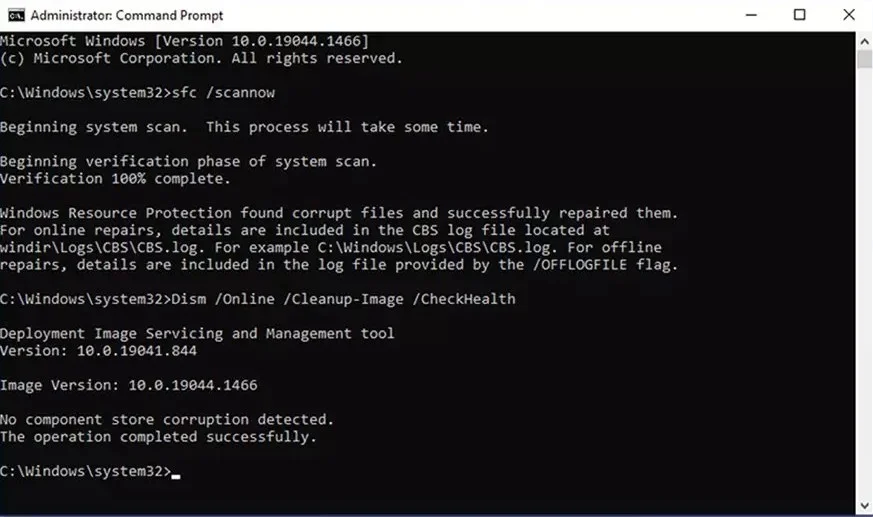
Corrupted system files or hard drive problems can trigger this error. The System File Checker (SFC), Deployment Image Servicing and Management (DISM), and CHKDSK are built-in Windows tools that can help repair these issues.
- Press Windows + S to open the Search menu, type cmd, and right-click Command Prompt to run it as an Administrator.

- Type the following commands one by one and press Enter after each:
sfc /scannow
Dism /Online /Cleanup-Image /RestoreHealth
chkdsk C: /f
- Restart your computer after the scans are finished.
2. Run Memory Diagnostic Tool
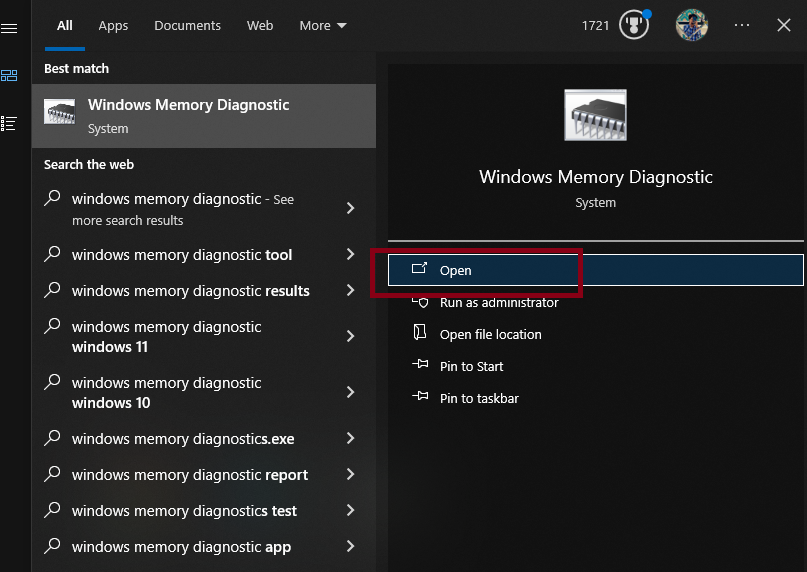
Problems with your computer’s memory (RAM) are a common reason for CACHE_MANAGER errors. A faulty memory module can lead to crashes and data loss. The Windows Memory Diagnostic Tool can help spot memory issues.
- Press Windows + S and type Windows Memory Diagnostic.
- Click Open to start the tool.
- Select “Restart now and check for problems (recommended)”. Note: Save your work before you continue, as your PC will restart.
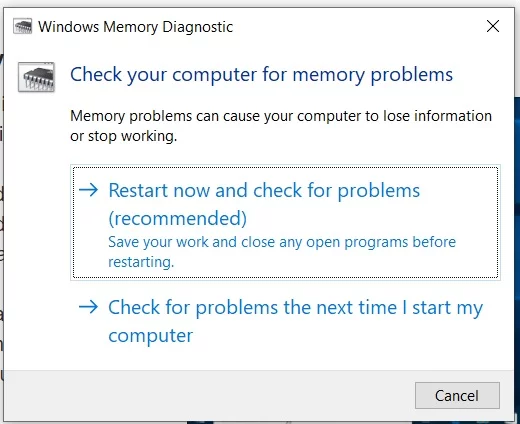
- Let the diagnostic finish, and follow the on-screen instructions if any problems are found.
If you want to do a more advanced memory test, you can use PassMark MemTest86. Check out our guide here.
3. Replace the CMOS Battery
A weak or dead CMOS battery can lead to issues like incorrect date and time, boot errors, and even BSODs. The CMOS battery helps keep important BIOS settings, such as your system time and hardware configurations, when the computer is powered off.
If you’re having these issues, replacing the CMOS battery could help. Read our detailed guide about CMOS batteries here.
4. Rename AODDriver2.sys to AODDriver2.old (For AMD Users)
AODDriver2.sys is a driver related to AMD OverDrive, a tool used for overclocking AMD processors and graphics cards. If this driver is corrupted, outdated, or isn’t compatible with your version of Windows, it can cause BSODs.
Renaming the file will prevent Windows from loading it, which can resolve the BSOD. Note, this will disable AMD OverDrive features. This is recommended if you aren’t using overclocking or if this driver is causing problems.
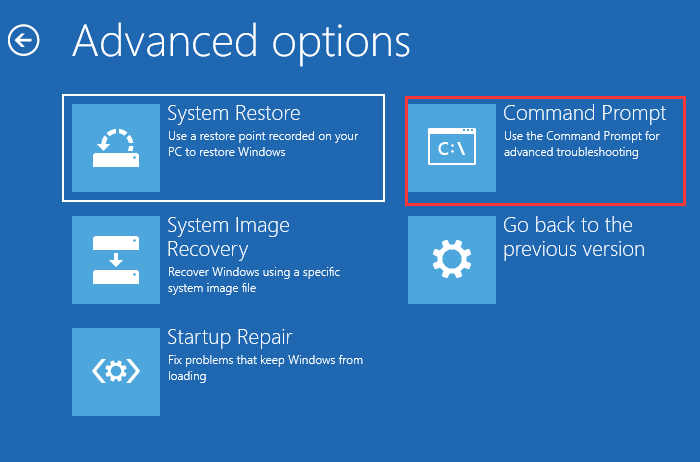
- Boot into Advanced Startup.
- Select Troubleshoot.

- Click Advanced options.

- Choose Command Prompt and follow the on-screen instructions.
- Type the following commands:
cd "C:\Program Files\ATI Technologies\ATI.ACE\Fuel\amd64\"
ren AODDriver2.sys AODDriver2.old

- Restart Windows.
5. Clean Install Windows
If none of the above solutions fix the error, reinstalling Windows might solve the problem. A clean install means you’ll get a fresh Windows system without any old or corrupted files.
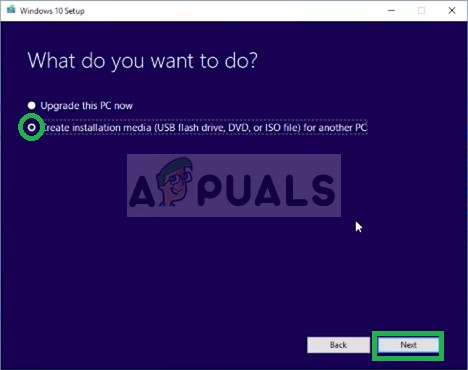
- Download the Media Installation Tool from Microsoft’s official site here.
- Insert a USB drive into your computer.
- Click “Create Installation Media“.
- Select the Language, Edition, and Architecture for Windows.
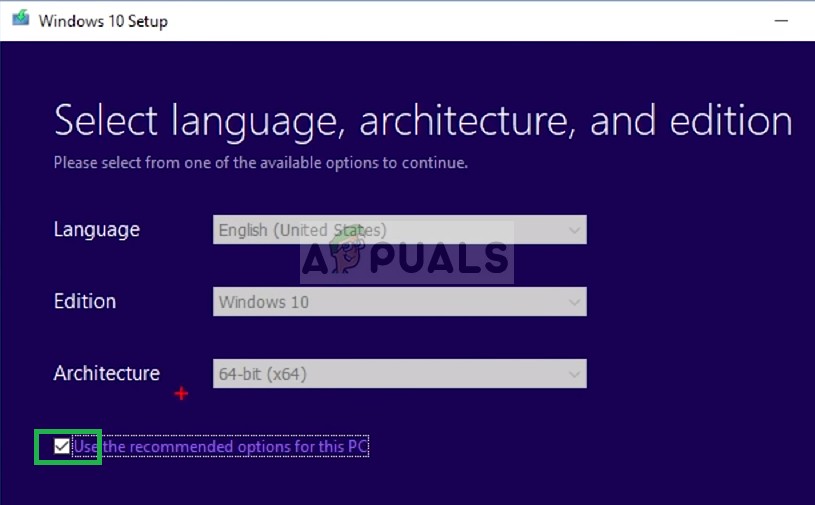
- Choose “Use recommended settings” or adjust as needed, then click Next.
- Select the ISO option and click Next.
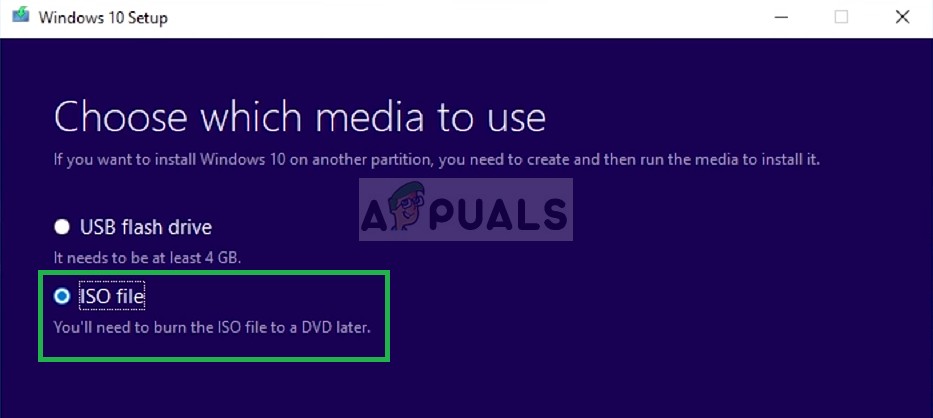
- Pick a place to save the ISO file.
- After the download, open Rufus and download the program.
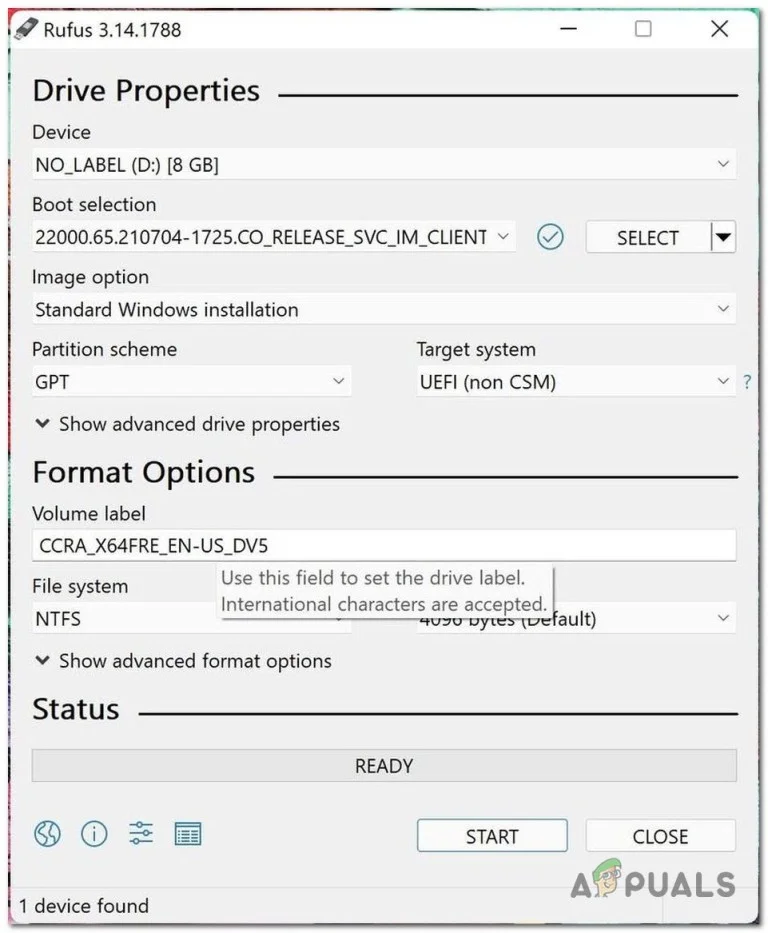
- Run Rufus and select your USB device from the list.
- Set the Partition scheme to GPT and Target system to UEFI.
- Select the ISO file and click Start.
- Once finished, restart your computer and boot from the USB drive using the F12 key (or the key your motherboard uses for the boot menu).
- Follow the on-screen instructions to reinstall Windows.
If none of these steps work, the problem could be caused by faulty hardware—most often bad RAM, a failing motherboard, or a problematic CPU. Check your hardware components and consider replacing any parts that may be failing. If you’re not comfortable doing this yourself, take your computer to a qualified technician, as working inside your computer can be sensitive and should be done with care.


