How to Fix BSOD with Error Code 0x135 on Windows 10
A BSOD with stop code 0x135 usually happens when starting your computer. It causes a restart before you see the desktop. This error means Windows couldn’t find or load an important file it needs to start. The most common reason is a missing or damaged system file, often caused by malware removal or failed updates.
Other possible causes include wrong registry settings or other programs deleting important files.
In this article, we will discuss different ways to solve this error.
1. Uninstall Conflicting Software (if applicable)
Some third-party programs, especially Webroot and Dragon Center, are known to cause conflicts with important Windows processes. Several users have managed to resolve the issue by uninstalling these apps. The conflict is mainly caused by two files: WRkrn.sys (from Webroot) and DCv2.exe (from Dragon Center).
If you are using either of these programs, uninstalling them can help prevent further 0x135 BSOD incidents.
- Press Windows key + R to open the Run dialog box. Type ‘appwiz.cpl’ and press Enter to open the Programs and Features window.
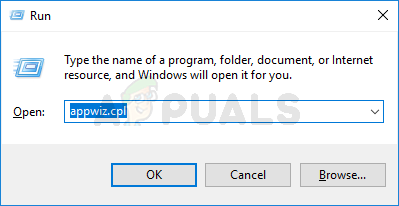
Type appwiz.cpl and Press Enter To Open Installed Programs Page - In the Programs and Features window, scroll down to find Webroot, Dragon Center, or any other program you suspect may be causing issues.
- Once you find the program, right-click on it and select Uninstall.
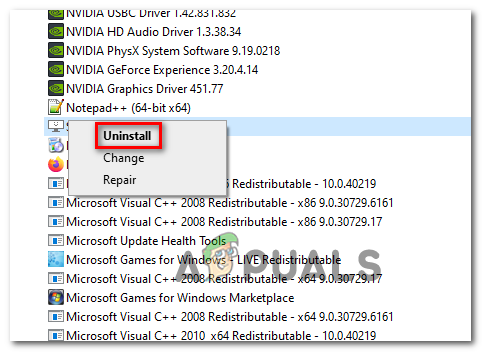
Uninstalling the conflicting software - Follow the prompts to complete the uninstallation, then restart your computer.
- After your computer restarts, use it normally to see if the 0x135 BSOD still appears.
2. Rebuild the BCD Data
Another common cause behind this BSOD is a damaged Boot Configuration Data (BCD), especially if you get the error during the startup process.
Luckily, you can usually fix this by rebuilding the BCD using a few commands in Command Prompt from the recovery menu.
Note: The following steps assume your computer won’t boot past the startup screen. If it does, you can enter these commands from an elevated Command Prompt window.
- Insert a Windows installation media (such as a USB or DVD) and start your computer. When prompted, press any key to boot from the installation media.

Press any key to boot from installation media - On the first screen you see, click Repair your computer.
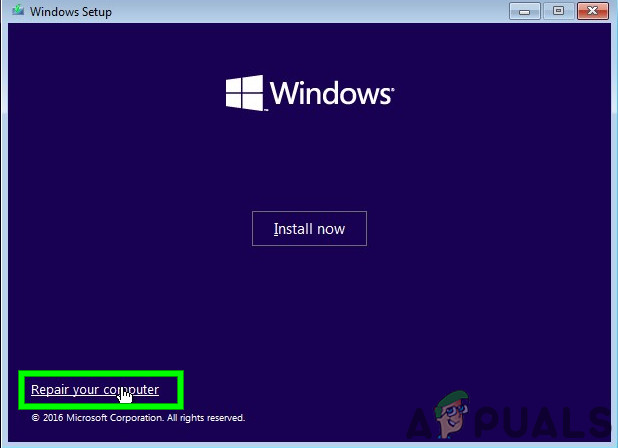
Click Repair your computer on Windows Screen Note: If you don’t have installation media, you can force Windows to open the repair menu by shutting down your PC twice in a row during the startup process.
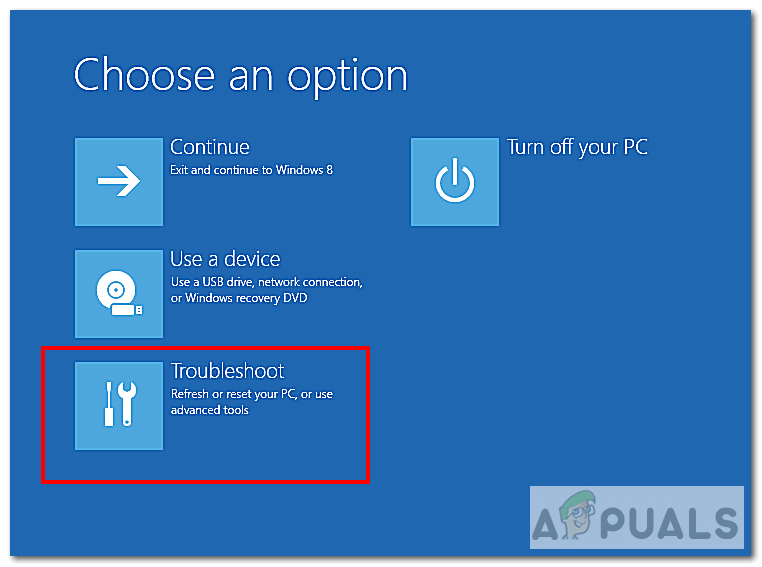
- Once in the repair (recovery) menu, click on Troubleshoot, then choose Command Prompt.
Troubleshoot - In the Command Prompt, type the following command and press Enter:
Bootrec /RebuildBcd
- Wait for the process to finish, then restart your computer and see if the issue has been resolved.
3. Use System Restore
If this problem started recently, a new software change or Windows update might be causing the error. Since it’s not always clear what triggered the issue, the easiest way to fix it is to use System Restore to roll your computer back to a point before the error began.
- Open a Run dialog box by pressing Windows key + R. Type ‘rstrui’ and press Enter to launch the System Restore wizard.
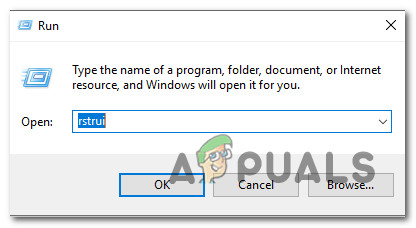
Opening the System Restore wizard via Run box - When the System Restore screen opens, click Next to move forward.

Getting past the initial screen of System Restore - On the next screen, check Show more restore points. Then, select a restore point from before you started having the BSOD issue.
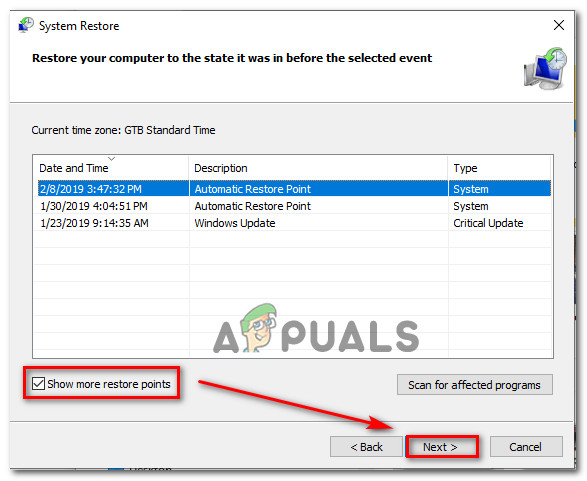
Restoring your system to a previous point in time Note: Using System Restore will remove any programs or changes made after the selected restore point. That includes installed apps, settings, and downloaded files. Your PC will go back to exactly how it was on the date of that restore point.
- Click Finish, then confirm by clicking Yes to start the restore process. Your computer will reboot and return to the previous state.
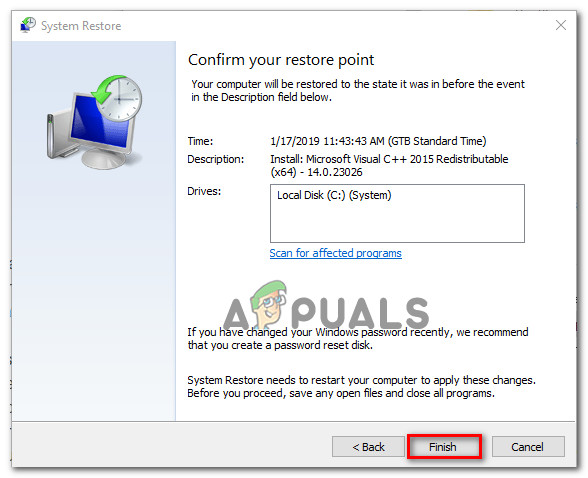
Starting the System Restore process - Once your computer starts up again, see if the 0x135 error is gone.
4. Refresh All Windows Components
If none of the solutions above have helped, you’re probably dealing with a deeper problem caused by system file corruption that these steps can’t easily fix.
If that’s the case, your best option is to reset all Windows components. You have two main choices:
- Clean Install – This is the simplest option. You start fresh without needing any extra tools. All you need is your PC and the steps provided by Windows. However, keep in mind that you will lose all your personal files, apps, and settings stored on the main drive unless you back them up beforehand.
- Repair Install (In-place Repair) – This method reinstalls Windows system files while leaving your personal data, apps, and settings untouched. The catch is that you’ll need a compatible installation media, like a USB or DVD.


