How to Fix BSOD (INVALID_DATA_ACCESS_TRAP) on Windows 11?
The INVALID_DATA_ACCESS_TRAP blue screen usually makes the computer crash and restart while doing normal tasks, like opening apps or waking up from sleep. This error happens when Windows tries to use memory it shouldn’t, causing a serious problem.

The most common cause is a conflict with drivers—especially if graphics or storage drivers are old. Other possible reasons include problems with memory, antivirus programs, or recent updates that aren’t working right.
Now that we’ve outlined the main reasons for this BSOD crash on Windows 11, let’s go through several methods that have been confirmed to work by other users facing the same issue.
1. Uninstall Media-Related Apps (if applicable)
It appears that one effective fix for the INVALID_DATA_ACCESS_TRAP BSOD is to uninstall all media-related apps.
While there’s no official explanation for why this works, many community members suspect that old dependencies used by legacy apps like VLC and the Media Feature Pack conflict with Windows 11’s newer file-sharing protocols.
If you encounter this problem when accessing certain parts of Windows 11, follow these steps to uninstall legacy media players like VLC, BS Player, and the Media Feature Pack:
- Press Windows key + R to open the Run dialog box. Then, type ‘appwiz.cpl’ and press Ctrl + Shift + Enter to open the Programs and Features menu.

Open up the Programs and Features menu - When prompted by User Account Control, click Yes to grant admin access.
- In the Programs and Features menu, scroll through the list to find any legacy media programs you have installed.
- Right-click on the media program and select Uninstall.
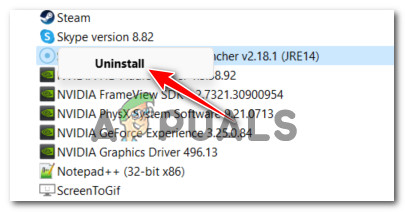
Uninstall the media program - Follow the prompts to complete the uninstallation. If you have multiple media apps, uninstall each one individually.
- Once you have uninstalled all legacy media apps, restart your PC and check if the BSOD still occurs when you repeat the action that previously triggered the crash.
2. Reinstall All USB 2.0 and USB 3.0 Drivers
This BSOD can also happen if your USB 2.0 or 3.0 drivers are corrupted or incompatible with your system setup. To address this, you’ll need to open Device Manager and reinstall all drivers listed under Universal Serial Bus Controllers. This method has helped many users resolve the issue, especially when every attempt to update Windows 11 led to the same BSOD.
- Press Windows key + R to open the Run dialog box.
- Type ‘devmgmt.msc‘ and press Enter to launch Device Manager.
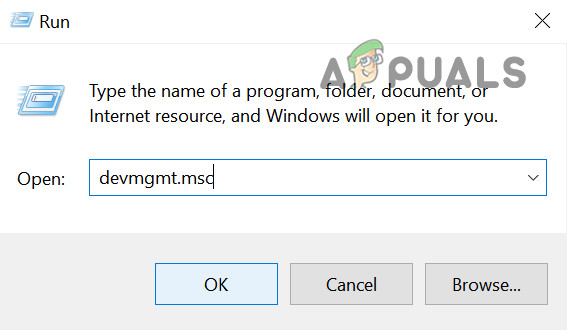
Open Device Manager Note: If prompted by User Account Control (UAC), click Yes to continue.
- In Device Manager, expand the section for Universal Serial Bus controllers.
- Right-click on each USB controller driver and click on Uninstall until all are removed.

Uninstall the USB controller drivers Note: Complete this step for every device under Universal Serial Bus controllers. Do not restart your PC until all are uninstalled.
- After uninstalling, reboot your PC.
- On the next startup, Windows will detect the missing drivers and automatically install the default compatible versions.
- Test the action that previously caused the INVALID_DATA_ACCESS_TRAP BSOD to see if the problem is resolved.
3. Uninstall Capture Software & PowerDVD (if applicable)
If this BSOD appears during a Windows 11 upgrade or when installing updates, and you have no other media programs installed, check if you have PowerDVD or a capture program like Avermedia on your system.
Media capture and CD/DVD burning software are known to interfere with Windows feature updates. Uninstalling them can help resolve BSODs like INVALID_DATA_ACCESS_TRAP.
- Press Windows key + R to open the Run dialog box.
- Type ‘appwiz.cpl’ and press Ctrl + Shift + Enter to open the Programs and Features window.
Open up the Programs and Features menu - When prompted by UAC, click Yes to allow admin access.
- Look through the list and find PowerDVD, Avermedia, or any other third-party media-burning or capture applications.
- Right-click on the program and choose Uninstall.
Uninstall the media program - Follow the instructions to complete the removal process.
- After uninstalling any software that could interfere with Windows updates, reboot your PC and test if the BSOD still occurs when performing the same actions.
4. Run a CHKDSK Scan
In some cases, the INVALID_DATA_ACCESS_TRAP BSOD may be caused by bad sectors on your hard drive, leading to crashes when the operating system needs to access affected data.
Users who encountered this BSOD while moving or managing files have reported that running a CHKDSK scan completely resolved the issue.
Note: CHKDSK (Check Disk) scans for drive errors and automatically attempts to fix them if you use the /f parameter.
This method can also help if you get the BSOD during a Windows update.
- Press Windows key + R to open Run.
- Type ‘cmd’ and press Ctrl + Shift + Enter to open an elevated Command Prompt.
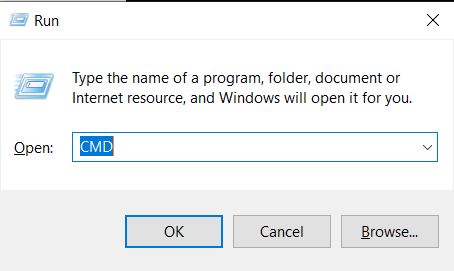
Deploying a CHKDSK scan - When prompted by User Account Control, click Yes.
- Type the following command and press Enter to run a CHKDSK scan and repair errors automatically:
chkdsk /f
- Wait for the scan to finish, then restart your computer.
- After startup, try the action that previously caused the BSOD and check if the error still occurs.
5. Update Your BIOS Version
Some technical users have found that an outdated BIOS firmware can cause the INVALID_DATA_ACCESS_TRAP BSOD, especially if your motherboard hasn’t had a BIOS update since Windows 11 launched.
If you are still facing this BSOD, you may need to update your BIOS to the latest version provided by your motherboard manufacturer.
Note: BIOS update steps vary between motherboard brands. Review your manufacturer’s official instructions for BIOS updates.
- Prepare an empty USB flash drive.
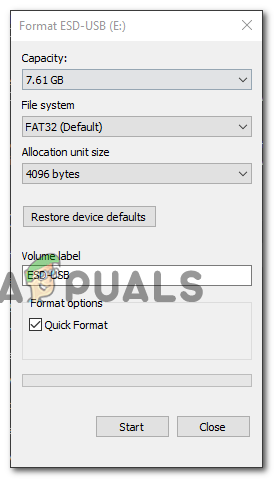
- If it contains data, back it up. Then, right-click on the USB drive and select Format.
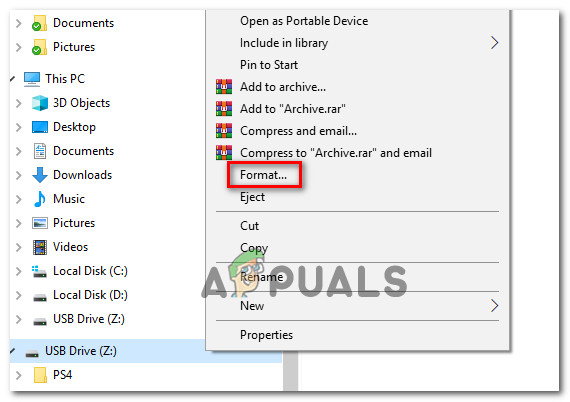
Formatting the USB drive - Set File System to FAT32 and check Quick Format.
- Click Start to begin formatting.
Formatting the drive - Download the latest BIOS update for your motherboard model from the manufacturer’s website and copy it to the USB drive.

Downloading the latest BIOS firmware update Note: Some files might need to be prepared in a certain way for them to be recognized by your BIOS. Check any instructions provided by your manufacturer.
- Restart your computer and press the required Setup key (often Esc, Del, F2, F4, F6, F8, or F12) to enter BIOS settings.
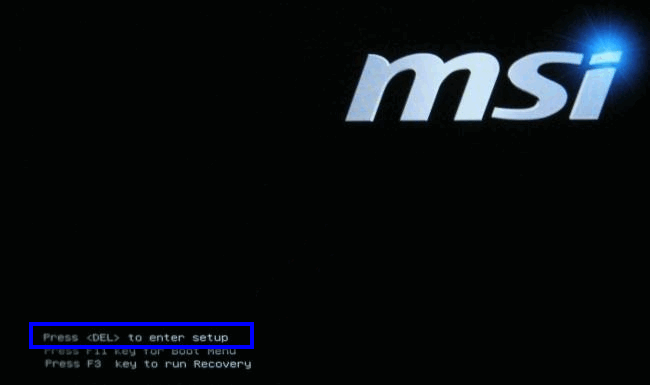
Pressing the setup key Note: If unsure, check your motherboard manual or search your model online for the correct key.
- In BIOS, find and select the option to Update System BIOS (or similar).
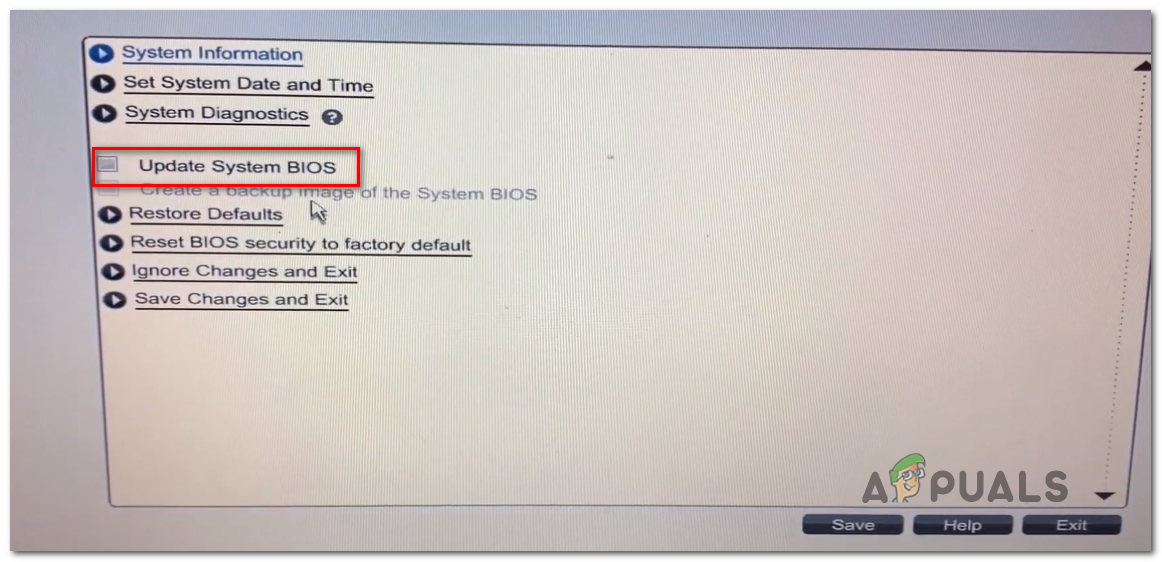
Updating the BIOS version - Select your USB drive when prompted, then confirm the process to update your BIOS.
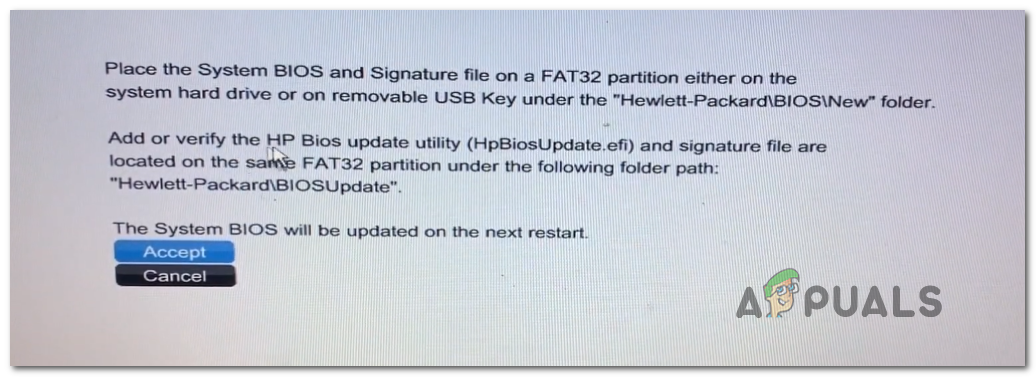
Accepting the BIOS update - Wait for the update to finish, then restart your computer.
- Remove the USB drive after your system restarts and boots into Windows.
- Test if the BSOD issue is resolved by repeating the action that previously caused the error.
6. Run SFC and DISM Scans
Another potential cause of the INVALID_DATA_ACCESS_TRAP BSOD is system file corruption. Windows uses many core files, and if one is damaged, it can trigger crashes during routine tasks.
- Press Windows key + R to open Run.
- Type ‘cmd’ and press Ctrl + Shift + Enter to open a Command Prompt with admin rights.
Open up a Command Prompt window - Click Yes on the User Account Control prompt to allow changes.
- In the Command Prompt, enter the following commands one at a time, pressing Enter after each to run a DISM scan:
Dism.exe /online /cleanup-image /scanhealth
Dism.exe /online /cleanup-image /restorehealth
Note: DISM uses Windows Update to download clean files, so make sure you have a working internet connection.
- Once the DISM scan finishes, restart your computer.
- Open an elevated Command Prompt again as described in steps 1–2.
- Type the following command and press Enter to run a full SFC scan:
sfc /scannow
Note: Do not interrupt the SFC scan, even if it looks stuck. Let it finish to avoid further system issues.
- Restart your PC once more and check if the BSOD has been resolved.
7. Perform a Repair Install
If SFC and DISM scans did not resolve the problem, your system may have deeper corruption that requires resetting core Windows components. At this point, you have two main options:
- Perform a repair install
- Perform a clean install
If you don’t mind wiping your OS drive, a clean install is straightforward and only takes a few clicks (just remember to back up anything important first, because everything on the drive will be deleted).
If you want to keep your files and apps, choose the repair install option. This process is more involved and requires installation media, but you’ll keep your apps, settings, and personal files. Only Windows system files will be reset.


I encountered INVALID DATA ACCESS TRAP when upgrading from Win 10 to 11 (Nov 21) and win 11 21h2 to 22h2, all on Samsung 980 SSD which otherwise behaved normally. After eliminating all other factors, a FIRMWARE UPGRADE to the latest firmware (in Nov 22) cleared the fault entirely.