How to Fix BSOD I01 Initialization Failure on Windows 10?
Blue Screen of death (BSOD) errors are one of the most harmful errors encountered by PCs because these errors only occur when there is some serious hardware, driver, or software problem. One of the most reported BSOD errors by users is I01 initialization failure.
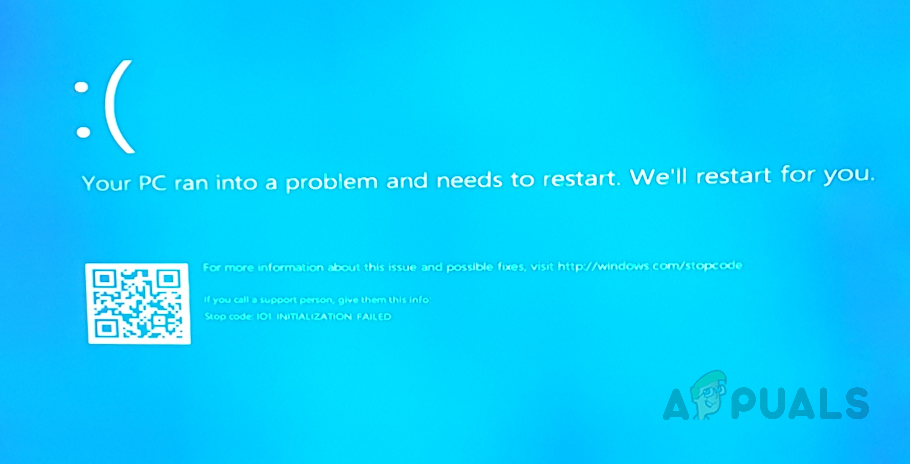
This error can appear while starting the PC, upgrading the operating system to the latest version or casually doing routine work on Windows 10. Most of the BSOD errors occur if the initialization of the I/O system failed or due to some issues with the hardware components of the PC. The frequent occurrence of this error can result in system corruption, so it is crucial to fix this error to prevent any further damage to the system. Users usually end up with the following notification on their PC’s screen:
Pre-requisites:
We will recommend you opt for the following steps before proceeding towards solutions. These workarounds will fix some minor but critical issues of your system that may be a cause of the error under discussion and will surely help the users to choose the best-suited solution to the BSOD error in their system, from the next section. The possible workarounds are given below:
- Repair Corrupt Files: To avoid the BSOD error due to damaged system files, try to repair or restore them by the given steps:
Open “Command Prompt” > type “DISM.exe /Online /Cleanup-image /Restorehealth” > Press “Enter”.
Again, type “sfc /scannow” > Press “Enter”. - Repair Hard Drive Errors: It is better to run a hard drive repair mechanism to eliminate this possible cause of the error. To repair the hard drive errors, follow these steps:
Open “Command Prompt” > type “chkdsk/r C:” > press “Enter”.
Again, run the check disk command for the rest of the available disk drives. - Run Malware Scan: Sometimes malware can halt the Windows functions and cause BSOD error, as discussed in causes. Follow these steps to scan the system for malware: Windows Security>Virus and Threat Protection>Quick Scan.
- Update Windows: BSOD error due to outdated operating systems is something that can be solved by updating Windows with the latest security patches and feature updates. These updates fix many bugs and compatibility issues with certain hardware and software. Update your Windows following these steps:
Open “Settings”> “Update & Security” > “Windows Update” > “Check for updates”. - Update Drivers: Whenever Windows operating system is updated, your old drivers can conflict with the new operating system and can cause BSOD errors. That is why keeping them updated is mandatory. To update the particular device driver:
Open “Device Manager” > Expand “Display Adapters” >Select “device”> Right-click and select “Update Driver Software”. - Unplug Extra Hardware: Remove all external storage devices such as drives, docks, or any hardware you might have plugged into your device that you are not using currently.
Now let us jump to the solutions provided by our technical team. These solutions are based on thorough online research and user feedback.
Solution 1: Run Windows Built-in BSOD Troubleshooter
In case none of the above-mentioned workarounds fixed the error, let us try Windows 10’s Built-in BSOD Troubleshooter. This tool is specifically designed to resolve various system issues including the BSOD errors. It runs a security scan that is not limited to Windows and its components only, it also analyzes Motherboard BIOS and its firmware (as per the latest addition in Windows). Therefore, it is most likely going to help you to solve the problem under consideration. Follow the steps given below to run the BSOD troubleshooter:
- Click Start > Settings Icon > Update & Security. This will open a window that contains Windows update-related settings i.e., Windows Security, Backup, Troubleshoot, etc.
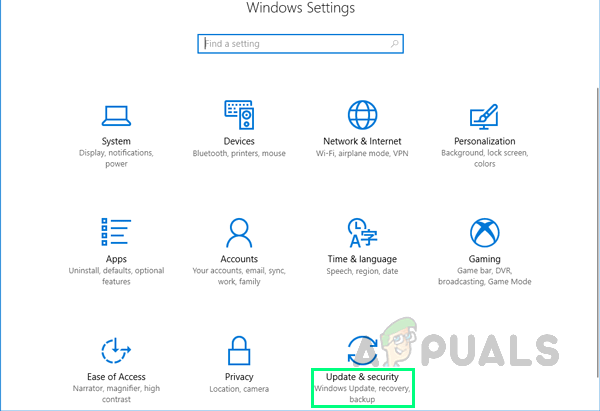
Opening Windows Update & Security Settings - Click Troubleshoot > Additional troubleshooters. This will take you to Windows troubleshooting options for different categories i.e., Internet Connections, Windows Update, Printer, etc.
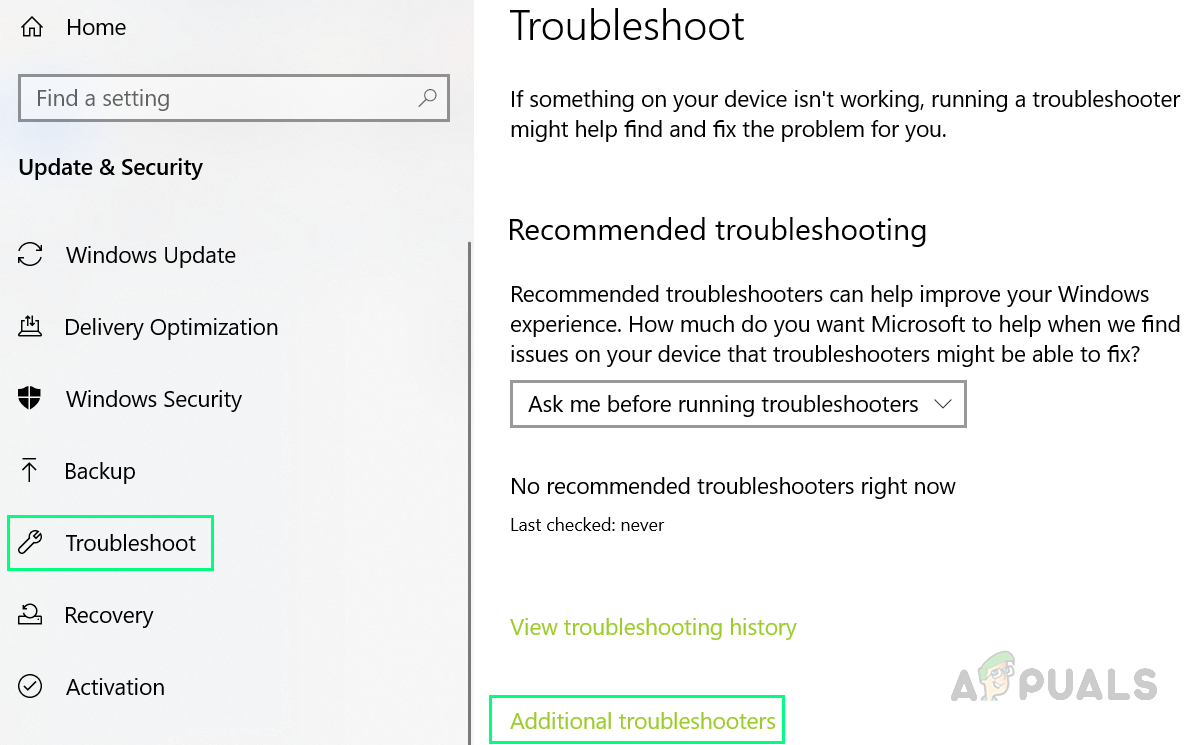
Opening Windows Additional Troubleshoot Options - Click Blue Screen > Run the troubleshooter. This will run a Windows BSOD troubleshooter that will try to resolve things automatically. Follow the on-screen instructions to complete the troubleshooting process. It will indicate the root cause of the BSOD error i.e., whether it is the software or hardware problem causing the error. This process may take a few minutes therefore, wait until it gets finished.
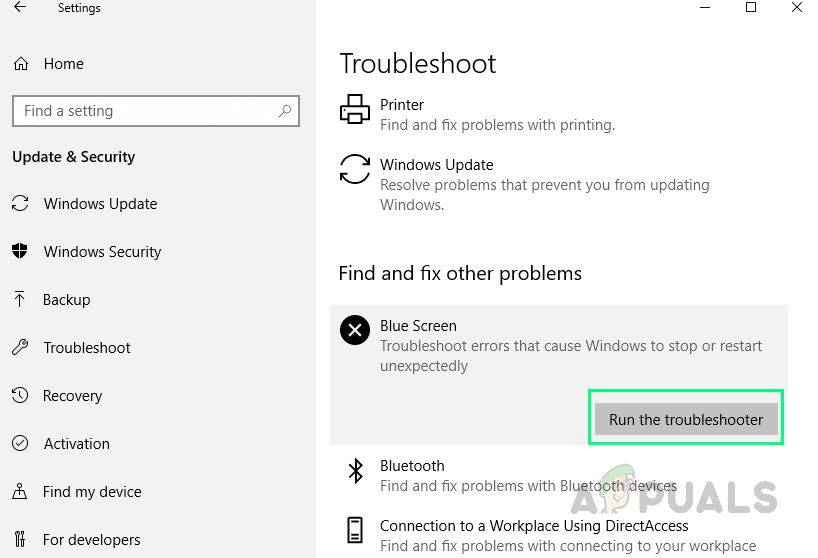
Running Blue Screen Troubleshooter
If you are running on Windows Update Version 1809 or later then you will have to access the Blue Screen Online Troubleshooter, the latest addition on the Microsoft website. It helps beginner users troubleshoot their Blue Screens and fix the error automatically. To do so follow the given steps:
- Open the Online BSOD Troubleshooter on Microsoft Official Page. You will simply see a wizard with different options that indicate when did you get the Blue screen error.
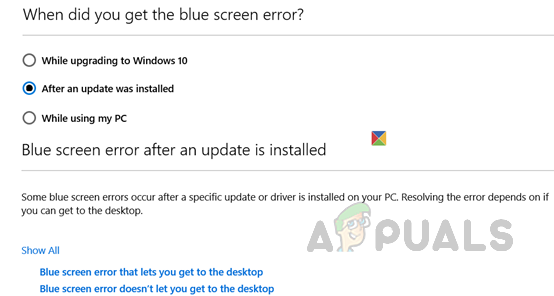
Opening Online BSOD Troubleshooter - Now you have multiple options to play with:
If you select While upgrading to Windows 10, you will be asked to revert back to your previous Windows version.
If you select After an update was installed, you will be asked to check for updates or remove newly installed hardware.
If you select While using my PC, some helpful suggestions will be offered if you can get to your desktop, as well as, if you are unable to access the desktop. - Select the best-suited option according to the situation and follow up the given instructions and steps to fix the problem. Despite all the procedures offered by Microsoft, if the blue screen error persists then move to the next solution.
Solution 2: Rebuild MBR & BCD
The Master Boot Record is a key part of the startup system of your PC. It contains all the essential information about the disk partitions of computers and helps load the operating system. Without a properly functioning MBR, your PC will not work and show blue screen errors. BCD or Boot Configuration Data contains boot configuration parameters on how to start your operating system. Rebuilding MBR & BCD will help your PC to start normally without any errors. This solution proved to be helpful for a lot of users online and it is also recommended by Microsoft Technical Experts. To rebuild the MBR and BCD, follow these steps:
- Click Start, Power Icon, and then click on the Restart option while holding the Shift key on your keyboard. This will allow your PC to enter “Windows Startup Repair” options after it boots up.
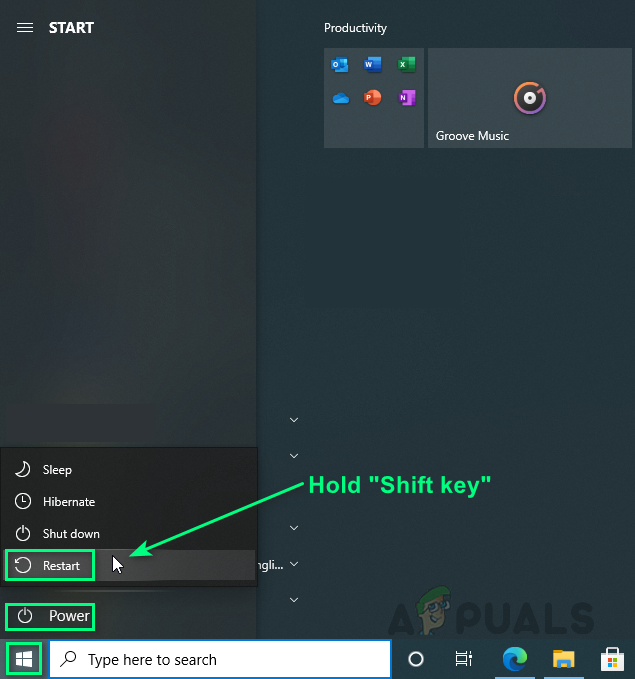
Custom Restart to Enter Windows Startup Repair Mode - The Windows bootup process will get interrupted by displaying a list of options on the screen to choose from. Select the Troubleshoot option. This will open a window to provide you with two different options to either reset the PC or access the advanced options to resolve the issue.
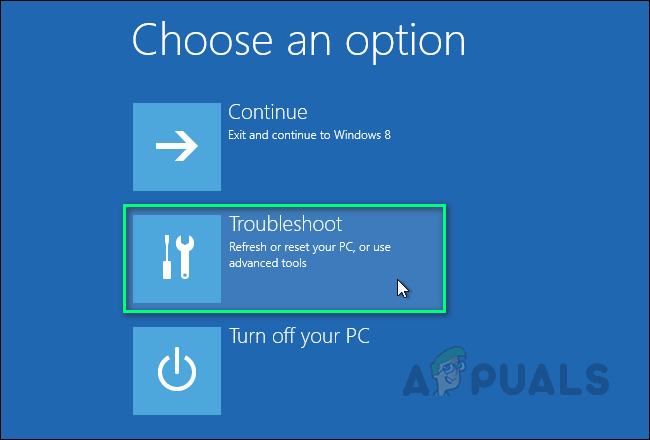
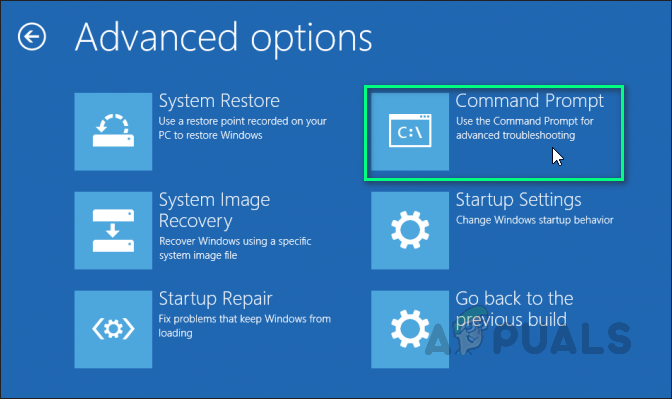
Opening Troubleshoot Options - Click Advanced options to open a window with different categories of available options for rectifying the error i.e., System Restore, Startup Repair, Command Prompt, etc.
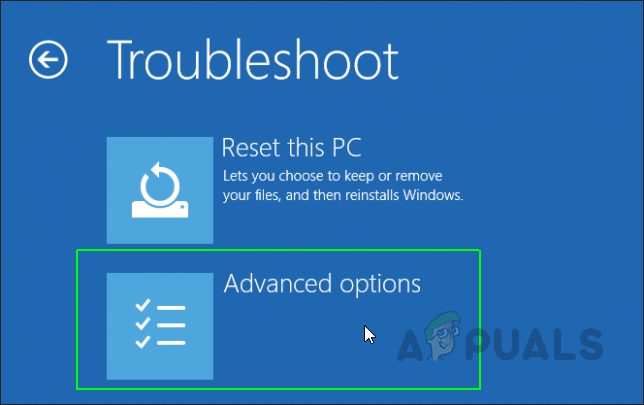
Opening Advanced Options - Select the Command Prompt option. It will open the Windows automation tool that is part of the Windows operating system to automate methods & commands for certain actions.
Opening Command Prompt - Now type the following commands in Command Prompt and press Enter after every command:
bootrec /fixmbr

bootrec /fixboot

bcdedit /export c:\bcdbackup

attrib c:\boot\bcd -h -r -s

ren c:\boot\bcd bcd.old

bootrec /rebuildbcd and then y

exit
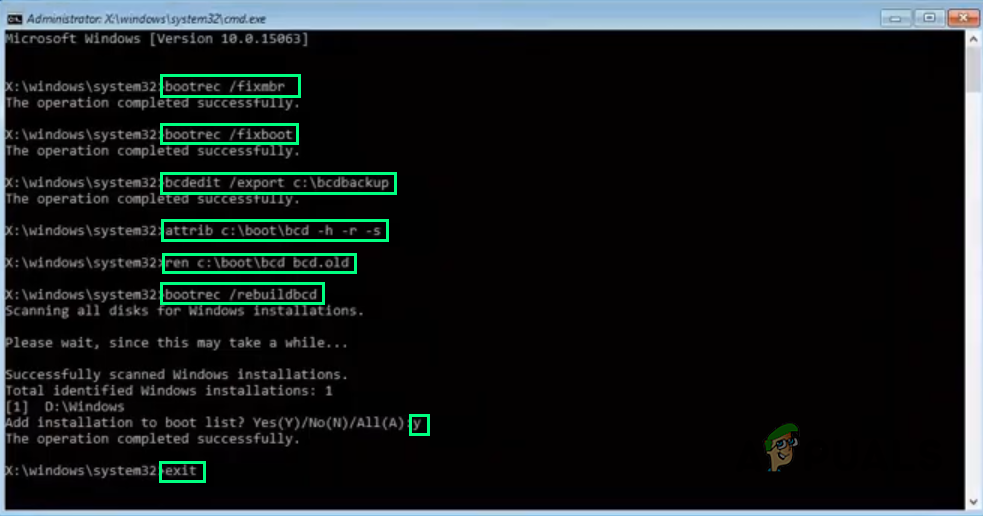
Rebuilding MBR & CBR Using Commands - Now click Continue to restart your PC and check if the issue is resolved. If this solution did not work for you and you are still facing the error under consideration then the only option left is to reset/restore your PC which is covered in the last solution, solution 3.
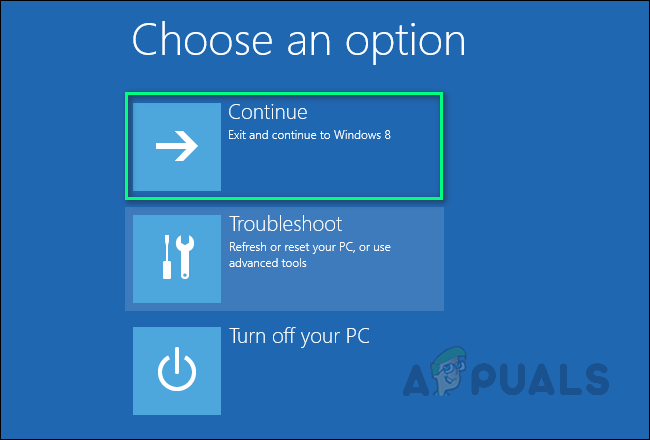
Restarting PC
Solution 3: Restore/Reset PC
This solution has two parts: restoring the PC and resetting it. If the blue screen error started to occur recently, it is quite possible that the issue was created by a change that your system has experienced recently. Therefore, an easy fix would be to restore your PC to an earlier “System Restore Point” where there was no issue in the first place.
This is only possible if you had created a “System Restore Point” for your PC or not. In case, you hadn’t created one then you have no option left but to reset your PC. A reset removes the corrupted or problematic copy of Windows from your device and then replaces it with a fresh copy of Windows. It wipes out all programs & apps, reinstalls Windows, along with the built-in Windows apps (such as the Start menu, Settings, Mail, Calendar, and Microsoft Edge), fixing the error under consideration.
Hence follow the solution procedure according to either of the two situations:
Have a System Restore Point:
- Click Start, Power Icon, and then click on the Restart option while holding the Shift key on your keyboard. This will allow your PC to enter “Windows Startup Repair” options after it boots up.
- The Windows bootup process will get interrupted by displaying a list of options on the screen to choose from. Select the Troubleshoot option. This will open a window to provide you with two different options to either reset the PC or access the advanced options to resolve the issue.
- Select Advanced options > System Restore. This will open a window where you will have to select your Microsoft Account in which you have saved the “System Restore Point”.
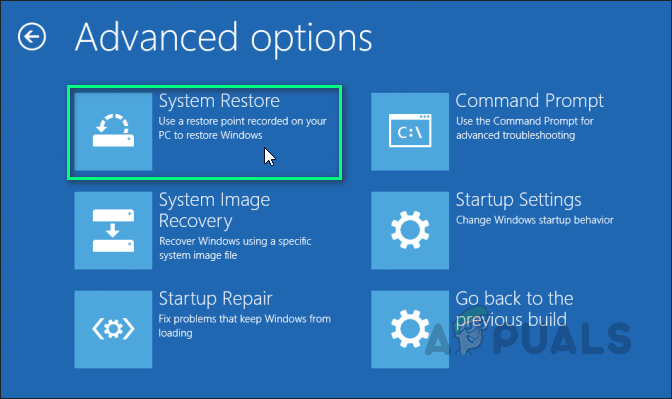
Opening System Restore Option - Select your Microsoft Account. This will open the next window automatically where you need to choose your keyboard layout from the available options.

Selecting Microsoft Account - Choose your Keyboard layout from the given options and click Continue. A window will pop up, click Next. Note that system restore does not affect any of your data and documents but the recently installed programs might be uninstalled.
- Now select your Latest System Restore Point from the given options and select Next.
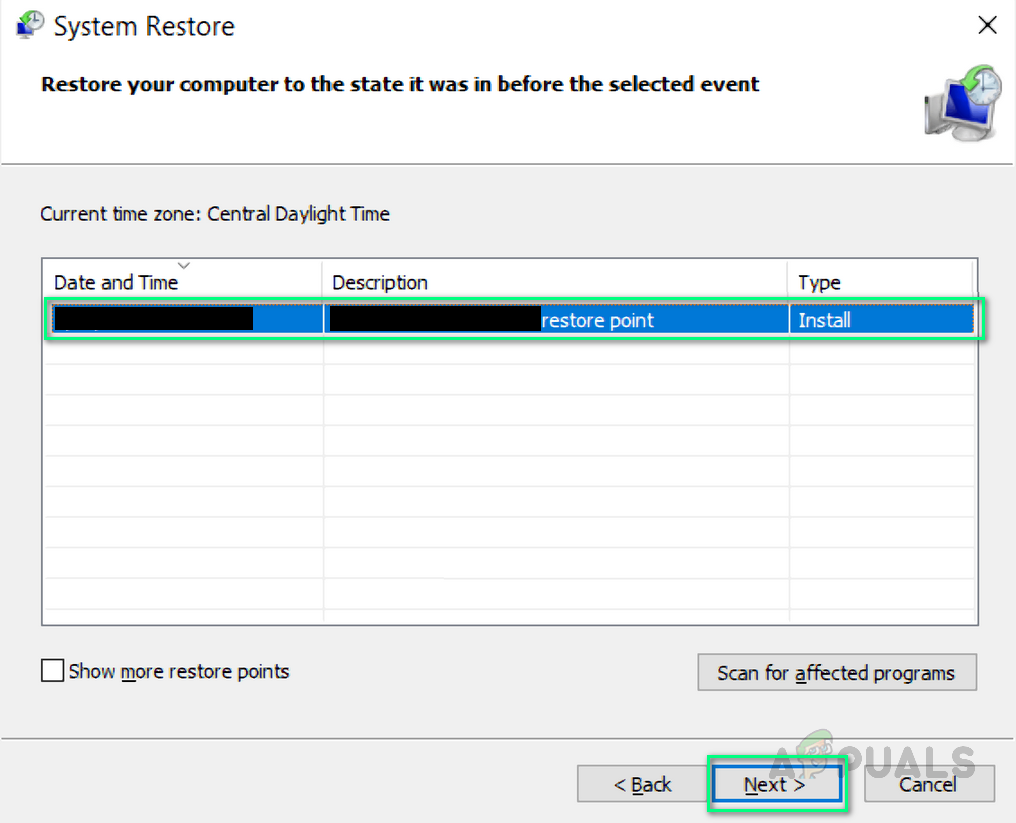
Selecting the Latest System Restore Point - A confirmation window will pop up, click Yes to start the system restore process. Your computer will be restored to the state it was in, right when the respective System Restore Point was created. The procedure will take time so wait until it gets finished.
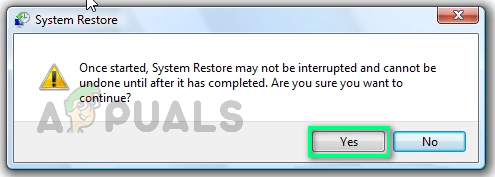
Confirming System Restore Action - Once the process is completed, a notification will pop up. Finally, click on the Close option to successfully complete the System Restoration Process. Restarted your computer normally and you no longer will receive any BSOID issues.
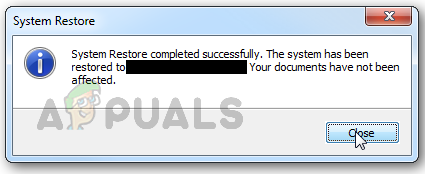
Exiting System Restore Process Window
Doesn’t Have a System Restore Point:
- Click Start, Power Icon, and then click on the Restart option while holding the Shift key on your keyboard. This will allow your PC to enter “Windows Startup Repair” options after it boots up.
- The Windows bootup process will get interrupted by displaying a list of options on the screen to choose from. Select the Troubleshoot option. This will open a window to provide you with two different options to either reset the PC or access the advanced options to resolve the issue.
- Select Reset this PC. It will provide you with two different options before starting the reset process.
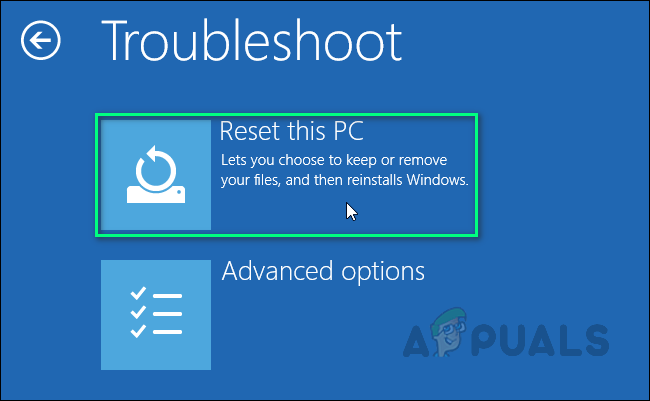
Selecting Reset This PC Option - Choose the Keep my files option if you want to keep your personal data and files. Otherwise, go with the Remove everything option.

Selecting Keep My Files Method - Then select your Account and type in your password. In case you do not have a password then simply press Continue on the next window.

Selecting Microsoft Account - Now, select the Reset option and wait for Windows 10 to reset. Do not unplug or turn off your computer as the process will take time. Once the computer has successfully been reset, your problem should be permanently fixed.
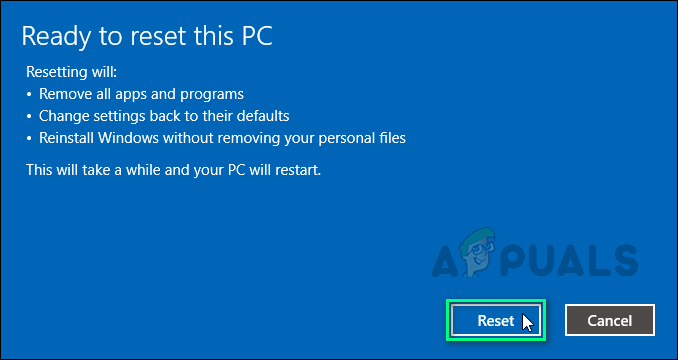
Resetting PC


I’ve got a triple-boot system with Windows, Linux Mint and Manjaro Linux. Windows got borked and I’ve reloaded it, but now get the stopcode 101 error. If I go through the steps in Solution 2 and enter the command line commands, will this interfere with booting via GRUB?