Fix: BSOD Caused by USB Tethering on Windows 11
Turning on USB tethering on Windows 11 can sometimes suddenly cause a Blue Screen of Death (BSOD), especially after using the internet through your phone for a few minutes.This crash usually shows error codes like DRIVER_IRQL_NOT_LESS_OR_EQUAL or DPC_WATCHDOG_VIOLATION. These mean there are problems with how Windows uses network drivers.
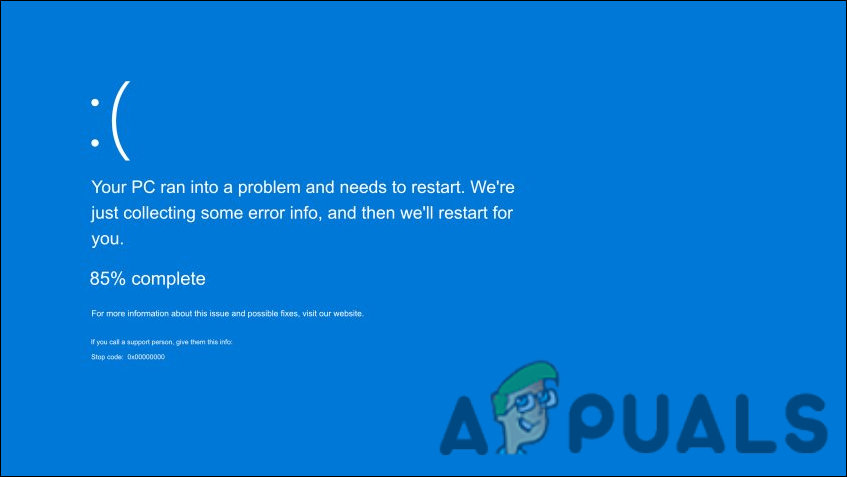
The main reason for this is a problem with the usb80236.sys or rndismp6.sys driver. These drivers help your computer use the internet through your phone’s USB connection. Other possible causes are unstable USB controller drivers, recent Windows updates that don’t work well with some drivers, or low-quality USB cables that disrupt the connection.
In this article, we will discuss different ways to solve this error.
1. Check Your USB Cable and Port
It’s best to begin by checking your hardware. Since this issue involves USB tethering, try using your USB cable with another device. If the problem occurs on the other device too, your cable might be faulty. Switching to a different USB port on your computer may also help resolve the issue.
2. Update Device Drivers
As mentioned earlier, outdated or corrupt drivers are a common cause of USB tethering issues. Drivers help your computer communicate with hardware devices, so keeping them updated is essential for everything to work smoothly.
The best first step is to update your drivers. If this doesn’t fix the issue, try uninstalling the affected driver and then installing the latest version from the manufacturer’s website.
- Press Win + R to open the Run dialog.
- Type devmgmt.msc and hit Enter.
- Alternatively, you can search for “Device Manager” in the Windows search bar and click Open.
- In Device Manager, expand Network Adapters.
- Find and right-click on Remote NDIS based Internet Sharing Device.
- Select Update driver from the context menu.
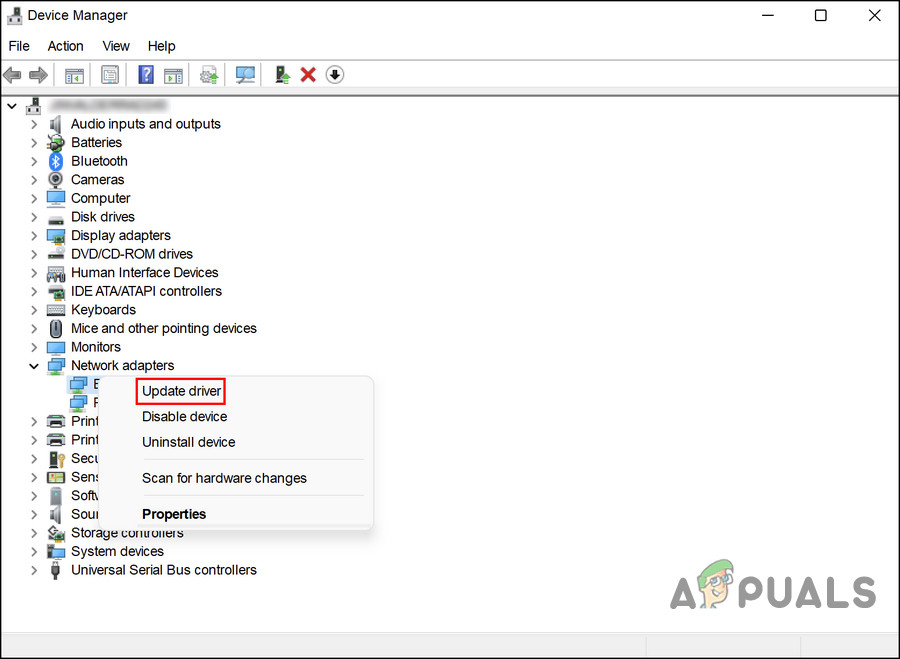
Update the network driver - In the new window, choose Browse my computer for drivers.
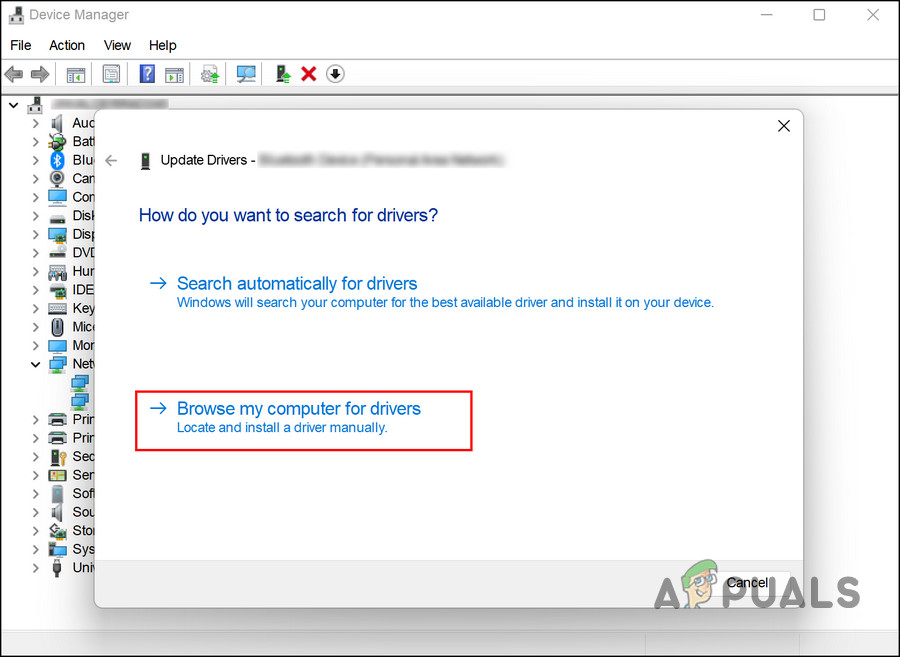
Check your computer for drivers - Click on Let me pick from a list of available drivers on my computer.
- Uncheck the Show compatible hardware option and pick Microsoft from the manufacturer list.
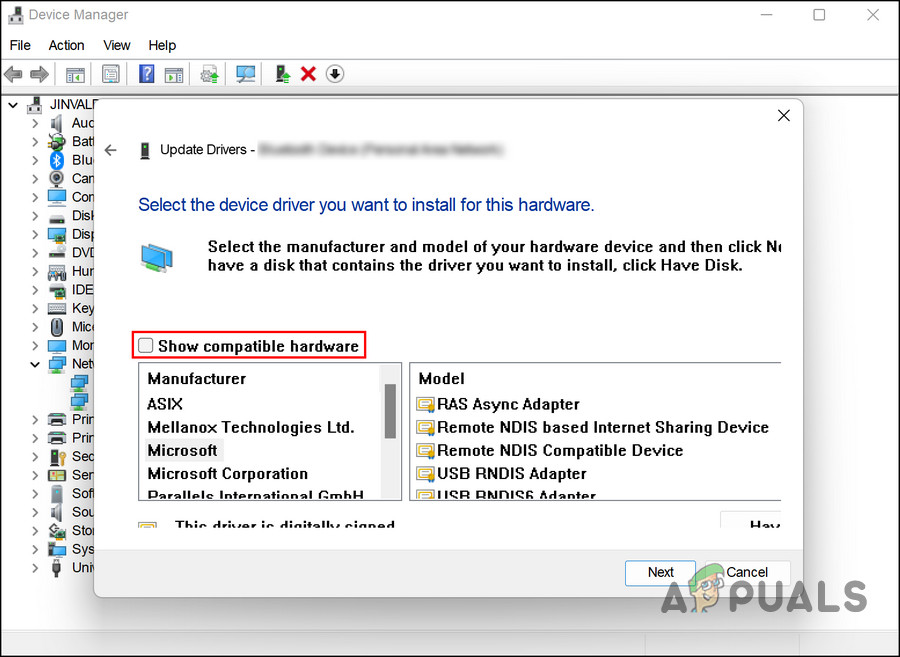
Uncheck the Show compatible hardware option - On the right side, select Remote NDIS based Internet Sharing Device.

Select Remote NDIS based Internet Sharing Device - Click Next to continue.
- If asked for confirmation, choose Yes.
Wait for the driver to install, then close Device Manager. Restart your PC and check if USB tethering now works properly.
If the error remains, try reinstalling the driver by following these steps:
- Open Device Manager as shown above.
- Right-click the Remote NDIS based Internet Sharing Device driver under Network Adapters.
- Select Uninstall device, then follow the on-screen instructions to finish uninstalling.

Uninstall the driver - After the driver is removed, click on Action in the menu at the top.
- Select Scan for hardware changes. This will cause Windows to reinstall the driver automatically.
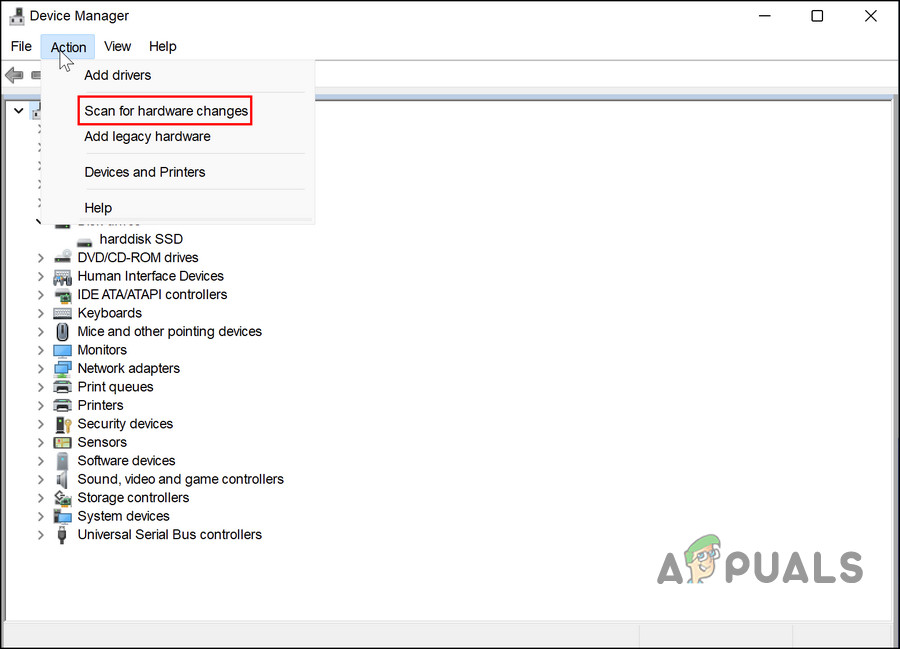
Scan the tool for hardware changes
With any luck, this will fix the problem once and for all.
3. Use the Built-in Troubleshooters
Another effective way to resolve this issue is by using Windows’ built-in troubleshooters, which can detect and fix many common hardware and network problems.
For USB tethering errors, the Network Adapter Troubleshooter is often helpful. This tool checks for issues that might be causing the Blue Screen of Death related to network connections.
- Press Win + I to launch Windows Settings.
- Go to System on the left panel, then click on Troubleshoot.
- Click on Other troubleshooters in the next window.
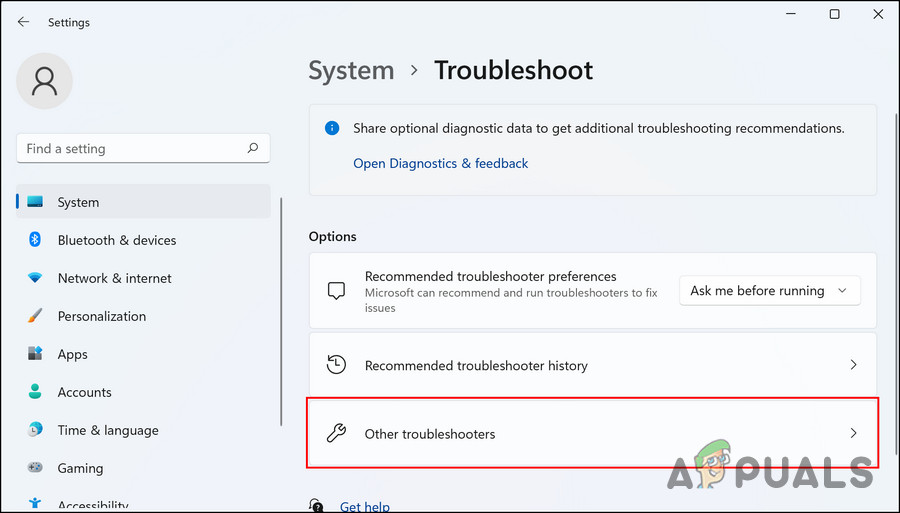
View other troubleshooters in Windows - Look for Network Adapter and click the Run button next to it.
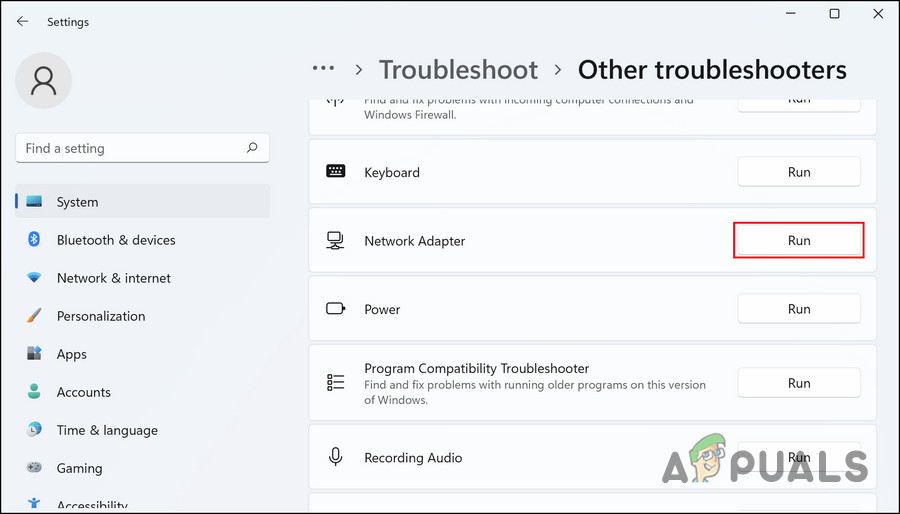
Run the Network Adapter troubleshooter - Wait for the troubleshooter to finish. If it finds any issues, click Apply this fix. If no problems are found, select Close the troubleshooter.
If you can’t run the Network Adapter troubleshooter from Settings, you can use the Control Panel instead:
- Type Control Panel in the Windows search bar and click Open.
- Enter Troubleshoot in the Control Panel search bar and press Enter.
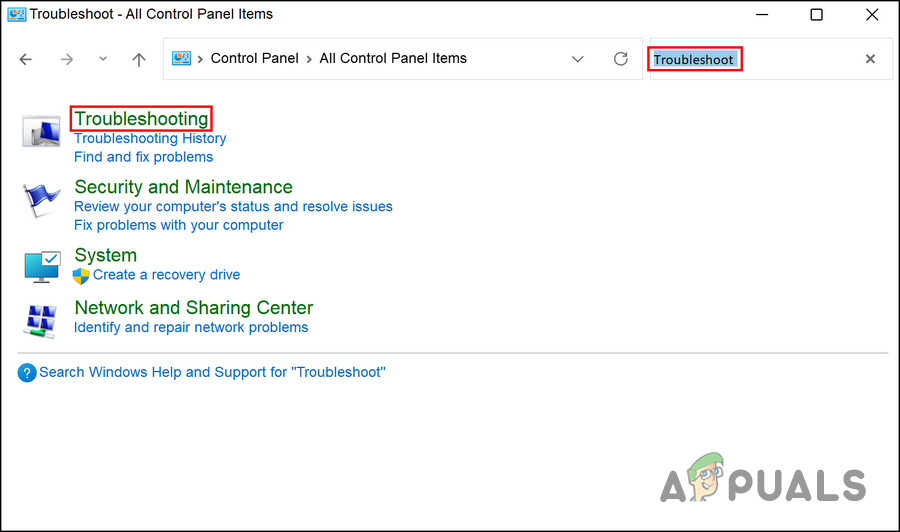
Choose Troubleshooting - Go to Hardware and Sound > Network Adapter.
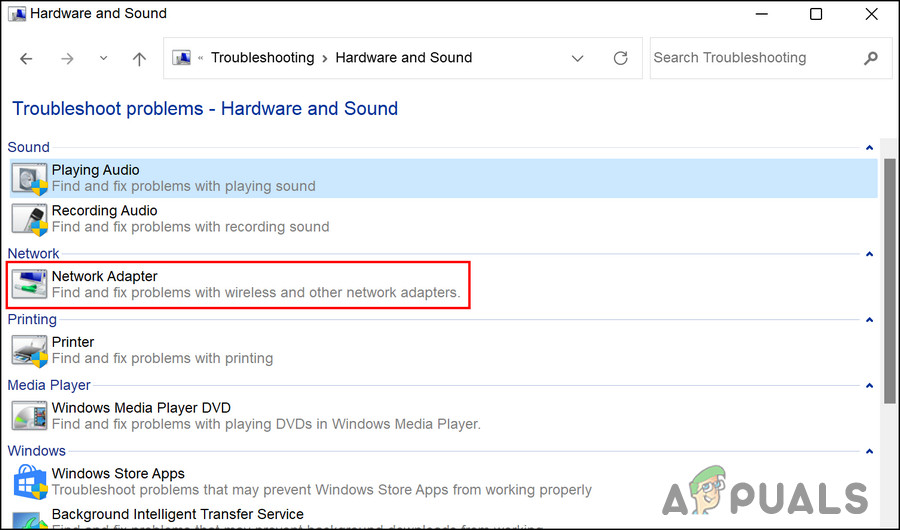
Network Adapter troubleshooter in the Control Panel - Run the troubleshooter and follow any on-screen instructions. Then, check if USB tethering now works without causing a crash.
4. Run an SFC Scan
Corrupted or missing system files can sometimes cause problems like this. Fortunately, Windows includes a tool called System File Checker (SFC), which scans your system and repairs any corrupted files automatically.
- Press Win + R to open the Run dialog box.
- Type cmd and then press Ctrl + Shift + Enter together to open Command Prompt as an administrator.
- Once Command Prompt is open, type the following command and press Enter:
sfc /scannow
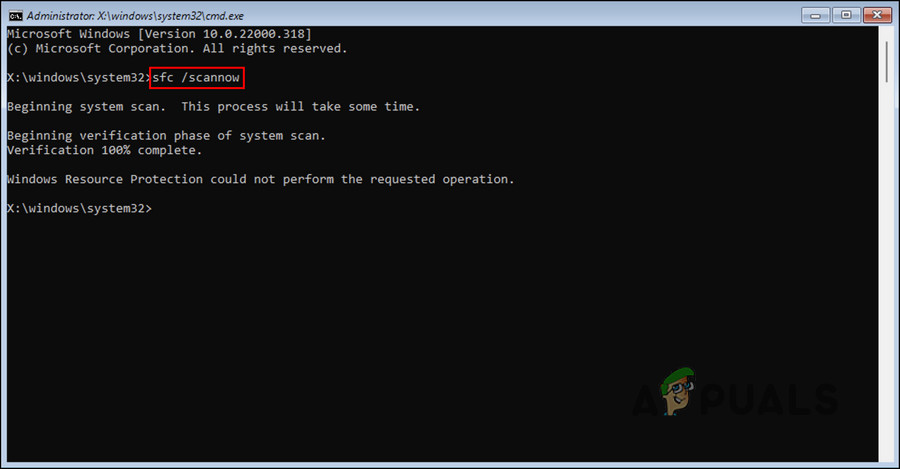
Run the sfc scan - Wait for the scan to complete, then restart your computer.
After restarting, check to see if the problem is resolved.
If USB tethering still isn’t working, it’s a good idea to contact Microsoft Support and report the problem. They can help you diagnose and solve more advanced issues.


