How to Fix the “BOOTMGR is Missing” Error in Windows
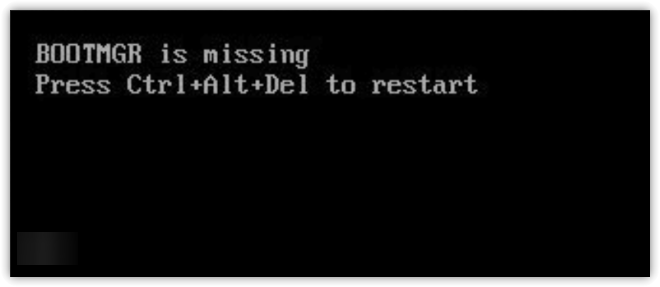
The error message “BOOTMGR is Missing” indicates that your system cannot locate the Windows Boot Manager. This critical component is responsible for starting the operating system. Without BOOTMGR, the startup process stops before Windows can load, leaving the computer unable to boot.
What is BOOTMGR?
BOOTMGR (Windows Boot Manager) is a small but essential file that initiates the Windows boot process. It performs several key tasks:
- Reads the Boot Configuration Data (BCD).
- Identifies the installed operating system.
- Passes control to Windows so the startup can continue.
If BOOTMGR is missing, corrupted, or inaccessible, Windows cannot progress beyond the initial loading stage.
Why Does This Error Occur?
The “BOOTMGR is Missing” error can appear suddenly, even on systems that worked fine the day before. That’s because the error is directly tied to how Windows locates and loads its boot files. If any step in this process is disrupted by misconfiguration, file corruption, or hardware issues, the operating system will fail to load.
Common causes include:
- Incorrect boot order: BIOS or UEFI may attempt to boot from the wrong device (USB/DVD) instead of the main Windows drive.
- BIOS configuration issues: An incorrect SATA controller mode (IDE vs. AHCI) may block drive communication.
- Corrupted or missing boot files: Essential files like BOOTMGR may be damaged or deleted.
- Drive-related problems: A failing hard drive, SSD errors, or loose cable connections can prevent access.
- External device interference: Connected USB or external drives might override the internal Windows boot drive.
These problems often build up quietly. Whether through unnoticed BIOS changes, gradual corruption, or early hardware failure, the system eventually signals disruption by showing this error.
Quick Fix Before Troubleshooting
If this doesn’t resolve the problem, continue with the detailed solutions below.
1. Change the SATA Mode to AHCI
AHCI (Advanced Host Controller Interface) is a modern controller mode that allows Windows to communicate with storage drives more efficiently than IDE. If your BIOS is set to the wrong mode, the system may show the “BOOTMGR is Missing” error especially after BIOS resets or updates.
To fix this, ensure your SATA controller is set to AHCI (recommended for modern systems).
Note: BIOS menus differ across manufacturers. Option names may vary.
- Shut down your computer.
- Power on and press the BIOS key (Del, F2, Esc, or F10).
- In BIOS, go to the Advanced, Main, or Integrated Peripherals tab.
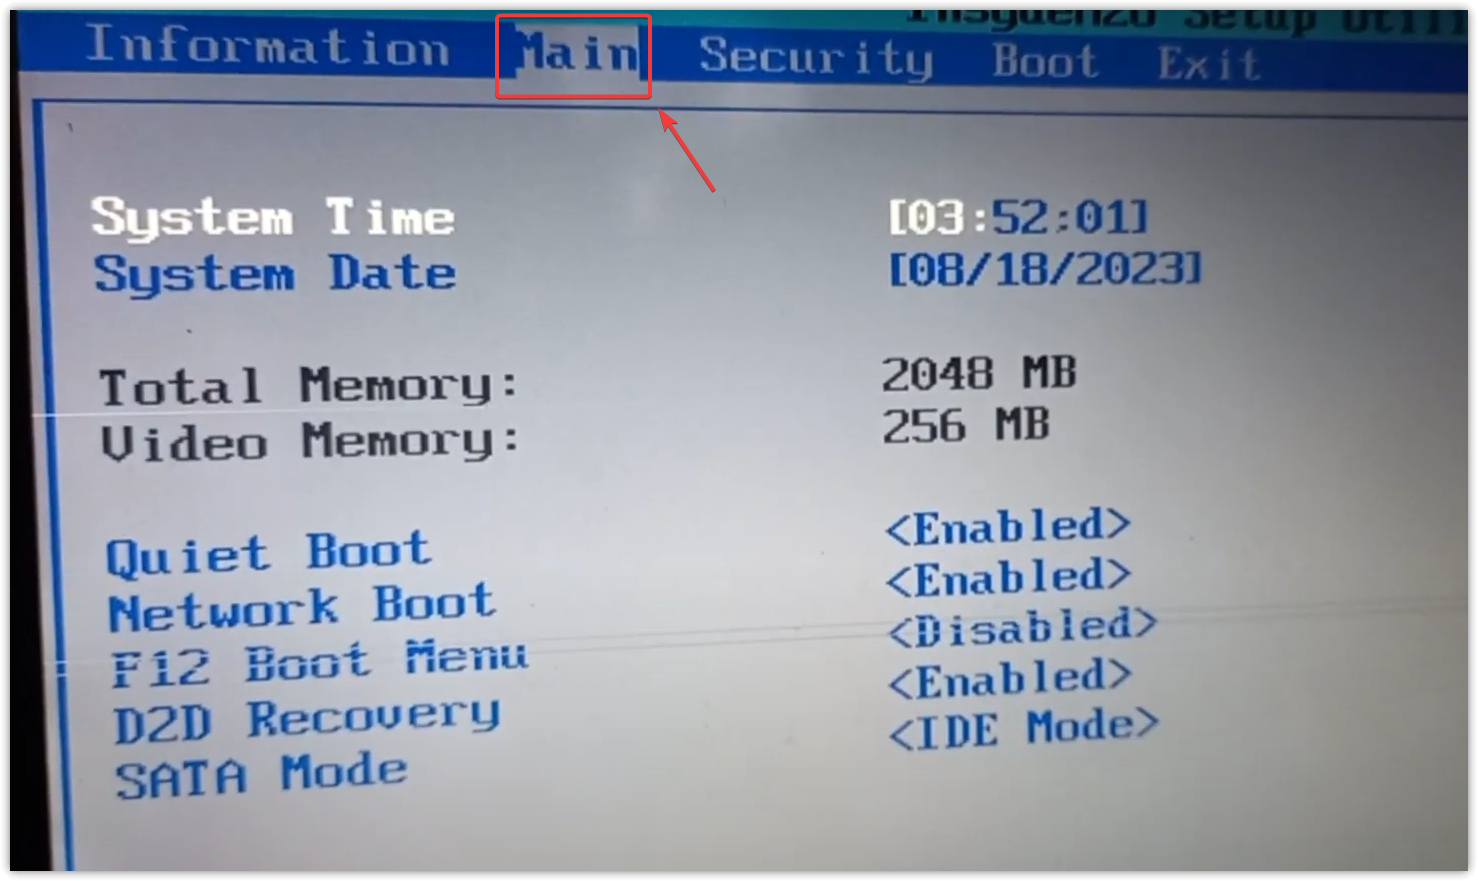
- Locate SATA Configuration or SATA Mode.
- Select AHCI.

- Save changes and exit.
- Restart and check if the issue is resolved.
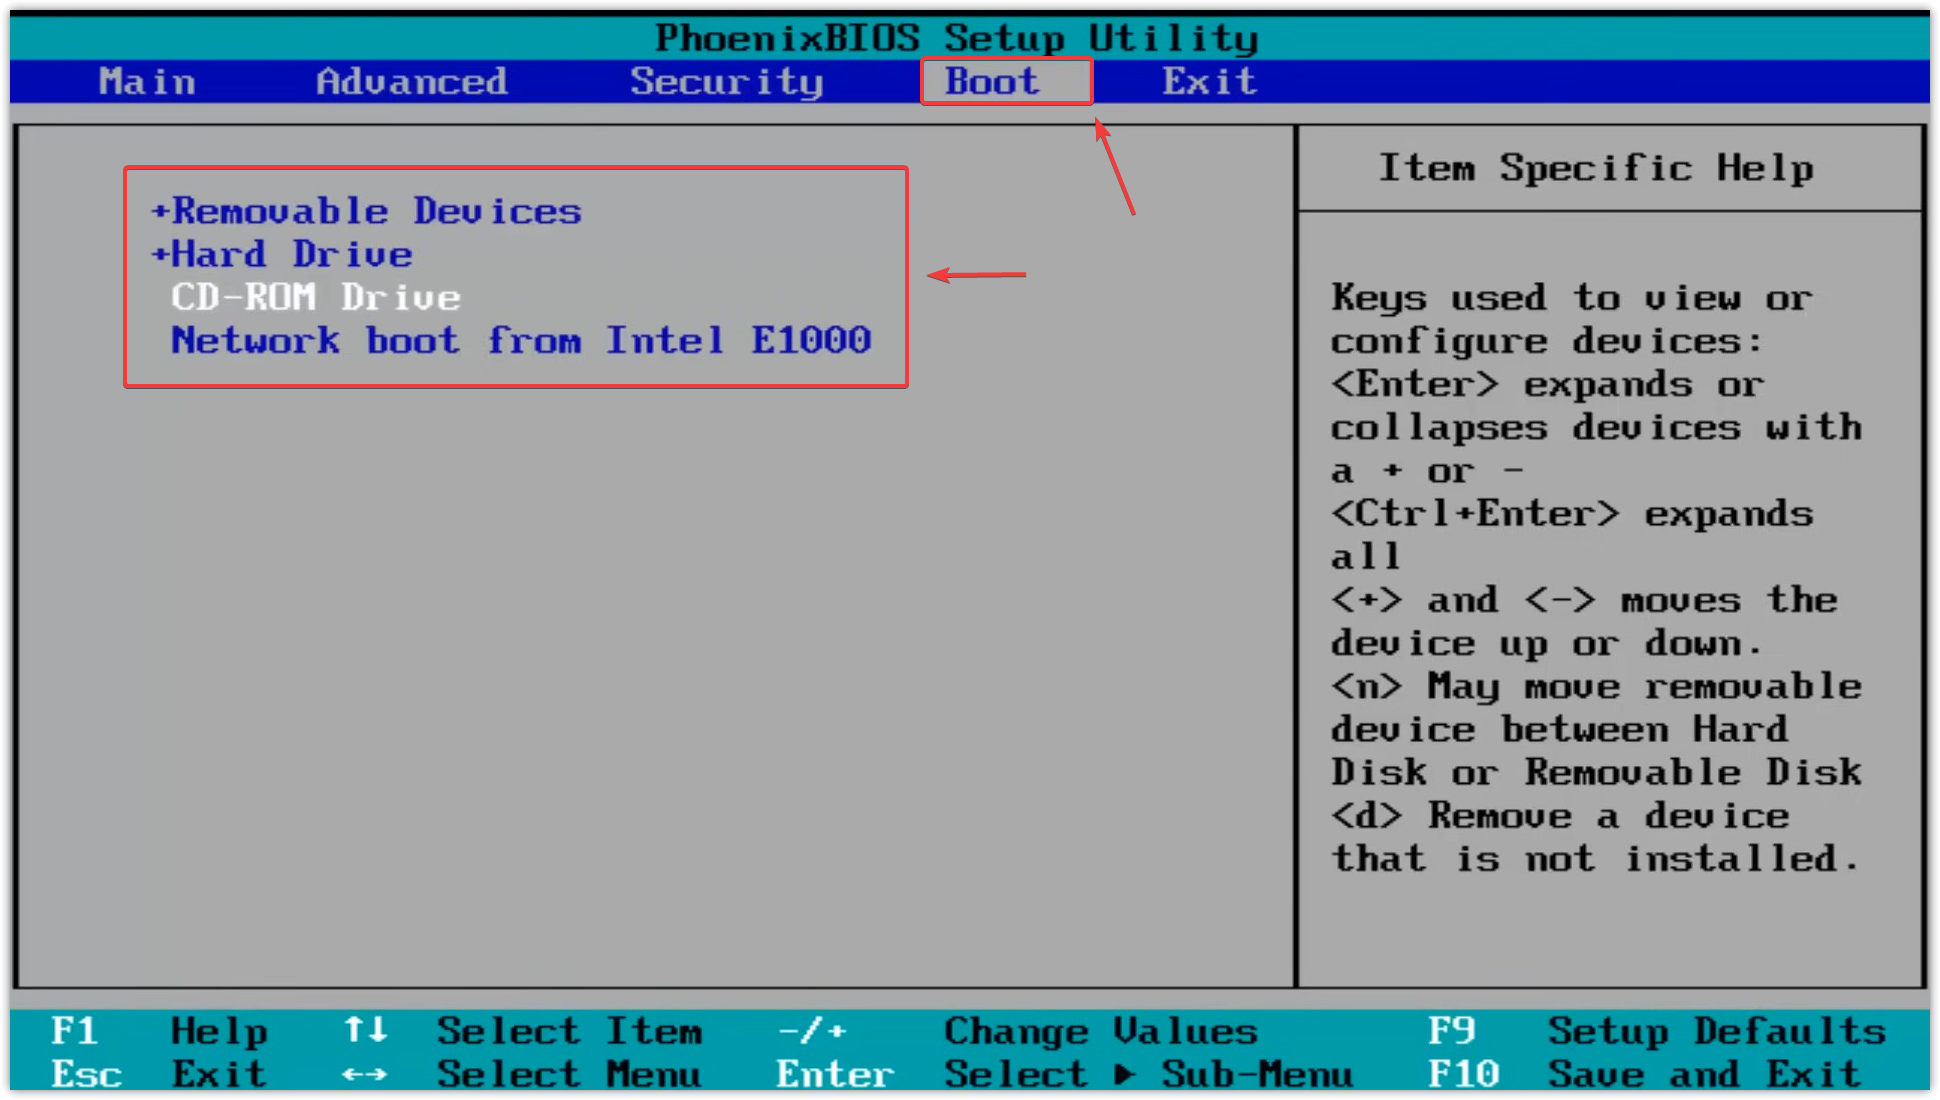
2. Check the Boot Order
The boot order tells your system which device to load first. If a USB, DVD, or secondary drive is prioritized over the OS drive, Windows will fail to boot and display an error. Setting the correct boot drive as first ensures smooth startup.
- Shut down the PC.
- Power on and press the BIOS access key (Del, F2, Esc, or F10).
- Go to Boot, Boot Order, or Boot Priority tab.
- Set the primary hard drive/SSD as the first device.
- Save changes and exit.
- Restart to confirm if the error is gone.
3. Reset BIOS Settings
Since BIOS manages hardware communication during startup, misconfigured or corrupted settings can prevent Windows from detecting the correct boot drive. Resetting BIOS restores it to factory defaults, clearing any problematic changes.
- Shut down your computer.
- Restart and press the BIOS access key (Del, F2, Esc, F10).
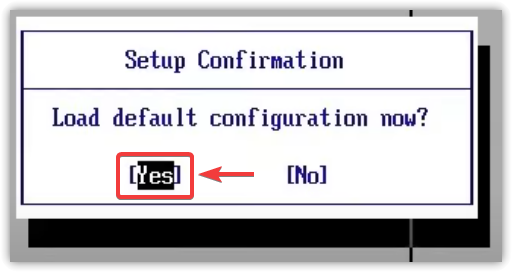
- Find an option like Load Setup Defaults, Optimized Defaults, or Reset to Default.
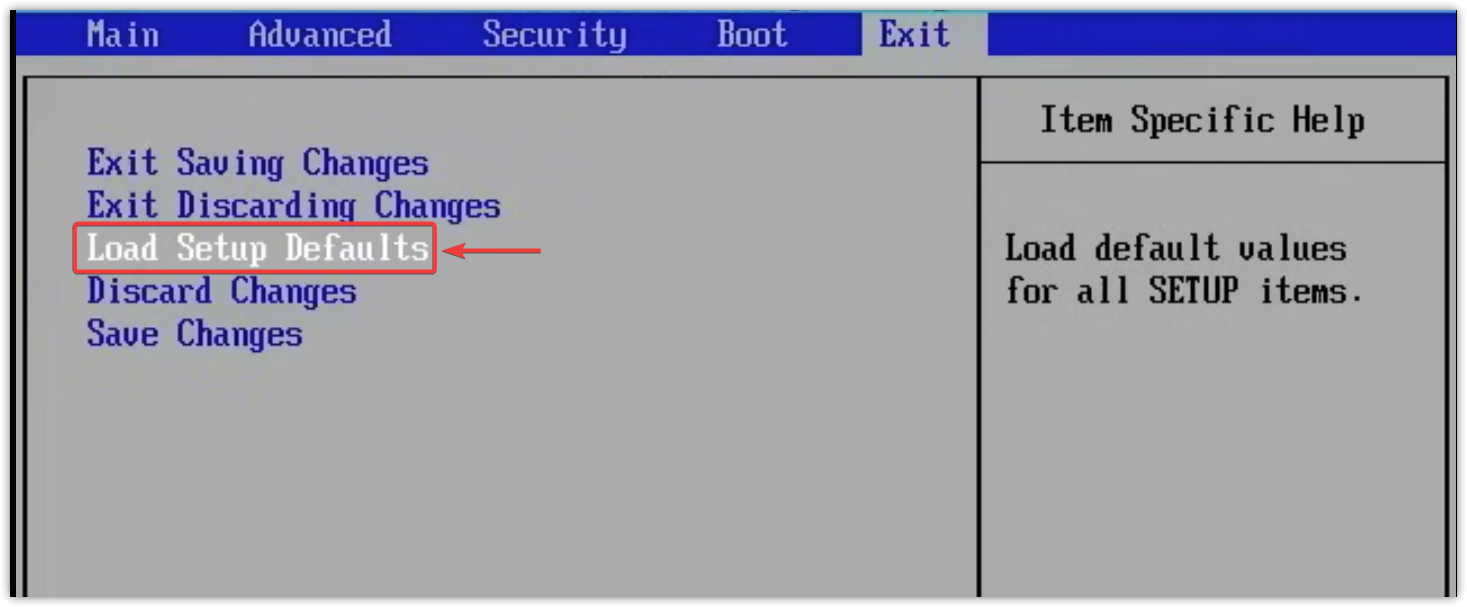
- Select and confirm reset.
- Save changes and exit.
- Restart and check if the issue persists.


