Fix: Boot Guard Verified Failed
The “Boot Guard Verified Failed” error shows up right when you turn on your computer. It stops you from getting into the BIOS or operating system. This usually happens after a failed BIOS update or when you change your motherboard.
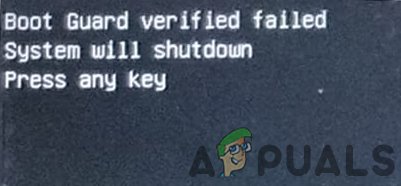
This error means that Intel Boot Guard couldn’t check the firmware because the digital signatures do not match the system’s security key. The main reason for this error is a bad or missing Boot Policy Manifest (BPM). This usually happens because the BIOS is broken or does not match, often after using a modified BIOS or swapping in a motherboard with different firmware settings.
Warning: Please proceed with caution. If you are not familiar with BIOS troubleshooting, making changes can risk permanently damaging (“bricking”) your computer.
1. Update Your System’s BIOS to the Latest Version
The BIOS is regularly updated to support new hardware and fix known issues. If you are running an outdated version, you might see the Boot Guard verification error. Updating your BIOS to the latest version can often fix this problem.
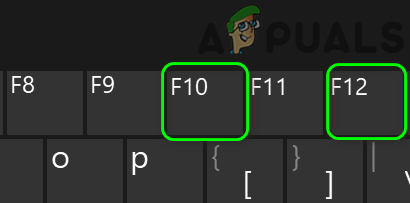
- Power on your system and repeatedly press the F10 key to access the boot options menu. You may need to try several times. If F10 does not work, try F12 instead.
Press F10 or F12 Key - Once your computer successfully boots into the operating system, open a web browser and go to your computer manufacturer’s website. Find and download the latest BIOS version for your specific model.
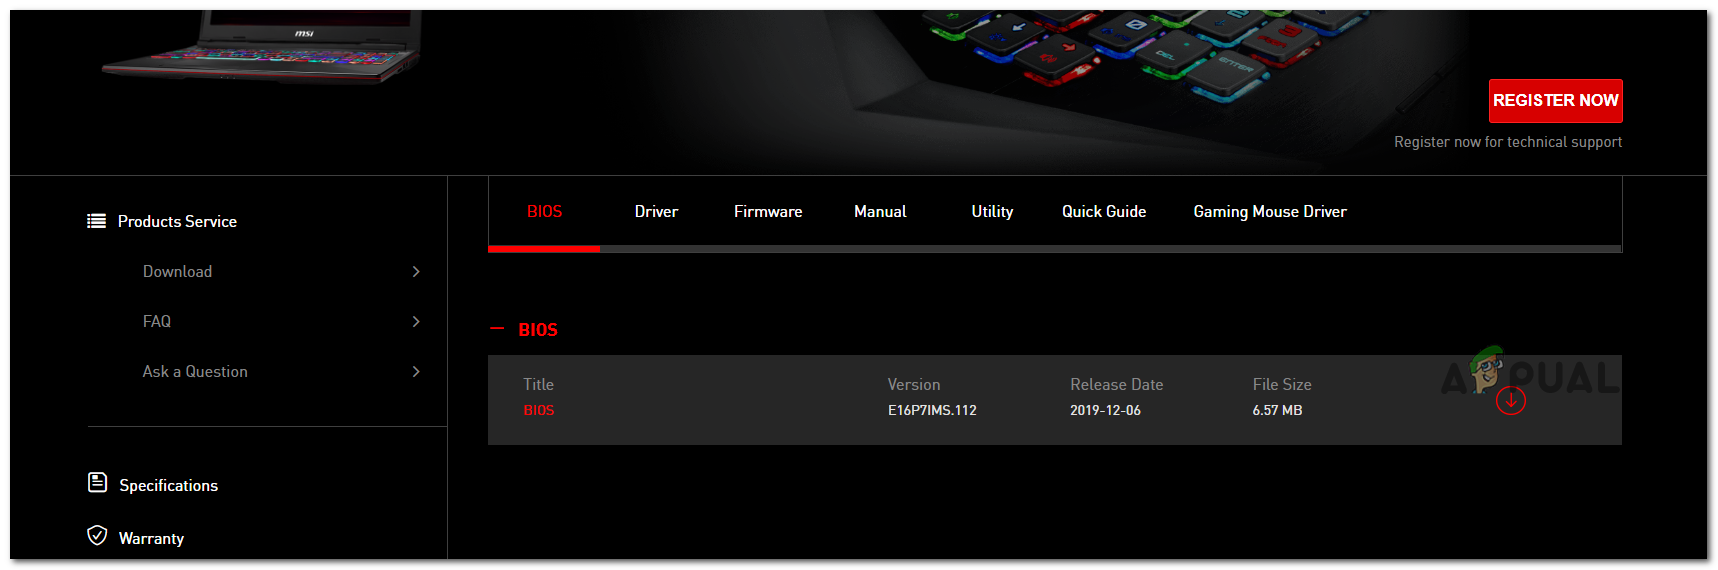
Downloading the latest BIOS version - Run the downloaded BIOS update file using administrator rights, and follow the on-screen instructions. Check if this resolves the problem.

update bios - If you are unable to boot into your operating system at all, you may need to update your BIOS using a USB flash drive by following your manufacturer’s instructions.
2. Use the BIOS Recovery Tool
If you cannot boot into your system to update the BIOS in the usual way, try using the built-in BIOS Recovery Tool (if your computer supports it). This tool is made to help fix a corrupted BIOS, either from a recovery file on your hard drive or a USB device. Below we explain the steps for Dell computers as an example.
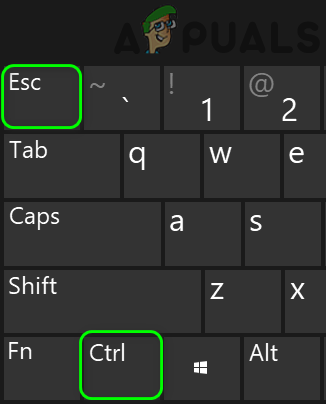
- Power on your PC. Immediately press and hold the CTRL + ESC keys together until you see the BIOS Recovery screen (if your device has this feature).
Press CTRL + ESC Keys - Select the Recover BIOS option and press Enter to begin the recovery process.
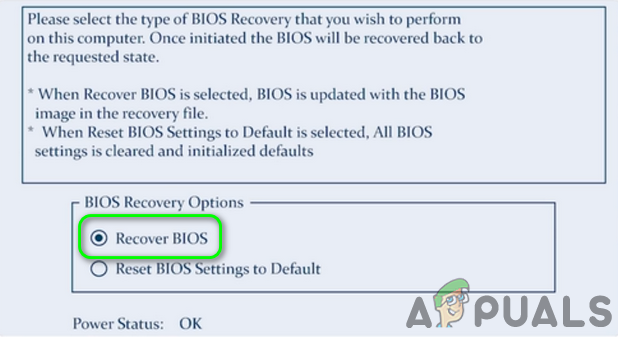
Select the Recover BIOS Option - After the recovery process completes, restart your computer and see if the issue is resolved.
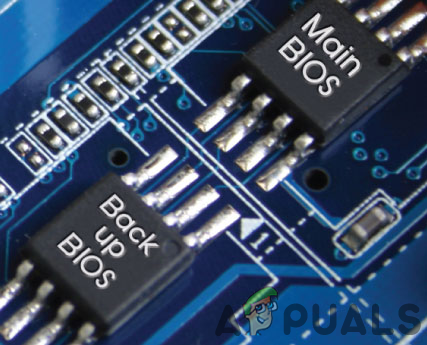
If these steps have not worked, check to see if your computer uses multi-BIOS (also called Dual BIOS). Make sure that both BIOS chips are updated to the same version.
If you are still experiencing the issue, the root cause may be a corrupt BIOS or a damaged motherboard. In this case, it’s best to take your PC to a professional repair shop.
Note: If none of these methods works, you can also follow the official recovery instructions on the Dell website to recover the BIOS on Dell computers.


