Fix: Bluetooth Not Working on Windows 11
On Windows 11, Bluetooth often stops working after you restart your computer, wake it up, or install updates. Sometimes, the Bluetooth switch disappears or looks grayed out in Settings. This usually means your computer can’t find or use the Bluetooth hardware, even if you see it in Device Manager.

The main cause is usually a broken or incorrectly set up Bluetooth driver, especially after Windows or BIOS updates. Other reasons can be Bluetooth services being turned off or power-saving settings that disable Bluetooth.
Now that you understand the typical reasons for Bluetooth issues, let’s go through step-by-step solutions:
1. Make Sure Bluetooth is Discoverable
Before we dive into troubleshooting, first check that your Bluetooth is set to Discoverable mode. If your computer’s Bluetooth isn’t discoverable, other devices can’t see or connect to it.
- Press Windows key + I to open the Settings menu.
- Inside Settings, select Bluetooth & devices from the menu on the left.
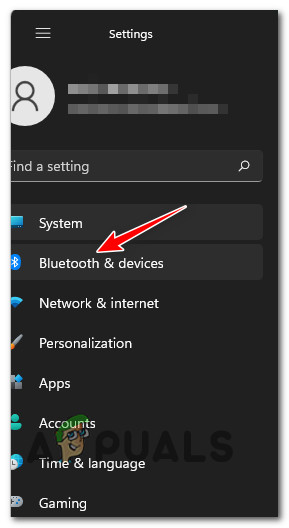
Bluetooth and Devices Note: If you can’t see the left menu, click the action button (top-left corner of the screen) to show it.
- On the right side, check that the Bluetooth switch is turned ON.
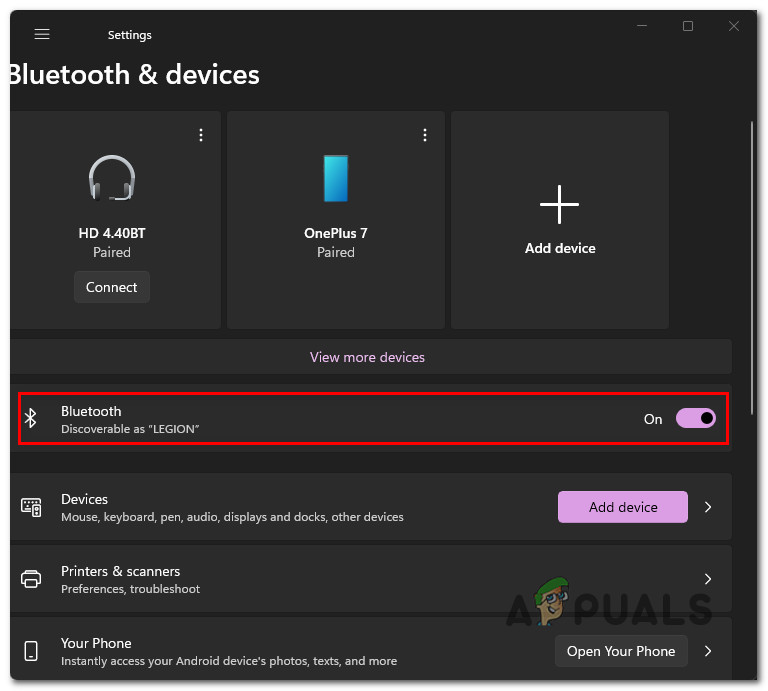
Make Bluetooth discoverable Note: If it’s set to OFF, just click the switch to turn Bluetooth ON and make it discoverable.
2. Run the Bluetooth Troubleshooter
Sometimes, hidden system issues can break Bluetooth connectivity. Luckily, Windows 11 includes a troubleshooter that can usually find and fix these problems automatically.
- Press Windows key + R to open the Run box. Type ‘ms-settings:troubleshoot’ and press Enter to open the Troubleshooting tab in Settings.
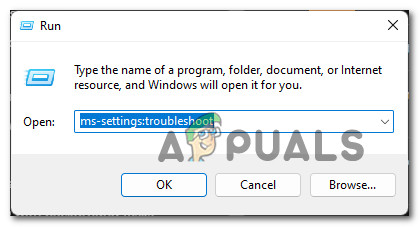
Accessing the Troubleshoot tab - Click on Other troubleshooters in the right pane.
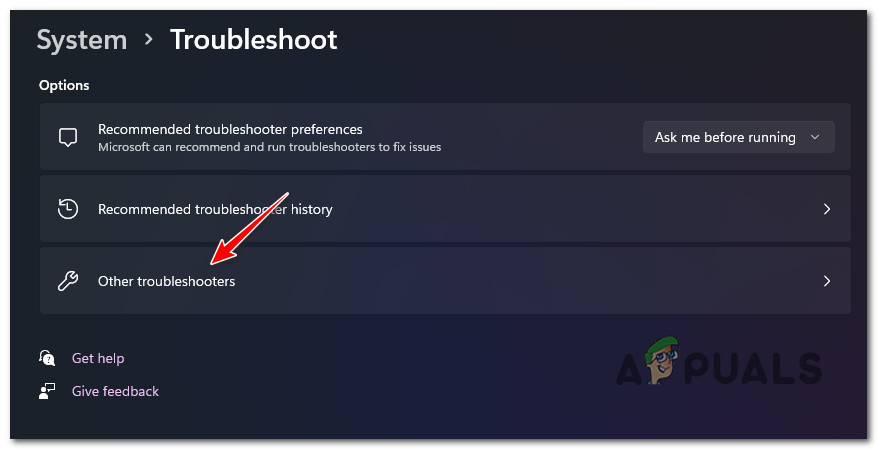
Accessing the other Troubleshooters menu - Scroll down to the Others section and click Run next to Bluetooth.
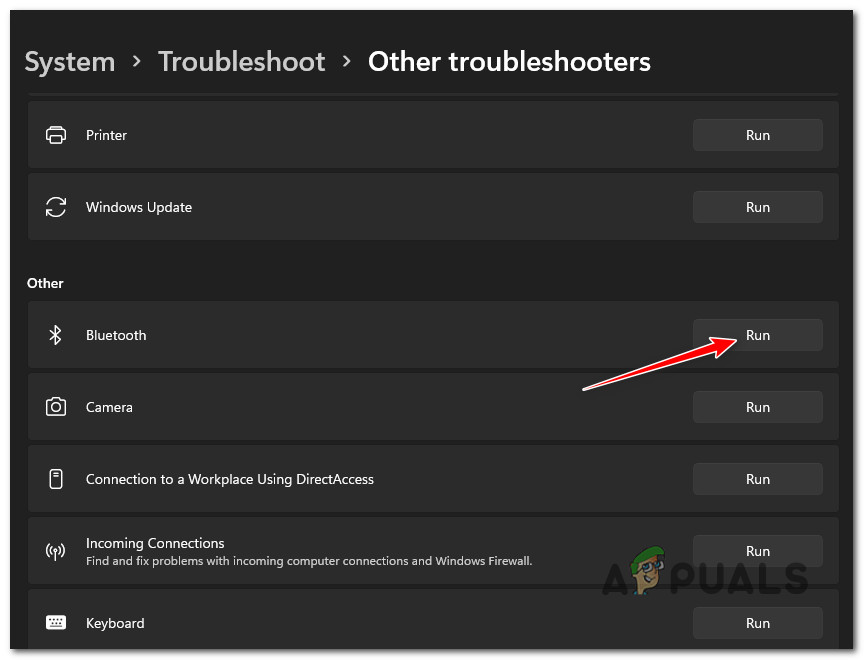
Run the Bluetooth troubleshooter - Let the troubleshooter scan for Bluetooth-related issues.
- If the tool finds a problem, it will let you know and apply a solution automatically. You’ll see a summary of what was fixed.
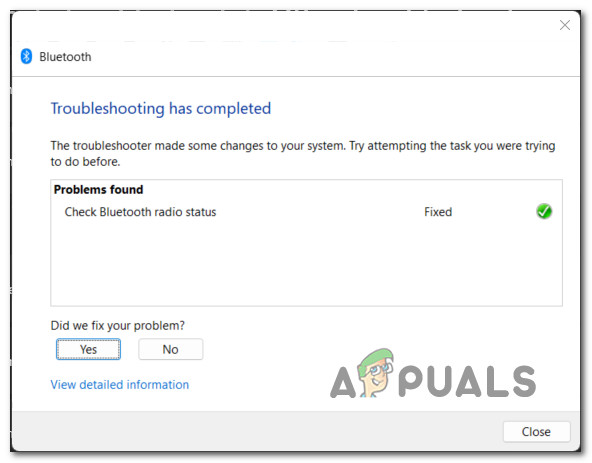
Troubleshoot the Bluetooth component Note: If the problem persists, you can click No when asked if your issue is resolved, and the tool may suggest another fix.
- Restart your PC and check if Bluetooth is working now.
3. Reinstall the Bluetooth driver via Device Manager
If Bluetooth stopped working right after you upgraded to Windows 11 from a previous version, there’s a good chance the drivers didn’t update correctly.
You can fix this by uninstalling your current Bluetooth driver and letting Windows 11 reinstall the latest, compatible version on restart.
For more detailed steps, check out our guide on reinstalling the Bluetooth driver.
- Press Windows key + R to open the Run box, type ‘devmgmt.msc’, and press Ctrl + Shift + Enter to open Device Manager with administrator rights.
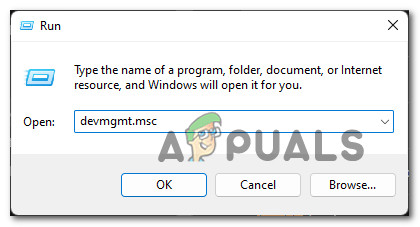
Open up Device Manager - If prompted by User Account Control, click Yes to proceed.
- In Device Manager, expand the Bluetooth section.
- Right-click your main Bluetooth driver (it might say something like “Intel Wireless Bluetooth” or “Realtek Bluetooth Adapter”) and choose Properties.
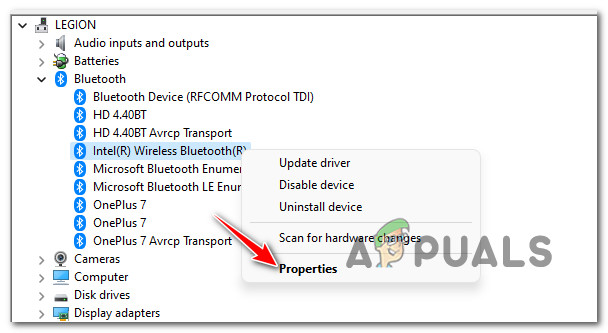
Accessing the Properties screen - Go to the Driver tab and click Uninstall device.
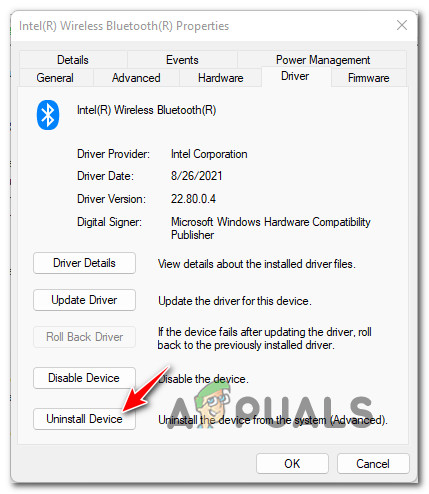
Uninstall the Bluetooth driver - Restart your PC. Windows 11 will automatically detect and install the appropriate Bluetooth driver on startup.
Note: If you don’t see the driver after restarting, you can return to Device Manager, right-click your computer name at the top, and select “Scan for hardware changes.” - Try connecting your Bluetooth device again to see if it works.
4. Enable the Bluetooth Support Service
Another reason Bluetooth might not work is if the Bluetooth Support service isn’t running in Windows. This service is particularly important if you want to use Bluetooth printers or share files with other devices.
- Press Windows key + R to open Run, type ‘services.msc’, and press Ctrl + Shift + Enter to open the Services window with admin rights.
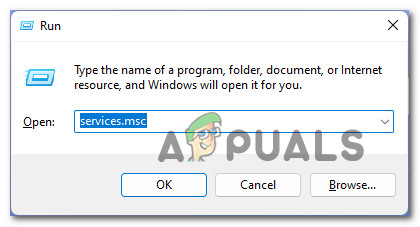
Open up the Services screen. - If prompted, click Yes to confirm.
- Scroll through the list and find Bluetooth Support Service.
- Right-click on it and choose Properties.
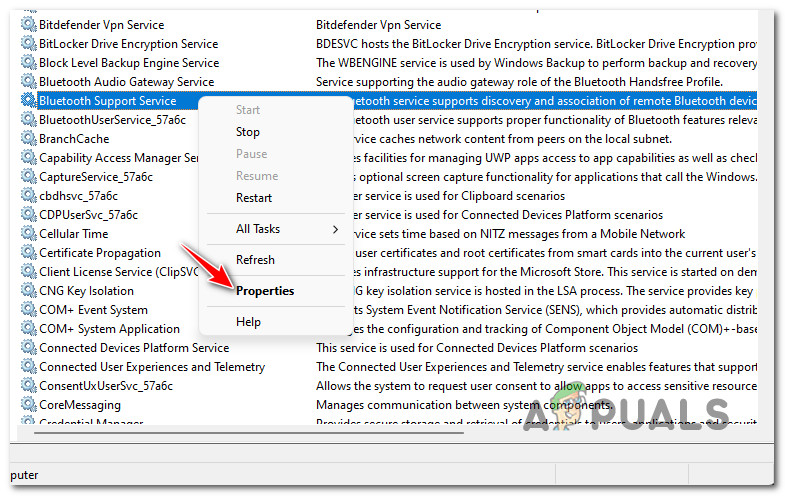
Accessing the properties screen of Bluetooth - Under the General tab, set Startup type to Manual (if it says Disabled).

Enable the Bluetooth Support Service - Click Start to launch the service, then click Apply to save the changes.
- Try the Bluetooth task you were having issues with before.
5. Install every pending Windows 11 update
If you’re using an OEM laptop or just haven’t updated Windows 11 in a while, an old bug may be breaking your Bluetooth. Microsoft has already fixed most known issues in recent updates, so installing all available updates is a good move.
- Press Windows key + R to open Run, type ‘ms-settings:windowsupdate’, and press Enter to open the Windows Update settings.
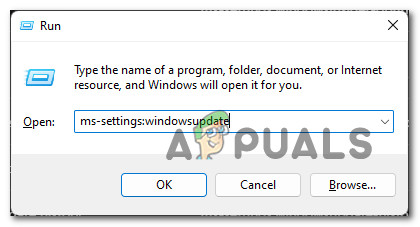
Open up the Windows Update screen. - If User Account Control appears, click Yes to allow access.
- On the right side, click Check for Updates.
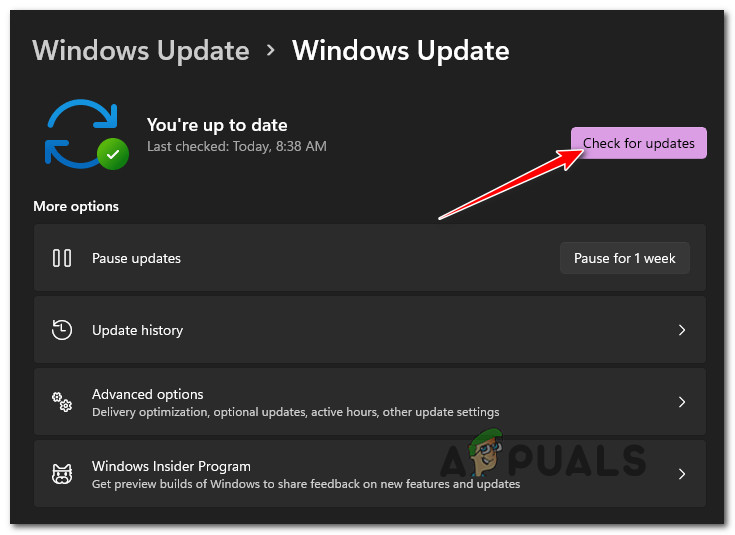
Check for Updates on Windows 11 - If you see new updates, click Download Now and let the updates install.
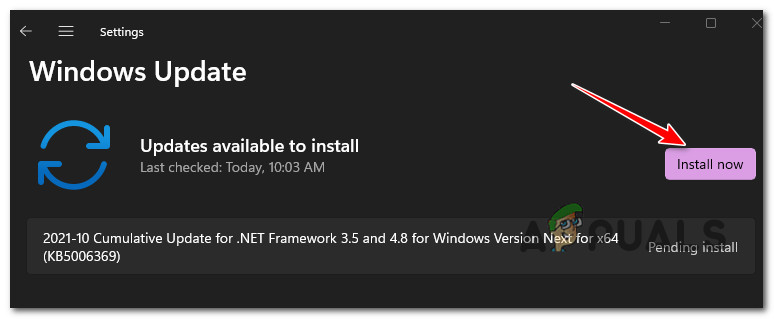
Installing the pending Windows 11 updates Note: Updates may install automatically or you might need to click Install Now depending on your settings.
- You may need to restart your PC. If so, come back to this screen after restarting to finish installing any remaining updates.
6. Enable Network Discovery settings and File and Printer Sharing (for Private Network)
If Bluetooth works for most devices but not your printer, Network Discovery or File & Printer Sharing might be disabled. Both features must be enabled for Bluetooth printers.
- Press Windows key + R to open Run, type ‘control’, and press Enter for the Classic Control Panel.
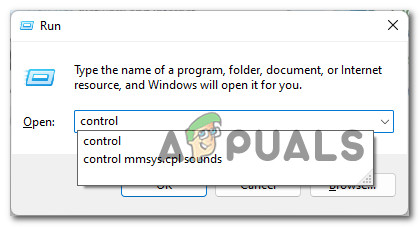
Open up the classic Control Panel menu. - Go to Network and Internet.
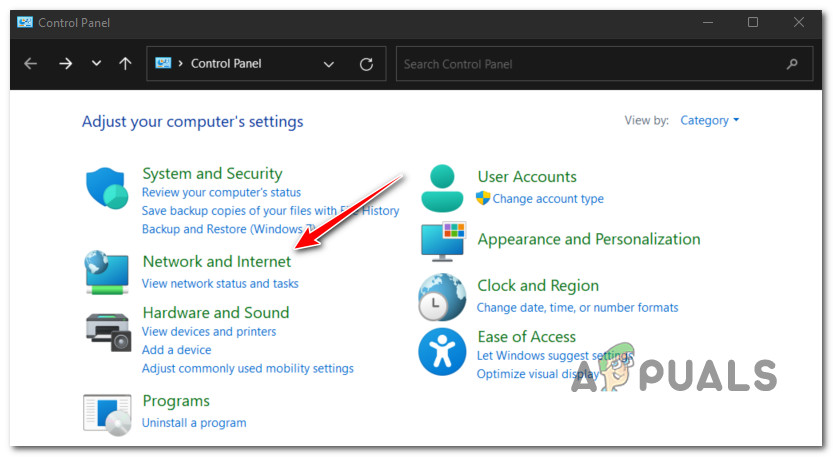
Accessing the Network and Internet menu - Click on Network and Sharing Center.
- On the left, click Change advanced sharing settings.
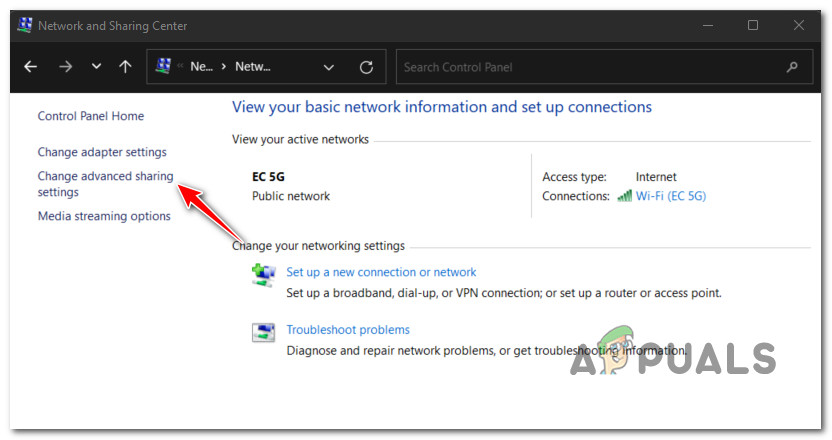
Change the Advanced sharing settings. - Under Private network, set Network Discovery to “Turn on network discovery.”
- Also, make sure File and printer sharing is set to “Turn on File and printer sharing.”

Enable the Bluetooth printer requirements - Click Save Changes to confirm your settings.
Once both settings are enabled, try again to connect your Bluetooth printer. This should resolve any remaining issues.


