Fix: Black Screen HDR After Adjusting Volume
Changing the volume while HDR is on can sometimes cause the screen to go completely black on some monitors, especially if you use HDMI. This happens because the connection between the computer’s graphics card and the monitor gets interrupted for a moment, usually due to a problem with how they “shake hands” or communicate.
The main reason is a weak HDMI connection, which is common with LG and Samsung TVs. Other things that can cause this are software bugs, certain sound settings, or using soundbars that connect with ARC.
1. Update Windows, Game Bar, and Drivers to the Latest Build
Microsoft and its partners regularly update Windows and its drivers to keep up with new technology and fix reported bugs, such as the one causing this problem. Updating Windows, the Game Bar, and your system’s drivers to the latest versions may resolve the issue.
- Update your system’s Windows and drivers to the latest versions. If you use a dedicated graphics card, go to the card’s official website (like Nvidia) to download the newest drivers. Also, check your monitor manufacturer’s website for any available monitor driver updates.
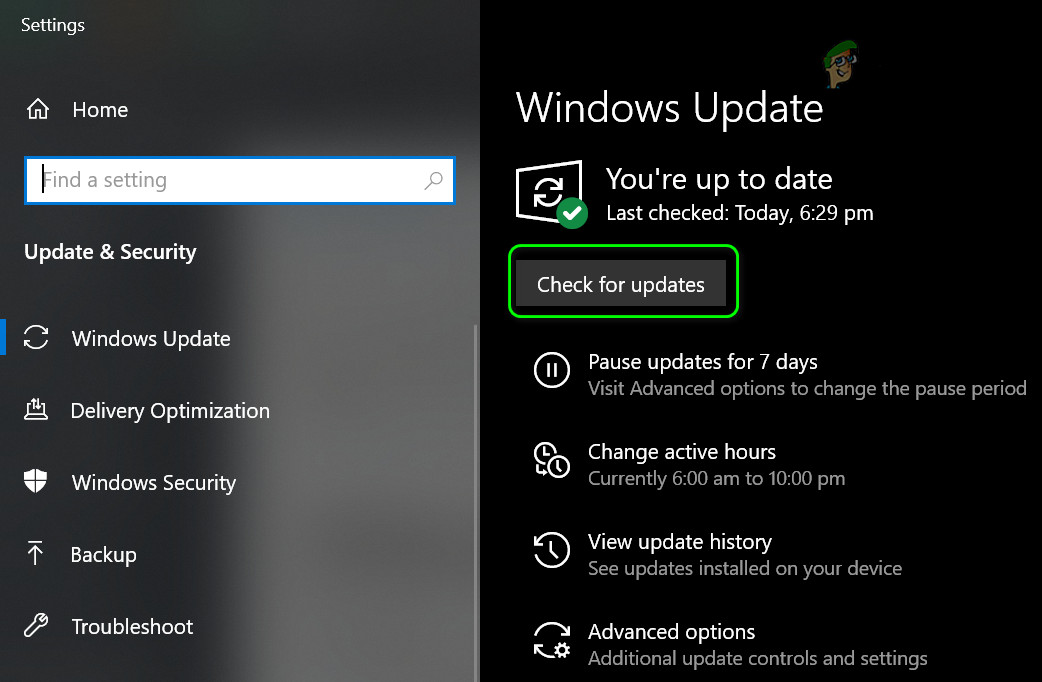
Check for Windows Updates - Launch your web browser and go to the Game Bar on the Microsoft Store.
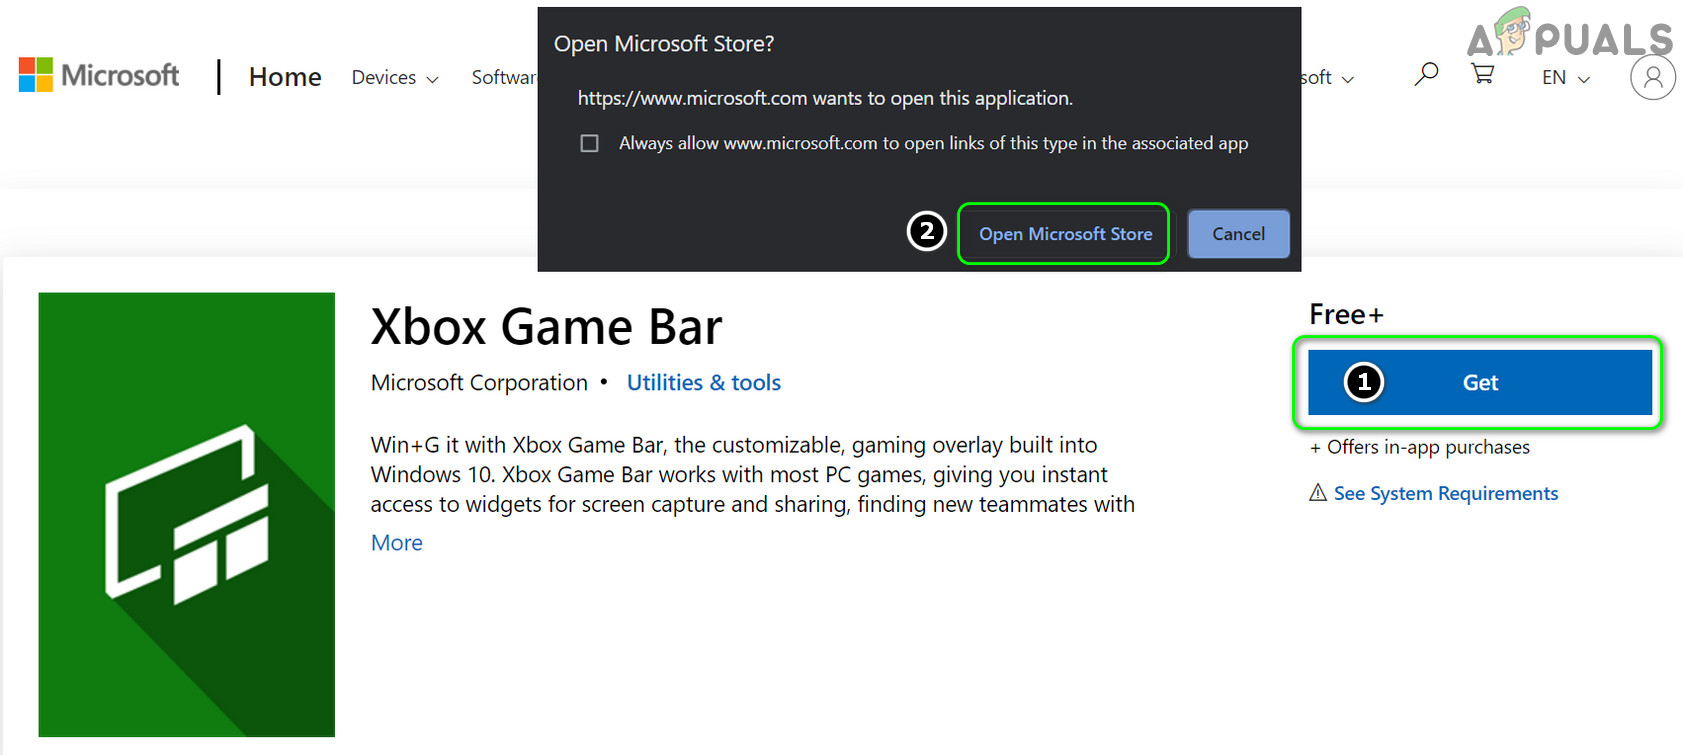
- Click Get, and in the pop-up, select Open Microsoft Store.
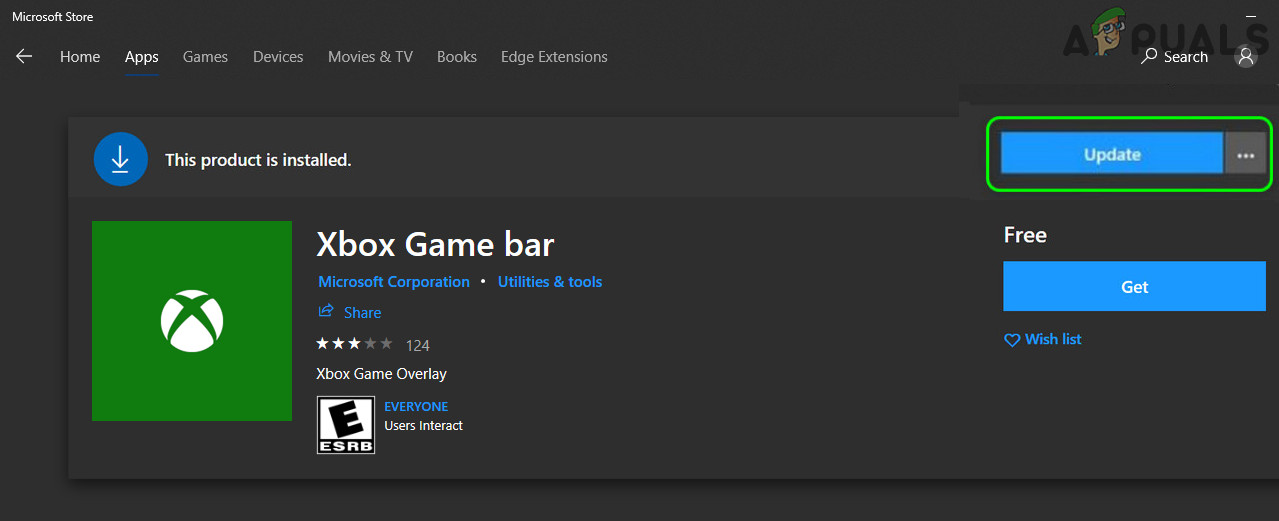
Open Xbox Game Bar in the Microsoft Store - If an update is available for the Game Bar, install it. Then check if this solves the HDR issue.
Update the Xbox Game Bar
2. Disable Full-Screen Optimization for the Game/Application
Windows uses the Full-Screen Optimization feature to improve experience in full-screen apps or games. However, this feature can sometimes interfere with HDR and cause the black screen problem. Disabling Full-Screen Optimization for your game or app may fix it.
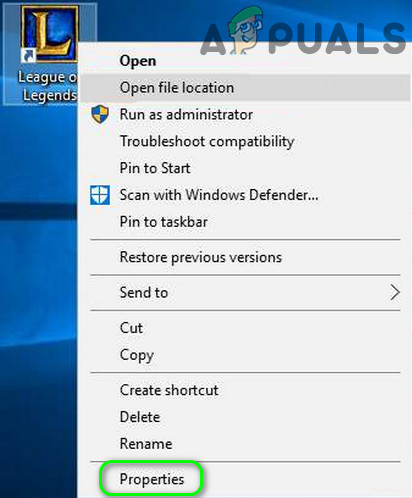
- Right-click on your game’s shortcut (for example, League of Legends) and choose Properties.
Open Properties of League of Legends - Go to the Compatibility tab and check Disable Full Screen Optimization.
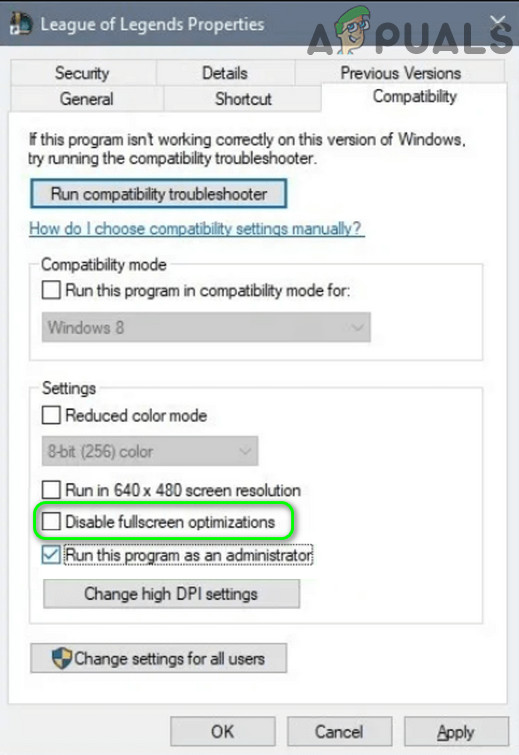
Disable Full-Screen Optimization of League of Legends - Click Apply to save your changes, then reboot your PC.
- After restarting, check if the HDR issue is resolved.
If the problem continues, try playing your games in windowed or borderless mode. If your game doesn’t support these modes, you can use a third-party app to force the windowed or borderless mode.
3. Disable the In-Game Overlay
Conflicts can occur if multiple overlays (for example, a game overlay and Windows overlay) try to use HDR display at the same time. Disabling your game overlay may resolve this problem. We’ll use NVIDIA GeForce Experience as an example:
- Open Nvidia GeForce Experience and go to Settings.
- Under the General tab, toggle In-Game Overlay off, then check if the black screen issue is fixed.
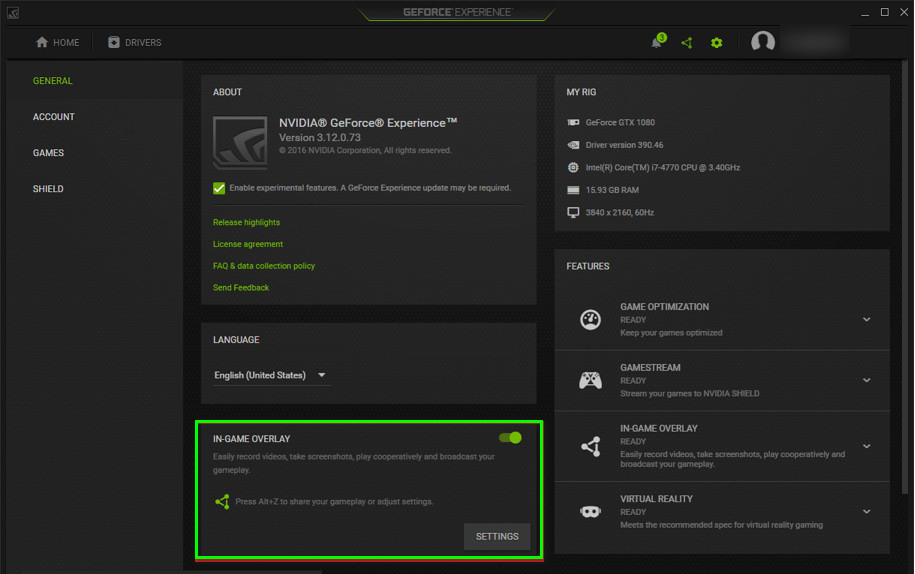
Disable In-Game Overlay
If this doesn’t help, try turning HDR off in your game settings, and then turning it back on.
4. Enable the Mouse’s Trail Feature
The black screen HDR issue often happens when a Windows overlay (like the volume bar or notifications) temporarily interrupts HDR mode. Turning on your mouse pointer trail can help your display stay in HDR mode through these interruptions.
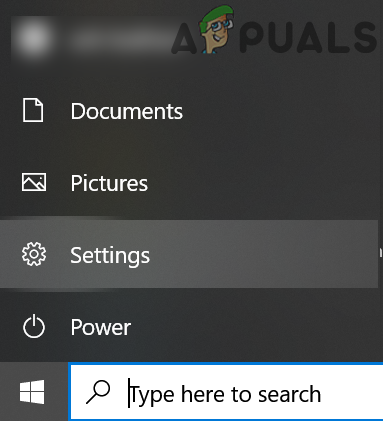
- Press the Windows key and type Mouse, then select Mouse Settings.
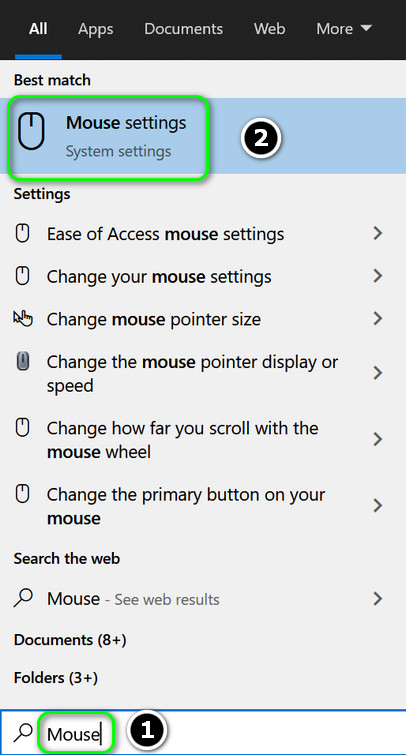
Open Mouse Settings - On the right, click Additional Mouse Options.
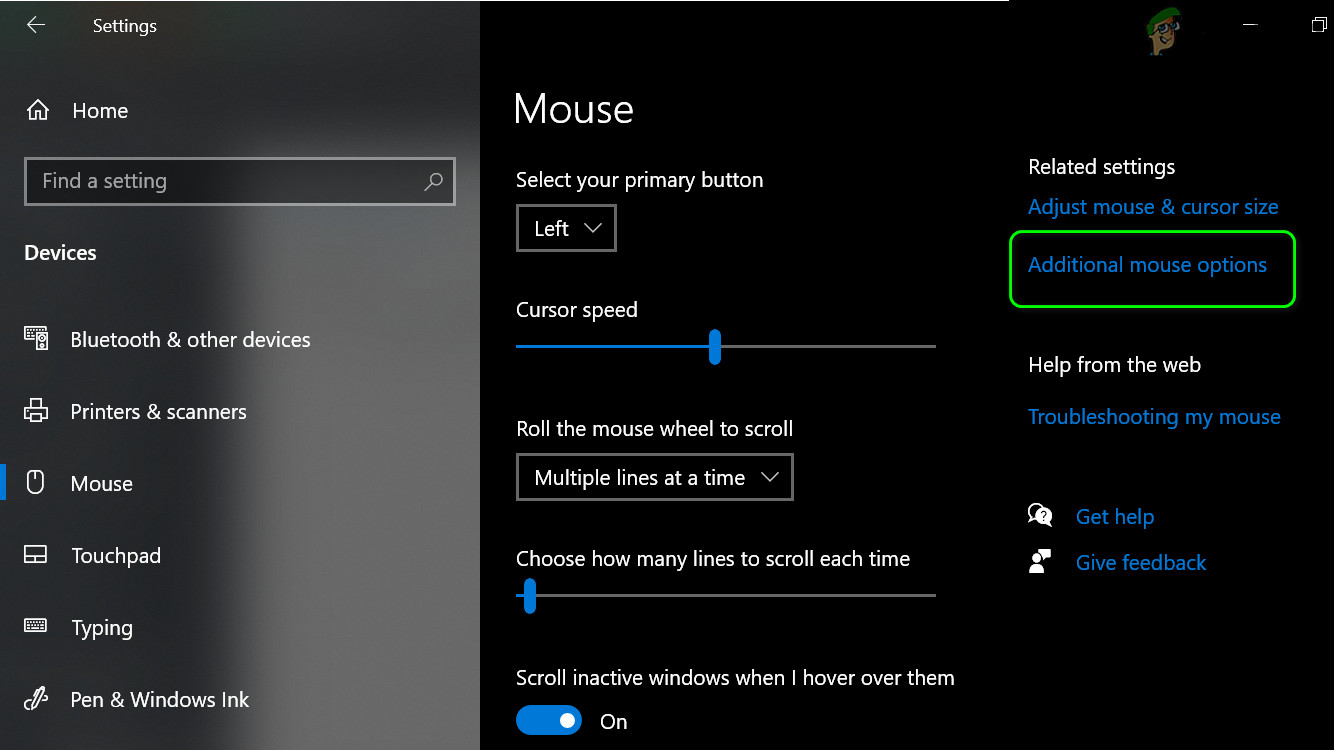
Open Additional Mouse Options - Go to the Pointer Options tab and check Display pointer trails (under Visibility).
- Adjust the slider (using a short trail is usually best), and uncheck Show location of pointer when I press the CTRL key.
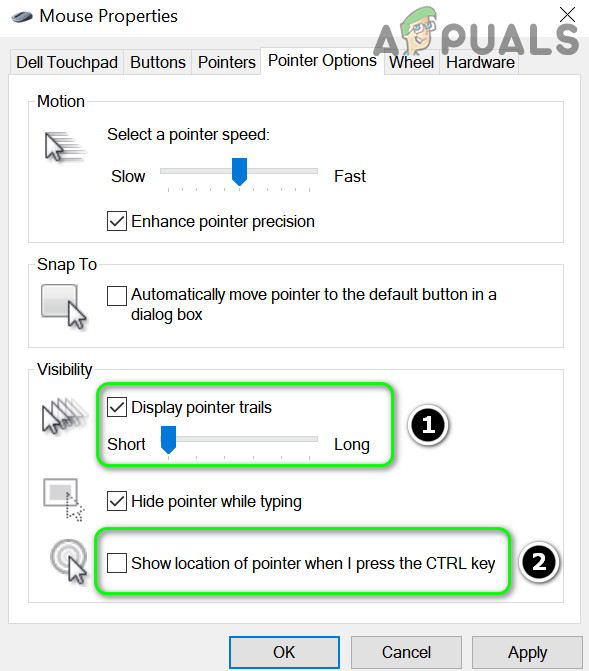
Enable Display Pointer Trails and Disable Show Location of Pointer When I Press the CTRL-key - Click Apply and see if this resolves the HDR black screen issue.
5. Enable Performance Overlay in the Game Bar
This black screen issue often happens when a Windows overlay (such as the volume OSD or notifications) interrupts HDR mode. Enabling the Performance Overlay in the Game Bar can help keep HDR mode active, as it “overwrites” other overlays:
- Press the Windows key and open Settings.
Open the Windows Settings - Go to Gaming, then in the Xbox Game Bar tab, enable “Xbox Game Bar for things like recording gaming clips, chatting with friends, and receiving game invites.”

Enable the Xbox Game Bar - Press the Windows key and type Game Bar, then open Xbox Game Bar (or just press Windows + G).
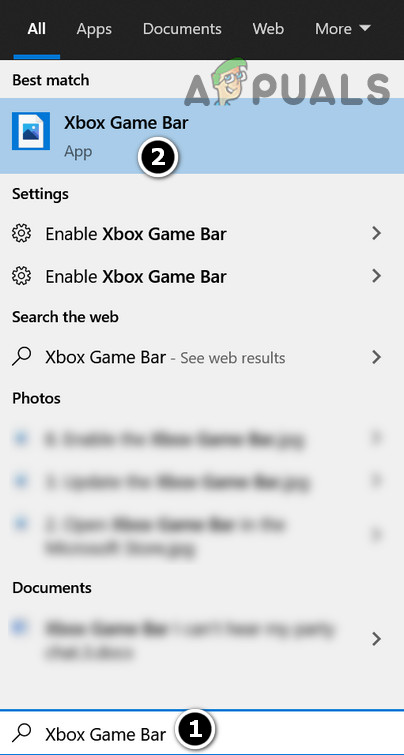
Open the Xbox Game Bar - Click the Widget menu (next to the clock) and select Performance (or try the Party Chat overlay to test).
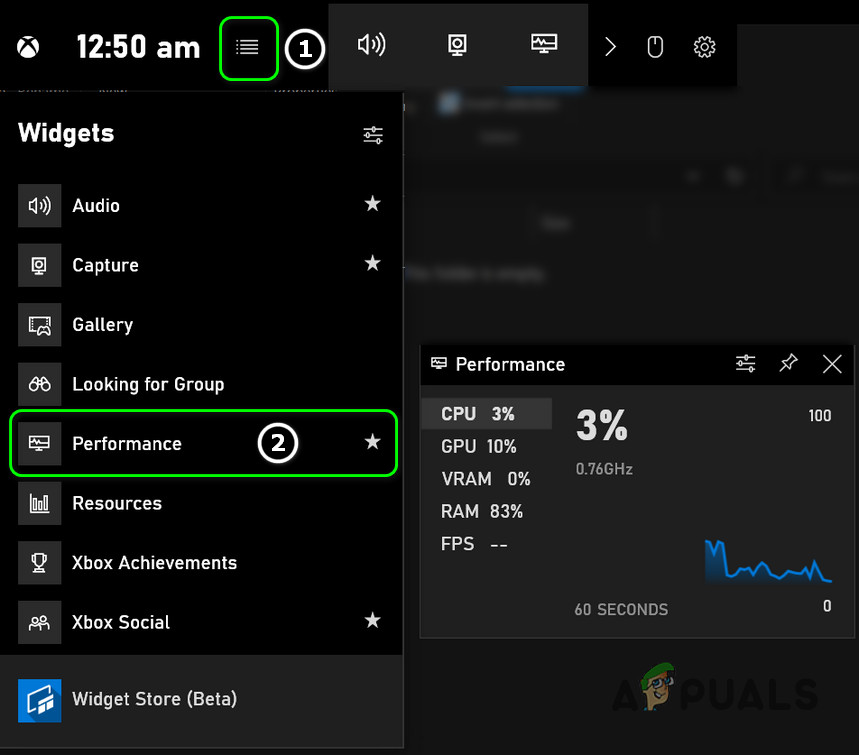
Enable Performance Widget in the Game Bar Settings - Check if the black screen issue is resolved (note: you may experience a small amount of stuttering).
6. Set the Refresh Rate of Your Display
This HDR issue can also happen if the refresh rate in Windows Settings and your graphics control panel (such as Nvidia Control Panel) don’t match. Matching the refresh rates between Windows and your graphics control panel could fix the problem.
- Open the Nvidia Control Panel. Expand the Display section on the left.
- Select Display Resolution and check the Refresh Rate (make sure to choose the right display if you have more than one).
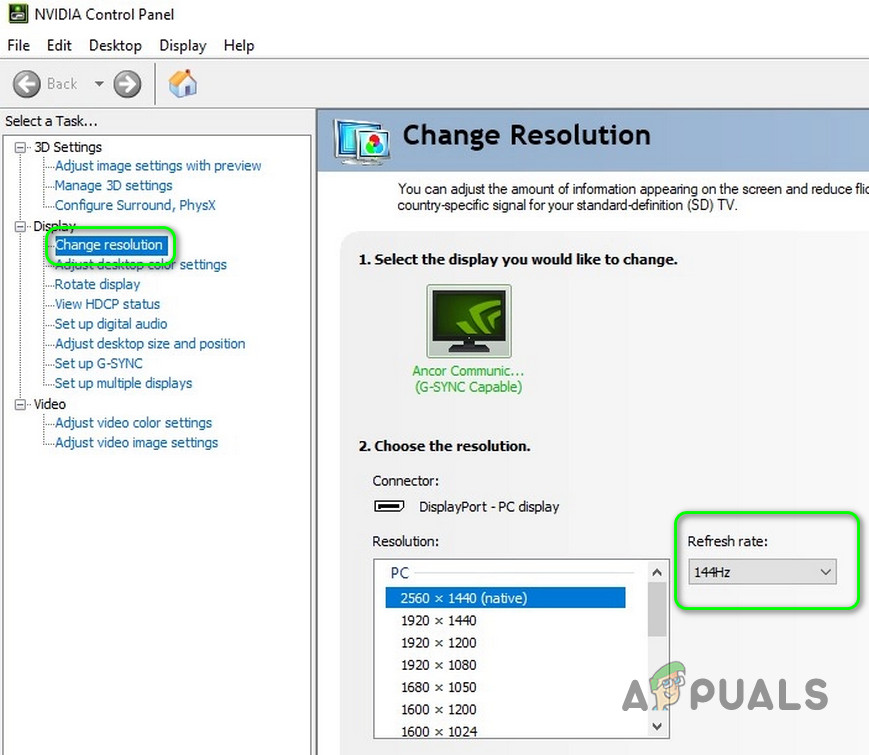
Check Refresh Rate of Your Display in the Nvidia Control Panel - Press the Windows key, type Advanced Display Settings, and click View Advanced Display Info.
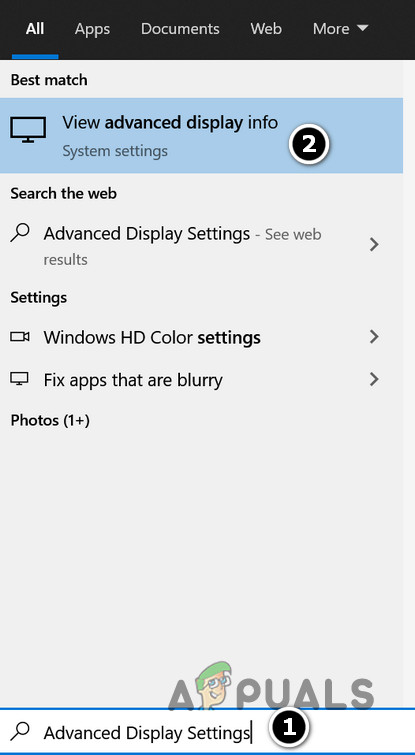
View Advanced Display Info - Select the display from the Choose Display dropdown and check the Refresh Rate. If there is a mismatch between the two, set them to the same value (editing in Nvidia Control Panel is recommended; custom profiles may be needed).
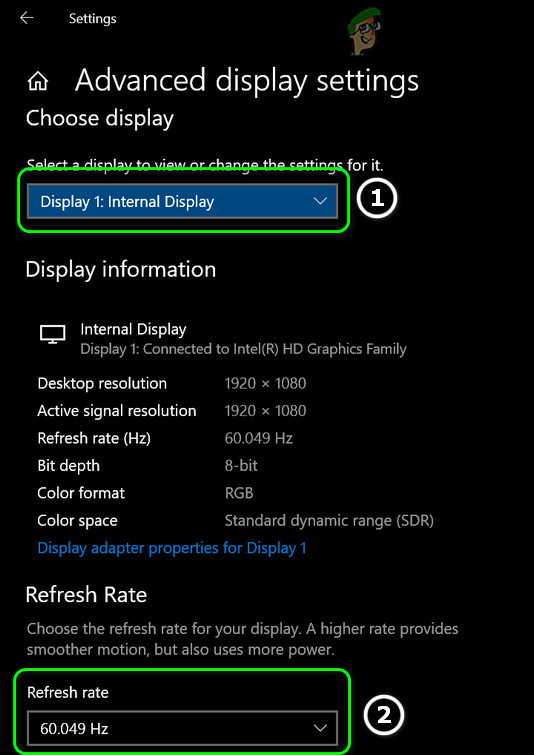
Check the Refresh Rate in the Windows Settings - Reboot your PC and check if the HDR black screen issue is fixed.
7. Enable DSR Factors in the Nvidia Control Panel
If the black screen issue continues, enabling Dynamic Super Resolution (DSR) in Nvidia Control Panel might help, but note that DSR can affect your system performance.
- Open the Nvidia Control Panel and go to Manage 3D Settings on the left.
- On the right, open the DSR-Factor dropdown and pick a suitable resolution (preferably the lowest, e.g., 1.2X).
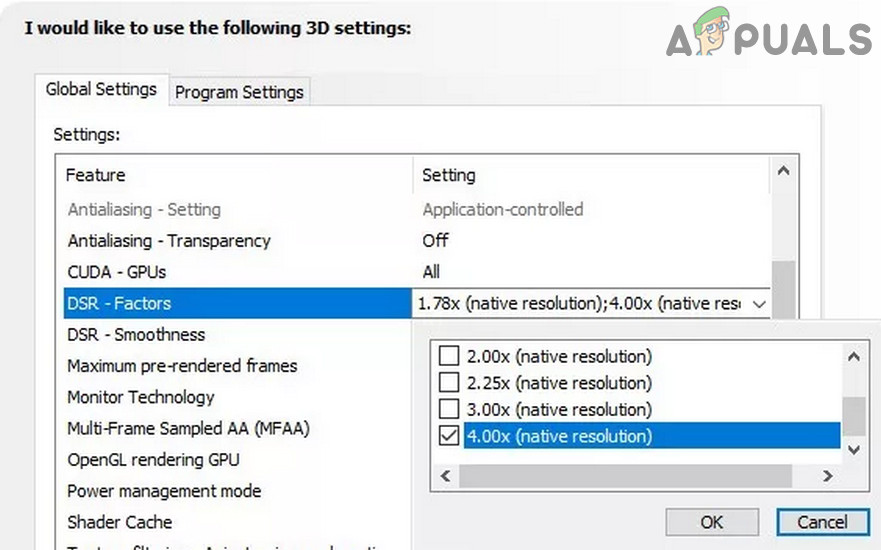
Use DSR Factors in the Nvidia Control Panel - Open GeForce Experience, go to the Games tab, and select the affected game.
- Click the wrench icon (next to Optimize), then choose DSR Resolution in the submenu.
- Click Apply, then start the game.
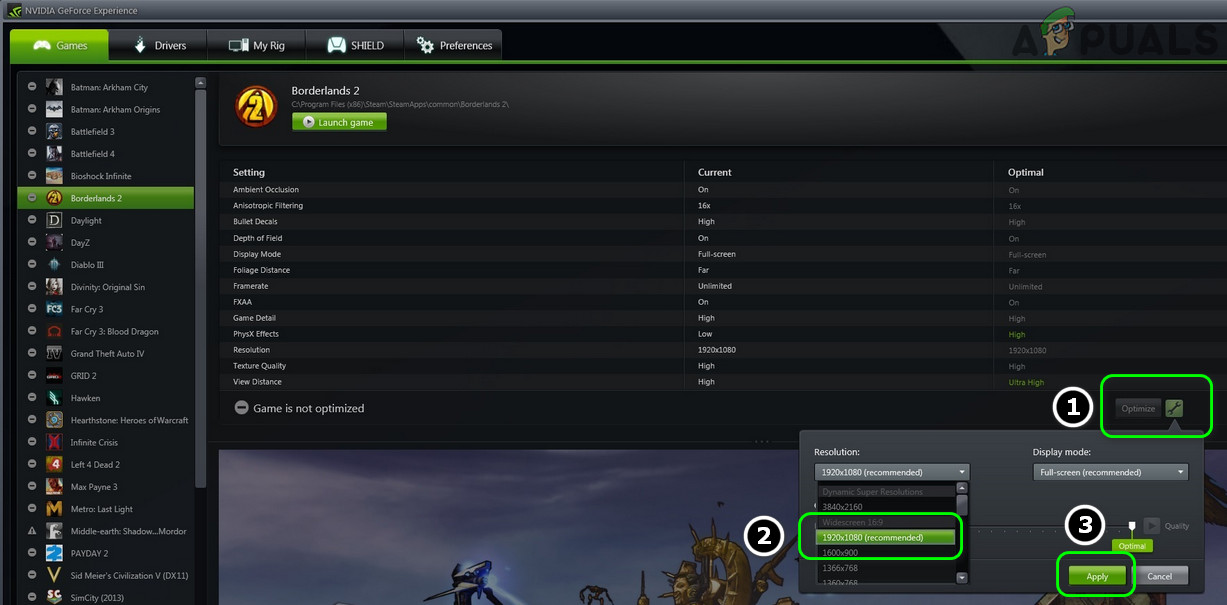
Select the DSR Resolution for the Game in the GeForce Experience - Make sure the game is set to use the selected DSR Resolution, and check if this fixes the HDR issue.
8. Use the OEM Software
If none of the above solutions work, try using your device manufacturer’s software. For example, “AI Suite” (by Asus) or Logitech Gaming Software might resolve the issue.
8.1. Using AI Suite (Asus)
- Open your web browser and download the AI Suite from Asus.
- Run the installer as an administrator and follow the instructions to finish installing.
- Restart your PC and launch AI Suite.
- In the System Tray, right-click on the AI Suite icon.
- Tick the checkbox for ASUS Mini Bar and check if the HDR issue is resolved.
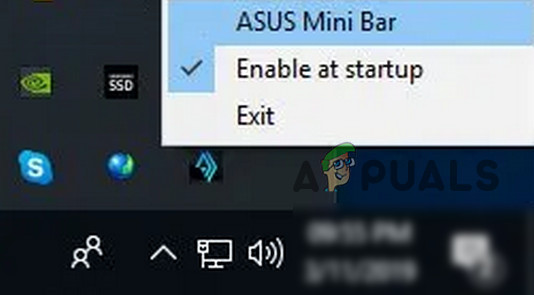
Enable Asus Mini-Bar
8.2. Use Logitech Gaming Software
- Go to your browser and download Logitech Gaming Software.
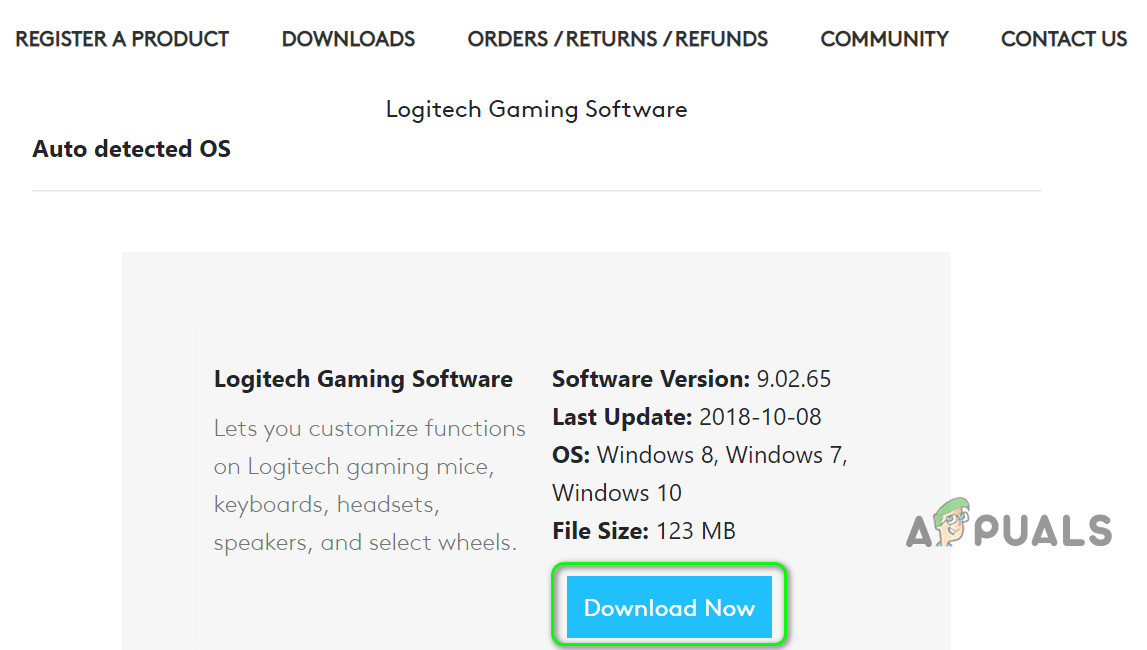
Download Logitech Gaming Software - Run the installer as administrator, follow the prompts, and complete the installation.
- Restart your PC and open Logitech Gaming Software.
- See if the HDR black screen issue is resolved.
9. Reinstall the Graphics Driver
A corrupted graphics driver can cause the HDR black screen problem. Reinstalling the graphics driver may help.
- Roll back your graphics driver and see if that resolves the issue. If so, consider blocking future updates for that driver until a fix is released.
- If not, open a web browser and go to your graphics card’s OEM website.
- Download the latest graphics driver for your card.
- Next, download and install DDU (Device Driver Uninstaller), then boot your system into Safe Mode.
- Right-click the Start button and select Device Manager.
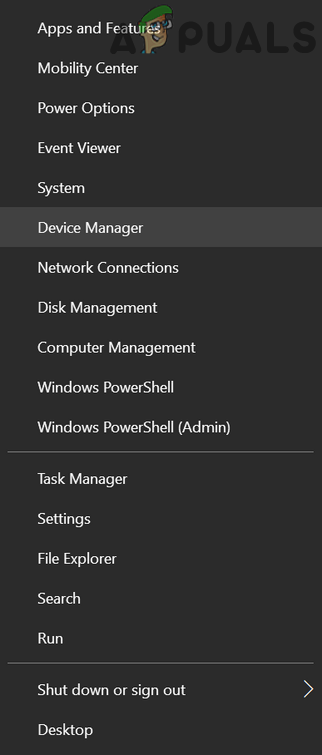
Open Device Manager of Your System - Expand Display Adapters, right-click your graphics card, and select Uninstall. Check the box for Delete the driver software for this device.
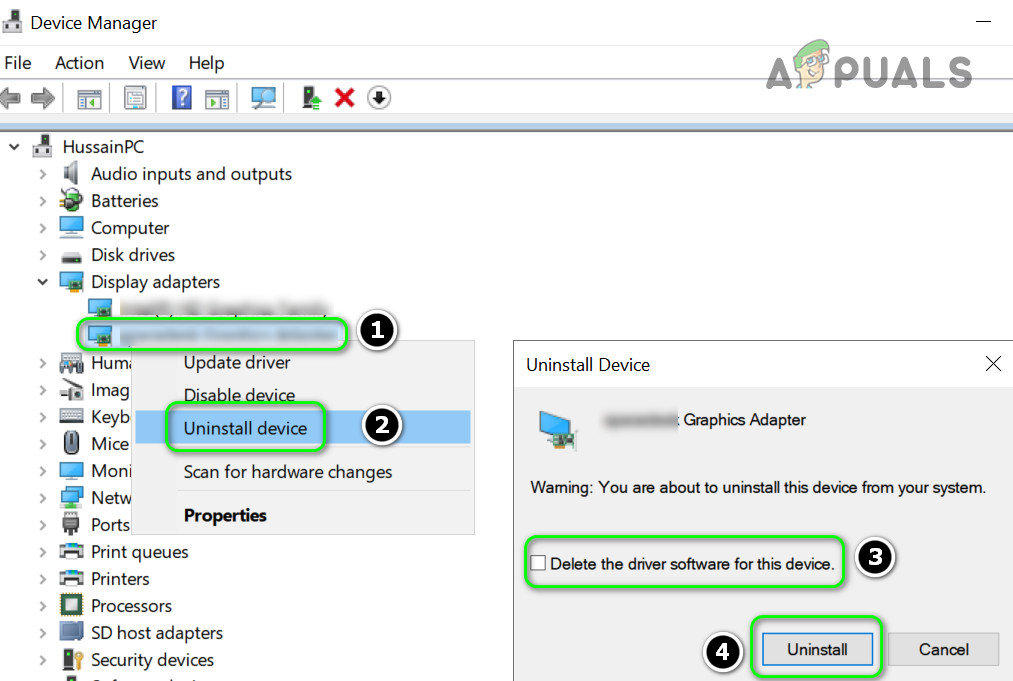
Check the Option of Delete the Driver Software for This Device for the Display Adapter and click on Uninstall - Click Uninstall and wait for the process to finish.
- Run DDU to clear any remaining files from the old driver.
- Reboot your PC in normal mode, then install the new driver you downloaded earlier.
- Restart your PC and test if the HDR issue is fixed.


