How to Fix High CPU Usage By TiWorker.exe
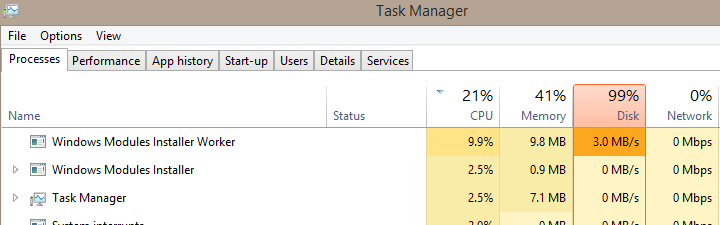
TiWorker.exe can make your CPU usage go above 50%. This often happens when you restart your computer, when the computer is not being used, or when Windows does automatic maintenance. TiWorker.exe is also called the Windows Modules Installer Worker. It is a part of Windows that takes care of updates and changes after updates.
The main reason for high CPU usage is that Windows is checking for or installing updates in the background. Sometimes, it also happens when Windows is cleaning up old files or doing other update tasks.
1. Run System Maintenance.
Scheduled maintenance tasks often fail quietly in the background, causing problems like TiWorker.exe getting stuck. Running System Maintenance by hand makes Windows find and fix issues with updates, disk errors, and broken shortcuts. This can help reset TiWorker and lower CPU use.
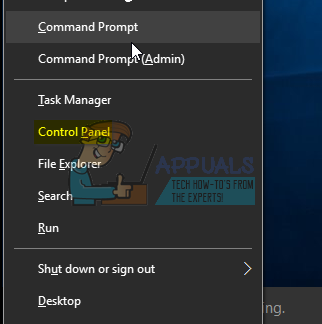
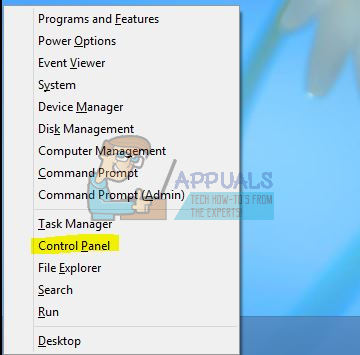
- Hold the Windows key and press X. Choose Control Panel.
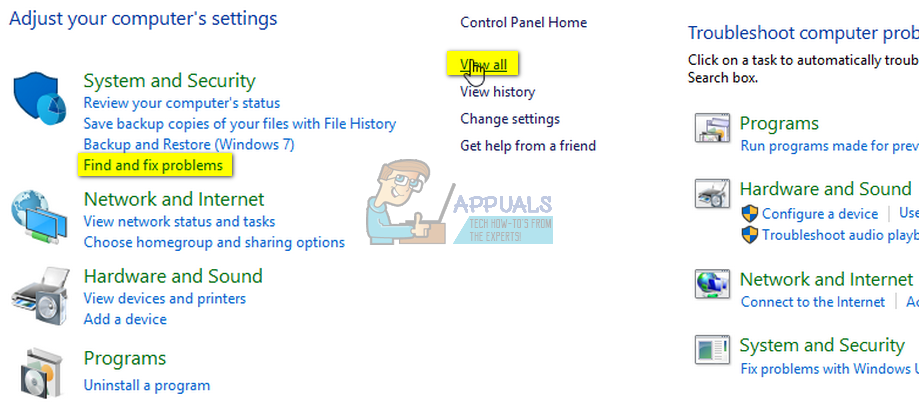
- Choose “Find and Fix Problems” and then click “View All” from the left pane.
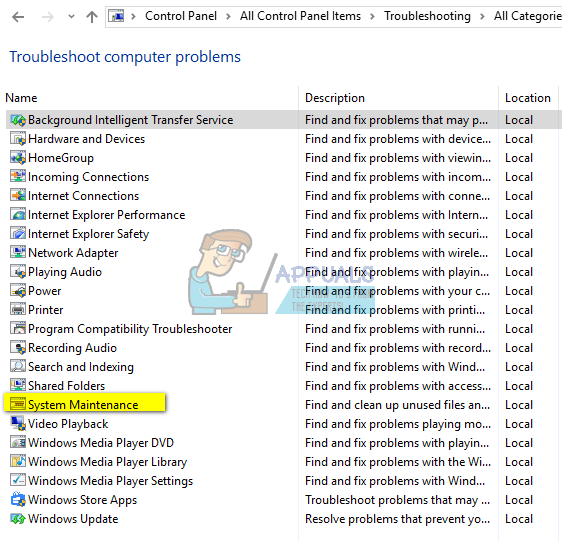
- Choose ‘System Maintenance‘ and click ‘Next.’
- Let the troubleshooter run. After it has finished, check to see if the problem has been resolved or not.
2. Run Windows Update.
Installing any waiting updates can quickly lower TiWorker.exe activity by finishing the tasks it is stuck on. Running Windows Update makes sure the system completes any unfinished scans, downloads, or installs that are keeping TiWorker busy.
Again, hold the Windows Key and press X, then choose Control Panel.
Click or tap ‘Windows Updates,’ and from the left pane, click on ‘Check for Updates.’

On a Windows 10 computer, press the Windows key + A, then choose All Settings. Select Windows Updates from the left pane, and click Check for Updates.

3. Perform a Clean Boot of Your System.
Starting your computer with a clean boot helps find out if other programs are causing problems with TiWorker.exe. This way, only important Windows services run, allowing updates and maintenance to finish smoothly. Doing this can fix high CPU usage caused by software conflicts.
For clean booting your PC, please refer to this post: Clean Boot.
4. Whitelist “msmpeng.exe” and then restart Windows Update.
This issue can also be caused when your Windows Update is being blocked by your Windows Defender, or another antivirus program that you have installed on your computer. This can lead to a conflict, resulting in corrupted Windows Update files and spikes of high resource usage. To fix this, we will need to whitelist “msmpeng.exe” in the antivirus.
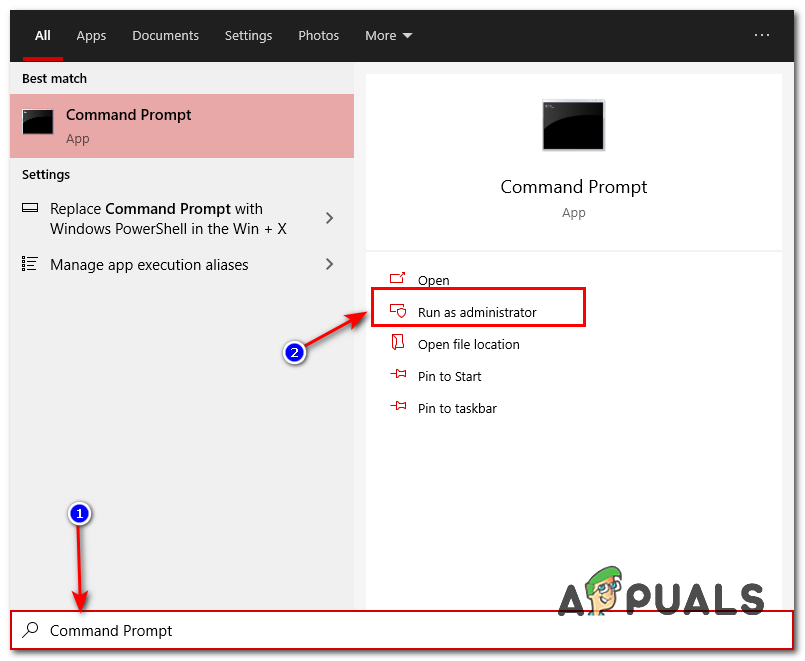
- First of all, search for Command Prompt and run it as an administrator.
Opening Command Prompt - Once the Command Prompt is opened, type the following command and then press Enter: “In PowerShell, run the command ‘Add-MpPreference -ExclusionProcess “msmpeng.exe”‘.
- This should exclude the process from your Windows Defender (if you have any third-party antivirus, please whitelist this process manually).
- Now, we will have to restart our Windows Update services and clear the old Windows data.
- Open the Command Prompt as an administrator once more, and type the following commands one by one:
net stop bits

net stop wuauserv

net stop appidsvc

net stop cryptsvc

Ren %systemroot%\SoftwareDistribution SoftwareDistribution.bak

Ren %systemroot%\system32\catroot2 catroot2.bak

net start bits

net start wuauserv

net start appidsvc

net start cryptsvc
- Restart your computer and check to see if the issue persists.
5. Run the System File Checker.
Damaged system files can make TiWorker.exe get stuck or fail during updates. Using the System File Checker checks for and fixes these files, helping TiWorker work normally and lowering extra CPU use.
- Run System File Checker. Hold the Windows key and press W, then type “cmd” in the search box.
- Right-click on ‘cmd‘ and select ‘Run as Administrator.’

- You will get a black command prompt as shown above.
- In this command prompt window, type sfc /scannow and hit Enter.
- This will take 30 to 50 minutes. After it finishes, you will receive one of the two messages:
- a) Windows Resource Protection did not find any integrity violations. (No further action is needed if this is the message you receive).
- b)Windows Resource Protection found corrupt files (etc.). If you get a long message with starting lines such as ‘Windows Resource Protection found corrupt files,’ then, in the same command prompt window, type and run the following command:
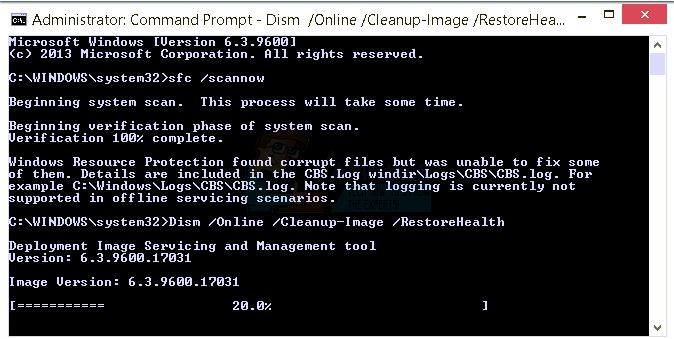
- Dism /Online /Cleanup-Image /RestoreHealth
- You will be notified on your screen after the clean-up operation has completed. Reboot your PC and then test.
I get this,”Error 87 The Cleanup-Image option is unknown”