How to Fix Battlefield 2042 Won’t Start or Crashing on PC?
Battlefield 2042 often freezes on the first loading screen, suddenly crashes to the desktop, or even restarts your whole computer after you start the game—especially when loading the main menu. This usually happens because the game has trouble using your computer’s memory or starting up its graphics (DirectX).

The main reason is usually unstable RAM caused by XMP settings in your BIOS. Other possible causes are old graphics drivers, programs running in the background, or damaged game files.
Now that you know the possible causes, here are methods you can use to fix Battlefield 2042 crashing or not starting on your PC.
1. Run Battlefield 2042 as an administrator
The first step is to run both the Battlefield 2042 executable and its launcher with administrator rights. This gives the game the necessary permissions to access important Windows components it might otherwise be blocked from.
- Find the folder where you installed the game, right-click on Battlefield 2042.exe, and select Properties.
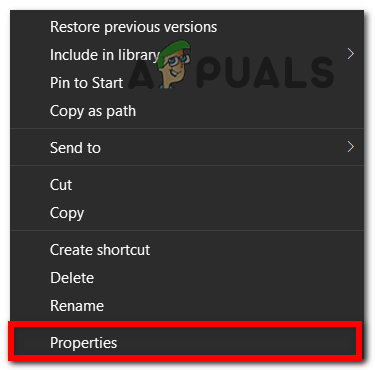
Accessing the Properties screen - Go to the Compatibility tab. Check the box for Run this program as an administrator and click Apply to save.
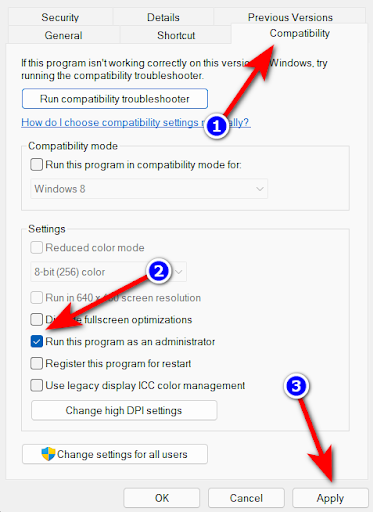
Running the program as administrator - Repeat these steps for the Battlefield 2042 launcher.
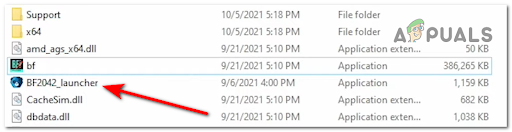
Accessing the Battlefield 2042 launcher - Launch the game again to see if the crash issue is resolved.
2. Disable or uninstall third-party antivirus
Overprotective antivirus software can sometimes prevent Battlefield 2042 from loading correctly. Zone Alarm Extreme Security and AVG (Free Version) are known to cause issues, but other security suites might also interfere.
Note: We recommend uninstalling the antivirus to make sure nothing remains that could conflict with the game.
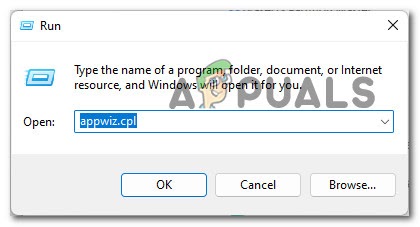
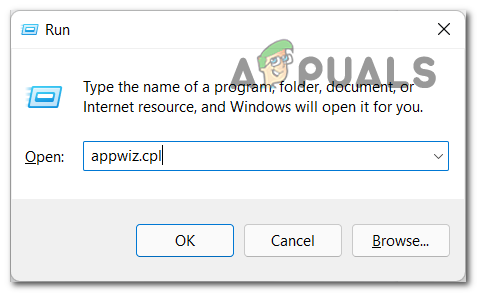
- Press Windows key + R, type appwiz.cpl, and hit Enter to open Programs and Features.
Programs and Features menu - Find your antivirus in the list, right-click it, and select Uninstall.
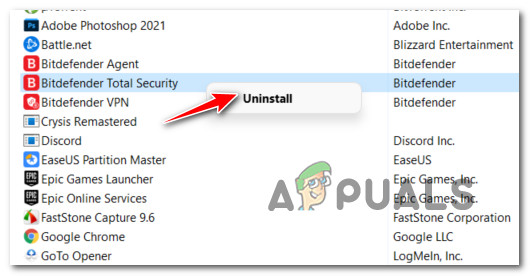
Uninstall the antivirus - Follow the uninstall instructions and restart your computer.
- Try launching Battlefield 2042 to check if the issue is fixed.
3. Update GPU drivers (PC Only)
Using outdated or incompatible graphics card drivers can cause Battlefield 2042 to crash or fail to load. Make sure your GPU drivers are up to date.
- Press Windows key + R, type devmgmt.msc, and hit Enter to open Device Manager.

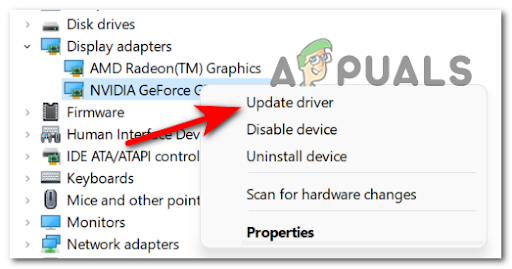
Open Device Manager - Expand Display adapters.
- Right-click your dedicated GPU and select Update driver.
Updating the driver via Device Manager - Select Search automatically for updated driver software. Follow prompts to install any available updates.
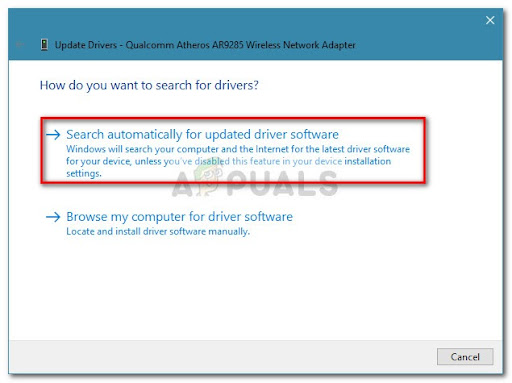
Searching automatically for updated driver software - Restart your computer after updating and test the game.
Tip: If you want to be absolutely sure you have the latest drivers, use your manufacturer’s update apps:
- GeForce Experience — For Nvidia cards
- Adrenalin — For AMD cards
4. Disable Game Mode in Windows
Some players have found that disabling Windows Game Mode resolves crashes. The exact reason is unclear, but turning off Game Mode has helped many users.
- Press Windows key + R, type ms-settings: and press Enter to open Settings.

Accessing the Settings menu - Go to Gaming.
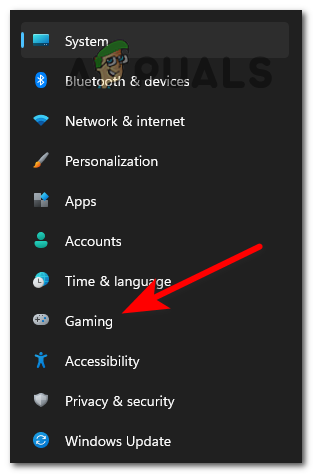
Accessing the Gaming menu - Click Game Mode on the left side.
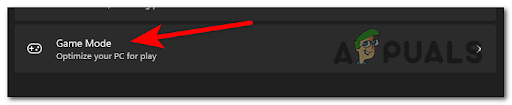
Accessing Game Mode - Toggle Game Mode off.
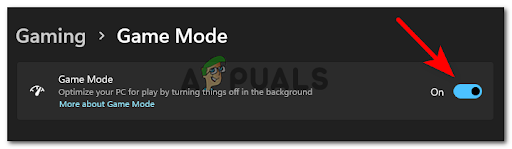
Disabling Game Mode - Try launching Battlefield 2042 again.
5. Disable Overlay Features
Overlay programs like Nvidia Experience and Discord can sometimes conflict with Battlefield 2042, causing crashes. Try disabling or uninstalling these overlays one by one.
5.1. Disable NVIDIA Overlay
- Close the game and open Nvidia Experience.
- Click the Gear icon and go to Settings.
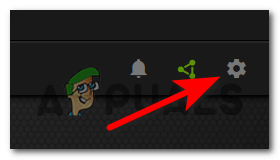
Nvidia Experience Settings - Go to General and find In-game Overlay. Turn it off.

Disable the In-Game NVIDIA Overlay - Save and close Nvidia Experience.
5.2. Disable Discord Overlay
- Open Discord and click the gear icon for User Settings.
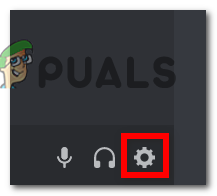
Access the User Settings menu - On the left sidebar, scroll to Activity Settings and select Game Overlay.
Game Overlay tab in Discord - Turn off Enable in-game overlay.
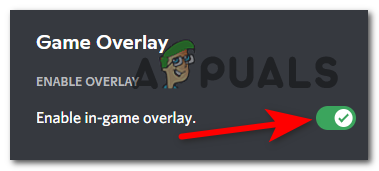
Disable overlay feature in Discord - Save changes and test the game.
5.3. Uninstall Overlay Software
If an overlay tool doesn’t have a toggle, you can remove it:
- Press Windows key + R, type appwiz.cpl, and press Enter.
Open Programs and Features - Find the overlay software, right-click, and Uninstall.
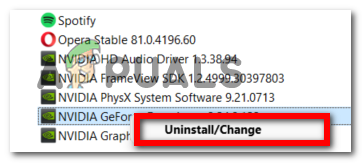
Uninstall the overlay feature - Restart your PC and try launching the game.
6. Install Windows Media Feature Pack
Battlefield 2042 sometimes needs the Windows Media Feature Pack for certain game elements to work. PCs running the “N” versions of Windows, or some region-specific versions, often don’t have this by default.
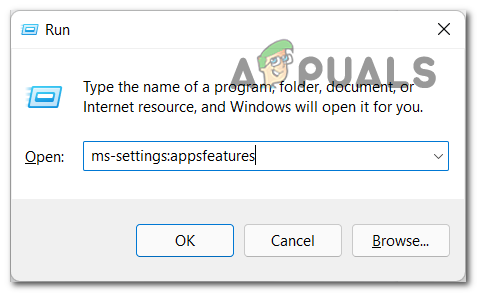
- Press Windows key + R, enter ms-settings:appsfeatures, and press Enter.
Open Apps and Features - Click Optional features.
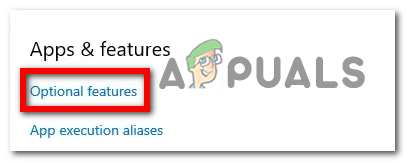
Optional Features menu - Click Add a feature. Search for Media Feature Pack, select it, and install.
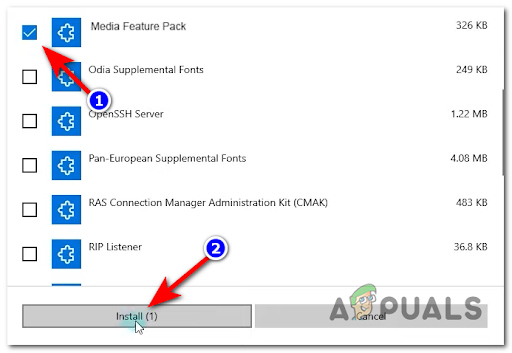
Install the Media Feature Pack - Restart your PC and test the game.
7. Download and Install Visual C++ Redistributable Packages
Missing Visual C++ Redistributable Packages can prevent Battlefield 2042 from running. Installing these packages can often fix launch and crash issues.
- Go to the official Microsoft Visual C++ Redist page.
- Download the versions that match your system (32-bit or 64-bit).
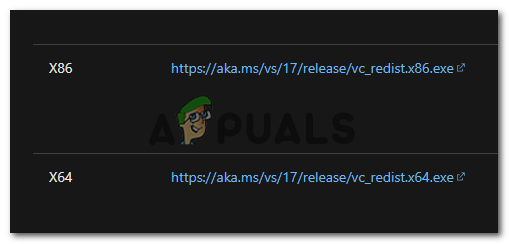
Download the Visual C++ Redist installer - Install them and restart your computer.
- Launch Battlefield 2042 to test.
8. Repair Battlefield 2042 via Origin
Corrupt or missing files can stop Battlefield 2042 from running. Origin’s repair feature can scan and fix these files for you.
- Open the Origin app and go to My Game Library.
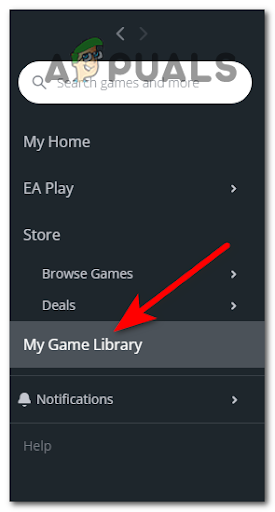
My Game Library - Find Battlefield 2042, click the gear icon, and select Repair.
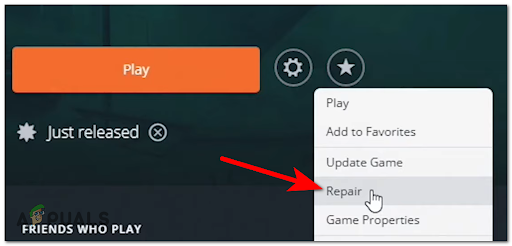
Repair Battlefield 2042 via Origin - Wait for the process to complete, then try launching the game again.
9. Ensure EasyAntiCheat Is Installed
EasyAntiCheat is essential for Battlefield 2042 to run. If this anti-cheat service isn’t installed or is corrupted, the game will crash or refuse to launch.
- Go to your Battlefield 2042 installation folder and find the EasyAntiCheat folder.
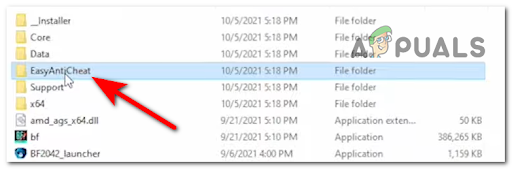
Easy Anti Cheat folder - Right-click EasyAntiCheat_Setup.exe and select Run as administrator. Allow any prompts.
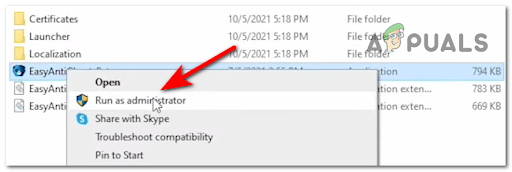
Run EasyAntiCheat with admin access - Reinstall or repair, then restart your computer.
- Try launching Battlefield 2042 again.
If needed, check more on fixing anti-cheat engines here.
10. Change Max Link Speed from AUTO to Gen 3 in BIOS/UEFI
With certain powerful graphics cards, leaving the Max Link Speed in your BIOS/UEFI on “AUTO” can limit your GPU’s capability and cause crashes. Setting it to Gen 3 dedicates more bandwidth and can resolve these errors.
- Restart your PC and enter BIOS/UEFI by pressing the key shown during startup (often DEL, F2, or ESC; check your motherboard manual).
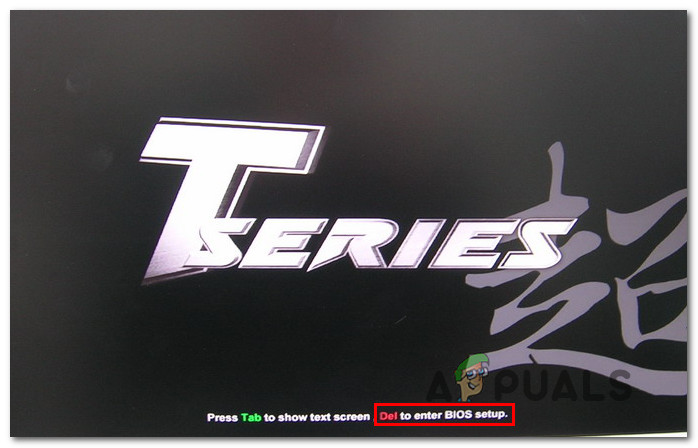
Access the BIOS menu - Find the Max Link Speed setting (often listed under System Settings). Change it from AUTO to Gen 3.
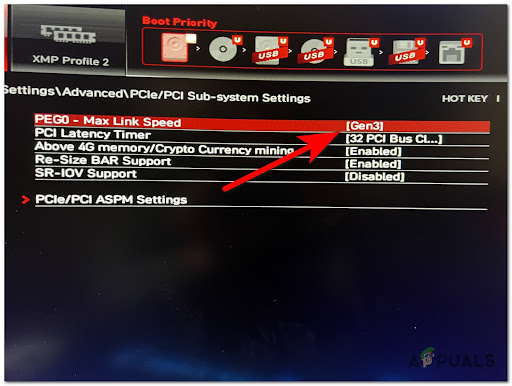
Change the Max Link Speed - Save changes and exit BIOS/UEFI (usually F10).
- Let your PC reboot. Start Battlefield 2042 and check if it works without crashing.
Need more help with BIOS? See this BIOS/UEFI guide.


Uninstall EA App (EA Desktop app), then it is installed automaticaly again and it works!
C:Program FilesElectronic ArtsEA Desktop