How to Fix Battlefield 2042 DirectX Error on PC?
Battlefield 2042 might suddenly crash with a DirectX error, showing messages like “DXGI_ERROR_DEVICE_HUNG” or “DXGI_ERROR_DEVICE_REMOVED.” This usually happens right after you start the game or while playing. These errors mean your graphics card stopped working properly with DirectX, so Windows turned it off for a moment.
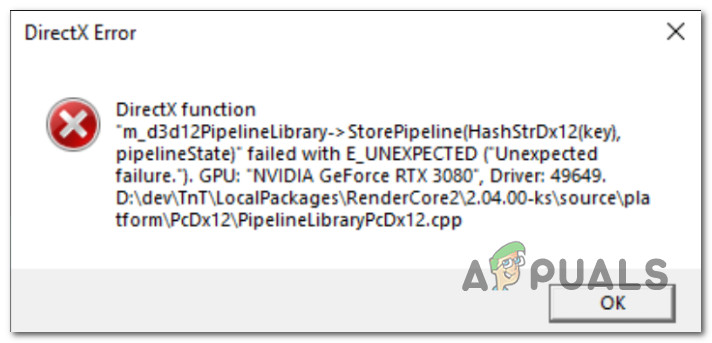
This often happens because of a bad or outdated graphics card driver, especially if you just updated Windows or your drivers. Other possible reasons include broken DirectX files or graphics cards running too fast because of overclocking.
Now that you know what might be causing this problem, let’s walk through the solutions that have worked for many other users.
1. Disable DLSS via GeForce Experience (if applicable)
One of the most common reasons for this issue, if you have an Nvidia GPU, is when DLSS (Deep Learning Super Sampling) is enabled.
Note: DLSS is a video rendering technology exclusive to Nvidia cards. It uses AI to boost performance without a big loss in visual quality.
While DLSS can be great, some users find it makes games like Battlefield 2042 less stable. If you’re using an Nvidia card and have DLSS turned on when the crash occurs, start by disabling DLSS and see if the game runs smoothly.
You can usually find this option in the in-game Display > Video settings.
Note: These steps work if you can launch the game and access the menu before it crashes. If your game crashes every time at launch, skip to the next fix.
- Start the game and go to the Options menu after the opening screen.
- Open the Settings menu and select Display from the menu at the top.
- From the sub-menu, select Video and make sure DLSS is set to Off. Save your changes.
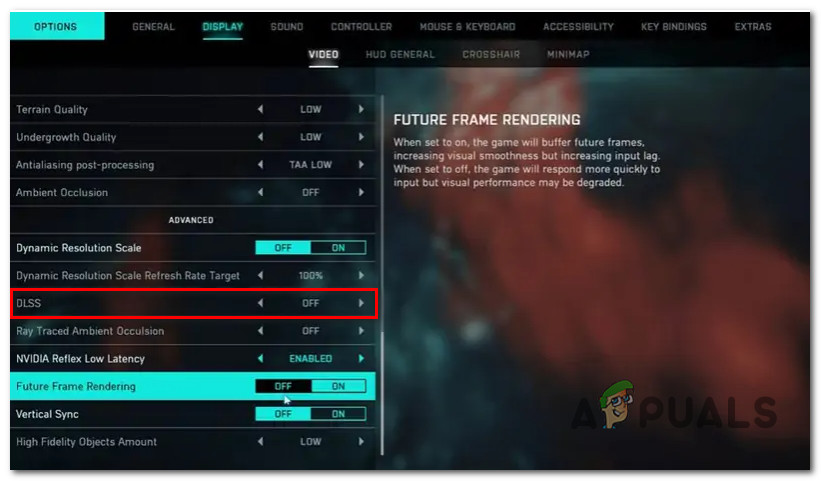
Disabling the DLSS functionality from the in-game menu - Restart the game and check if the DirectX error is gone.
2. Update GPU drivers
Many earlier issues that caused these DirectX errors were fixed by Nvidia and AMD through driver updates. You can benefit from these fixes by making sure your graphics drivers are up to date. Use Nvidia Experience or AMD Adrenalin, depending on your GPU.
2.1. Update your Nvidia GPU driver
Uninstall old Nvidia drivers before installing new ones to avoid potential file conflicts from older driver leftovers.
- Press Windows key + R, type ‘appwiz.cpl’, and hit Enter to open Programs and Features.
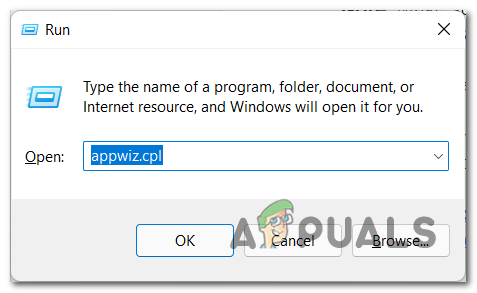
Open up the Programs and Features menu Note: If you see the User Account Control window, click Yes.
- In Programs and Features, click the Publisher column to group programs. Find all Nvidia items.
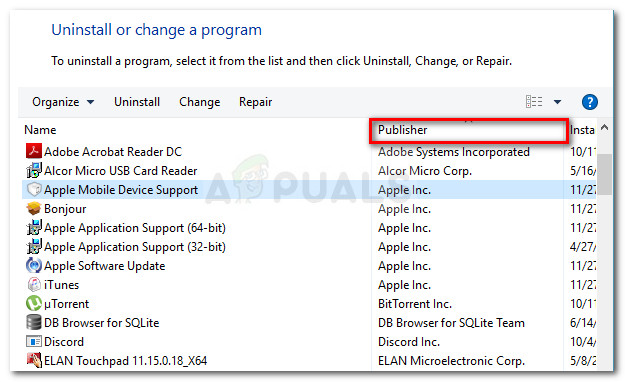
Ordering programs via Publisher - Right-click each Nvidia entry and choose Uninstall.
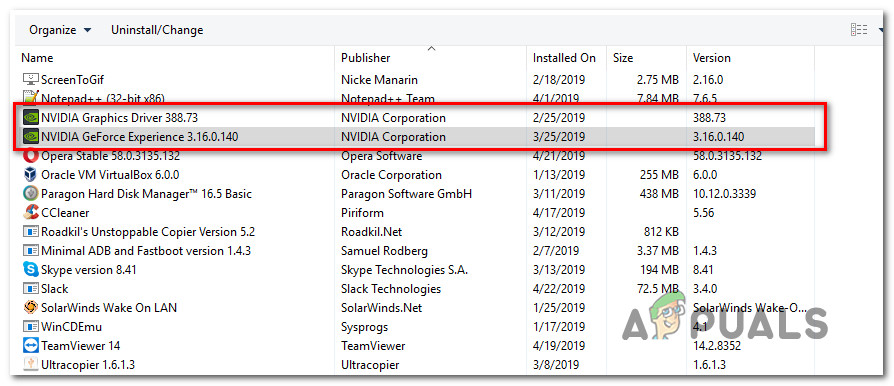
Uninstalling every Nvidia app - Follow the prompts to uninstall all Nvidia software.
- Restart your computer after you’ve removed the Nvidia software. Your PC will use basic generic graphics drivers for now.
- Go to the official GeForce Experience download page.
- Click Download Now to get GeForce Experience.
Downloading Nvidia Experience - Install it and grant any permissions requested.
- Open GeForce Experience and navigate to the Drivers page to check for updates.
- If an update is available, choose Express Installation and follow the steps.
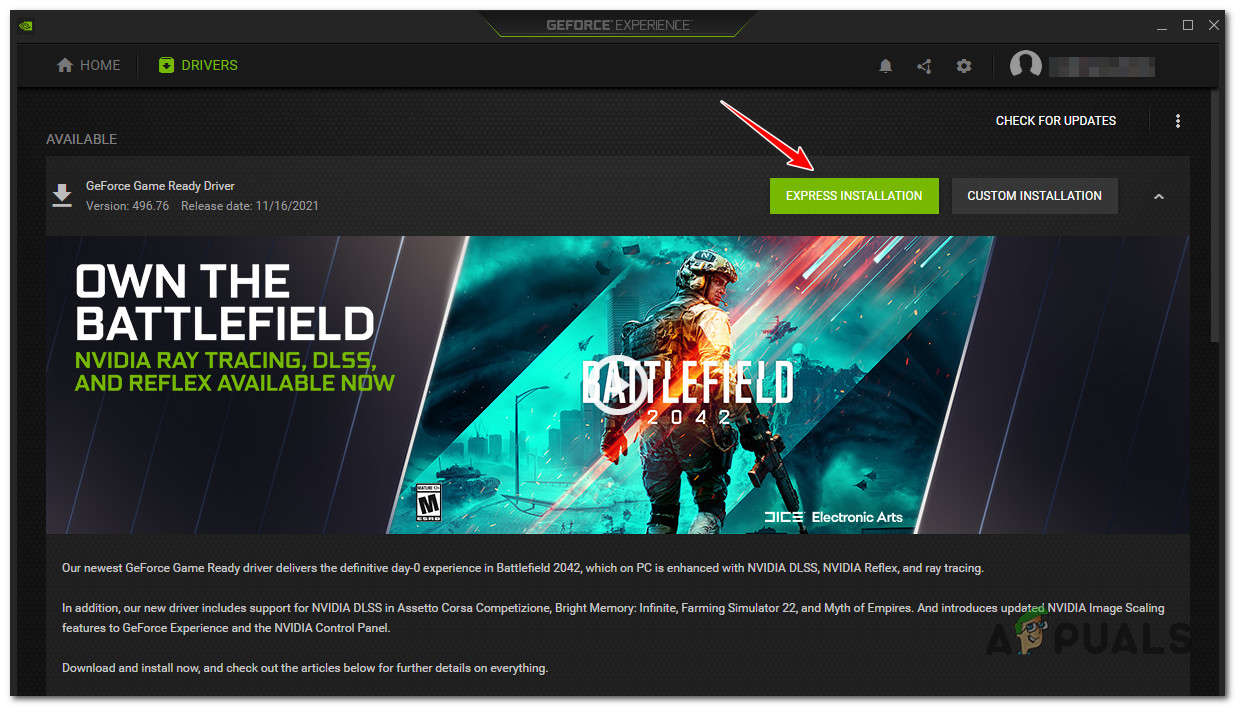
Downloading the latest Nvidia driver version - Restart your computer after the driver installs.
- Launch Battlefield 2042 and see if the error is solved.
2.2. Update your AMD GPU driver
If you have an AMD graphics card, we recommend running the AMD Cleanup Utility first to ensure a clean driver install.
- Download the AMD Cleanup Utility.
- Right-click the download and choose Run as administrator.
- If prompted, accept the request to run in Safe Mode for best results.
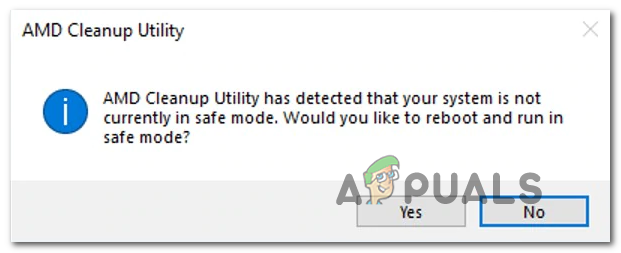
Deploying the Cleanup Utility Note: This tool will remove driver remnants and registry items safely.
- When prompted to remove the drivers, click OK.
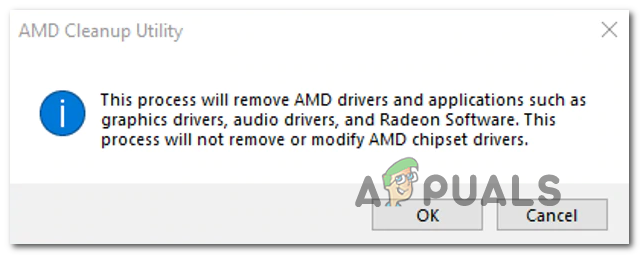
Confirming the driver removal operation Note: The screen may flicker or go black briefly — this is normal.
- When the uninstall is complete, click Finish and restart your PC.
- Next, go to the AMD Auto-Detect and Install Graphics Drivers page.
- Scroll to Auto-Detect and Install Radeon Graphics Drivers for Windows and click Download Now.
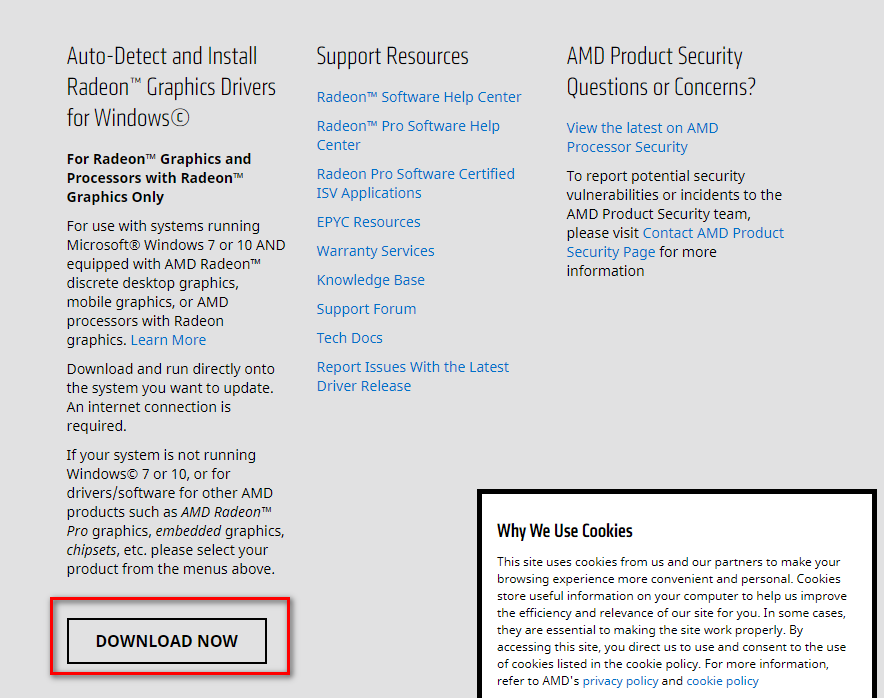
Downloading the Auto-Detect utility - Once it’s downloaded, run the installer and follow the prompts to install Radeon Adrenalin.
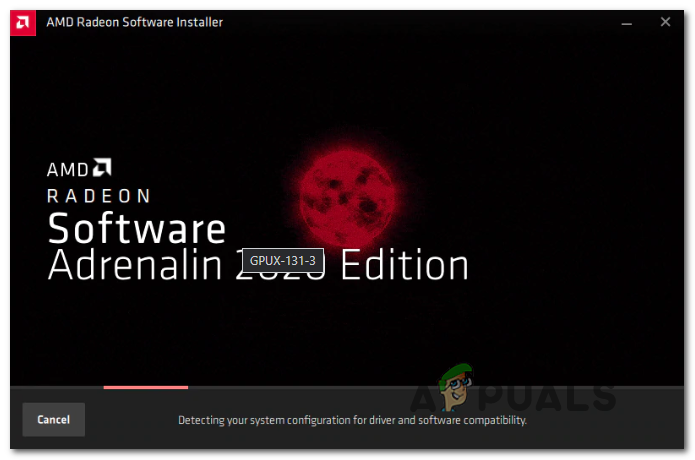
Installing the AMD Adrenalin software Note: It’s best to use the default folder.
- AMD Adrenalin will start searching automatically for the latest drivers and prompt you to install them.
- Let the scan complete, and when prompted, click Install.
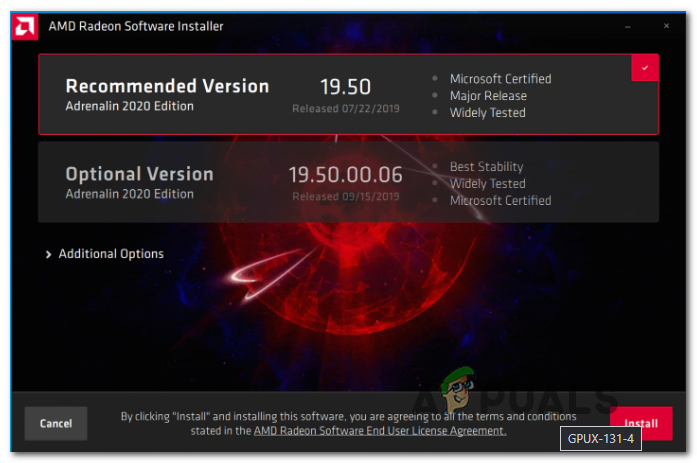
Downloading the latest AMD driver Note: For best results, install both Recommended and Optional drivers.
- Accept the EULA when prompted.
- Restart your computer when the installation is done. Launch Battlefield 2042 and check for the error.
3. Install every missing DirectX package
Battlefield 2042 uses several different DirectX libraries. If any are missing, you might get severe DirectX errors. To avoid this, make sure every version of DirectX is installed on your computer.
- Go to the DirectX End-User Runtime download page and select your language, then click Download.
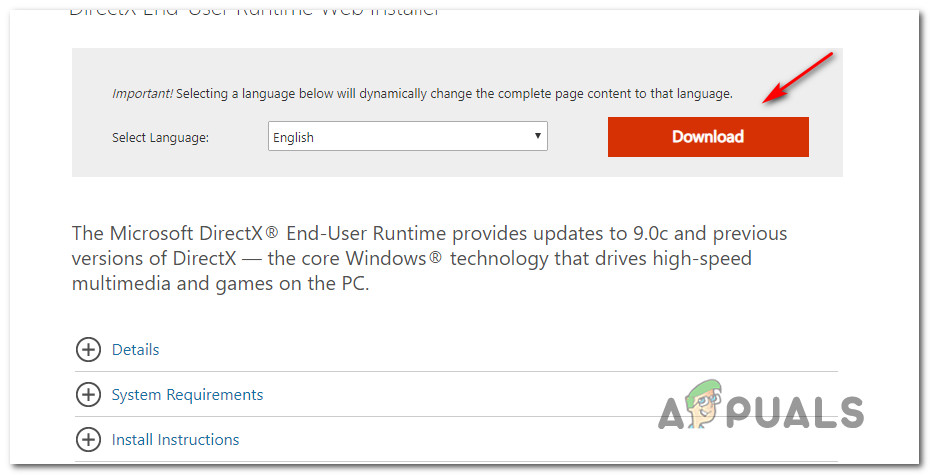
Downloading the DirectX end-user runtime utility - On the next screen, uncheck any extra software options, then click No thanks and continue to DirectX End-User Runtime Web installer.
- After dxwebsetup.exe downloads, run it and follow the instructions to install any missing DirectX files.
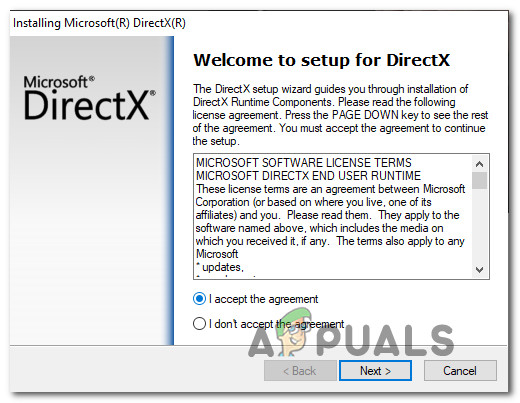
Installing the missing DirectX installations - Reboot your PC and try Battlefield 2042 again.
4. Edit the game Profile
Sometimes, DirectX 12 can be enabled in Battlefield 2042’s settings even if your PC doesn’t support it. This can happen, for example, if you’ve recently changed your graphics card. If you can’t open the game to change this setting, you can edit the configuration file instead.
- Open File Explorer and navigate to your Documents folder.
- Find the folder named BattleField 2042 and open it.
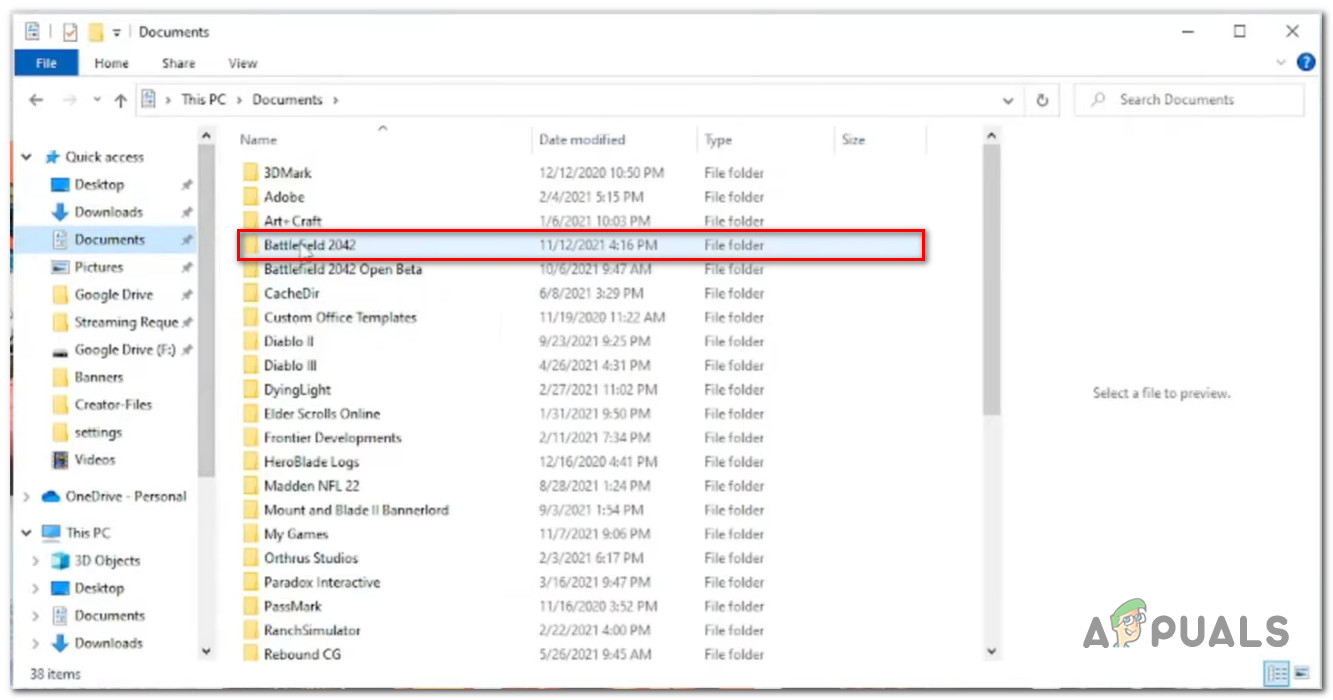
Accessing the Battlefield 2042 Documents folder - Open the Settings folder inside.
- Right-click the file named PROFISAVE_profile and choose Open With > Notepad.
- Scroll to the bottom of that file until you find GstRender.Dx12Enabled.
- Change its value to 0 to make sure DirectX 12 is off.
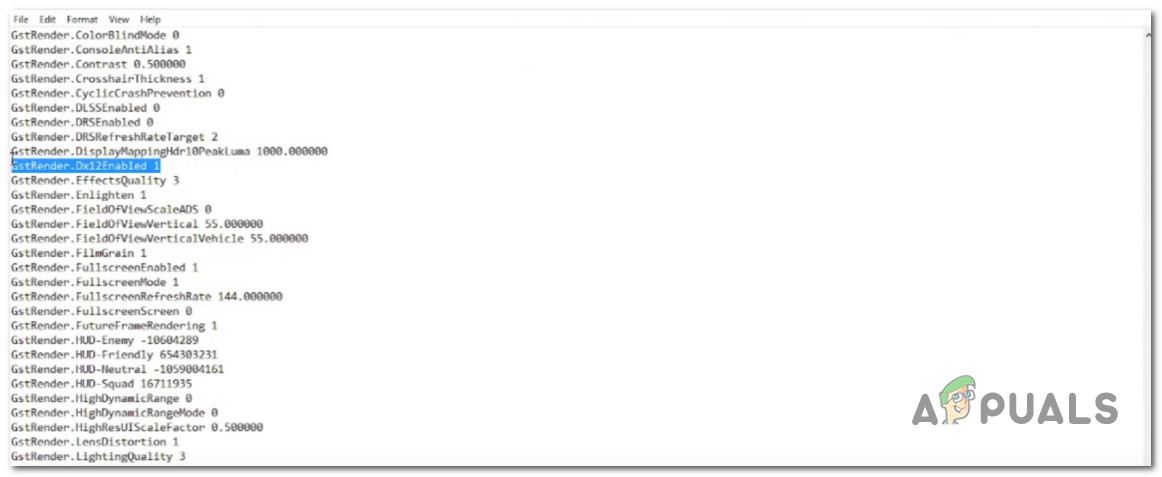
Disable DirectX12 from the Profile file of Battlefield 2042 Note: Setting this to 0 ensures DirectX 12 is disabled.
- Save the file and close it.
- Launch Battlefield 2042 and see if the issue is resolved.
5. Disable Future Frame Rendering (if Applicable)
Future Frame Rendering is a helpful feature if you have a strong GPU and a weaker CPU, as it shifts some workload from the CPU to the GPU. But for some setups, it can cause instability and more DirectX crashes, especially on AMD graphics cards.
- Open Battlefield 2042 and go to the Options menu after the main screen.
- From the Options menu, go to Display and select Video.
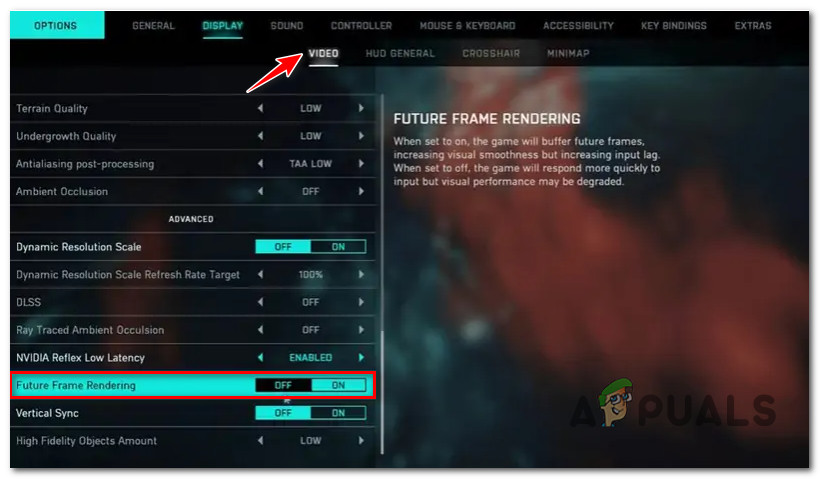
Disabling Future Frame Rendering on Battlefield 2042 - Disable Future Frame Rendering, save your changes, restart the game, and test if the crashes have stopped.
6. Edit the Machine GUID registry key
Less commonly, a Windows registry key might point to the wrong dependency, which can cause crashes at startup for Battlefield 2042.
- Press Windows key + R, type ‘regedit’, and press Ctrl + Shift + Enter to launch the Registry Editor as an administrator.
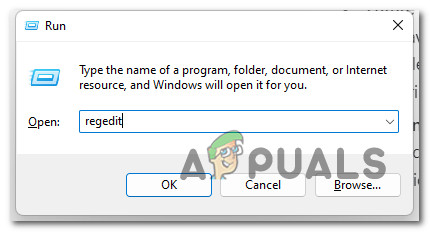
Opening up the Registry Editor - Click Yes if asked for permission.
- Navigate to:
HKEY_Local_Machine\Software\Microsoft\Cryptography\
Note: You can paste this path in the bar at the top or browse manually.
- On the right, right-click MachineGuid and select Modify.
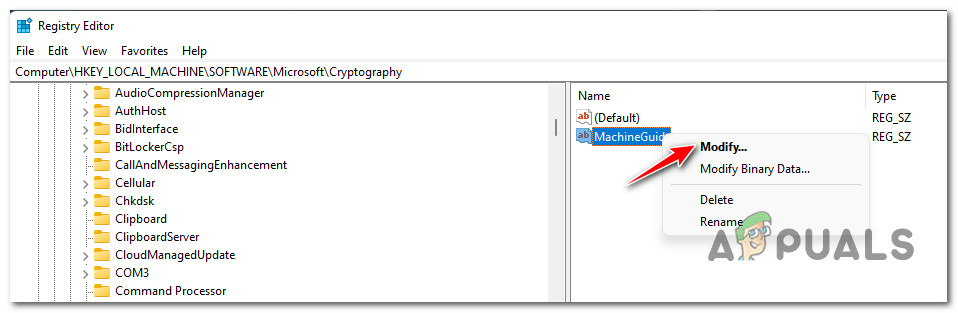
Editing the MachineGUID string - Set the value to:
d1eb246e-6243-4460-a88e-5d4e52b1ef6b
and click OK to save.
- Restart your computer, then launch Battlefield 2042 to check if the crash is gone.


Utter nonsense, just delete the settings folder. Worked for me!