How to Backup and Restore Sony Xperia Z+ DRM Keys and Keep DRM Functionality after Root
Sony’s line of Xperia phones are well-known for their incredible cameras and features like BionZ, built-in noise-cancelling, and X-Reality engine. However, fans of Android modding were disappointed to discover that all of these incredible Sony features operate via DRM key built into the devices TA partition, and unlocking the devices bootloader will format the TA partition – thereby losing all of your DRM keys, and enhanced camera and sound engine functionality as a result.
Fortunately, some of the Android development geniuses over at the XDA forums discovered a way to restore DRM functionality in unlocked Sony Xperia devices. Take note that the methods I will show do not restore your original DRM keys, but restore the functionalities disabled after the DRM keys are wiped.
This is not a guide to unlocking the bootloader and rooting your Sony Xperia phone. This is only a guide to back up your TA partition and restore DRM-protected functionality of your camera and other Sony app features.
How to Backup and Restore your DRM Keys
Before unlocking the bootloader and rooting your Sony Xperia, you should definitely make a backup of your TA partition. This way, you can restore your phone completely back to its original factory settings, should you ever decide to do so.
Step 1: Downgrade to Lollipop
This may sound like a pain in the neck, but unfortunately, the tool to back up the TA partition only works on Lollipop Kernel. Thus, you will need to:
- Download the Flash tool and install it.
- Download this firmware
- Open the Flash tool, and press the lightning bolt. Now choose “Flash mode”.

- Locate your Lollipop firmware and choose it
- Select all partitions in the Wipe Options – this is very important
- Turn off your Sony Xperia and wait for Flash tool to completely prepare the necessary files
- When instructed, hold your volume-down button while connecting the USB
- Flash tool will do a few more things, just wait for it to finish. Reboot your device when it’s done.
Now that you’ve downgraded to Lollipop, it’s time to back up the TA partition. We will use iovyroot, which will grant temporary root access, allowing us to extract the TA partition.
Extract iovy_v0.4.zip, and then run tabackup.bat
Once it’s completed, you will have a TA-xxxx.img file, which is your TA backup. Keep this file safe!
How to Restore the TA Partition
If something goes horribly awry with your device and you need to completely reset back to factory status, you will also need to restore the TA partition if you’ve previously unlocked your bootloader. Please note that restoring the TA partition will cause the bootloader to become locked again.
- Copy the TA-xxxx.img file you extracted to the Flash tool’s extracted folder.
- Connect your Sony Xperia with USB debugging enabled.
- Now open a command prompt on your computer, and type in this command:
Tarestore.bat {name of your TA file}
For example: tarestore.bat TA-14042017.img
Upgrading Your Xperia Firmware after Downgrading to Lollipop
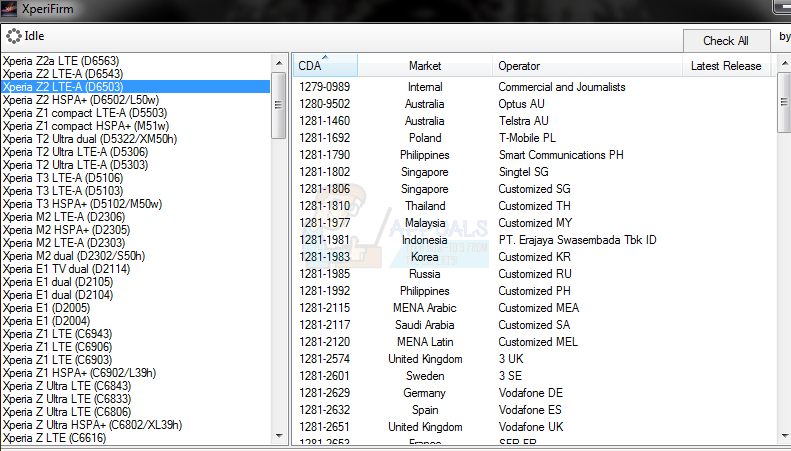
- Open Flash tool and navigate to the XperiFirm icon. This will allow you to download the latest firmware for your device.
- Click the lightning bolt icon in Flash tool and select Flash mode.
- Select the firmware you just downloaded and check all the boxes under the Wipe option. Exclude userdata checkbox if you want to keep your user data.
- Click flash and connect your Sony Xperia when instructed. Wait for the operation to complete, and reboot your device!

How to Restore DRM Functionality after Unlocking Bootloader
As I said previously in this guide, unlocking your bootloader will format the TA partition. Hopefully you followed my instructions for creating a TA backup, or you have already unlocked and rooted your Sony Xperia and do not care about proceeding forward. In any case, I will now show you how to restore the functionality lost by formatting the TA partition. This will not restore your DRM keys; it only tricks the device into restoring the DRM-protected functions!
For Z to Z5 Devices:
Download the appropriate .zip for your specific device in the following links:
Xperia Z, ZL, ZR >>>here<<<
Xperia Z1, ZU, Z1C >>>here<<<
Xperia Z2, Z3, Z3C >>>here<<<
- After downloading the .zip for your model, connect your Sony Xperia to your computer via USB, and drop the .zip into your storage.
- Boot into recovery and do a factory reset, then wipe your cache and dalvik cache.
- Now flash the .zip and reboot your device.
Xperia Z5 >>>here<<<
For Sony Xperia Z5 devices, you do not need to follow the previous instructions. Simply flash the .zip in your custom recovery such as TWRP. After flashing the .zip, delete /data/credmgr using a root explorer. Voilà!