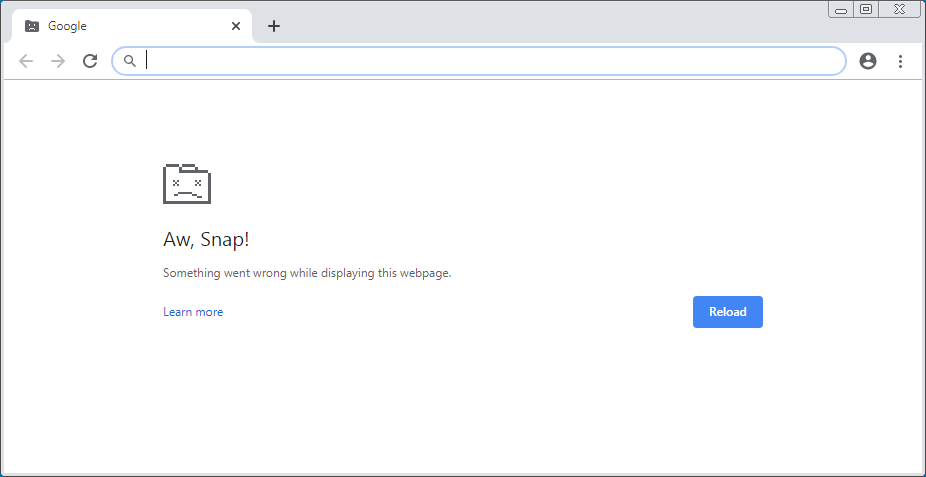
FIX: Aw, Snap! Error on Google Chrome
The “Aw, Snap!” error shows up while a page is loading, replacing the content you want to see with a crash message. This stops Chrome from showing anything on the page. This error means that Google Chrome could not display the webpage because something went wrong in its process.
The most common reason is that too much memory is being used, especially if you have many tabs open or are using heavy websites at the same time. Other possible reasons include a damaged browser cache, problems with images on the page, or issues caused by bad extensions or outdated drivers.
1. Reload the Webpage and Close Tabs
This is the quickest and easiest way to fix the “Aw, Snap! Error.” First, check if other websites are opening in separate Chrome tabs. If they are, reload the problematic webpage—the error may disappear. On Chrome, click the reload icon on the error message, or, if you don’t see it there, use the refresh button next to the address bar.
If you have a lot of tabs open, your system may be low on memory. Try closing some tabs and then reload the page. This often solves the issue.
2. Reboot Your Device
Restarting your device is an old but reliable troubleshooting step, and it can help fix the “Aw, Snap! Error.” If you’re on a mobile device, simply press the power button to turn off your device, then press it again to turn it back on. For computers, close all programs and shut down as you normally would. This can also install any pending updates that may fix the issue. Once your device has restarted, open Google Chrome and check if the error is gone.
3. Disable Extensions and Apps
If the steps above don’t work, the problem might be caused by a recently added extension or app in Chrome. To check your browser extensions, click the Menu button (three horizontal lines or three dots, depending on your Chrome version), go to Tools or Settings, then choose Extensions. Disable all extensions and restart Chrome. If the page loads correctly, one of your extensions may be causing the error. Try enabling them one at a time to find out which one is responsible.
Repeat a similar process for Chrome apps—uninstall apps one by one to find the culprit. Don’t worry; you can always reinstall any apps you remove.
4. Reset Chrome to Default Settings
Resetting Chrome to its factory settings can help if you’re still seeing the “Aw, Snap! Error.” Click the Menu button (three lines or dots), go to Tools or Settings. Scroll down in Settings and select Advanced Settings to show more options. Find Reset Settings and click it to restore Chrome to its original defaults.

5. Check Anti-Virus Settings and Run a Scan
Some users report that their anti-virus program or malware infection causes the “Aw, Snap! Error.” Start by running a full virus scan to make sure nothing harmful is stopping Chrome from loading webpages.
If the scan finds nothing, check your anti-virus settings to make sure it isn’t interfering with Chrome. Some security programs may block websites, or prevent Chrome from connecting to the internet. Try adding Google Chrome as an exception in your firewall or anti-virus software.
6. Create a New Chrome Profile
If none of the earlier steps work, you may need to create a new Chrome profile. Close Chrome, then open your file explorer. For Windows, press Windows + E to open Windows Explorer and enter %LOCALAPPDATA%\Google\Chrome\User Data in the address bar. (You can also press Windows + R to bring up the Run window, then enter that path.) Locate the Default folder, right-click it, and choose Rename—for example, change it to Backup Default. Open Chrome again, and see if the webpage will now load.
User Suggested Method
Some users have found that updating to the latest versions of Chrome or Chrome Canary helped resolve the “Aw, Snap! Error,” especially on Windows 10 (64-bit) with all the latest Microsoft updates installed.
– Chrome version: 53.0.2785.116 m (64-bit)
– Canary version: 55.0.2864.0 canary (64-bit)
Try updating your browser to see if this works for you.
The latest versions of Chrome & Canary seem to have corrected the Aw Snap Error for me running WIN 10 64 BIT with all of the latest MSFT updates installed.
Chrome version is Version 53.0.2785.116 m (64-bit)
Canary version is Version 55.0.2864.0 canary (64-bit)
I am NOT using the –no-sandbox flag with Chrome.