How to Fix AuthenticAMD.sys BSOD on Windows 10/11
The AuthenticAMD.sys BSOD usually happens during simple tasks like watching videos or just sitting on your desktop, causing your computer to crash suddenly with no warning. This problem is related to the AuthenticAMD.sys file, which is part of the AMD processor system.

It often leads to a WHEA_UNCORRECTABLE_ERROR (often shown as 0x124), which means there might be a serious problem with your computer’s hardware. The most common reason is faulty hardware, such as bad RAM or issues with the CPU. However, old chipset drivers, unstable BIOS settings, and using Fast Startup can also cause this problem.
Let’s go through some troubleshooting methods to help you fix this problem.
1. Update the Driver
The first thing we recommend doing after encountering the AuthenticAMD.sys blue screen of death is to update your AMD device driver. If the issue is related to an outdated driver, installing the latest version should resolve the problem for you.
Alternatively, you can download and install the chipset driver version recommended on your motherboard’s website. We’ve outlined both methods below, so you can choose the one that best fits your situation.
- Type Device Manager in the Windows search and click Open.
- In the Device Manager window, locate and expand the Display adapters section.
- Right-click on your AMD driver and select Update driver from the context menu.

Update the AMD driver - Next, click on Search automatically for drivers. Your system will scan and check if there is an updated driver version available.
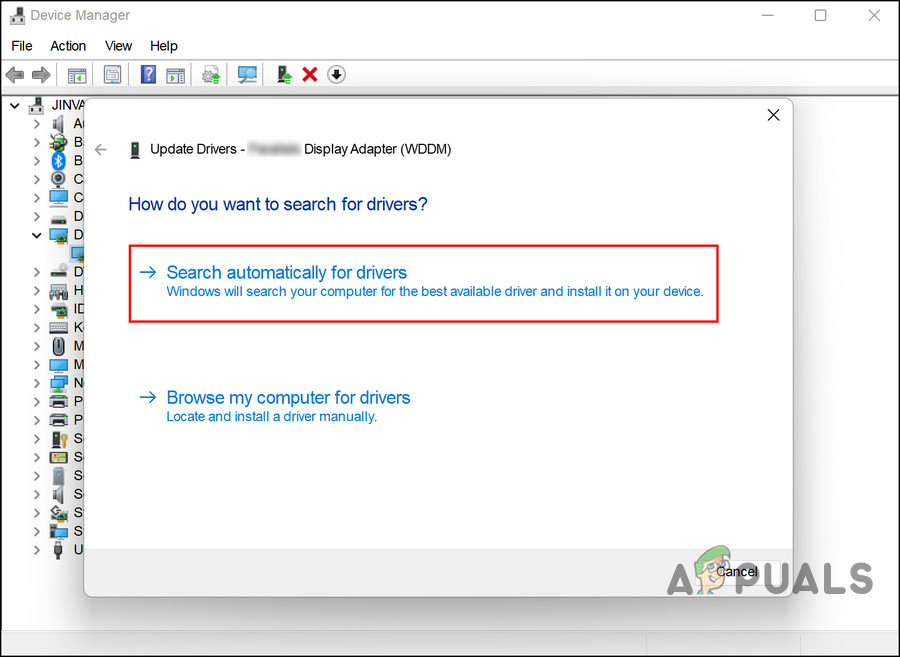
Search the system for updated driver software - Follow the on-screen instructions to complete the installation, and then restart your PC.
After restarting, check if the issue has been resolved.
If you prefer using the manufacturer’s website, open your browser and go to the support page for your PC or motherboard. Enter your device specifications and look for the latest compatible driver version there.
Once you find the right driver, install it and try performing the action that caused the crash. Hopefully, you won’t encounter the problem again.
2. Update BIOS
Some users have also found that updating their BIOS helped fix the issue. BIOS updates can help your computer recognize hardware properly and resolve errors like this.
- Press Win + S to open Windows search.
- Type Command Prompt and click on Run as administrator.
- Click Yes when prompted for permission.
- Inside Command Prompt, type the following command and press Enter:
wmic bios get smbiosbiosversion

Execute the entered command - Take note of your current BIOS version.
- Go to the download section on your device manufacturer’s website.
- Enter your device information to check for BIOS updates.
- If an update is available, download it.

Download the update - Extract the downloaded file and follow the instructions provided in the included readme.txt file to complete the update.
3. Run System Scans
You can also scan your system for potential issues using built-in Microsoft utilities. If any general corruption or inconsistencies are found, these tools can fix them automatically.
We’ll use System File Checker (SFC) and Deployment Image Servicing and Management (DISM) through the Command Prompt. SFC scans protected system files and replaces corrupted files with cached copies from a special folder. DISM is a command-line tool that can repair Windows images and update installation media.
To run both utilities, make sure you are logged into Windows as an administrator before starting.
- Type cmd in the taskbar search area and click Run as administrator.
- Alternatively, press Win + R to open the Run dialog.
- Type cmd in the Run box and press Ctrl + Shift + Enter to open Command Prompt with admin rights.
- In Command Prompt, type the following command and press Enter:
sfc /scannow
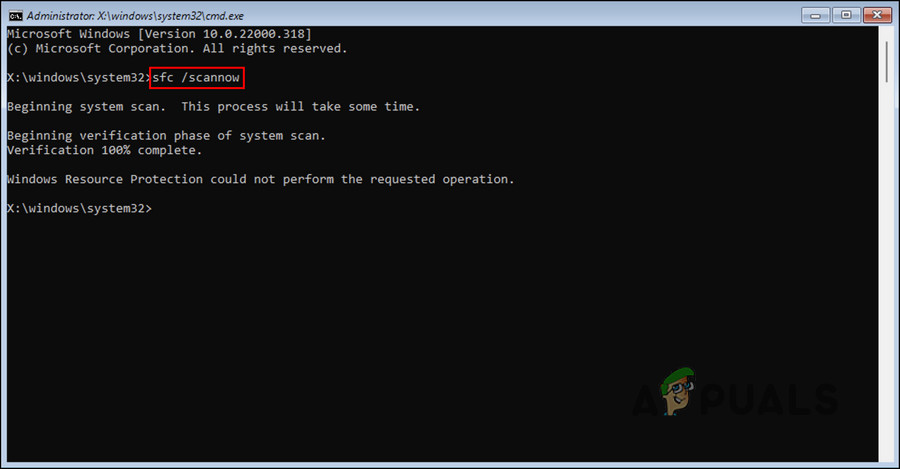
Run a system scan - After the SFC scan is done, enter this command and press Enter:
DISM /Online /Cleanup-Image /RestoreHealth
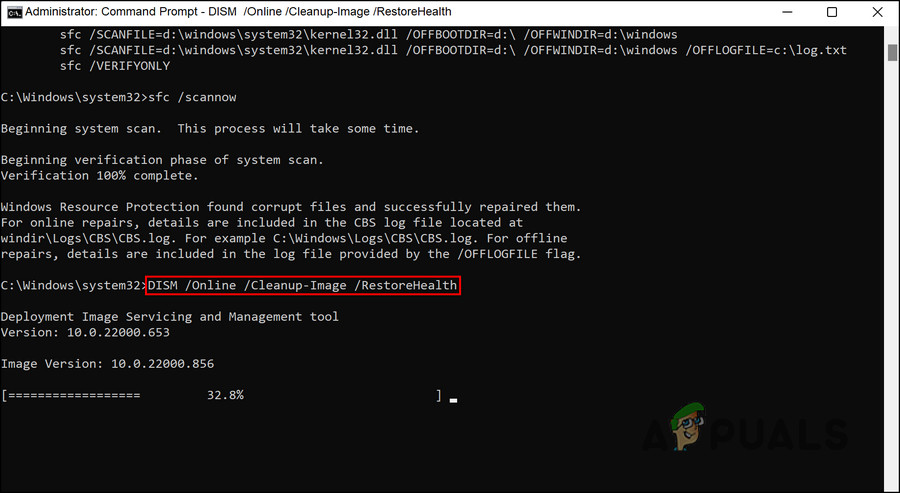
Run the restore health command
4. Disable Fast Startup
Some users have found that the Fast Startup feature was causing the problem.
Fast Startup helps your computer boot up quicker after shutdown, but it puts your system into a hibernation state instead of a full shutdown. This feature is enabled by default if your computer supports hibernation.
- Type Control Panel in Windows search and click Open.
- In Control Panel, type Power options and click on the relevant result.

Access the Power options in the Control Panel - Click on Choose what the power button does.
- On the right, click Change settings that are currently unavailable.

Change the unavailable settings - Go to the Shutdown settings section and uncheck the box for Turn on Fast Startup (recommended).

Disable fast startup in Control Panel - Click Save changes.
- Finally, restart your computer and check if the problem is resolved.
5. Update Windows
The problem could be due to missing system updates. If you haven’t installed updates for a while, checking for and installing them might help resolve the issue.
- Press Win + I together to open Windows Settings.
- Select Windows Update from the menu.
- Click the Check for updates button on the right and wait for Windows to find any available updates.

Click on the Check for updates button - Install any pending updates one by one, then check if your issue is solved.


Hello, thankyou for these suggestions. Unfortunately the problem is still persisting with my system. I would be happy to share more information if requested.