Fix: RadeonInstaller.exe – Bad Image (atiadlxx.dll is either not designed to run on Windows)
RadeonInstaller.exe may fail to start and show a “Bad Image” error mentioning atiadlxx.dll. This stops the Radeon Software installation right away. This error means that Windows cannot open the specified DLL file. The file might be damaged, not compatible with your version of Windows, or missing a proper signature.
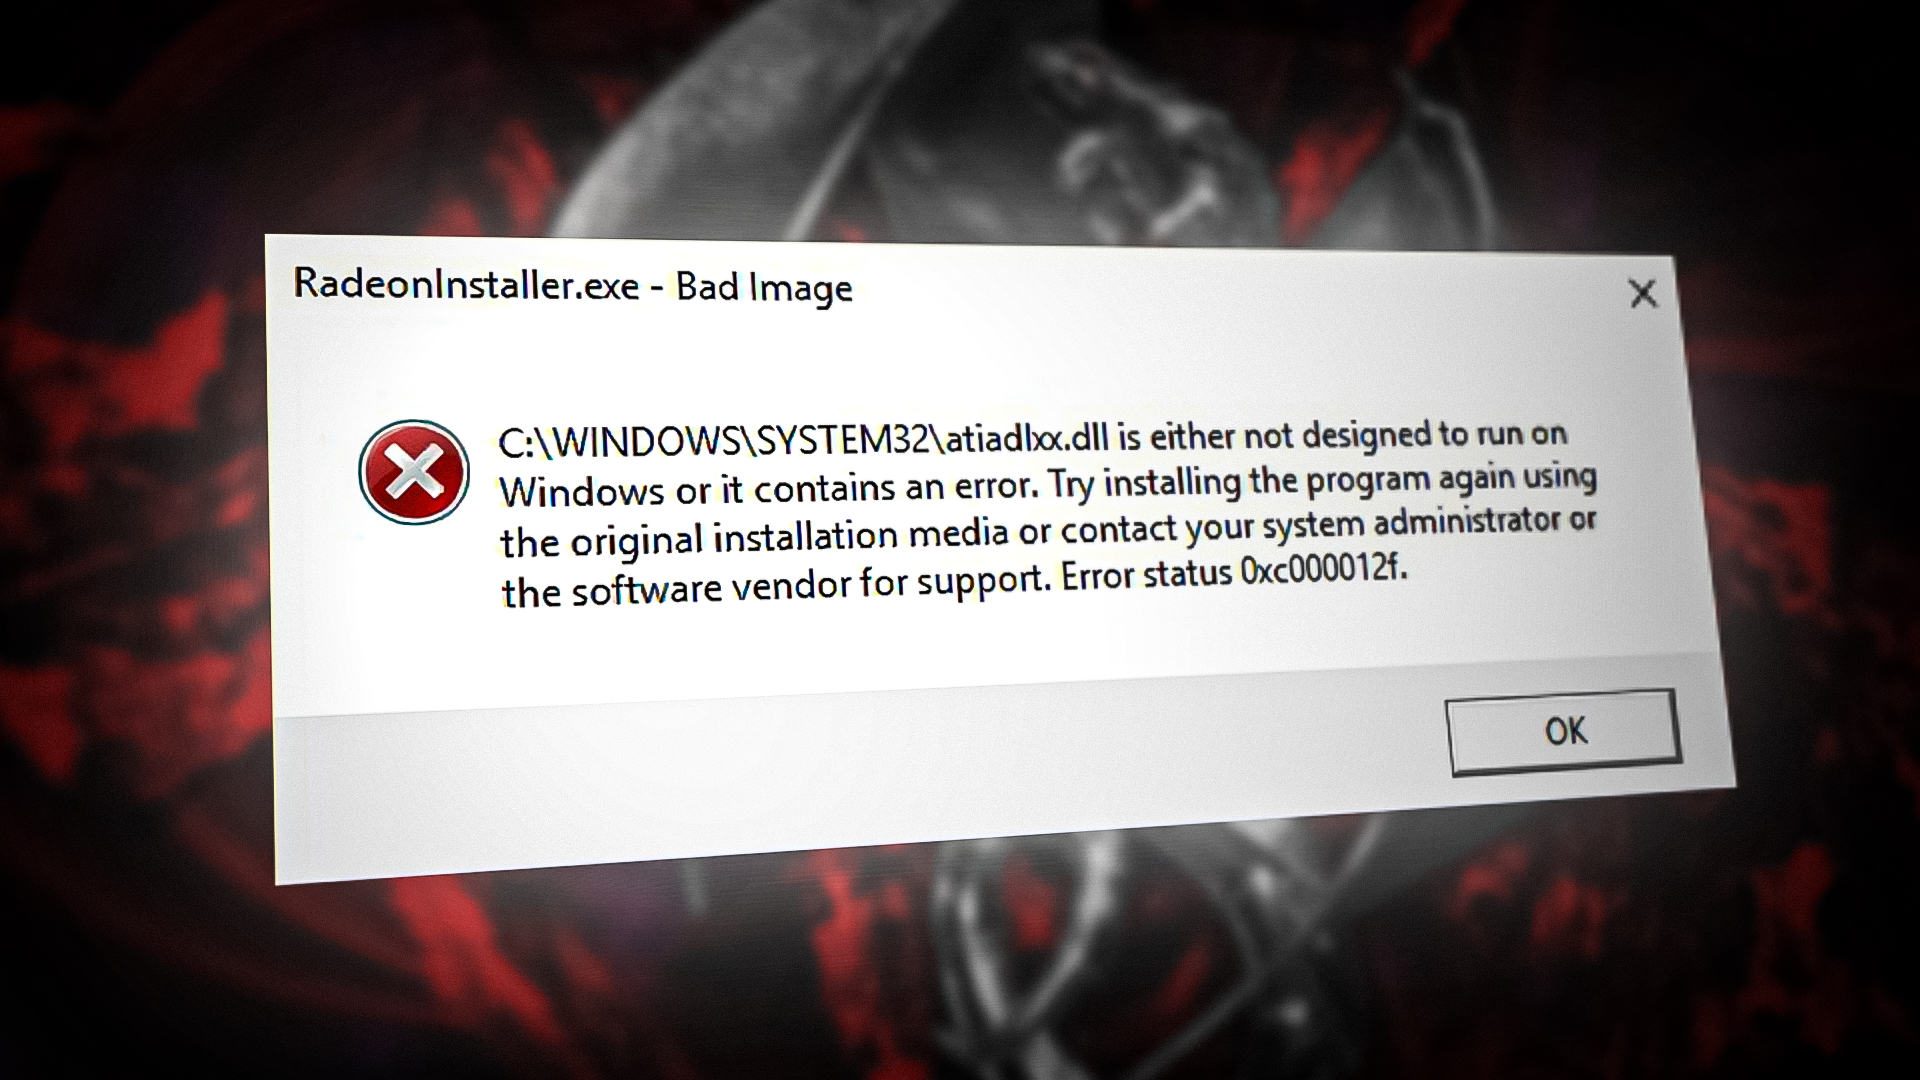
Most often, this problem happens because an old or broken atiadlxx.dll file was left behind from a previous AMD driver installation—especially after a failed update or incomplete uninstall.
This guide will help you fix the Atiadlxx.dll issue step by step.
1. Re-install Your Display Driver
A corrupted display driver is one of the main causes of this error, as it can stop certain programs from starting. To keep your system running smoothly, re-install your current display driver using the steps below:
1.1. Uninstall the Driver
- Press the Win + R keys together to open the Run command.
- Type “devmgmt.msc” (without quotes) in the search box and click OK to open Device Manager.
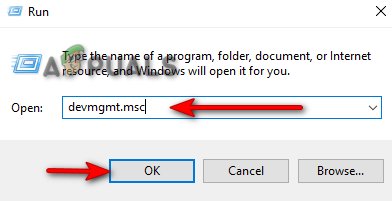
Opening the Device Manager - Click on Display adapters to expand the list and see your installed display driver.
- Right-click on your display driver and select Uninstall device.
1.2. Manually Install the Driver
- Open File Explorer by pressing the Win + E keys.
- Right-click on “This PC” and choose Properties.
- Copy your processor name from the “Device specifications” section.
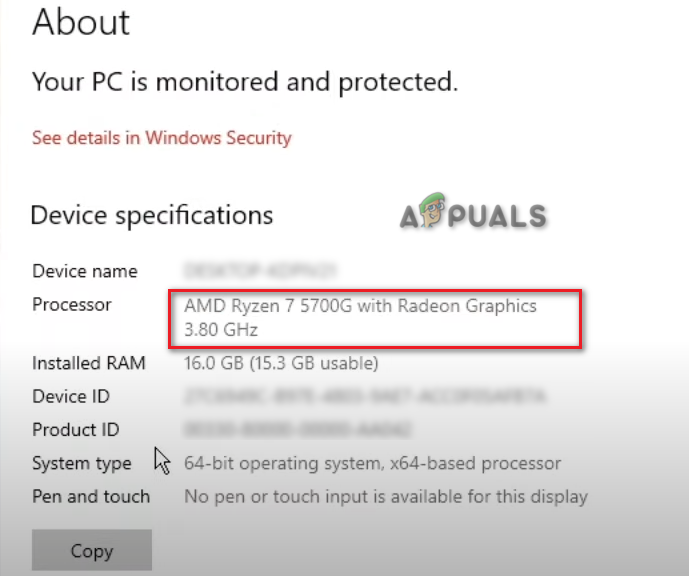
Checking Processor model - Go to the [Official AMD Drivers Website](https://www.amd.com/en/support).
- Select your product based on your installed processor.
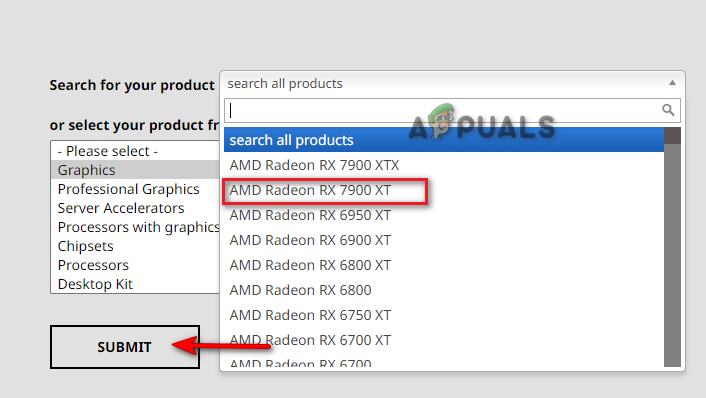
Selecting driver - Under “Drivers and Software,” select your Windows version, then click Download.
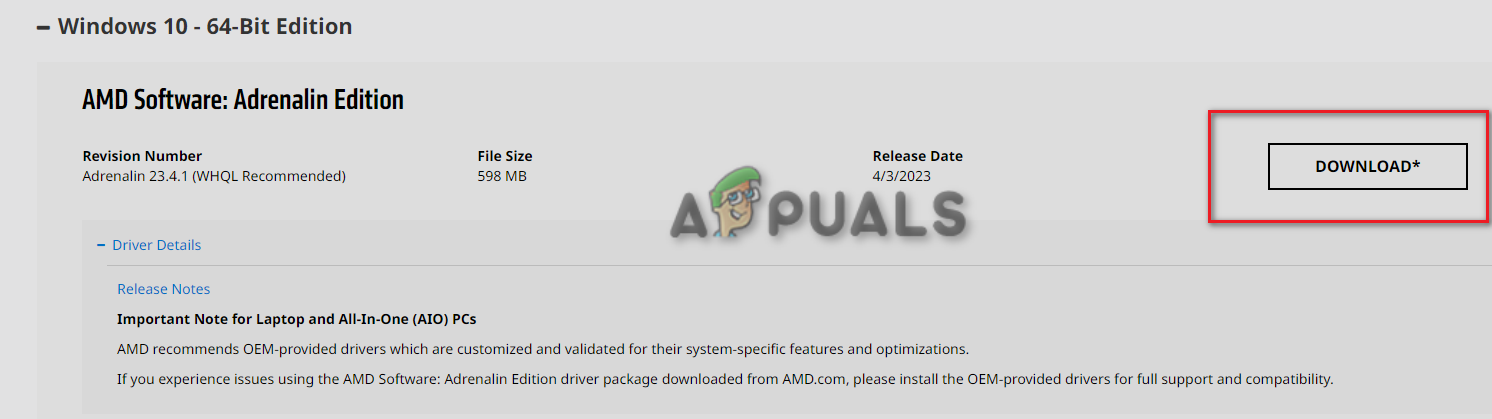
Downloading Driver - After the driver download finishes, find it in File Explorer.
- Double-click the driver file and click Install.
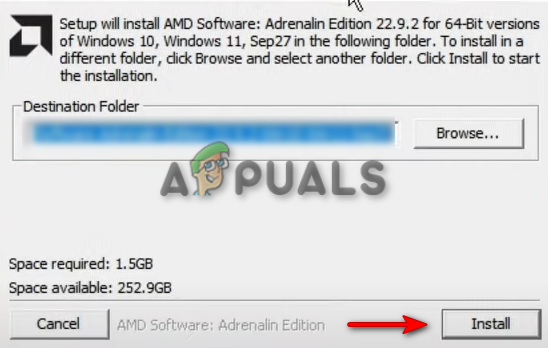
Installing AMD Setup - On the AMD Installation Window, click Install again.
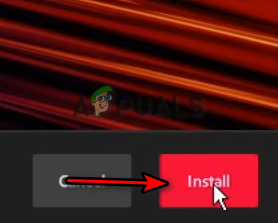
Installing AMD Driver - Finally, restart your computer to apply all changes.
2. Run System Scans
Make sure your system files are not corrupted by running Windows system scans. These tools check for and fix problems that might cause this error.
- Press the Win key to open the Start Menu.
- Type “cmd” in the search bar.
- Right-click on Command Prompt and select Run as administrator.
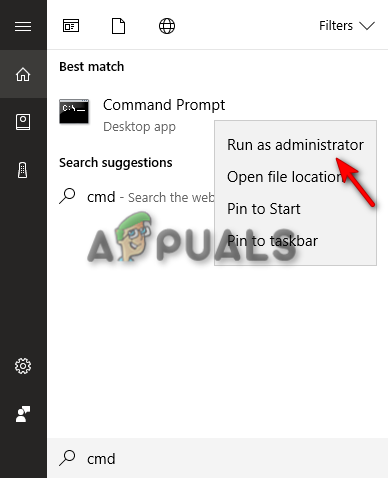
Running the Command Prompt as an administrator. - In Command Prompt, type the following command, making sure there is a space between “sfc” and “/”:
sfc /scannow
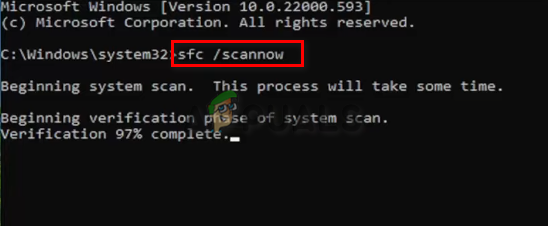
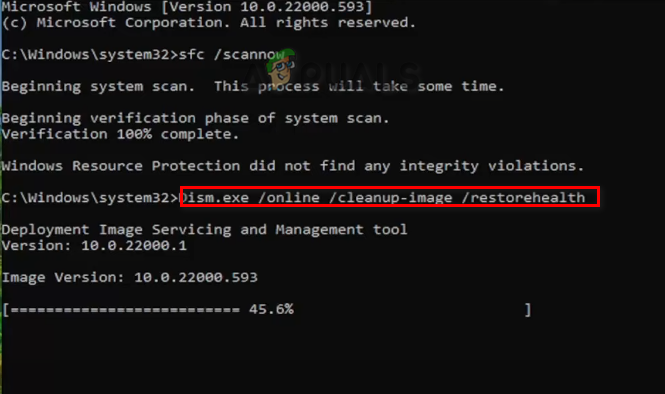
Running system file checker on the command prompt. - Windows will scan your system and try to fix any damaged files.
Dism.exe /online /cleanup-image /restorehealth
3. Manually Register the Atiadlxx.dll File
Unregistered DLL files can lead to errors like this one.
- Press the Win key to open the Start Menu.
- Type “cmd” in the search bar.
- Right-click on Command Prompt and choose Run as administrator.
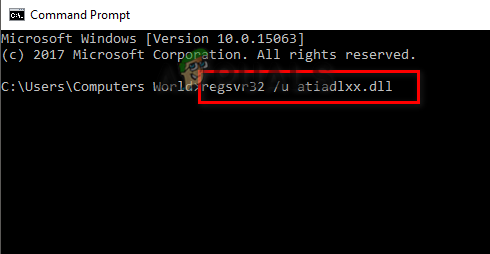
Running the Command Prompt as an administrator. - To unregister the atiadlxx.dll file, type this command and press Enter:
regsvr32 /u atiadlxx.dll
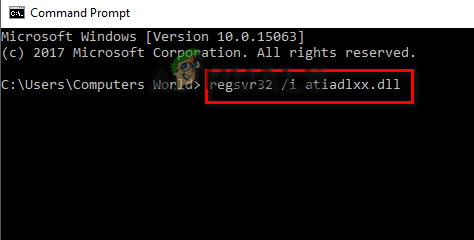
Unregistering the atiadlxx.dll file - Now, to re-register the file, enter this command and hit Enter:
regsvr32 /i atiadlxx.dll
Re-registering the atiadlxx.dll file - After registering the file, try opening your program again.
4. Manually Install the Atiadlxx.dll File
Missing DLL files can also trigger this error and stop programs from running. To fix this, you can manually download and install the Atiadlxx.dll file in the program’s folder.
- Go to the official DLL files website and download the atiadlxx.dll zip file.

Downloading the Atiadlxx.dll zip file - Click the three dots (menu button) in your browser and open the Downloads page.
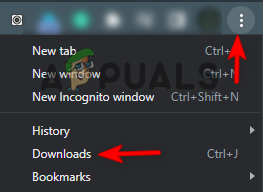
Opening the Downloads tab - Find the downloaded file and click “Show in Folder”.

Opening file in the folder - Right-click the zip file and select Extract here.
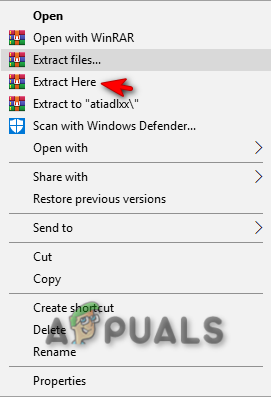
Extracting the file - Copy the extracted atiadlxx.dll file and paste it into the folder of the program you’re having trouble with.
- Restart your computer to save the changes.
5. Perform an In-place Upgrade
If the error still appears after trying all the above methods, performing an in-place upgrade is a good last resort. This process will update your Windows without deleting your programs, but it’s very important to back up your data first because there is a risk of data loss during the upgrade.


