How to Fix Asynchronous Socket Error 10053 on Windows?
The Asynchronous Socket Error 10053 usually happens when socket-based apps suddenly lose their connection during communication. This error, also called WSAECONNABORTED, means that the host system ended the connection because of a software problem. The most common reason is that the data was not successfully sent again—often because an expected ACK (acknowledgment) packet did not arrive, so Windows closes the socket.
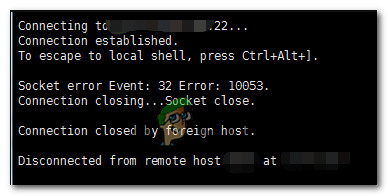
Other possible causes include interference from firewalls or antivirus programs, unstable network adapters, problems with proxy settings, or power-saving events like putting your computer to sleep. Now that you know the causes, let’s discuss the solutions.
1. Disable or Uninstall Overprotective Antivirus Suites (if applicable)
If you’re using a third-party antivirus suite and you see the 10053 error code while using your email client (such as when sending or receiving emails with VPOP3), your antivirus software could be the reason.
Some users have reported this problem most often with McAfee VirusScan and Norton Antivirus, although other antivirus software may also cause similar issues.
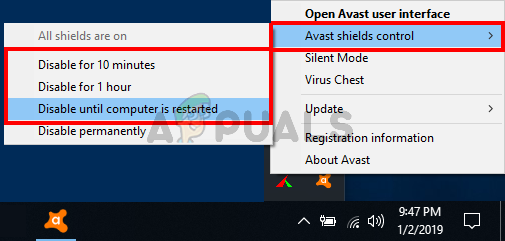
If you think this applies to your situation, start by disabling real-time protection to see if the error stops. Most antivirus suites let you right-click their icon in the system tray and temporarily disable real-time protection.
If simply disabling real-time protection doesn’t work, follow these steps to completely uninstall the conflicting antivirus software and remove any leftover files:
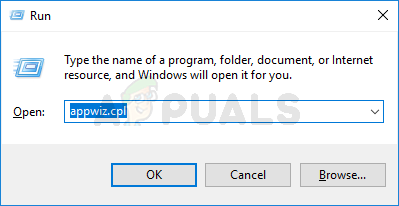
- Open a Run dialog box by pressing Windows key + R. Type ‘appwiz.cpl’ and press Enter to open the Programs and Features menu.

Type appwiz.cpl and Press Enter to See Installed Programs - Scroll down through the list of installed programs and find the antivirus or firewall you suspect is causing the issue.
- Right-click on it, select Uninstall, and follow the prompts to remove it.
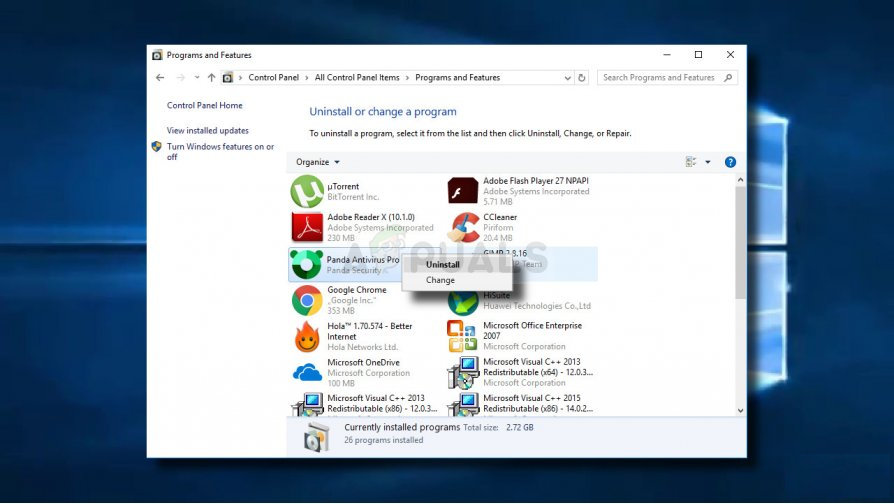
Uninstalling your antivirus - When uninstallation is finished, restart your computer.
- After your computer restarts, follow any additional steps from your antivirus provider to remove leftover files from the antivirus program.
- Once you have fully removed the third-party security suite, check to see if the issue is fixed.
2. Perform a Complete TCP/IP Reset
If you’re seeing the 10053 error code immediately after a TCP/IP connection is aborted by Windows, this could be due to problems with network data transmission or corrupted settings. A full TCP/IP reset can often fix these kinds of issues.
- Press Windows key + R to open the Run dialog box. Type ‘cmd’ and then press Ctrl + Shift + Enter to open Command Prompt with administrator rights. If you get a User Account Control prompt, click Yes.

Running Command Prompt as Administrator - In the Command Prompt window, enter each command below one at a time, pressing Enter after each:
ipconfig /flushdns
nbtstat -R
nbtstat -RR
netsh int reset all
netsh int ip reset
netsh winsock reset
- Once all commands have been executed successfully, close the Command Prompt and restart your computer.
- After your system restarts, try performing the action that caused the 10053 error to see if it’s fixed.
3. Reboot or Reset Your Router/Modem
If the TCP/IP reset didn’t solve the issue, your current network settings might be the problem.
Sometimes, Internet Service Providers (ISPs) assign temporary (dynamic) IP addresses that can conflict with SMTP settings, which may trigger the 10053 error code.
To address this, you can either restart or reset your network device:
- Restart the Router/Modem – This will refresh your network connection and update related settings.
- Reset the Router/Modem – This will clear all custom settings and restore your device to factory defaults.
We recommend starting with a simple restart first, and only doing a reset if restarting doesn’t fix the problem.
3.1. Restarting Your Router/Modem
- Find the On/Off button on your router or modem (usually on the back).
- Turn it off and unplug the power cable from the wall outlet.
- Wait for at least one minute to allow any remaining power to fully drain from the device.
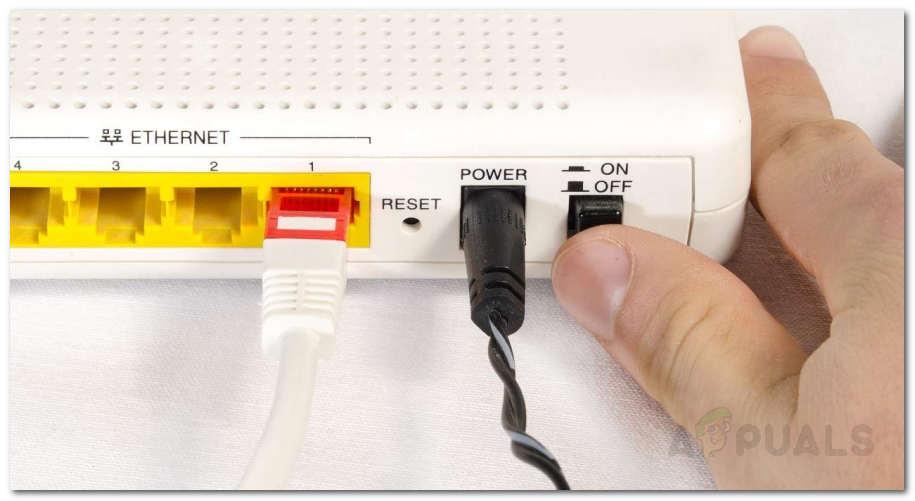
After waiting, plug everything back in, turn your device on, and wait for your internet connection to fully restore. Then, try to repeat the action that caused the error to check if the problem is resolved.
3.2. Resetting Your Router/Modem
If restarting the device did not work, you might be dealing with a deeper configuration problem inside your router or modem. In this case, a factory reset can help:
Important: Resetting your device will erase all your custom settings, including saved PPPoE credentials, port forwarding, and any filtering options you’ve set up.
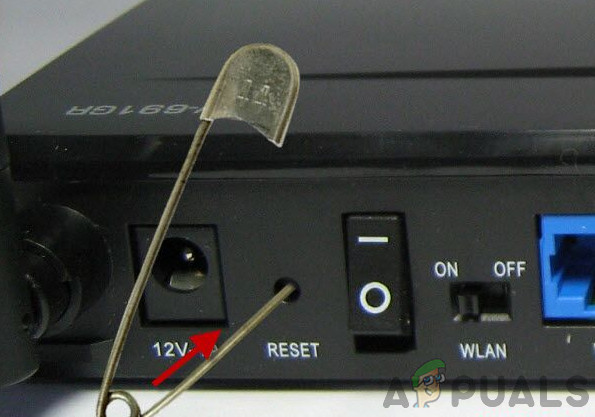
- Locate the Reset button (a small button usually found at the back of the device).
- You may need a pointed object, like a paperclip, to press and hold the Reset button for about 10 seconds, or until all the device’s LEDs flash at once.
After the device resets and your internet connection is back, check if the 10053 error code is gone. If your ISP uses PPPoE, you’ll need to re-enter your username and password.
4. Disable Proxy or VPN Connection (if applicable)
If none of the previous solutions worked and you’re using a VPN client or proxy server to hide your connection, this is likely what’s causing the 10053 error.
Many users have reported that disabling their VPN or proxy fixed this specific problem. Follow the steps below based on whether you’re using a VPN or a proxy:
4.1. Uninstall System-level VPN
- Press Windows key + R to open the Run dialog. Type ‘appwiz.cpl’ and press Enter to open Programs and Features. If prompted by the User Account Control (UAC), click Yes.
Type appwiz.cpl and Press Enter To Open Installed Programs - Find your VPN software in the list, right-click on it, then select Uninstall.

Uninstalling a VPN tool - Follow the prompts to complete the uninstallation. Restart your computer and check if the issue is resolved after your next startup.
4.2. Disable the Proxy Server
- Press Windows key + R to open the Run dialog. Type ‘inetcpl.cpl’ and press Enter to open the Internet Properties window. If prompted by the UAC, click Yes.
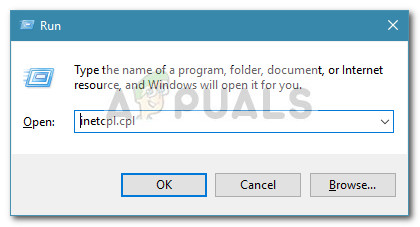
Run dialog: inetcpl.cpl - Go to the Connections tab at the top, then click on LAN Settings.

Open LAN settings in Internet Options - In the Local Area Network (LAN) Settings window, find the Proxy server section and uncheck the box labeled Use a proxy server for your LAN.
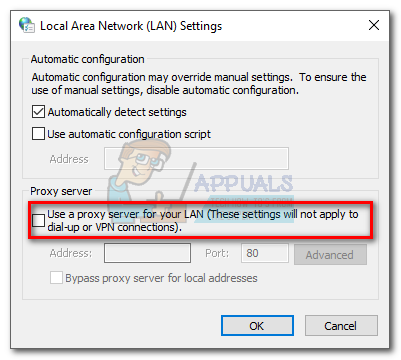
Disabling the Proxy server - Click OK to save your changes, then restart your computer and see if the problem is resolved.


Thanks! I was trying everytihng I was thinking of, most google results just showed “Turn off your antivirus and firewall”, which I already did before. Turns out it was because of a VPN. Without this article I would’ve never thought about it! Thanks a lot!