Fix: Application made too many requests (Error 0x80860010)
When this error appears, the app shows the message, “This application made too many requests… Press Retry to continue,” and then stops working. This usually happens right after you try to sign in several times or download things repeatedly.
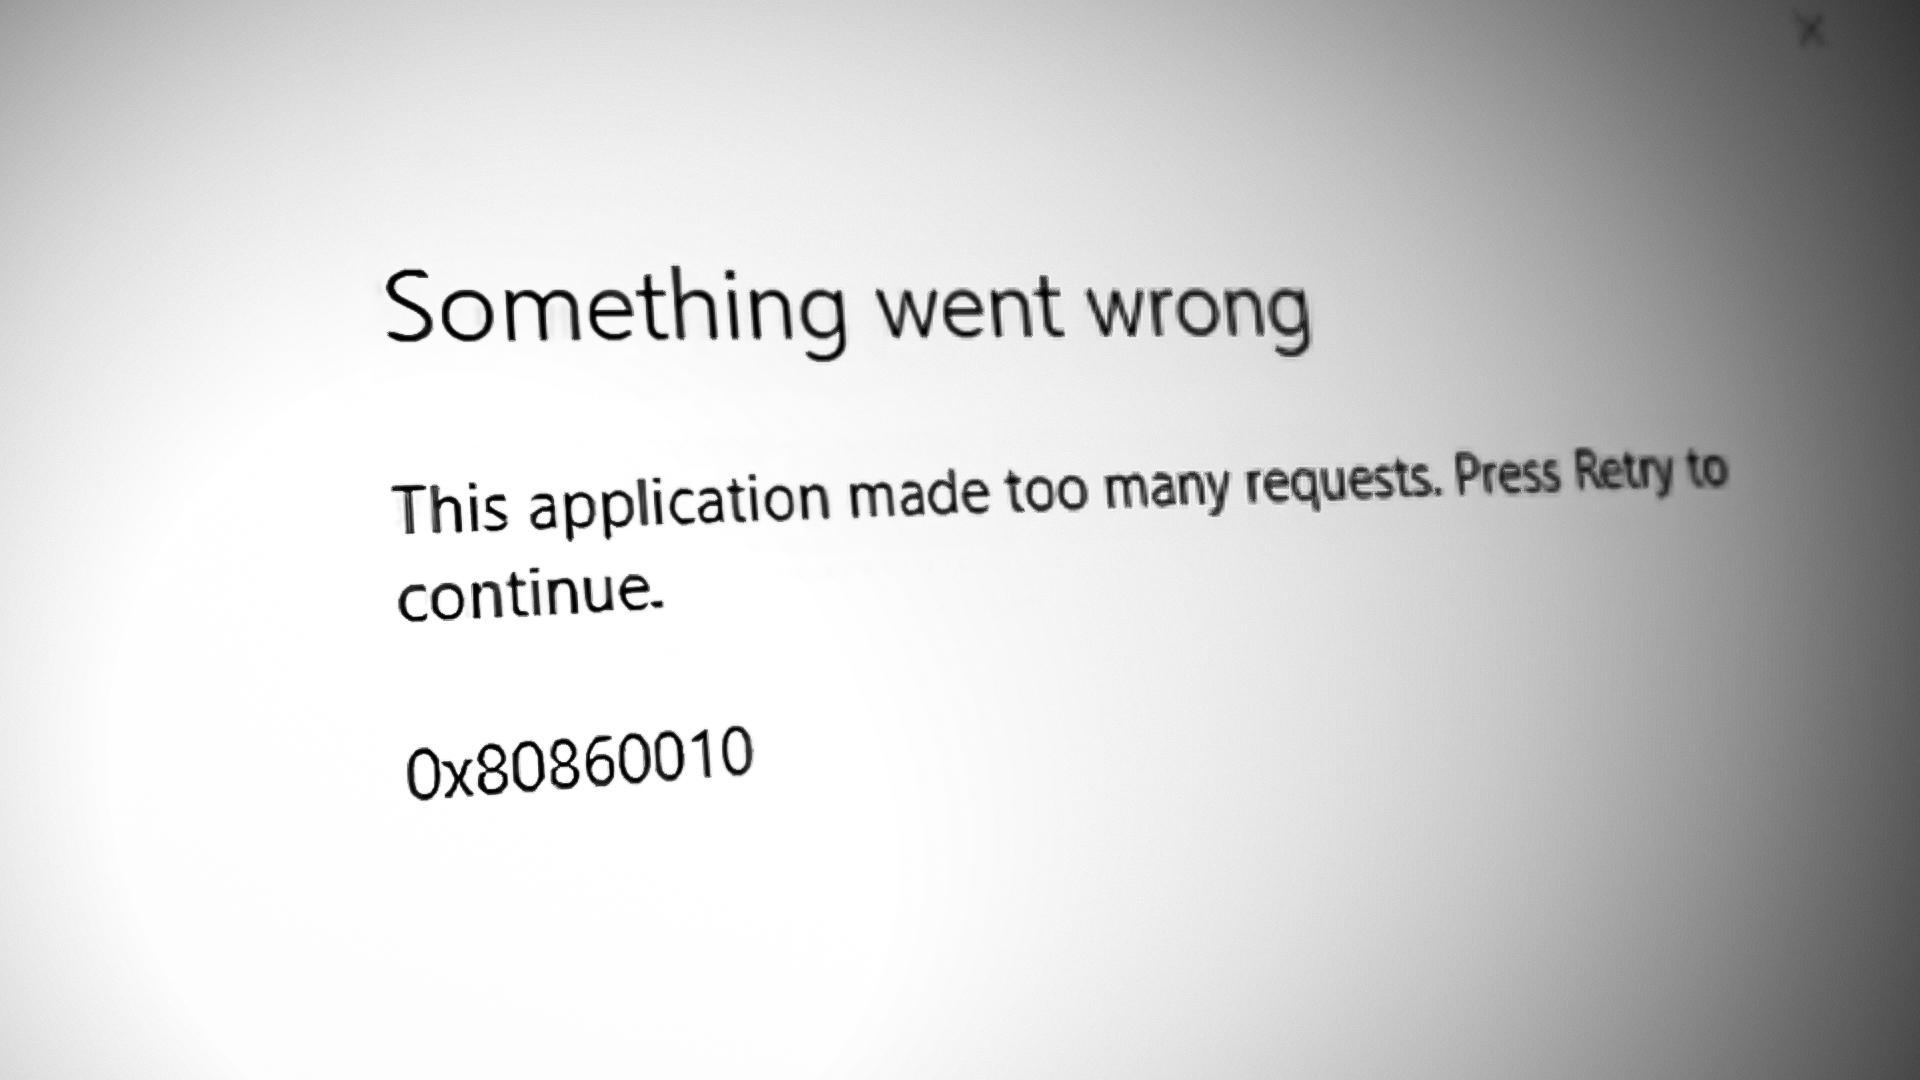
Error 0x80860010 means that the app sent too many requests to Microsoft services within a short time.
The main reason for this error is usually a damaged Microsoft Store cache or trying to sign in too many times very quickly. Other possible reasons can include issues with your account profile or problems syncing your account.
In this guide, we’ll walk you through different methods to fix the 0x80860010 error code.
1. Change the Time Zone
One common cause of this error is an incorrect time zone setting. If your computer is set to a time zone that doesn’t match your actual location, Microsoft Store apps may stop working correctly. To resolve this, double-check your time zone and adjust it if needed. Here’s how to sync your computer’s time with the internet:
- Press Win + I to open Windows Settings.
- Go to Time & Language > Date & Time.
- Set the time zone to match your local time by turning ON both “Set time automatically” and “Set time zone automatically“.
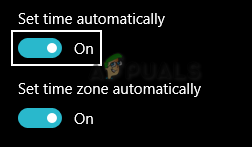
Setting time automatically - Restart the Microsoft Store and try launching your app again.
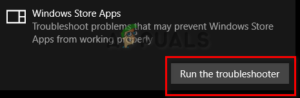
2. Run the Windows Store Troubleshooter
The Windows Store Troubleshooter can automatically find and fix issues with the Microsoft Store. To use it:
- Press Win + I to open Settings.
- Go to System > Troubleshooter.
- Scroll down and click Windows Store Apps near the bottom of the page.
- Click Run the troubleshooter.
Running the Windows Store troubleshooter - Follow the recommended steps (for example, you might be asked to reset the Microsoft Store App).
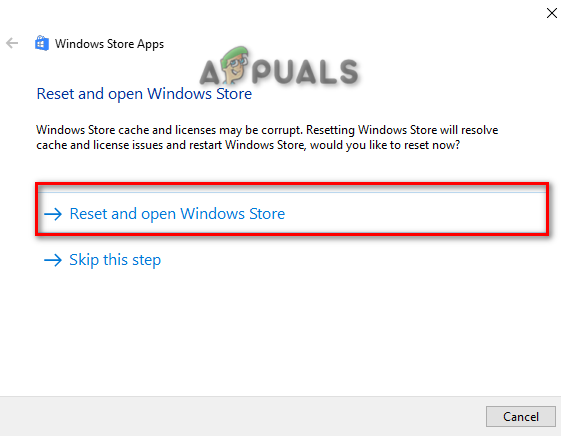
Resetting the Windows Store
3. Verify Your Microsoft Account (if applicable)
If your Microsoft Account is not verified, you may have trouble accessing certain Microsoft programs and apps. To verify your account:
- Open Settings by pressing Win + I.
- Go to Accounts > Your Info.
- Click on “Verify” under “Manage my Microsoft account“.
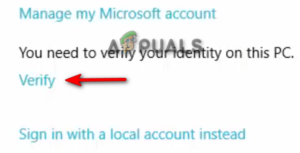
Verifying the Microsoft Account - Follow the prompts to add your phone number and enter the verification code you receive.
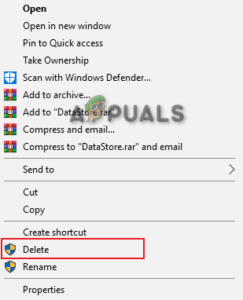
4. Delete Temporary Files in the DataStore Folder
Corrupted files in the DataStore folder can also trigger this error. To remove these temporary files:
- Press Win + E to open File Explorer.
- Paste this into the address bar to open the DataStore folder:
C:\Windows\SoftwareDistribution\DataStore
- Select all files by pressing Ctrl + A.
- Right-click and select Delete.
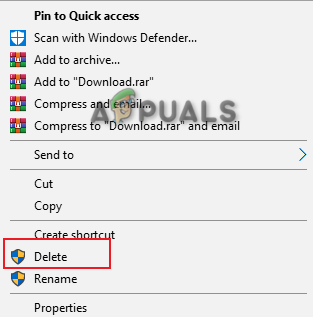
Deleting temporary log files - Next, go to:
C:\Windows\SoftwareDistribution\Download
- Select all files in this folder as well and delete them.
Deleting Temporary files
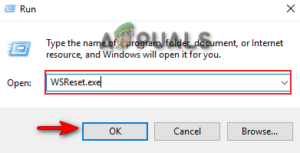
5. Reset the Microsoft Store Cache
Since cache corruption is a major culprit, resetting the Microsoft Store cache is a great way to resolve the issue:
- Press Win + R to open the Run dialog.
- Type WSReset.exe and press OK.
Resetting Microsoft Store Cache
- Press Win + I and go to Settings.
- Navigate to Apps > Apps and Features.
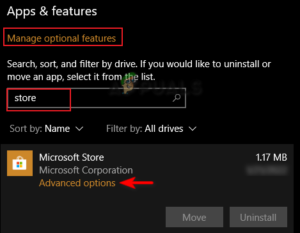
- Search for “Store” in the search bar under “Manage optional features.”
- Click Advanced options under Microsoft Store.
Opening Microsoft Store Advanced options - Scroll down and click the Reset option.

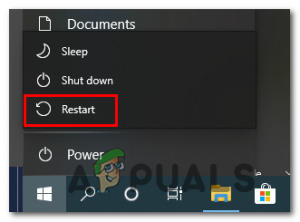
Resetting Microsoft Store - Press the Win key, select the Power icon, and click Restart to save changes.
Restarting the Windows computer
6. Turn Off the Proxy Server
Proxy servers are often used for privacy, but they can sometimes interfere with the way Microsoft Store apps connect to the internet.
- Press Win + I and go to Settings.
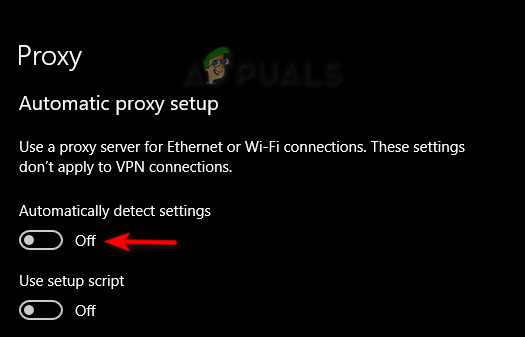
- Navigate to Network & Internet > Proxy.
- Turn off “Automatically detect settings” under Automatic proxy setup.
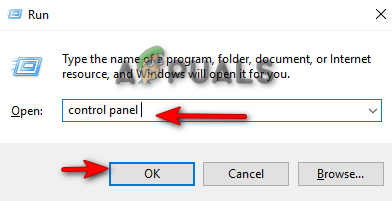
Turning off the Proxy server - Press Win + R and open the Run dialog.
- Type “Control Panel” and click OK.
Opening the Control Panel - Go to Network and Internet > Internet Options.
- Select the Connections tab and click LAN Settings.
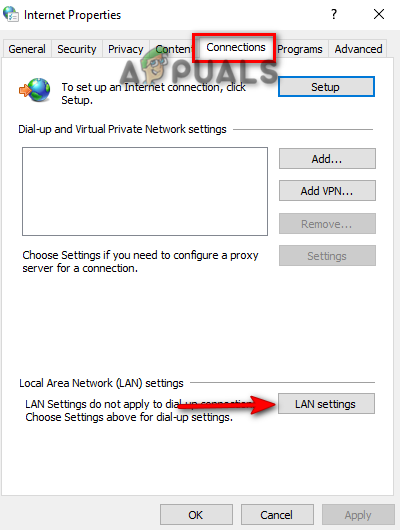
Opening LAN Settings - Uncheck “Use a proxy server for your LAN“.
- Click OK and restart your programs from the Microsoft Store.
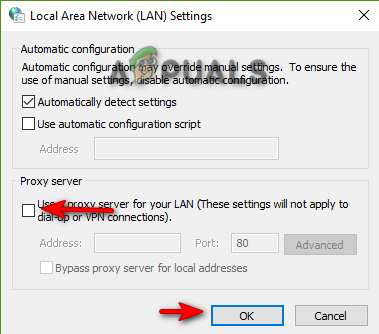
Turning off the Proxy server for LAN
7. Create a New User Account
Sometimes, this error can be caused by a corrupted user account. Creating a new user account can help fix the problem. Before you start, make sure to back up your important files in case you need to move them to the new account.
If you prefer not to create a new account, continue with the methods below.
8. Update Your Windows
Running Microsoft apps on an outdated version of Windows can lead to errors. Always make sure your system is up to date.
- Press Win + I to open Settings.
- Navigate to Update & Security > Windows Update.
- Click “Check for Updates“.
- If updates are available, click Download and let Windows update your system.
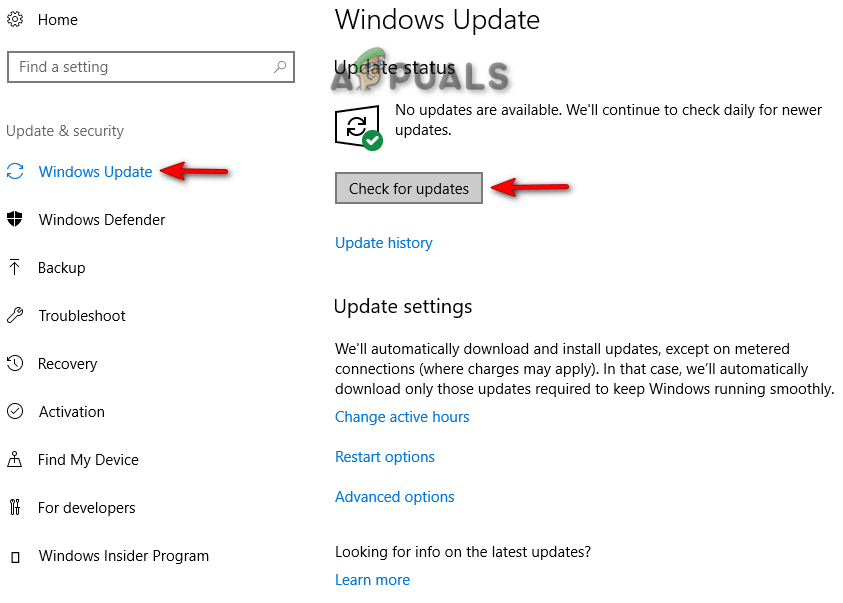
Checking Windows Update - After installation, restart your computer.
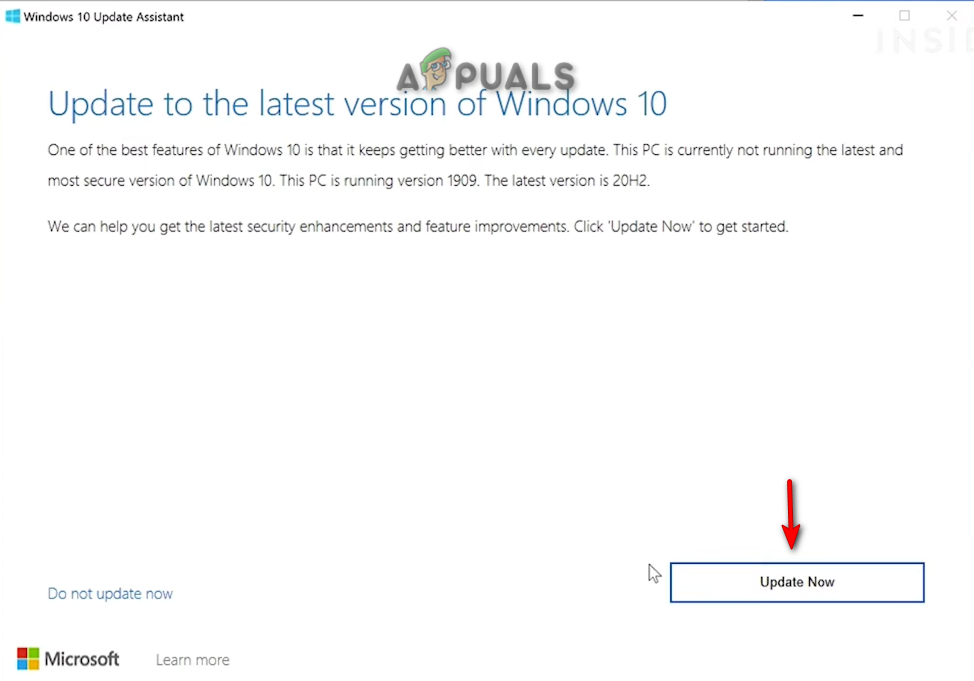
- Visit the official Microsoft website and click “Update Now“.
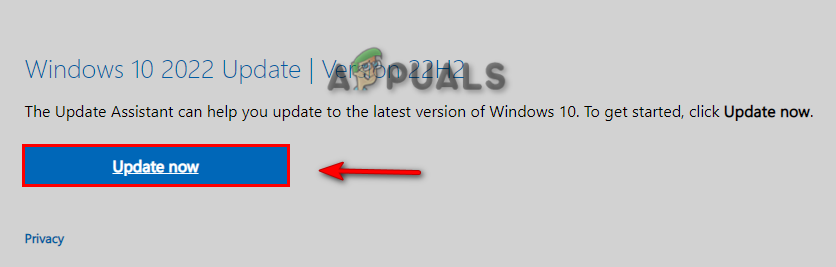
Downloading the Latest Windows Update - Install the update by clicking on “Update Now“.
Installing Windows Update - Restart your computer when prompted.

Restarting Computer
9. Download the Application from the Official Website
If a particular app is having issues, you might be able to get around the error by downloading it directly from its official website. For example, if the problem is with WhatsApp, just visit the official WhatsApp website and download the app for Windows.
10. Reinstall Microsoft Store App Using PowerShell
If none of the above steps work, you can try reinstalling the Microsoft Store app using PowerShell. This advanced step can help fix persistent problems.
- Open Avast Antivirus and go to Menu > Settings > Protection > Core Shields.
- Turn off the Core Shields feature.

Turning off the Avast Core Shield - Right-click the Windows Start icon and select “Task Manager“.
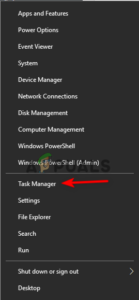
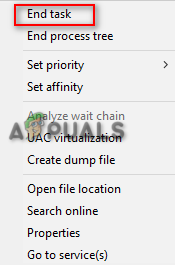
Opening the Task Manager - Find the Avast program, right-click it, and click “End Task“.
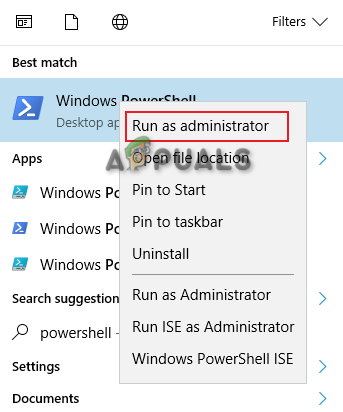
Ending the task - Press the Win key and type “Powershell“.
- Right-click Windows PowerShell and choose “Run as administrator“.
Running Windows PowerShell as an administrator - Copy and paste the following command to uninstall the Microsoft Store, then press Enter:
Get-AppxPackage -allusers *WindowsStore* | Remove-AppxPackage
- Then, copy and paste this command to reinstall it, and press Enter:
Get-AppxPackage -allusers *WindowsStore* | Foreach {Add-AppxPackage -DisableDevelopmentMode -Register “$($_.InstallLocation)\AppXManifest.xml”} - Wait for the process to finish, then restart your computer.
11. Run Windows in Safe Mode
If you’re still seeing the error, try booting your system into Safe Mode. This starts Windows with only the essential drivers and services, which can help identify if a background process is causing the issue.
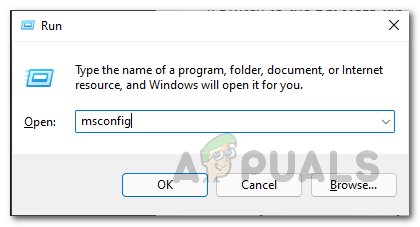
- Press Win + R and type “msconfig“, then click OK.
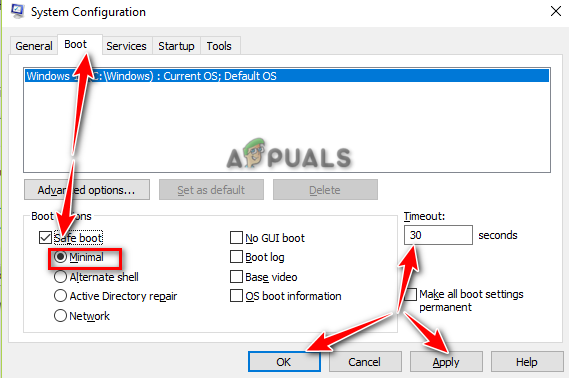
Opening System Configuration - Go to the Boot tab and check “Safe boot“.
- Select “Minimal“.
- Click Apply and then OK.
Booting System on Safe Mode - Restart your computer when prompted.

Restarting computer
11.1. Using the Windows Installation Media Tool
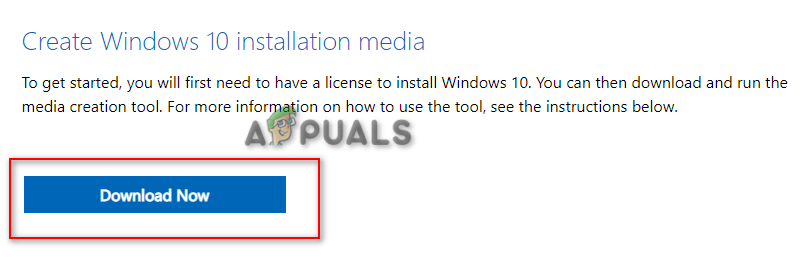
- Visit the official Microsoft website.
- Click “Download Now” under “Create Windows 10 installation media”.
Downloading the tool - Choose where to save the file and click Save.
Saving the file in the folder - Open your browser’s download page via the menu and select Downloads.
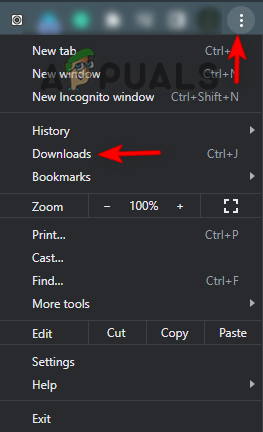
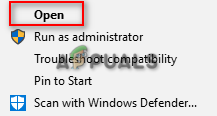
Opening the Downloads tab - Click “Show in Folder” to locate the tool.

Opening the EXE file location - Right-click the .exe file and choose “Open“.
Opening the EXE File - Click “YES” if prompted for permission.
- Accept the terms and conditions.
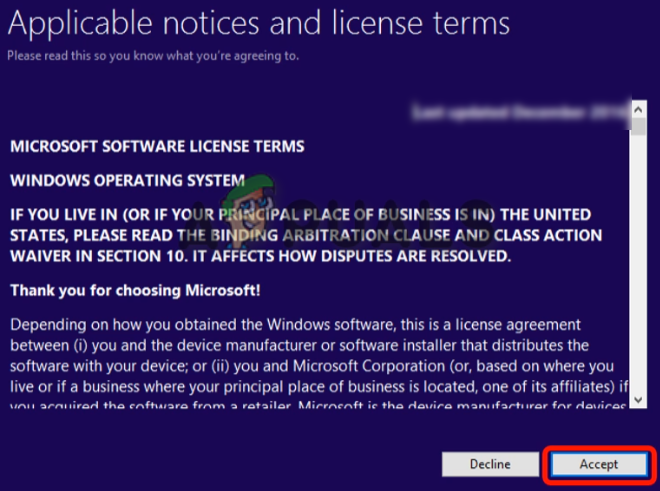
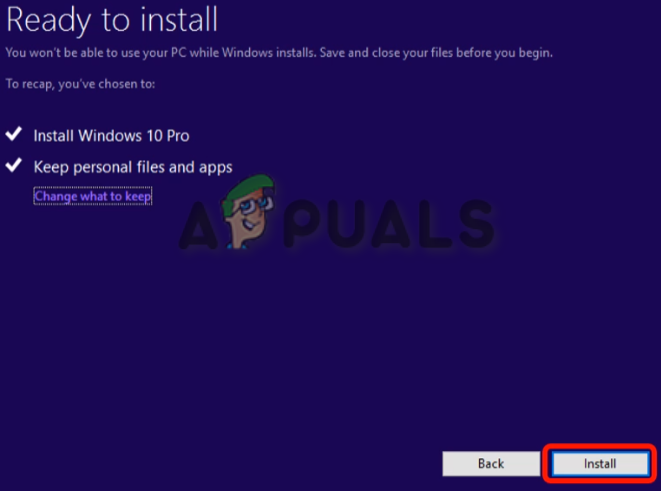
Accepting the terms and conditions - On the “What do you want to do now” page, choose “Upgrade this PC now“.
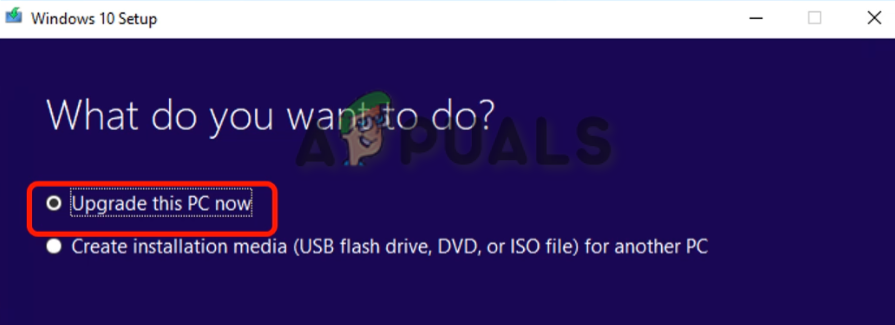
Upgrading this PC now - Click “Install” to begin.
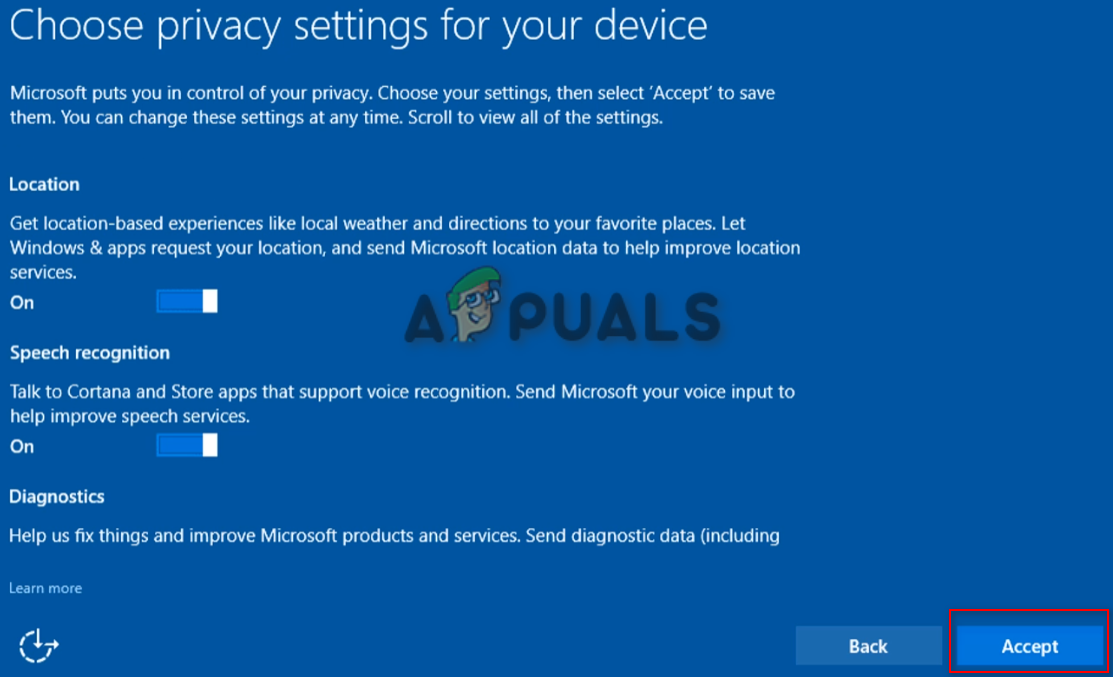
Installing the tool - Sign in and choose your device’s privacy settings.
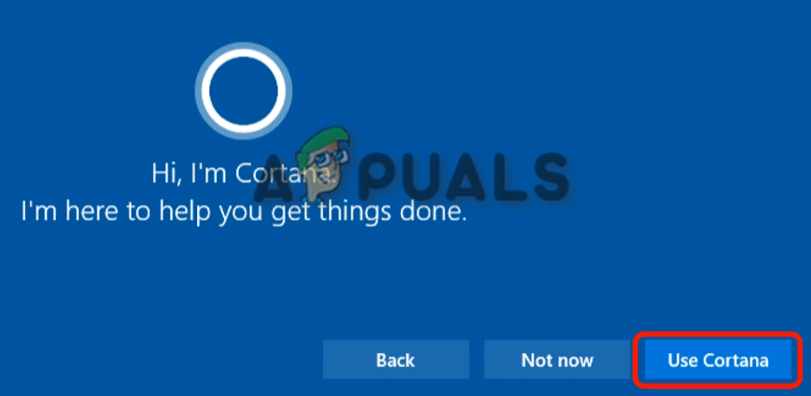
Choosing Privacy Settings for your device - Follow the on-screen instructions, such as setting up Cortana if you want.
Using Cortana - You’ll eventually be taken to your Windows screen saver or sign-in screen.


