What To Do If Your Android Screen Keeps Dimming?
The screen often dims by itself during normal use, even when the brightness is set to the highest level and auto-brightness is turned off. This usually means that the brightness is being controlled by software, either from features like adaptive lighting or from safety settings that protect the phone when it gets too hot.
The most common reason is that Android’s adaptive brightness feature is not reading the surrounding light correctly. In some cases, the screen gets dimmer if the phone starts overheating, or if power-saving mode is turned on. Some devices will also lower the brightness if the face recognition or proximity sensors think something is blocking them.
In this article, we’ve included several methods that can fix the screen dimming issue. Just follow the step-by-step guide below, and remember to do them in the order listed for the best results.
1. Disable Adaptive Brightness
The first thing you should try is turning off the Adaptive Brightness feature. If enabled, your Android device will keep changing the screen brightness depending on the lighting around you.
- On your Android phone or tablet, open the Settings app.
- Select Display in the Settings menu.
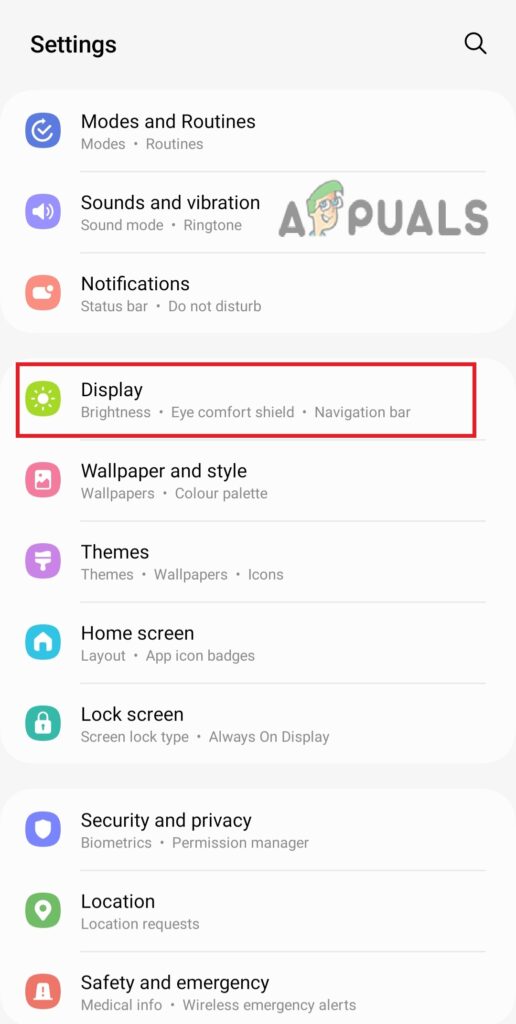
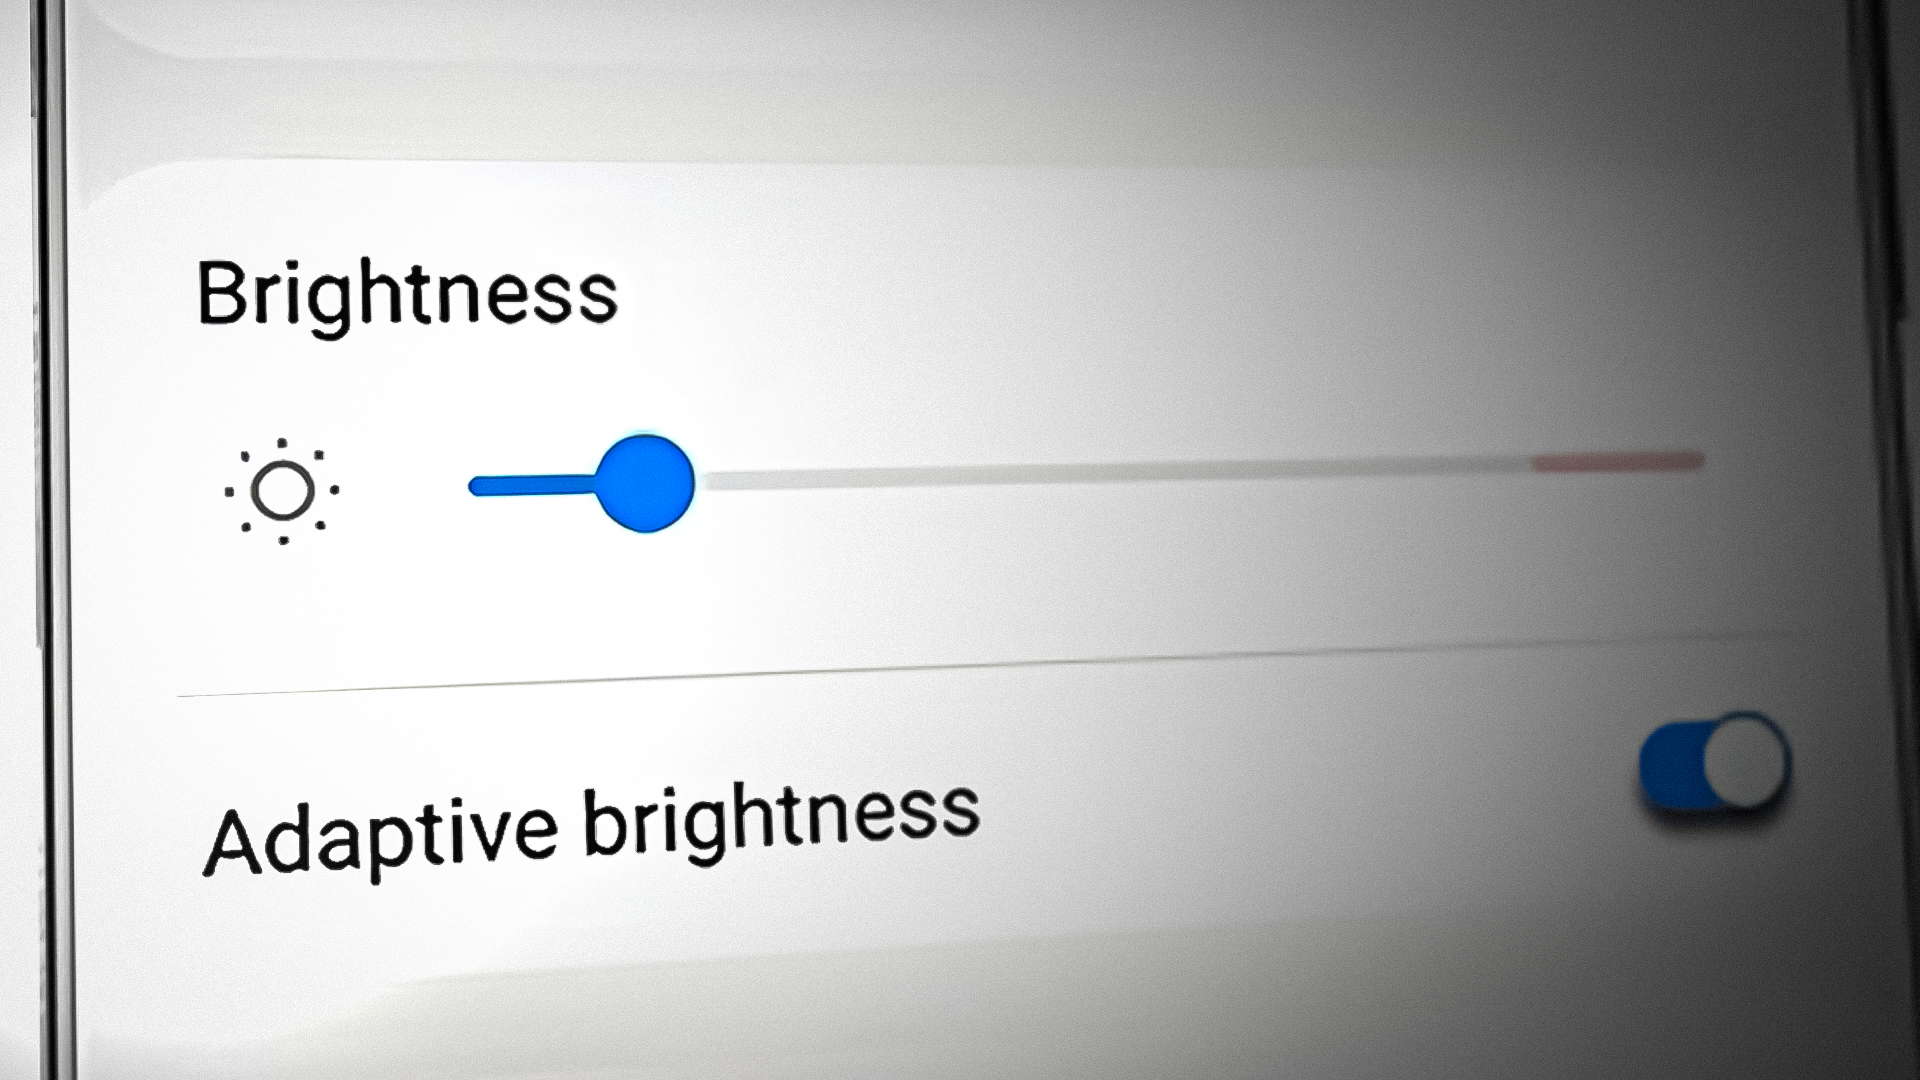
Go to Display - Scroll down to find the Adaptive brightness option. If it is ON, tap the toggle to turn it off.
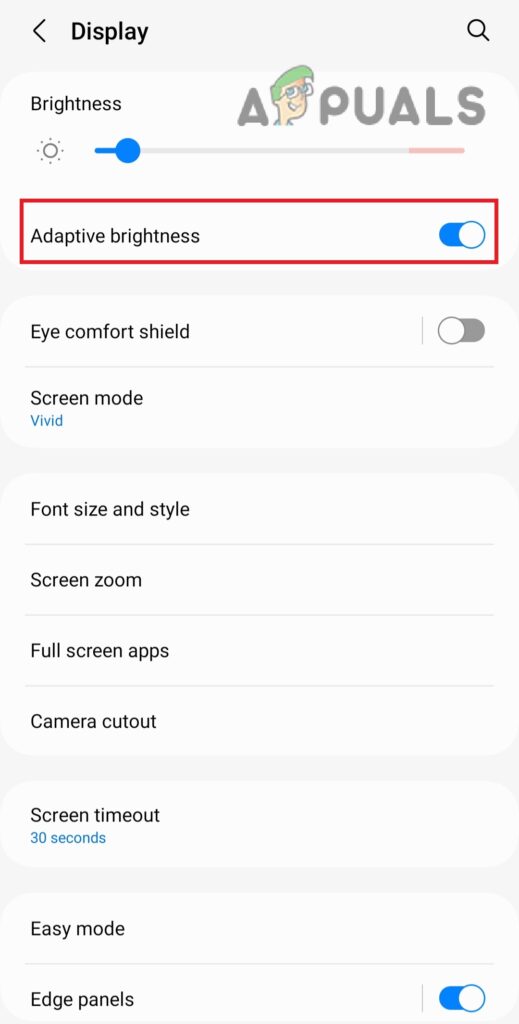
Turning off Adaptive brightness - You can then manually raise the screen brightness by sliding the brightness bar to the right.
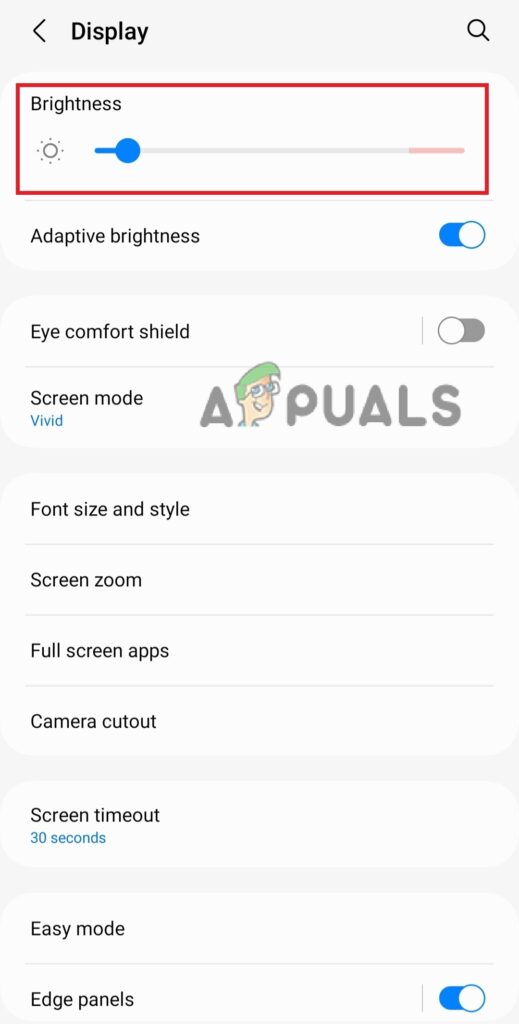
Slide the bar to increase the brightness
2. Increase The Screen Timeout
Check the Screen Timeout setting on your phone. If it’s set to a short duration (like 15 seconds), your screen may dim after just a few seconds and then turn black. To prevent this, set the timeout to a longer duration.
- Open the Settings app on your device.
- Choose Display from the Settings menu.
- Select Screen timeout from the Display section.
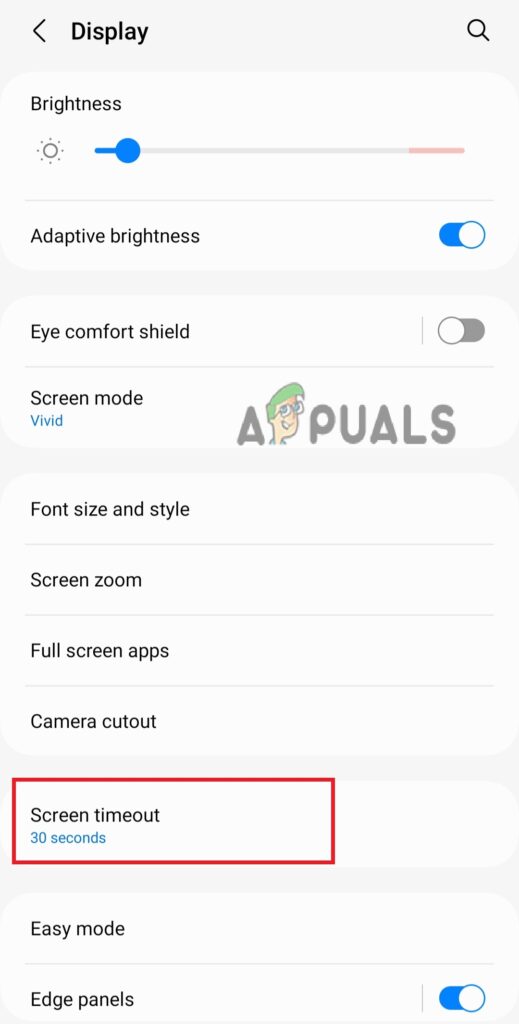
Select the Screen Timeout option - Here, you’ll see options for how long your screen stays on when inactive. The timing options are usually listed in seconds or minutes.
- Tap the timeout length you prefer to keep your screen bright for longer.
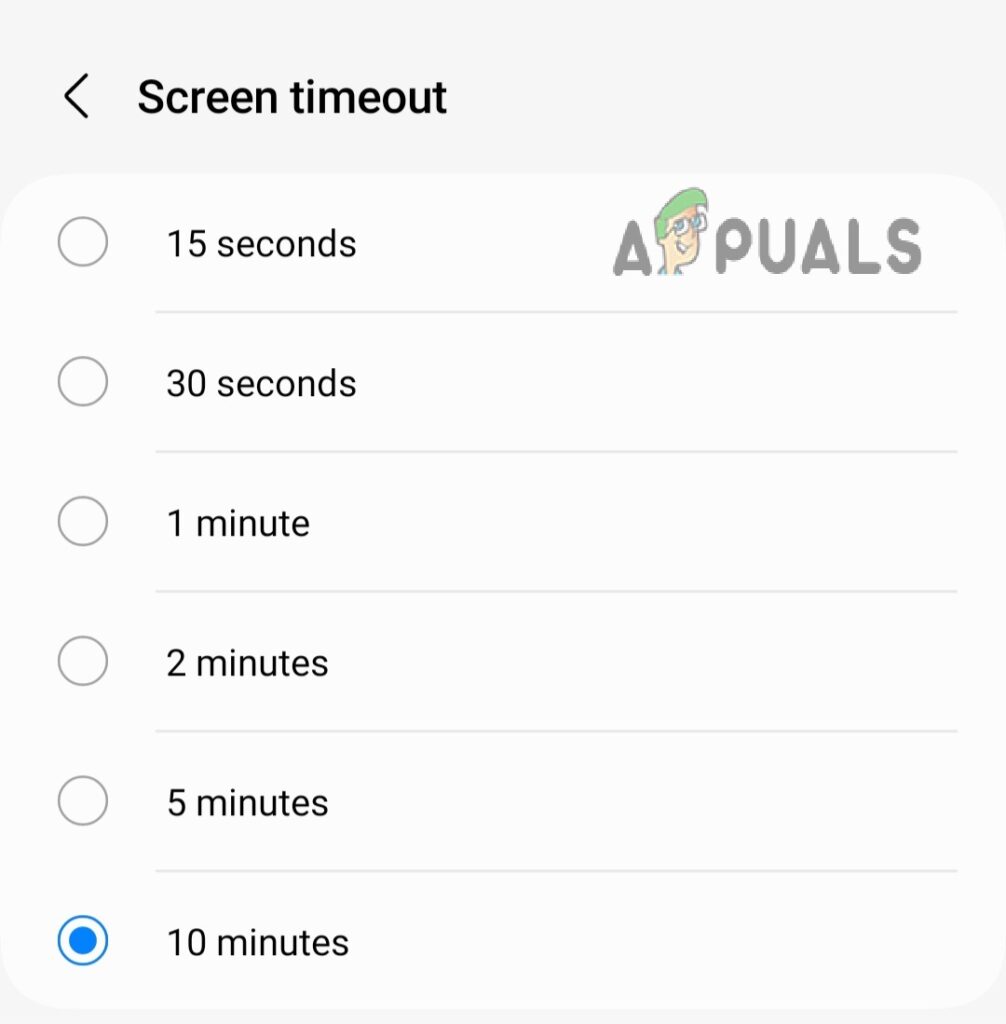
Select a time duration that best suits you
3. Change Your Secure Lock Settings
If disabling Adaptive Brightness and changing the Screen Timeout hasn’t worked, try adjusting your Secure Lock settings. This allows you to decide how long your device stays unlocked after the screen turns off.
- Go to the Settings app.
- Tap the Lock screen option.

Go to Lock Screen - Select Secure lock settings from the options.
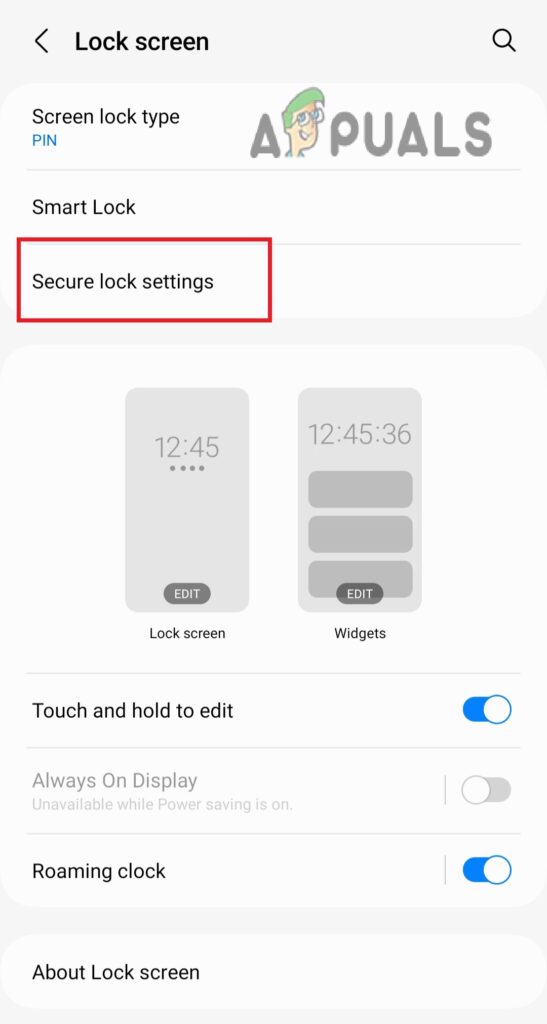
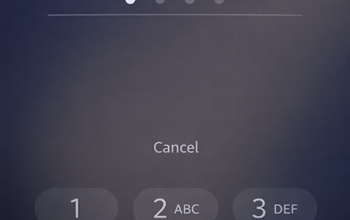
Tap on the Secure lock settings - Enter your lock screen PIN if asked.
- Select Lock automatically.
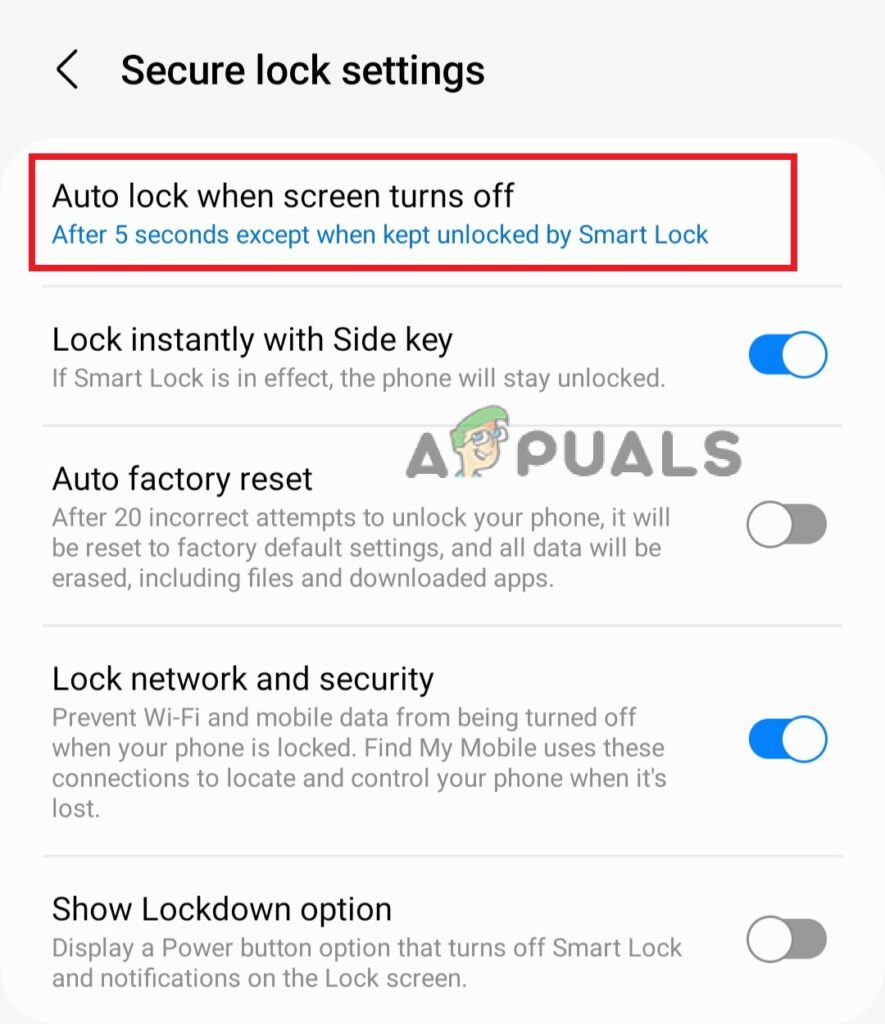
Tap Auto-lock when the screen turns off - Pick a longer duration from the available options if your current setting is too short.
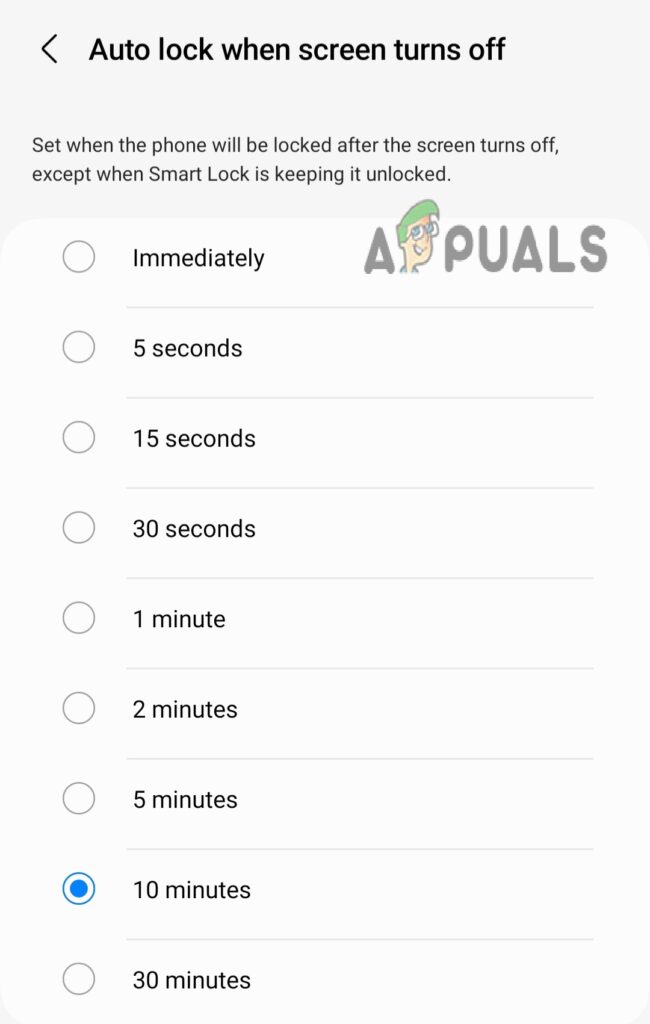
Select a time duration
4. Turn Off Power Saving Mode
When your Android phone’s battery runs low, Power Saving mode may activate automatically or stay on even after charging your phone. This feature reduces the screen brightness and other functions to save battery life.
- Swipe down from the top of your home screen to open the Control Centre.
- Swipe down further to reveal more quick settings options.
- Find the Power Saving icon and tap it to disable the mode.
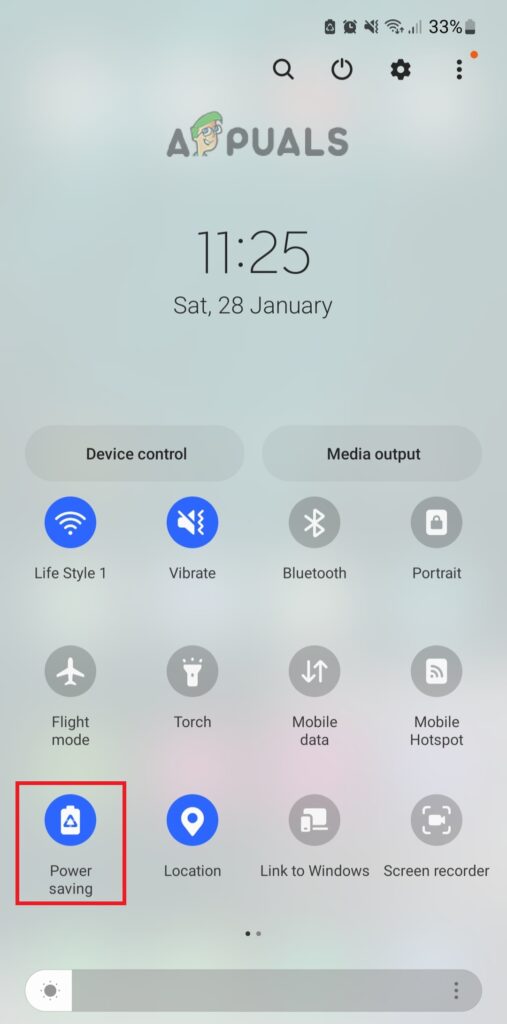
Tap the Power Saving icon to disable it
5. Check Motion and Gesture Settings
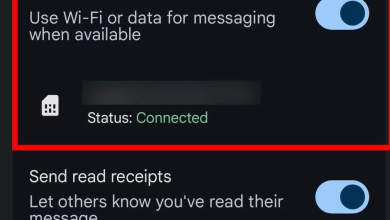
Motions and Gestures are handy features you’ll find under the Advanced features menu, especially on Samsung phones. This uses the front camera to detect your face and keeps the screen on as long as you’re looking at it. If your screen dims after a few seconds, enable this feature to prevent your display from turning off while you’re using it.
- Open Settings and scroll down to Advanced features.
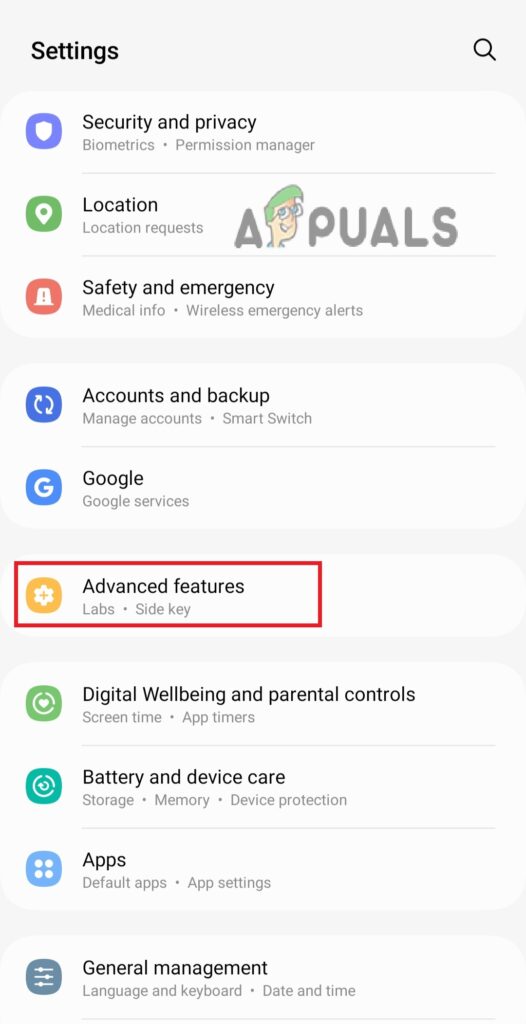
In Settings, go to Advanced features - Tap the Motions and gestures option.
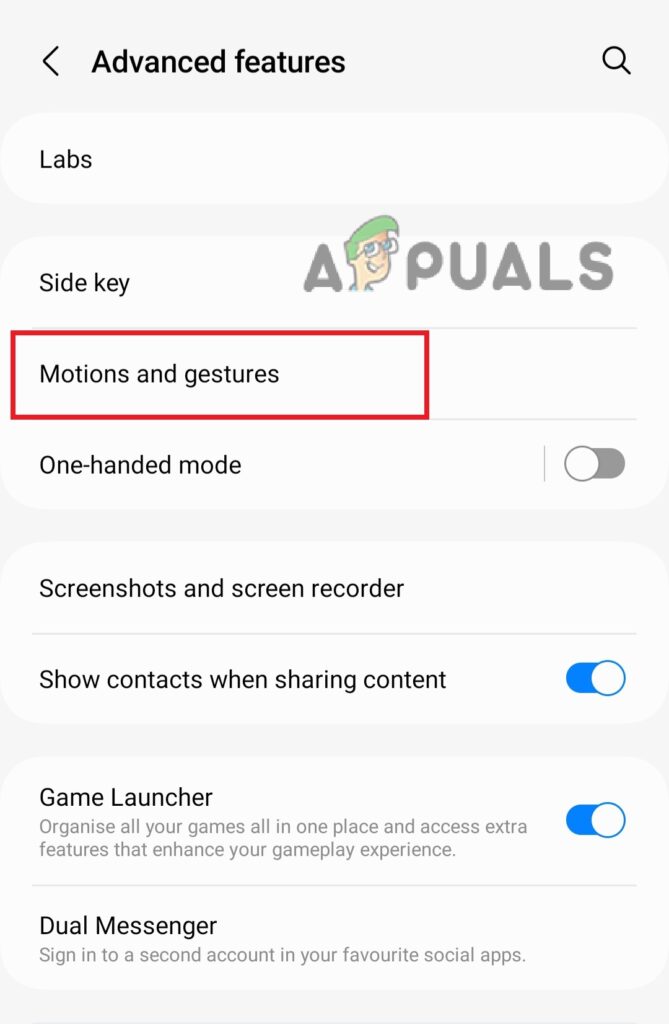
Select Motions and gestures - Turn on the toggle next to Keep screen on while viewing.

Turn on the toggle key for “Keep screen on while viewing.”
6. Make Sure Your Phone Is Not Overheating
An often overlooked reason for screen dimming is overheating. When your phone’s temperature reaches 40°C (104°F), the system may slow things down and reduce screen brightness to protect your phone and save battery life.
If your screen keeps dimming, check if your device feels hot. If it does, put your phone in a well-ventilated area and let it cool down. If overheating happens often, consider reaching out to your phone’s manufacturer as there may be an internal issue with your device.