How to Fix Alt + Tab Shortcut Not Working in Windows?
The Alt + Tab shortcut not working can make it hard for users to switch between open windows, which interrupts multitasking. This problem happens when the Windows task switcher doesn’t show up as it normally should when you press these keys together.
The main reason is usually a missing or wrongly set AltTabSettings registry value, which turns off the task switcher feature. Other common causes include fullscreen optimizations being on, outdated keyboard drivers, or third-party apps that change how your keyboard works.
In this article, we will discuss different ways to solve this error.
1. Restart Windows Explorer
The easiest and quickest solution to this problem is to restart Windows Explorer. Sometimes, Windows Explorer can encounter an error that disables Alt + Tab.
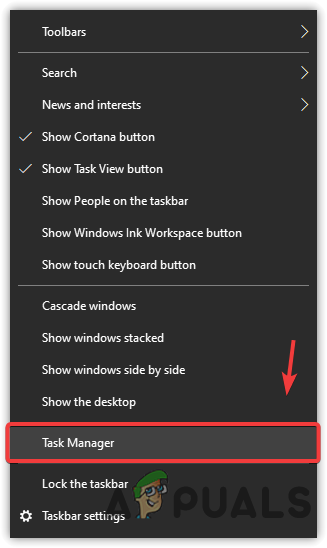
- Right-click the taskbar and select Task Manager.
Opening Task Manager from the taskbar context menu - In Task Manager, find and select Windows Explorer.
- Click Restart at the bottom right.
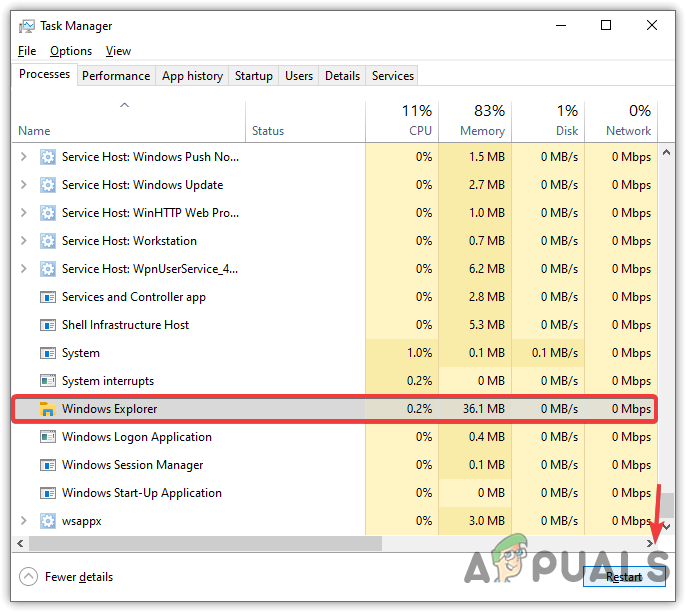
Restart Windows Explorer - After restarting, try pressing the Alt + Tab keys to check if the issue is resolved.
2. Use Registry Editor
Some third-party applications can change registry settings that impact how your keyboard works. The registry entry called ForegroundLockTimeout may be set to a value that prevents Alt + Tab from working.
You can fix this by changing the ForegroundLockTimeout value to 0:
- Click the Start Menu and type Registry Editor to open it.
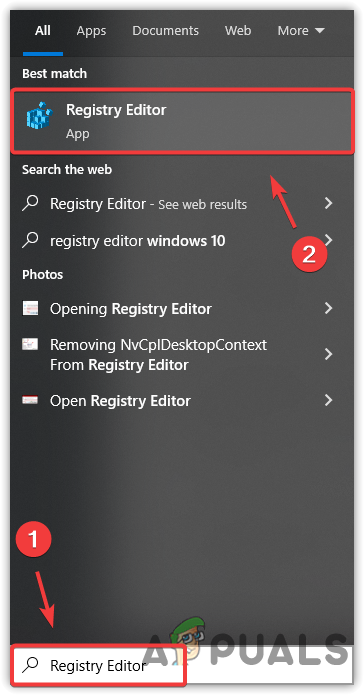
Opening Registry Editor from Windows search - Navigate to: Computer > HKEY_CURRENT_USER > Control Panel > Desktop.
Note: Expand folders by clicking the arrow beside each folder name. - On the right pane, find and double-click on ForegroundLockTimeout.
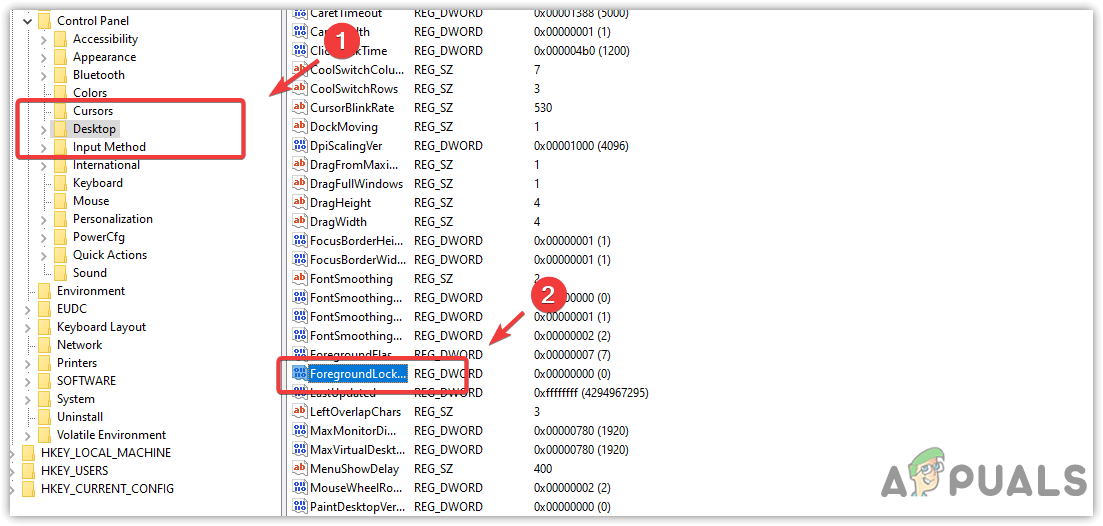
Opening Registry entry to edit - Select Decimal as the Base, then set the Value data to 0.

Editing a ForegroundLockTimeout registry value - Click OK, close Registry Editor, restart your computer, and check if the issue is resolved.
3. Disable the Game Mode feature
Some gaming keyboards have a Game Mode feature that disables certain keys or key combinations, such as Alt + Tab, Alt + F4, and the Windows key, to prevent accidental presses during gameplay.
Check if Game Mode is enabled:
– Press the Windows key. If nothing happens, Game Mode may be on. If the start menu opens, Game Mode is already off.
There are two ways to disable Game Mode. You can either use a specific key combination (commonly Fn + F10 on many keyboards) or use the software provided by your keyboard’s manufacturer. If you’re unsure which key combination to use, check the user manual, visit your keyboard manufacturer’s website, or use their software to turn off Game Mode.
4. Reinstall the keyboard driver
Outdated or corrupted keyboard drivers can also cause this issue. Reinstalling the keyboard driver can help:
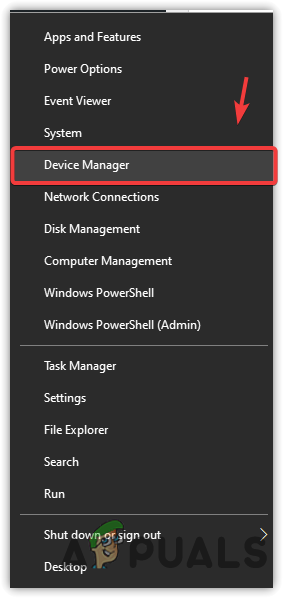
- Right-click the Start Menu or the Windows icon at the bottom left.
- Select Device Manager.
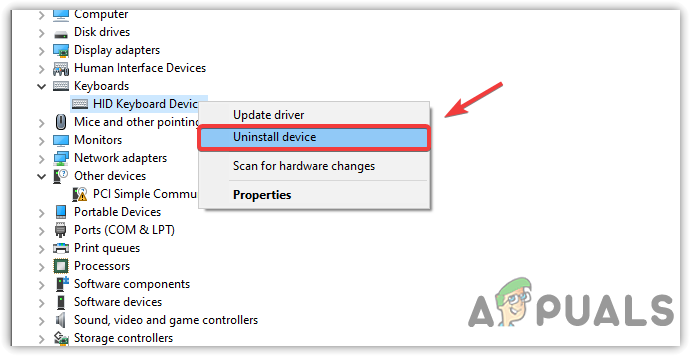
Launching Device Manager from the Start button context menu - Expand the Keyboards section by clicking the arrow.
- Right-click your keyboard (usually listed as HID Keyboard Device).
- Select Uninstall device.
Uninstalling Keyboard driver - A confirmation window will appear—click Uninstall to confirm.
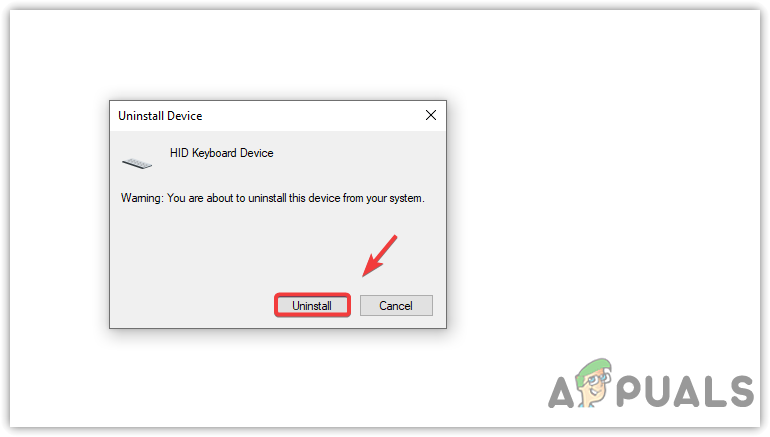
Confirming the uninstallation of the keyboard driver - Restart your computer. Windows will automatically reinstall the keyboard driver.
- After restarting, check if your Alt + Tab keys are working again.
5. Run Keyboard Troubleshooter
Windows offers a built-in troubleshooter for keyboards and other hardware devices. This tool can often find and fix software issues automatically.
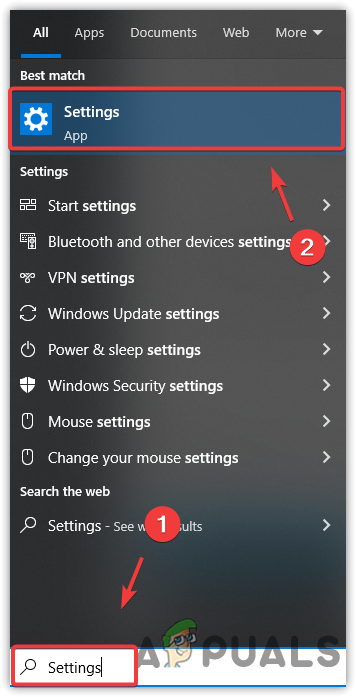
- Click Start Menu and type Settings to open it.
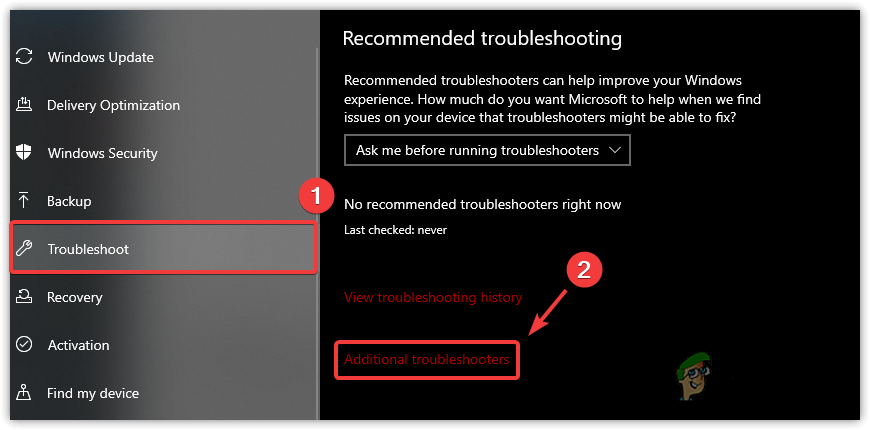
Launching Settings from Windows search - Go to Update & Security.

Navigating to Windows Update Security Settings from home - If you’re on Windows 11, click Troubleshoot from System.
- Click Additional Troubleshooters.
Heading to additional troubleshooters - Find the keyboard troubleshooter and click Run the troubleshooter.
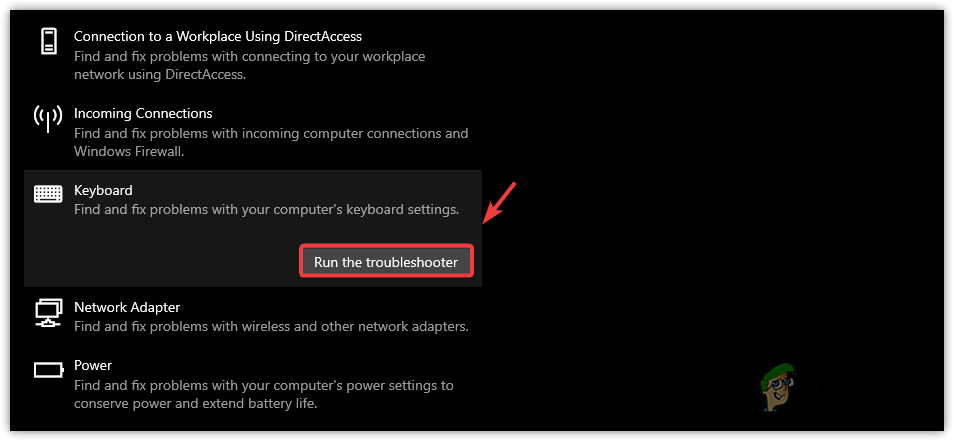
Running keyboard troubleshooter - If the troubleshooter finds any problems, it will show you and give you the option to fix them.
- Once the process is complete, check if your keyboard problem is fixed.
6. Uninstall third-party keyboard apps
If you’ve installed any third-party software that customizes how your keyboard works, it may have disabled the Alt + Tab functionality. Uninstalling such applications can help restore normal function.
- Open Windows Settings by pressing Win + I together.
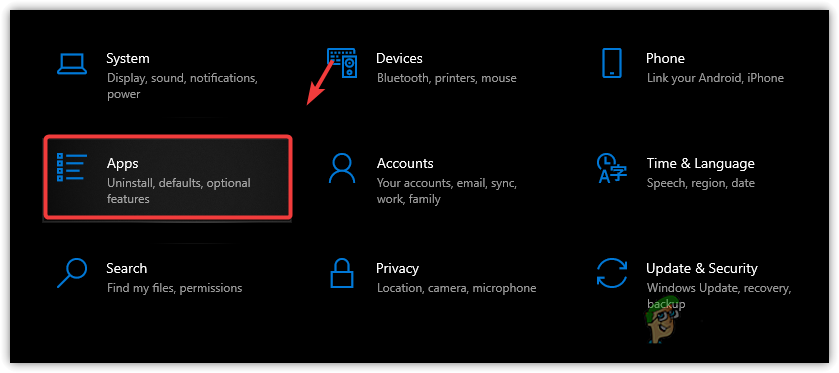
- Go to Apps and find the keyboard customization application.
Navigating to the system apps - Select the app and click Uninstall.
- Click Uninstall again and wait for the app to be removed.
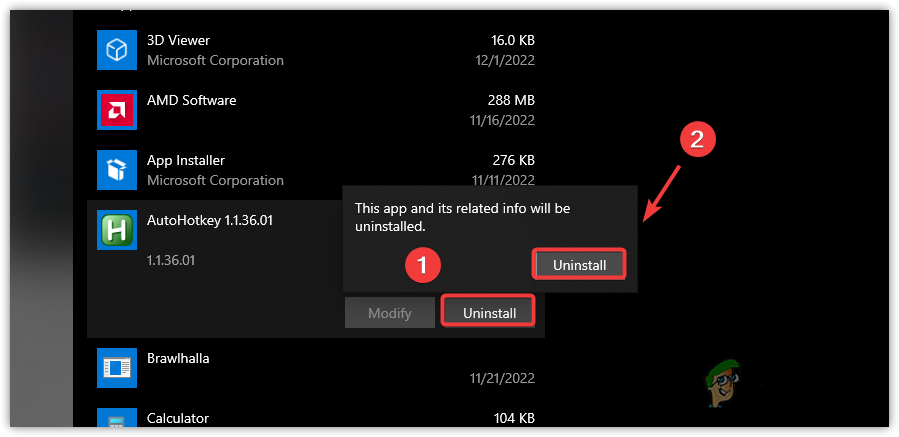
Uninstalling third-party keyboard customization application - If prompted to delete all custom configurations made to the keyboard, click Yes.
- Once finished, restart your computer and check if Alt + Tab is working properly.


alt tab was not working on my w8.1 and all my work was held up. Entire net was showing various long methods but none worked. Then I stumbled on this site and followed registry editing method and the problem was solved. You are a life saver. Thanks.