How to Fix an AirTag That Won’t Update Its Location?
An AirTag that doesn’t update its location will usually show a “last seen” time that doesn’t change, even if the AirTag has moved. This can make it hard to keep track of your item. The main reason for this problem is that the AirTag can’t connect to nearby Apple devices that send its location to the Find My network.
Usually, this happens when the AirTag is too far away from any Apple device with internet access. Other reasons could include a low battery, location services turned off, or your iPhone running an old version of iOS.
Now that you know the causes, let’s discuss the solutions to solve this problem.
1. Enable Find My iPhone
First, make sure that the Find My iPhone service is enabled on your iPhone. Without this, you won’t be able to track your AirTag’s location. AirTags work with the Find My app, making this feature essential for tracking.
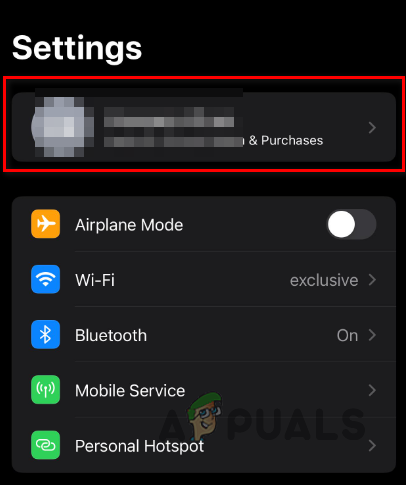
- Open the Settings app on your iPhone.
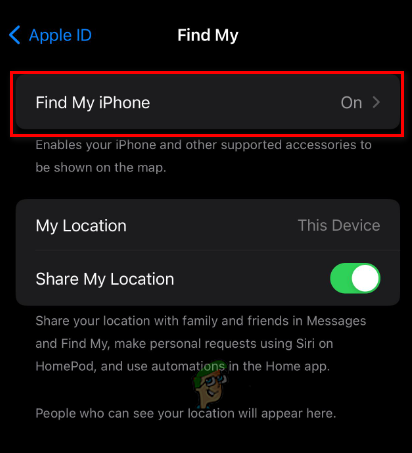
- Tap your Apple ID banner at the top, which shows your iCloud account name.
Navigating to Apple ID - Select the Find My option in the Apple ID menu.
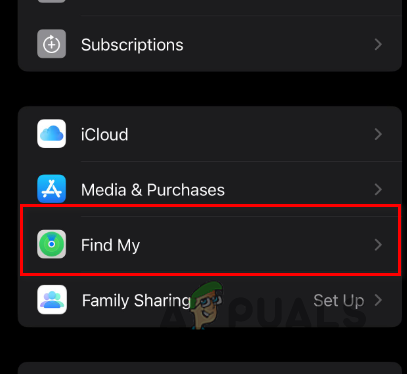
Navigating to Find My - Next, tap on Find My iPhone.
Navigating to Find My iPhone - Make sure both Find My iPhone and Find My network are turned ON.
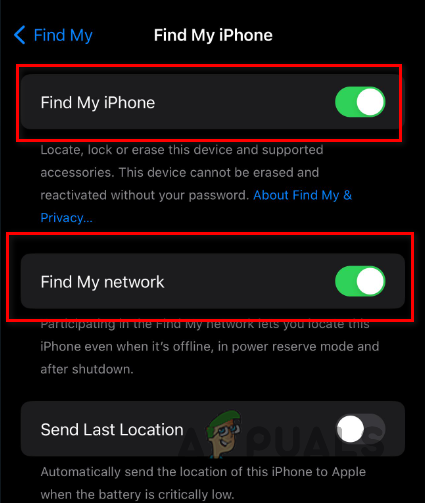
Enabling Find My iPhone and Find My Network
2. Enable Location Services
If Location Services are turned off, your AirTag’s location won’t update. Location Services are necessary for the Find My app to report the AirTag’s whereabouts accurately.
- Open the Settings app on your iPhone.
- Go to Privacy and then Location Services.
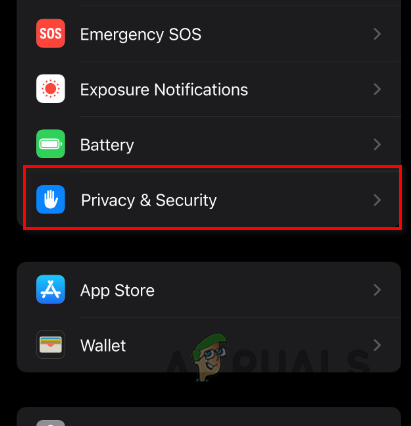
Navigating to Privacy and Security - Make sure the Location Services toggle is switched ON.
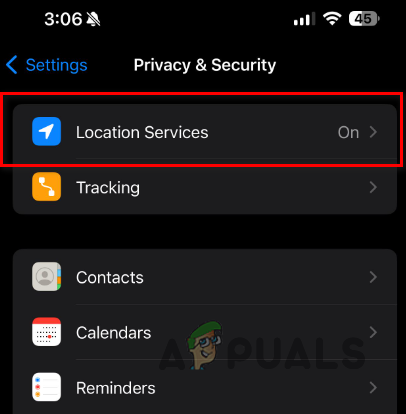
Navigating to Location Services - Scroll down and tap System Services.

Navigating to System Services - Ensure Find My iPhone and Mobile Network Search are enabled.
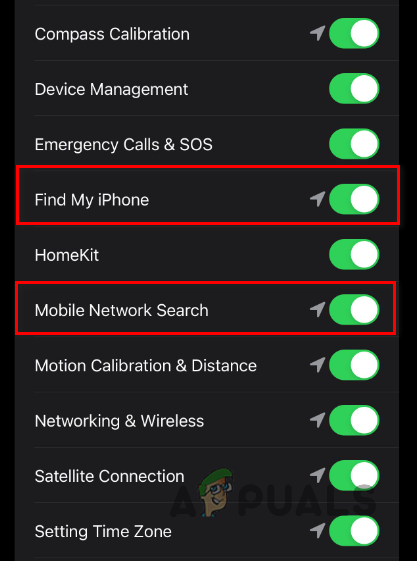
Enabling Find My iPhone and Mobile Network Search
3. Enable Bluetooth
AirTags send a secure Bluetooth signal that can be detected by nearby Apple devices in the Find My network, helping update their location. If Bluetooth is turned off on your iPhone, you won’t be able to connect to your AirTag.
- Swipe down from the top-right corner of your iPhone’s screen to open Control Center.
- Tap the Bluetooth icon to turn it on.
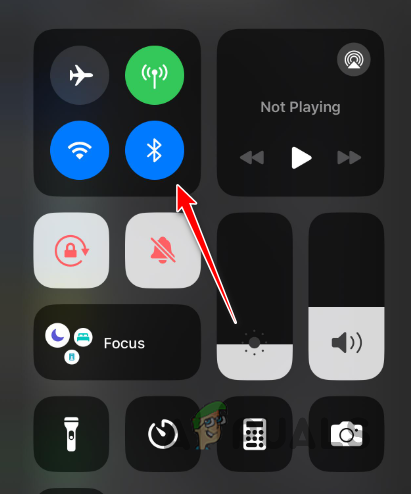
Turning on Bluetooth - If you don’t see Bluetooth in Control Center, open Settings and select Bluetooth to enable it.
- Check to see if your AirTag now updates its location.
4. Update iOS
Older versions of iOS can sometimes cause problems with AirTags, and these bugs are typically fixed in later updates. Make sure your iPhone is running the most recent iOS version.
- Open Settings on your iPhone.
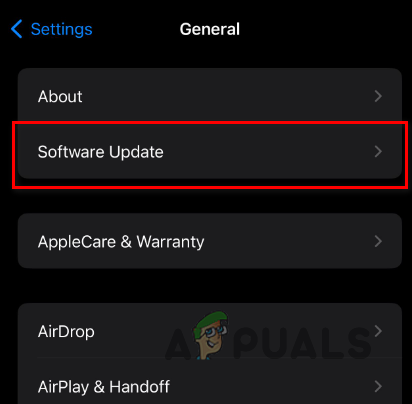
- Tap General.

Navigating to General - Select Software Update.
Navigating to Software Update - If there’s an update available, tap Update Now and follow the instructions.
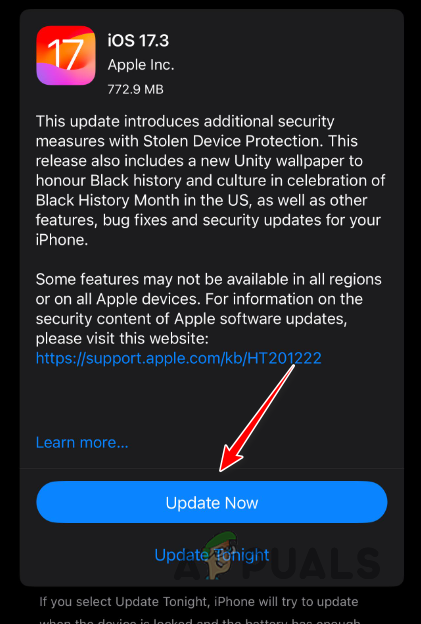
Updating iOS
5. Enable Two-Factor Authentication
Two-factor authentication is an added layer of security required for AirTags to work properly. Without it, your AirTag may not be able to update its location.
- Open Settings and tap your Apple ID at the top.
Navigating to Apple ID - Tap Sign-In & Security.
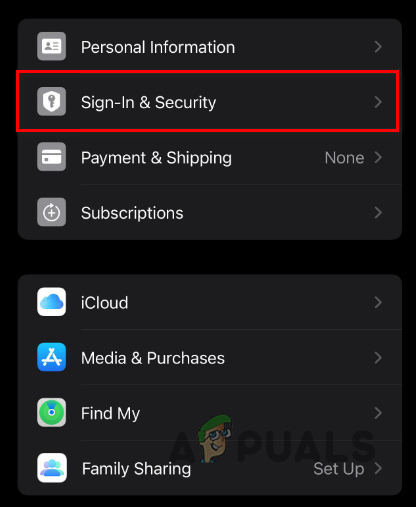
Navigating to Sign-in & Security - Set up Two-Factor Authentication if it is not already enabled.
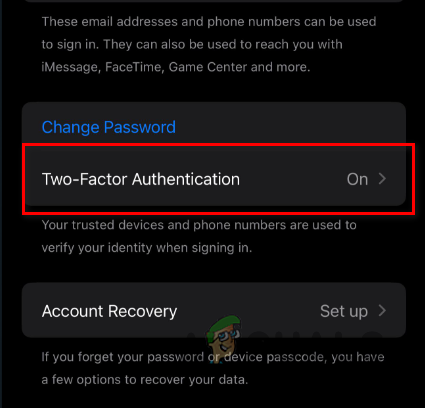
Enabling Two-Factor Authentication - After enabling, check if your AirTag’s location is updating correctly.
6. Reset AirTag
If you’ve checked your phone’s settings and your AirTag still won’t update, there could be a connection problem with the AirTag itself. Resetting the AirTag can help restore communication.
- Press gently on the AirTag’s battery cover and rotate it counterclockwise until it pops off.

AirTag Battery Cover - Remove the cover and take out the battery.
- Wait a few seconds, then reinsert the battery. Press down until you hear a sound, confirming a good connection.
AirTag Battery - Repeat this step four times. On the fifth try, the sound should be different, meaning the AirTag is ready to pair.
- Hold your iPhone close to the AirTag and tap Connect when prompted.
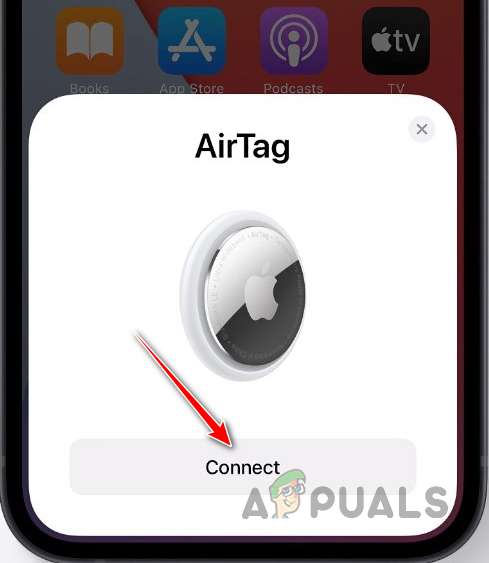
Connecting AirTag - Follow the instructions on your iPhone to finish setup.
7. Replace the AirTag Battery
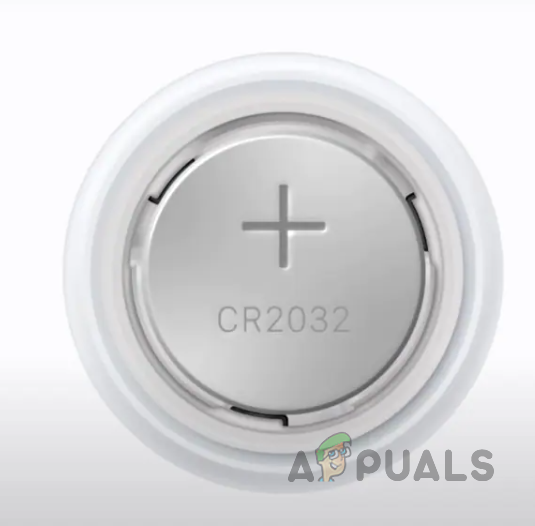
A dead battery will stop your AirTag from updating its location on the Find My network. To replace your AirTag’s battery (CR2032 lithium 3V coin cell):
- Remove the battery cover by pressing down and twisting it counterclockwise.
AirTag Battery Cover - Take out the old battery and put in a new one, positive side up. Press until you hear a sound.
AirTag Battery - Replace the cover and check if your AirTag’s location updates now.
If you’ve gone through these steps and your AirTag still isn’t updating its location, it’s best to reach out to Apple support for more help or to ask about a replacement.