How to Add or Remove All Apps List in Start Menu on Windows?
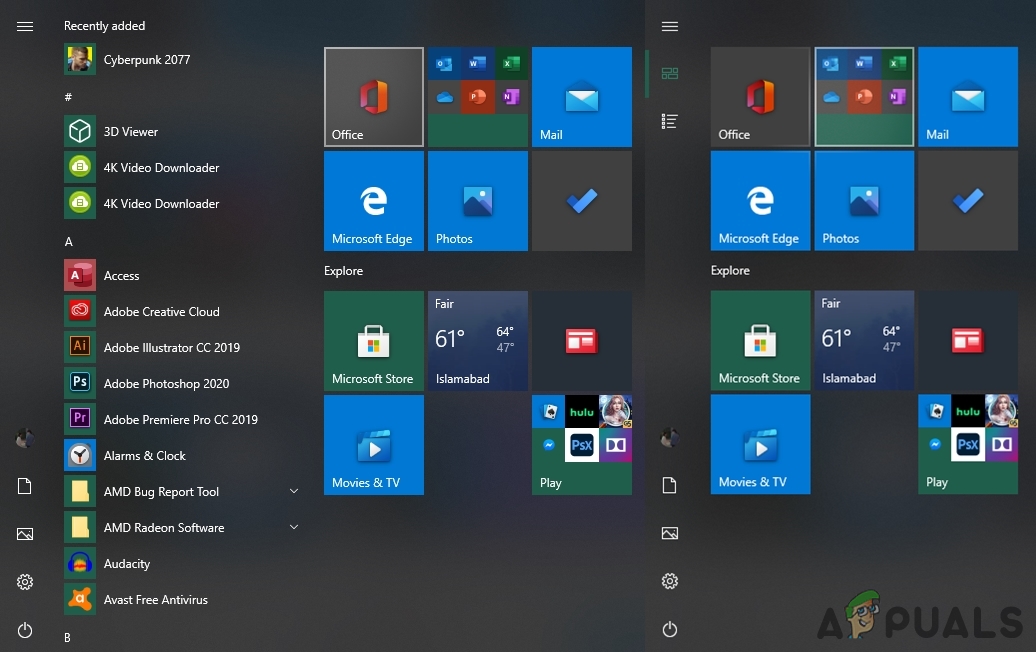
The “All Apps” list in the Windows Start Menu shows an alphabetical list of all the programs installed on your computer. You can find it by clicking the “All apps” button in the upper-right corner of the Start Menu. This list gives you an easy way to see all the apps on your PC, even the ones that aren’t pinned to your Start Menu. If you want to remove the “All Apps” list from the Start Menu, you can do this using the Local Group Policy Editor or by changing a setting in the registry.
These steps let you change how the Start Menu looks and works, so you can make it match your needs or your company’s policies.
1. How to Remove the Apps List Using the Settings App
You can easily remove the apps list from the Start Menu using the Settings app in Windows 10. There’s a simple toggle in the Settings app that lets you show or hide the apps list. This is the most straightforward way to customize your Start Menu. If the toggle is grayed out, try one of the alternative methods listed below.
- Press the Windows key and the I key together to open the Settings app. Next, go to Personalization.
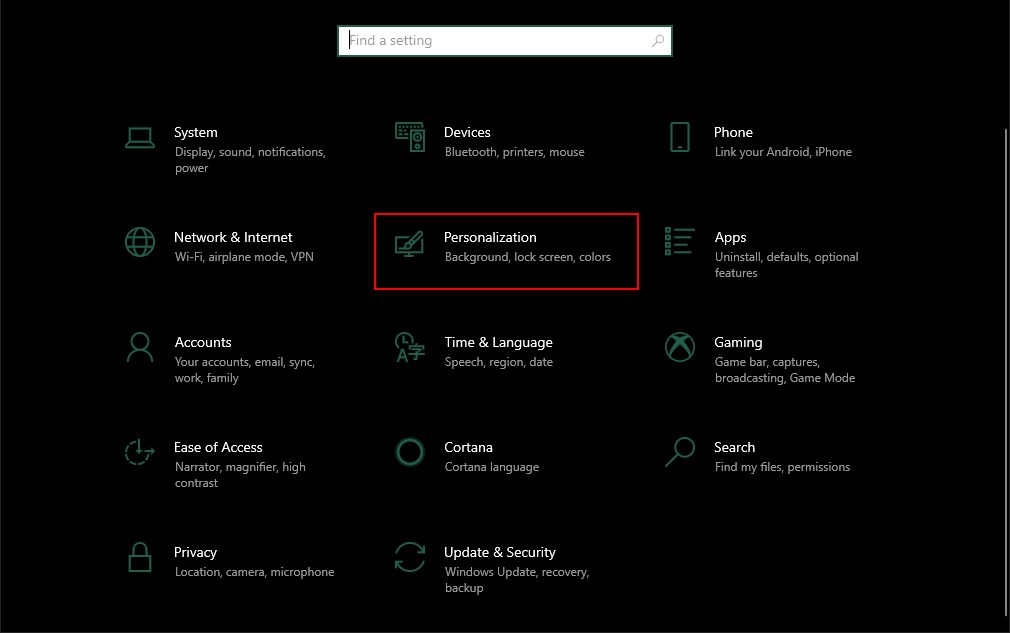
Opening the Windows Settings app - Select Start from the left sidebar, then set “Show app list in Start Menu” to Off. This will hide the apps list from your Start Menu.
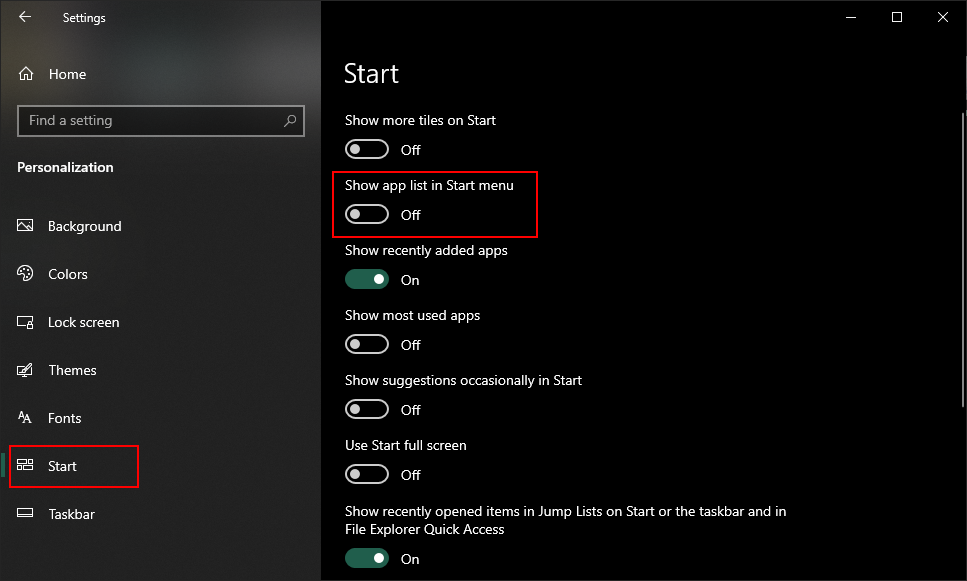
Disabling the app list in the Settings app - To show the apps list again, simply turn this option back On.
2. Remove the Apps List with Local Group Policy Editor
You can also disable the apps list in the Start Menu using the Local Group Policy Editor. This tool gives you a few different options for how you want the list to behave. Be sure to read the description for each option to decide which one works best for you.
Note: You can access this setting from both Computer Configuration and User Configuration in the Group Policy Editor. The path is almost the same, only the category is different.
- Press Windows + R together to open the Run dialog. Type “gpedit.msc” and press Enter to open the Local Group Policy Editor.

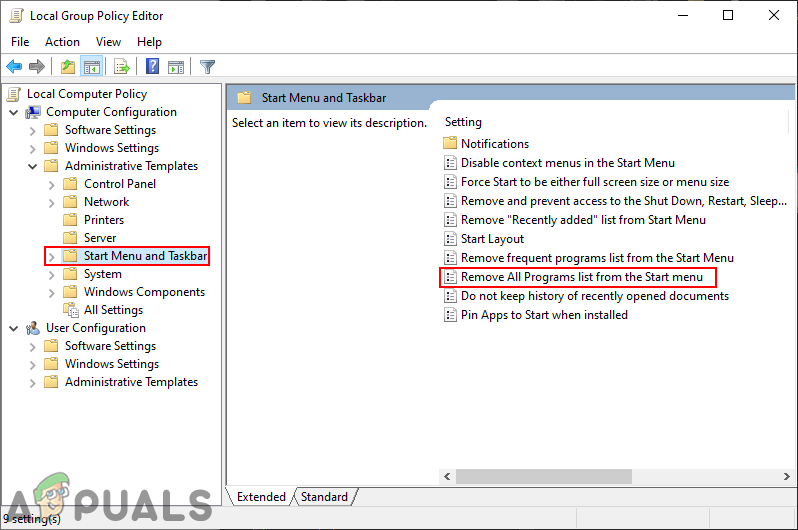
Opening the Local Group Policy Editor - Go to the following location in the Local Group Policy Editor:
User Configuration\ Administrative Templates\ Start Menu and Taskbar\
Navigating to the setting in the Local Group Policy Editor window Note: The steps here use the setting from Computer Configuration, but you can use the one in User Configuration if you prefer.
- Double-click on “Remove All Programs list from the Start menu” to open its settings. Now, change the setting from Not Configured to Enabled.
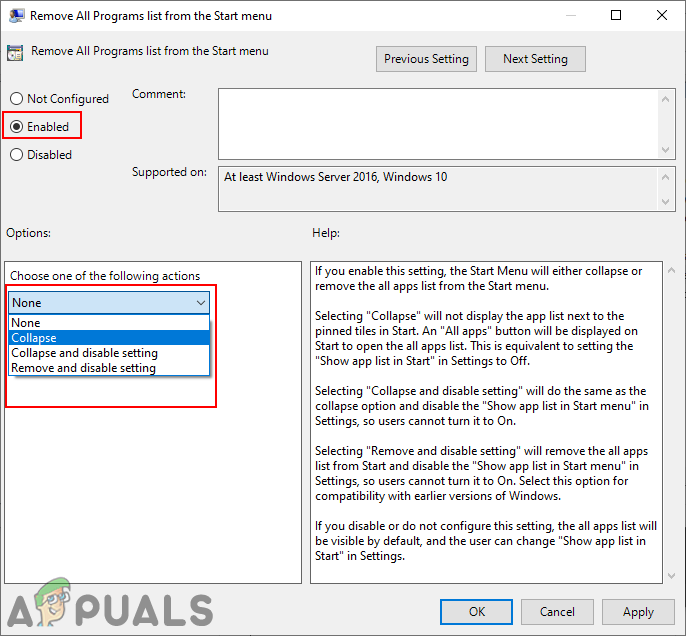
Enabling the setting - Click Apply or OK to save your changes. This will remove the apps list from the Start Menu.
- To bring the apps list back, set the option to Not Configured or Disabled as described in step 3.
3. Remove the Apps List Using the Registry Editor
If your version of Windows doesn’t have the Local Group Policy Editor, you can still remove the apps list by editing the Registry. While this method is a bit more technical, you can follow the steps below to make the change. We strongly recommend creating a backup of your registry before making changes, just to be safe.
Note: You can set this value in either the Current User or Local Machine sections of the Registry. The path will be the same, but the location (hive) you use will depend on whether you want the change to apply to only your account (Current User) or every user (Local Machine).
- Press Windows + R to open the Run dialog. Type “regedit” and press Enter to launch the Registry Editor. If you see a User Account Control (UAC) prompt, click Yes to continue.
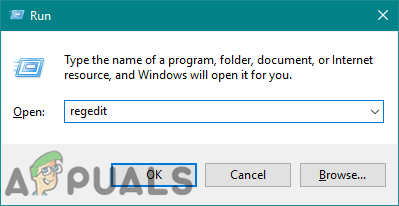
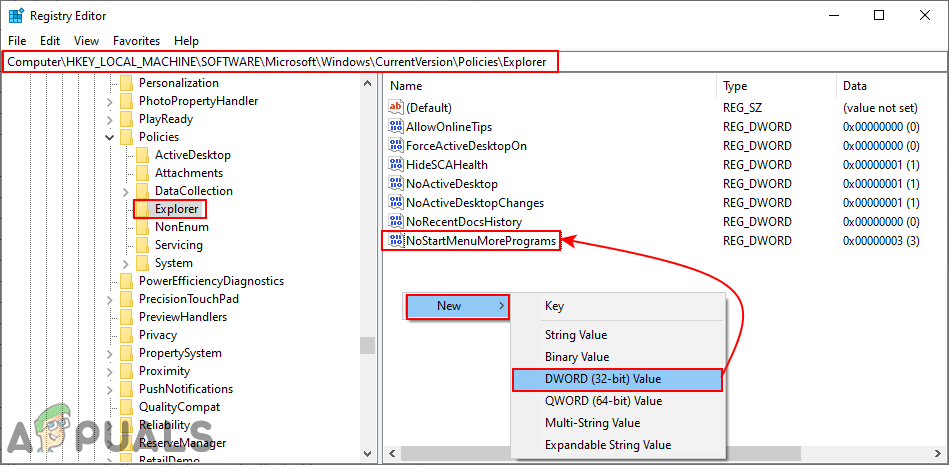
Opening the Registry Editor - Go to this location in the Registry Editor:
HKEY_LOCAL_MACHINE\Software\Microsoft\Windows\CurrentVersion\Policies\Explorer
Note: The instructions here use the Local Machine hive, but you can also apply them to the Current User hive if you want the setting for only one user.
- In the right pane, right-click and choose New > DWORD (32-bit) Value. Name the new value “NoStartMenuMorePrograms“.
Creating a new value in the Registry - To use the “Collapse” option, double-click the new value and set its data to 3.

Setting the value for the “Collapse” option - If you want “Collapse and disable setting“, set the value data to 2.
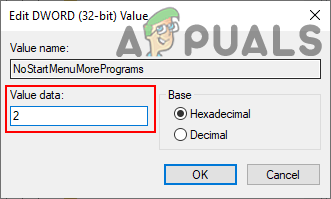
Setting the value for the “Collapse and disable setting” option - For “Remove and disable setting“, set the value data to 1.

Setting the value for the “Remove and disable setting” option - After you finish, restart your computer for the changes to take effect. The app list will now be hidden or disabled based on your chosen setting.
- You can always bring back the apps list by changing the value data to 0 or by deleting the value from the Registry Editor.


