FIX: A required privilege is not held by the client “0x80070522”
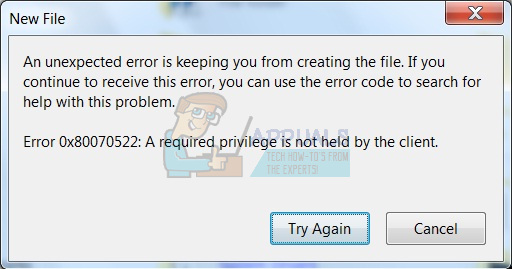
File operations such as copying or changing files in system folders like C:\Windows or C:\Program Files can fail immediately with error 0x80070522 and show no progress. This error means the user does not have the needed security permission to write in protected system locations.
The most common cause is not having administrator rights on a standard account. Other reasons include Group Policy settings that block access or a certain security privilege, such as SeBackupPrivilege, being turned off.
Now that you know the causes,let’s move to solutions.
1. Save the File as Administrator
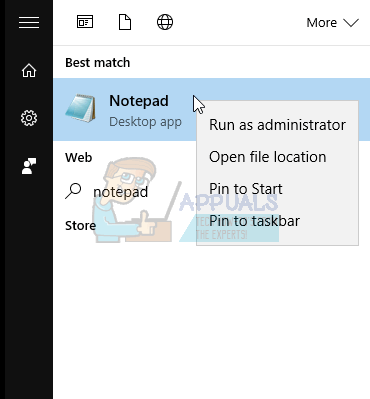
This is the simplest and safest approach to bypass Microsoft’s limitations for OS root folders. The ability to use this method depends on the file type you need to save. Instead of directly creating or copying the file to a restricted directory, open the desired application—such as Notepad for text files or Photoshop for images—but run the program as an administrator. To do this, right-click the application and select Run as administrator. This action grants the necessary permissions to save files in protected locations. By taking this measure, you can create or save your file in the root folders without encountering any permission issues.
2. Copy the File Using an Command Prompt
This solution requires the use of an Command Prompt, which runs with administrator privileges. To open one, go to the Start menu, type cmd, right-click the Command Prompt result, and choose Run as administrator. You will need to know the exact path of your source file and destination. Use the following command format:
copy sourceAddress destinationAddress
For example, to move Test.txt located in the Work folder on the D: drive to the Windows folder on the C: drive, the command would look like this:
copy d:\work\test.txt c:\windows\
Executing this command will copy your file to the desired location, bypassing standard user restrictions.
3. Disable Admin Approval Mode
User Account Control (UAC) helps protect your system by limiting access to certain functions. However, its Admin Approval Mode can restrict necessary operations, such as copying or creating files within critical directories. You can temporarily disable this feature with just a few steps:
- Press Windows + R to open the Run dialog box.
- Type
secpol.mscand press Enter. Allow any security prompts if they appear. - In the Local Security Policy window, navigate to Local Policies in the left-hand pane.
- Click on Security Options.
- In the right-hand pane, scroll down and locate User Account Control: Run all administrators in Admin Approval Mode.
- Right-click on the policy and select Properties.
- Set the option to Disable, then click Apply and OK.
- Close the Local Security Policy window.
- Restart your computer to apply the changes.
4. Completely Disable User Account Control
If the previous steps do not resolve the issue, you may need to fully disable User Account Control. This can be accomplished quickly through the System Configuration panel:
- Click on the Start menu and type
msconfigin the search bar. - Press Enter to open the System Configuration window.
- Navigate to the Tools tab.
- Scroll through the list and select Change UAC Settings.
- Click on Launch to open the User Account Control Settings window.
- Move the slider down to Low or Never Notify (Off) depending on your preference.
- Click OK to save the settings.
- Close the System Configuration window.
- Restart your computer for the changes to take effect.
5. Take Ownership of the Operating System’s Partition
Taking ownership of your operating system’s partition grants you full control over its contents. In this example, we’ll use C: as the system drive. If your OS is installed on another partition, simply substitute that drive letter.
- Open This PC or My Computer from the desktop or Start menu.
- Right-click on the C: drive and select Properties.
- Navigate to the Security tab and click on the Advanced button.
- In the Advanced Security Settings window, go to the Owner tab.
- Click on Edit to change the ownership.
- From the list of users, select your username, Administrator, or the Administrators group.
- Check the box labeled Replace all existing inheritable permissions on all descendants with inheritable permissions from this object.
- Click Apply and then confirm by clicking Yes when prompted.
No matter which approach you choose, following these instructions will enable you to successfully copy or create files where needed, effectively overcoming Windows’ security restrictions. Always exercise caution when modifying system directories, and be sure to restore security settings once you have completed your task to keep your computer safe.
Thank you. The copy option worked for me.