Fix: A problem is preventing the troubleshooter from starting on Windows
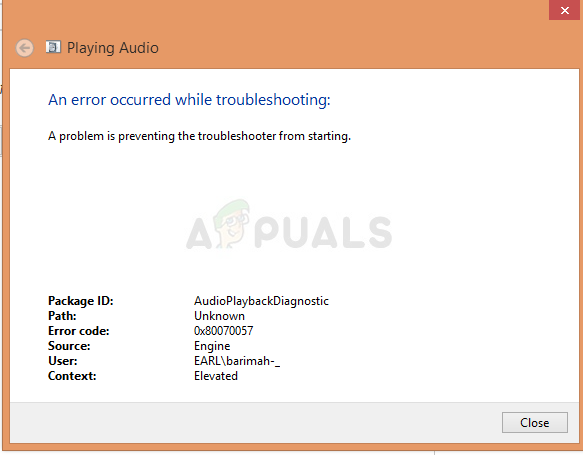
The troubleshooter does not start and quickly shows the message, “A problem is preventing the troubleshooter from starting,” sometimes with error codes like 0x80070426 or 0x8007000E. This means that Windows cannot open the Troubleshooter because some services are missing or damaged.
The problem often happens when the Cryptographic Services are turned off, but it can also be caused by broken system files, User Account Control not working, or incorrect Group Policy settings.
In this article, we will discuss different ways to solve this error.
1. Use the SFC Scan
The System File Checker (SFC) tool is a built-in Windows utility that scans and repairs corrupted or missing system files. While it is sometimes underestimated, it is especially effective for resolving errors related to system files required by the Windows troubleshooter.
Running an SFC scan can restore necessary files that may be preventing the troubleshooter from functioning correctly. Follow the detailed guide below if you need step-by-step instructions:
For a comprehensive walkthrough, visit our guide: How to: Run SFC Scan in Windows 10.
2. Ensure the Default Temp Folder Path is Correct
Some users, following advice from various troubleshooting sources, may have changed the default location of the Temp folder. Windows relies on this folder to store temporary files essential for running services, including troubleshooting tools. If the Temp folder path has been altered, restoring it to its original location can resolve the error.
- Right-click “My Computer” or “This PC” (depending on your Windows version), choose Properties, and locate the Advanced system settings button on the right pane of the Properties window. Click it to access the Advanced tab.
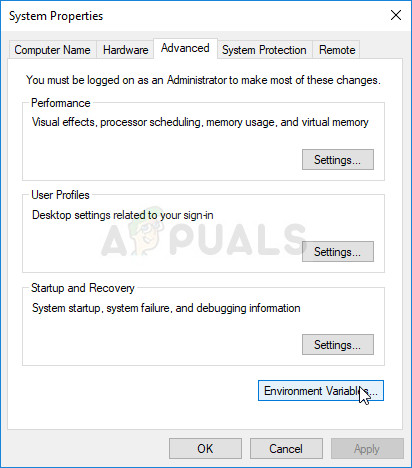
- At the bottom right of the Advanced tab, find and click the Environment Variables button. In the new window, review the list under System variables.
- Scroll down to find both TEMP and TMP variables. Their values should be set to
C:\WINDOWS\TEMP. If they are not, select each variable and click Edit.

- In the Variable value field, enter
%SystemRoot%\TEMP. This setting is robust, as it adapts to drive letter changes and upgrading Windows versions. Apply these changes, restart your computer, and check if the troubleshooter works as expected.
3. Restart the Cryptographic Service
A common cause of this error is a malfunctioning Cryptographic Service, which may have stopped due to a program or a system error. This service is essential for many Windows operations, including troubleshooting.
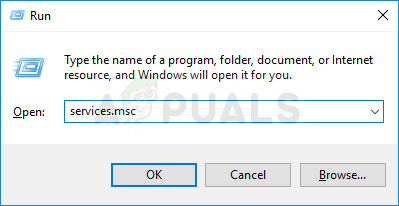
- Press Windows Key + R to open the Run dialog. Type
services.msc(without quotes) and click OK to launch the Services manager.
- Locate Cryptographic Services in the list, right-click it, and select Properties.
- Check the Service status. If it is running, you can stop it by clicking Stop. If it is stopped, keep it as it is for now.
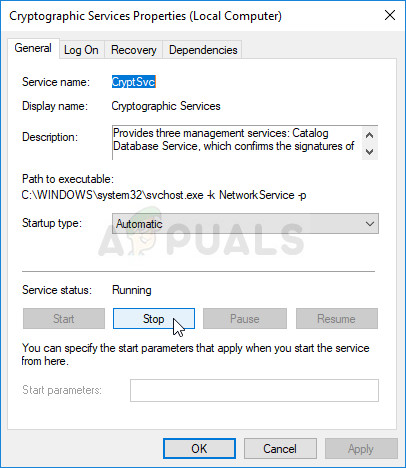
- Ensure that the Startup type is set to Automatic. Confirm any prompts, and click Start to activate the service if it is not running. Then, exit the properties window.
If you encounter the error:
“Windows could not start the Cryptographic Service on Local Computer. Error 1079: The account specified for this service differs from the account specified for other services running in the same process.”
Follow these steps to resolve the account issue:
- Reopen Cryptographic Services Properties following the previous steps. Go to the Log On tab and click Browse…
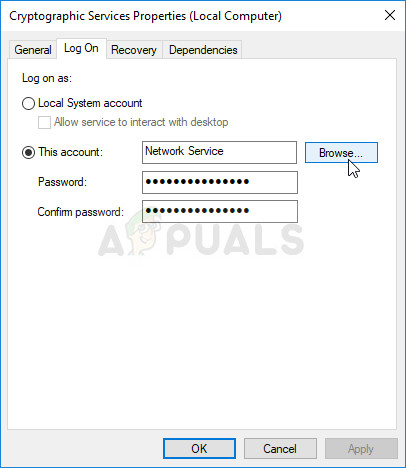
- In the “Enter the object name to select” box, type your account name and click Check Names to confirm recognition by Windows.
- Once confirmed, click OK and enter your account password if prompted. You should now be able to start the service successfully.
4. Perform a System Restore
In certain cases, the same issue preventing the troubleshooter from starting may affect other critical services like Windows Update, SFC, or DISM. Since these features have shared dependencies, performing a System Restore is often the quickest and most reliable way to address deeper system problems.
System Restore returns your computer to a previous state before the error began occurring. Select a restore point created before you noticed the error to maximize success.
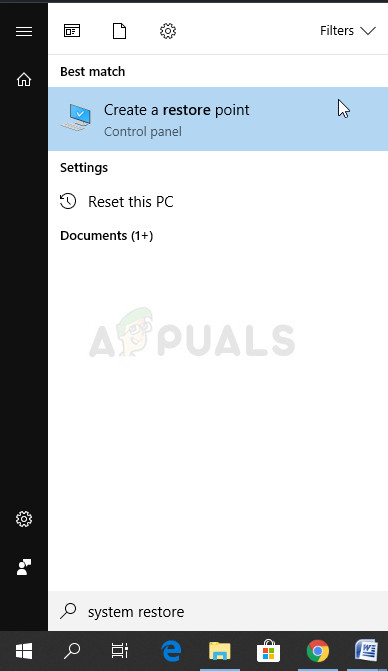
- Search for System Restore from the Start menu and select Create a restore point.
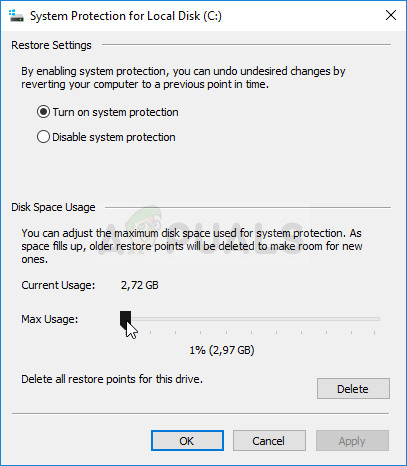
- The System Properties window appears. Under Protection Settings, ensure protection is enabled for your system drive.
- If protection is disabled, select your system drive and click Configure to enable it. Set aside sufficient disk space for restore points. Click Apply and then OK to save your settings.
- Once enabled, Windows will automatically create restore points whenever new programs are installed or major changes occur on your computer.
With System Restore active, let’s revert your PC to a state before the “A problem is preventing the troubleshooter from starting” error. Always back up any documents or applications created or installed since that restore point.
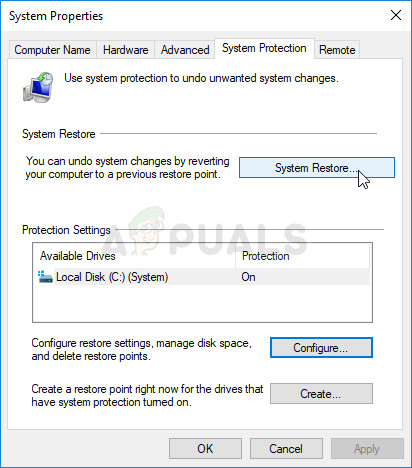
- Use the Search feature next to the Start menu to find and select Create a restore point. In the System Properties window, click System Restore.
- In the System Restore window, select Choose a different restore point and click Next.
- Select a restore point that was created before the error appeared. Click Next and follow the onscreen instructions to complete the restoration process. After your computer restarts, the system will return to the selected state.
Note: If System Restore does not start normally or you encounter an error, you can access it from the Recovery menu. Many users have found this method successful when the standard approach fails.
- At the login screen, click the Power icon, hold the Shift key, and select Restart. This shortcut opens the Recovery menu without needing your recovery media.
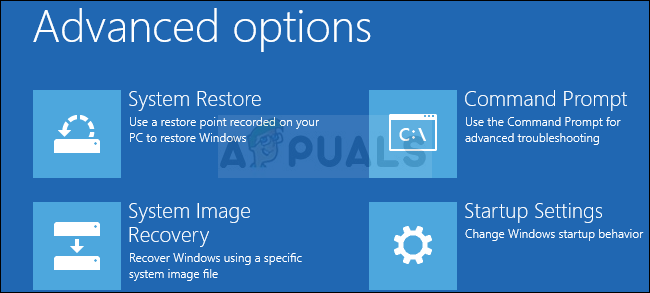
- Instead of restarting, you will see a blue menu with several options. Choose Troubleshoot >> Advanced Options >> System Restore to access the restore tool.
- Follow the same steps for restoring your PC as described above. Once the process is complete, your computer should start normally, and you can verify whether the problem is resolved.


“Solution 2: Check if the Default Path to Temp Folder has been Changed” solved my problem with the Windows 10 troubleshooter. With every troubleshooter I would get this error message:
“A problem is preventing the troubleshooter from starting.” The given error code was always: 0x80004005.
I changed my computer’s temp variables to the defaults as suggested…
User:
%LOCALAPPDATA%Temp
System:
%SystemRoot%TEMP
…and the error is gone!
I have paid support with Dell and Dell was not aware of this potential solution. Bravo, Kevin!