Fix: ‘A Driver Cannot Be Loaded on This Device’ Error in Windows
The “A driver cannot be loaded on this device” error appears as a Windows notification and stops certain drivers from working, often after restarting your computer or opening apps that use those drivers. This message means that Windows Security—specifically the Core Isolation (Memory Integrity) feature—is blocking the driver because it is old, not properly signed, or found to be unsafe.
The most common reason is that Memory Integrity is stopping drivers that do not meet the latest security rules. Other reasons might include changes to driver signatures or new, stricter security rules added after a Windows update.
Now that you know the causes, let’s move to the solutions.
1. Disable Memory Integrity
The Memory Integrity feature in Windows, also known as Hypervisor-protected Code Integrity (HVCI), is designed to prevent malware from taking control of your computer through low-level drivers.
Although this is an effective security measure, it relies on both compatible hardware and supported hardware drivers. This makes Memory Integrity less suitable for many personal devices, as it is primarily intended for enterprise environments. With this feature enabled, some personal software or drivers may not function correctly.
- Type Core Isolation in the search bar on the taskbar and click Open.
- In the window that appears, navigate to the Memory integrity section and toggle it off.

Turn off the Memory integrity toggle
After disabling the feature, close the Settings app.
2. Uninstall the KB4023057 Update
This problem often starts after installing the KB4023057 update on Windows 11. If you prefer not to disable the Memory Integrity feature, uninstalling this specific update may resolve the issue.
- Press Win + R to open the Run dialog.
- Type control and press Enter.
- In the Control Panel, click on Programs.

Choose Programs in the Control Panel - Select View installed updates from the left pane.
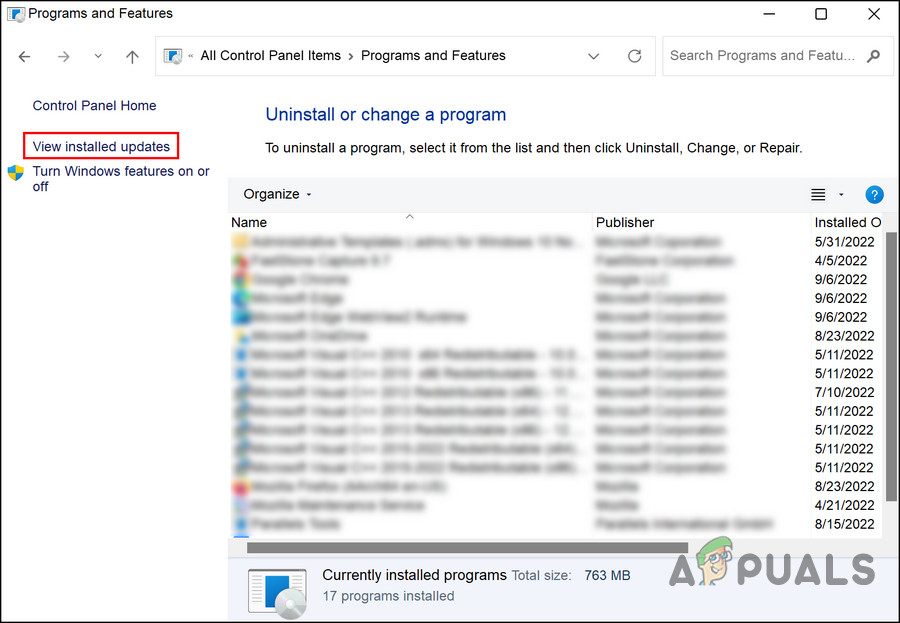
Check the installed updates on the system - The list of installed updates will now be displayed.
- Right-click the KB4023057 update, then select Uninstall from the context menu.
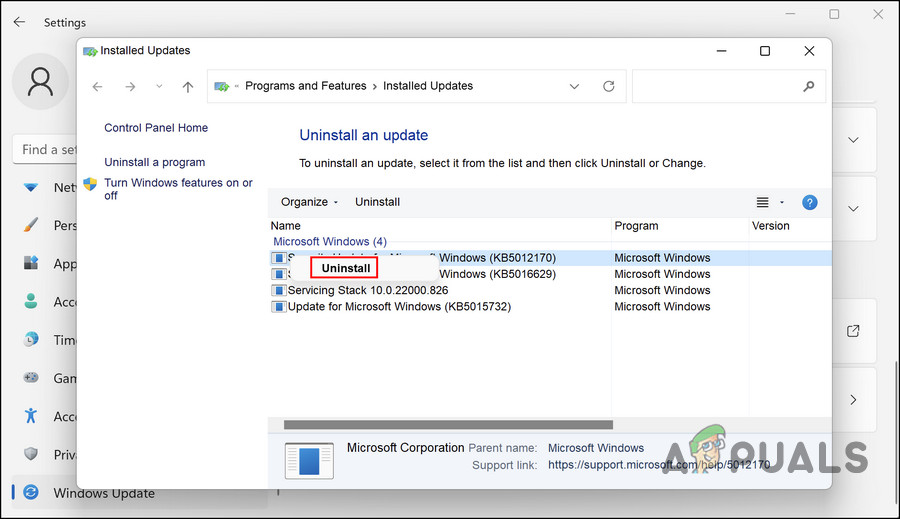
Uninstall the selected update - After uninstalling the update, restart your computer.
3. Update the Driver
This error is often caused by an outdated or incompatible driver. Updating the problematic driver to the latest version can resolve the issue. Driver updates are available through the Windows Settings app, and you can also use Device Manager if necessary.
- Press Win + I to open Settings.
- Select Windows Update from the left menu.
- On the right side, click Advanced options.
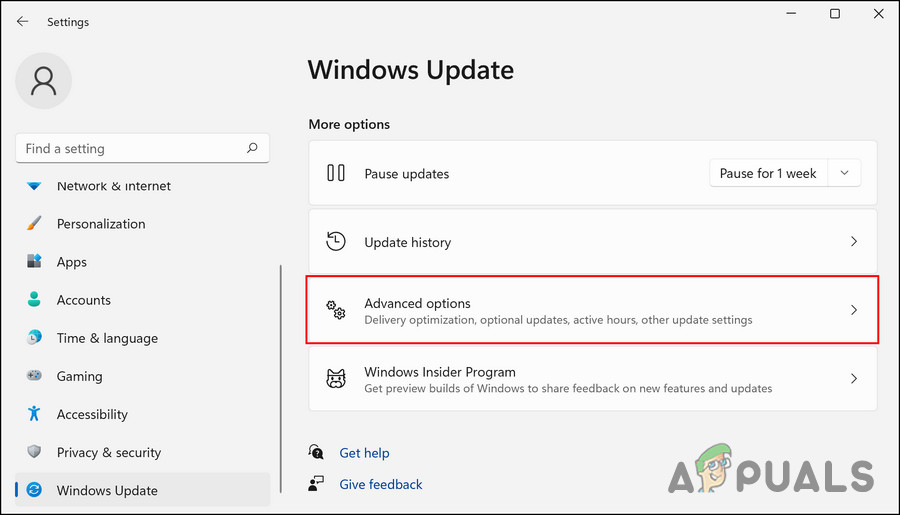
Choose Advanced options in the right pane - Select Optional updates and expand the Driver updates section.
- Find the relevant driver, check its box, and click Download & install.

Click on the Download & install button - When the update is complete, restart your computer.
If you cannot update the driver through Windows Settings, here is how to update it using Device Manager:
- Type Device Manager in the Windows search bar and click Open.
- Locate the problematic driver, right-click on it, and choose Update driver.
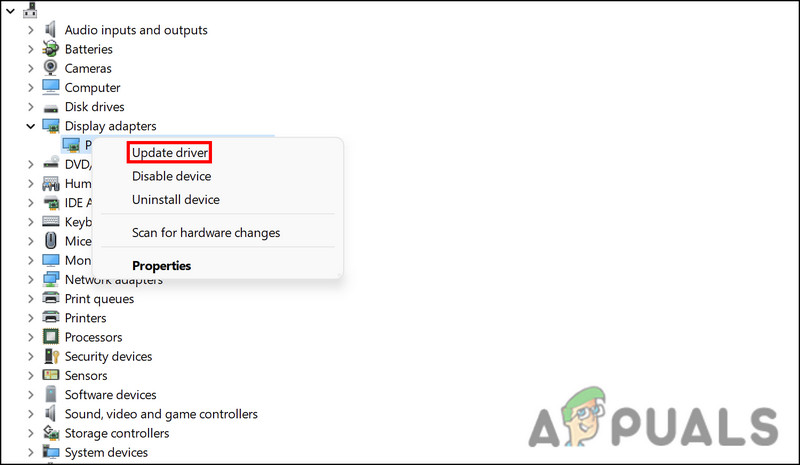
Choose Update driver from the context menu - Select Search automatically for drivers.
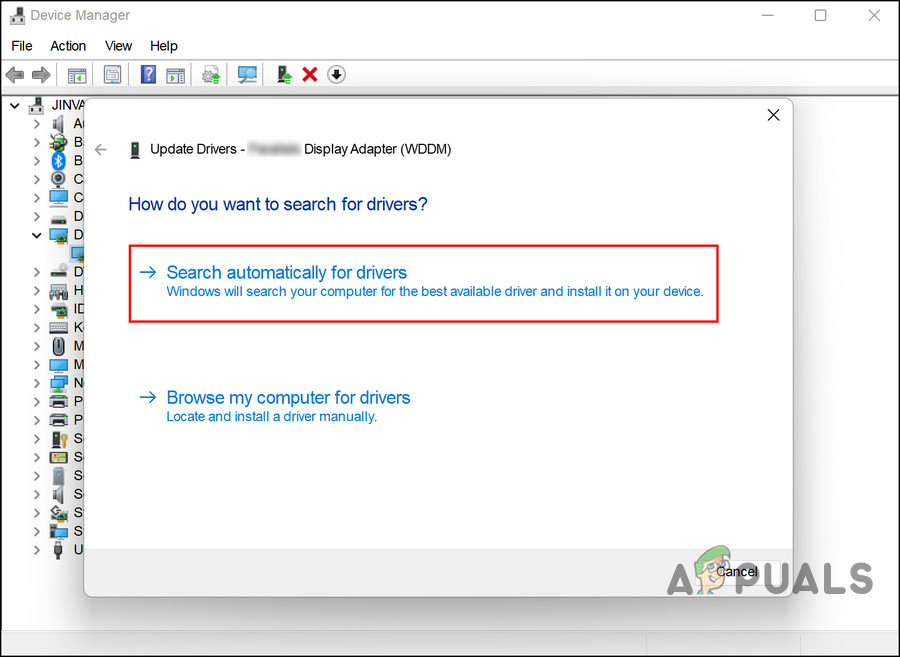
Click on Search automatically for drivers option - Allow Windows to search and install the best available driver. Follow the on-screen instructions to complete the process.
- After the driver is updated, restart your computer and verify if the error is fixed.
4. Uninstall the Driver
If no driver updates are available or if the driver is no longer supported, uninstalling it may help. Proceed with this method only if the driver is non-essential, and you can find a suitable alternative if needed.
For example, if you are using the Intel® PROSet or Intel® Advanced Network Services (Intel® ANS) driver, uninstalling this driver can fix the error, as it is no longer supported on Windows 11.
- Type Device Manager in the Windows search bar and click Open.
- Expand the Network adapters section to locate your target driver.
- Right-click the driver and select Uninstall device.

Uninstall the driver - Follow the on-screen instructions to remove the driver from your system.
- Once you have completed the uninstallation, restart your computer.


