How to Fix a 928 Fatal PCIe Error?
The 928 Fatal PCIe Error can make your computer restart suddenly or show a black screen. You might also see messages like “Completion Timeout” or “Surprise Link Down” related to a specific PCIe slot. This error means there is a serious problem with how your computer’s PCI Express devices are communicating, usually because a device did not finish a task in time.
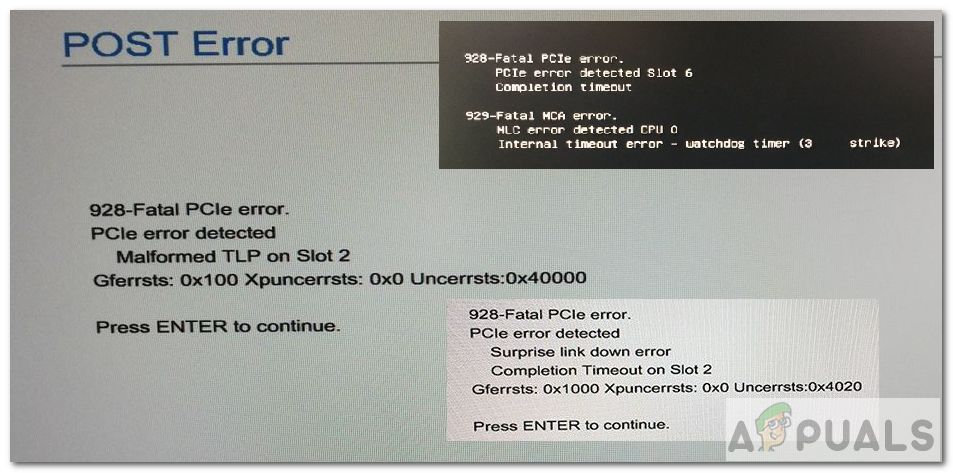
The most common reason for this error is a damaged or loose PCIe device, such as a graphics card (GPU) or RAID controller. Other causes can include an outdated BIOS, wrong PCIe generation settings, or problems with power supply to the PCIe devices.
In this article, we will discuss different ways to solve this error.
1. Update BIOS and Drivers
The first and most essential step is to ensure your BIOS and all relevant drivers are up to date. Keeping both the BIOS and drivers current can resolve numerous issues associated with hardware components. To learn how to update your BIOS, please refer to this guide. Updating drivers is equally important, as outdated drivers can lead to system incompatibility and errors.
2. Change the PCIe Slot Settings
Sometimes, modifying certain BIOS settings related to PCIe slot behavior can eliminate the error.
- Enter the BIOS setup on your computer.
- Navigate to the Advanced Menu.
- Select the Slot Settings option.
- Locate the setting labeled PCI SERR# Generation. This setting manages error reporting for PCI add-in cards that may not behave as expected.
- Change PCI SERR# Generation from ‘Enable’ to ‘Disable‘.
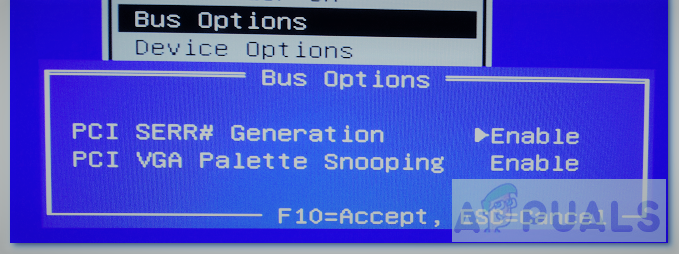
PCI SERR# Generation - Save your changes and exit the BIOS.
- Reboot the system to check if the error persists.
These changes help by preventing the system from flagging non-critical PCIe card issues, which can be useful if the problem is due to a legacy or non-conforming card.
3. Remove and Reseat the Card
A common cause for PCIe errors is improper seating of the hardware component. For instance, if a PCIe card is not firmly or correctly inserted into its slot, the system may not recognize the connection, triggering an error.
- Power off your desktop computer completely.
- Open the computer case.
- Once opened, locate the motherboard—the main circuit board to which all components are connected. The PCIe slots are located here.
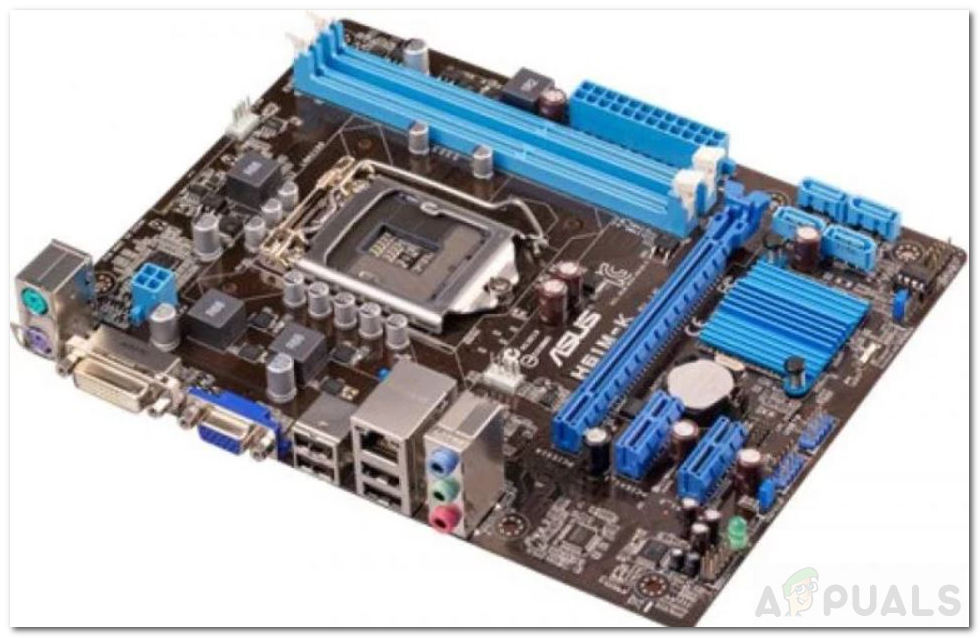
Motherboard - If needed, disconnect any components that obstruct access to the PCIe slot (steps will vary depending on your PC build).
- Once you have access, carefully remove the card from the PCIe slot noted in the error message (e.g., slot 1, 2, 3, etc.).
- Re-insert the card, making sure it is firmly and securely seated in the slot.
- Power on your computer.
- If the error still appears, proceed to Method 4.
Reseating the card ensures strong electrical connections and correct alignment, often eliminating communication problems between the card and the motherboard.
4. Move the Card to a Different PCIe Slot
If reseating the card does not resolve the error, relocating the card to an alternate PCIe slot may help. Different slots support different speeds and lane configurations, so proper selection is important.
- Start by following steps 1 to 5 from Method 3 to power down and access the card.
- After removing the card, determine its type. For example, PCIe x4 or PCIe x8. The number after ‘x’ refers to the number of lanes, which also indicates compatible slots.
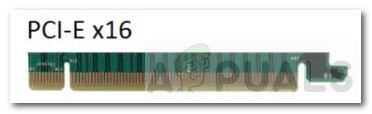
PCIe X16 card - Identify other PCIe slots on your motherboard that match or exceed the number of lanes your card requires.
- Common PCIe slot sizes include x1, x4, x8, and x16.
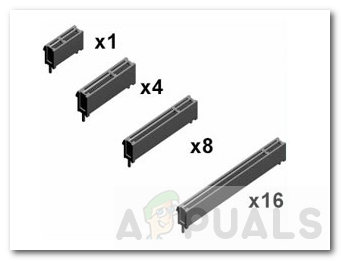
PCIe slot sizes - To ensure optimal performance, insert the card into a slot with the same number of lanes, or higher. For instance, a PCIe x4 card will fit in x4, x8, or x16 slots—but not in an x1 slot. While the card may physically fit into a slot with fewer lanes, it will not perform at full capacity, especially important with components like GPUs.
- Install the card in an appropriate alternative slot.
- Boot up your computer and check the status of the error.
Moving the card to a different slot can resolve issues related to a faulty or power-constrained slot.
5. Perform a System Extensive Test
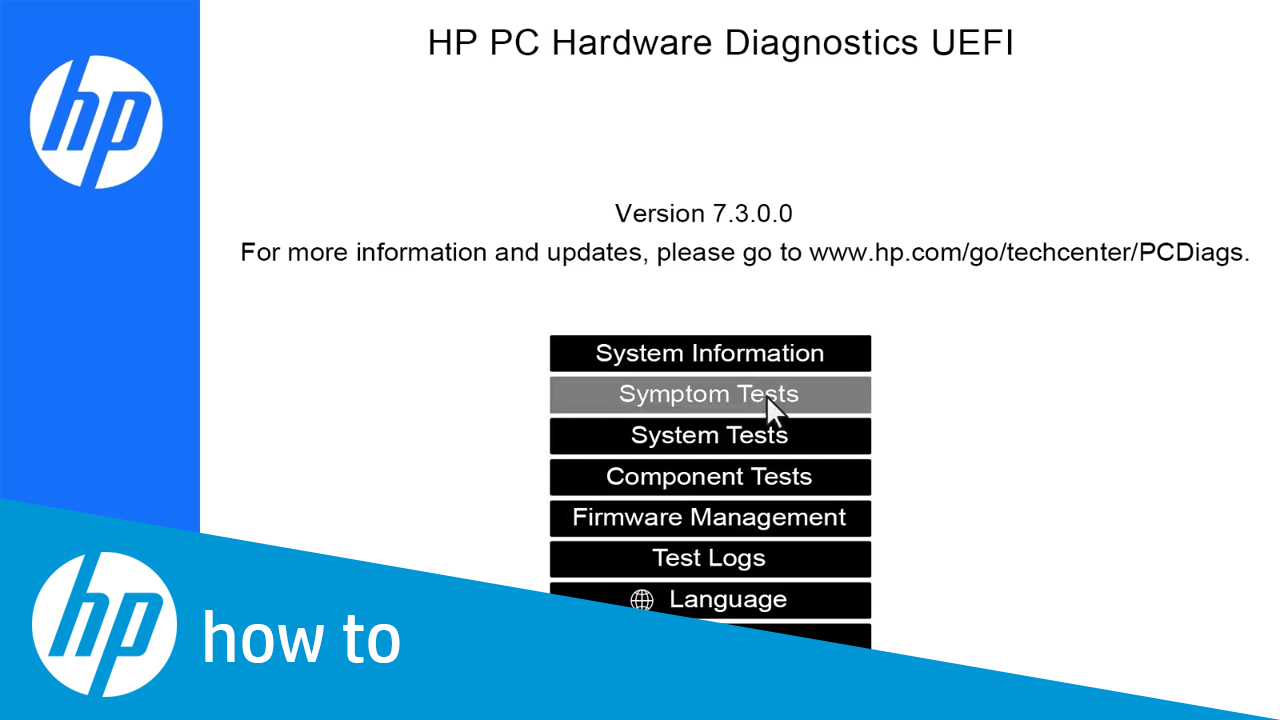
This method is especially relevant for HP workstations, which come equipped with HP PC Hardware Diagnostics UEFI. Running a System Extensive Test can help to comprehensively diagnose hardware issues when Windows fails to start, or other solutions have not worked.
- First, turn off your computer completely.
- Power on your computer and repeatedly press the Esc key, approximately once per second, until the Startup Menu appears.
- From the displayed menu, press F2 to enter System Diagnostics.
- On the diagnostics main menu, select System Tests and then choose Extensive Test.
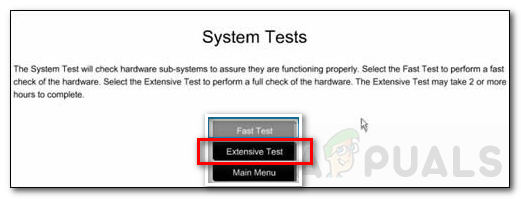
- Click Run once or select Loop until error. The thorough diagnostics test will begin.
- Progress and results are displayed during the test. If any component fails, note the failure ID (a 24-digit code) and contact HP Customer Support for further assistance.
For additional details about this hardware diagnostic test and other options available for HP workstations, please click here.


To the people of the internet who cannot solve 928 Fatal error with above methods, also try changing your GPU 8pin/6pin connector. That’s what eventually fixed the problem for me.