How to Prevent ‘7 Days to Die’ from Crashing on Your PC
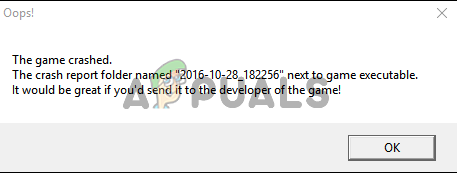
The game crashes in the middle of a session or while loading, often without showing an error message. Sometimes, it may even cause a blue screen (BSOD) or make your system freeze. A common error, “NullReferenceException,” happens when the game tries to use something that has not been set up correctly.
The most common reason for these crashes is not enough physical or virtual memory, especially on systems with 8GB RAM. Other possible causes include damaged game files, outdated mods, or storage drives that are almost full.
Now that you know the causes, let’s discuss the solutions.
1. Force the Use of DirectX 10
Many players experience improved stability and performance in 7 Days to Die by using DirectX 10 instead of the default or other versions. This change can easily be made within the Steam client.
- Open the Steam client by double-clicking its icon on your Desktop, or by searching for “Steam” in the Start menu.
- Press the Windows key or click the Start menu button, type “Steam,” and select the top result.
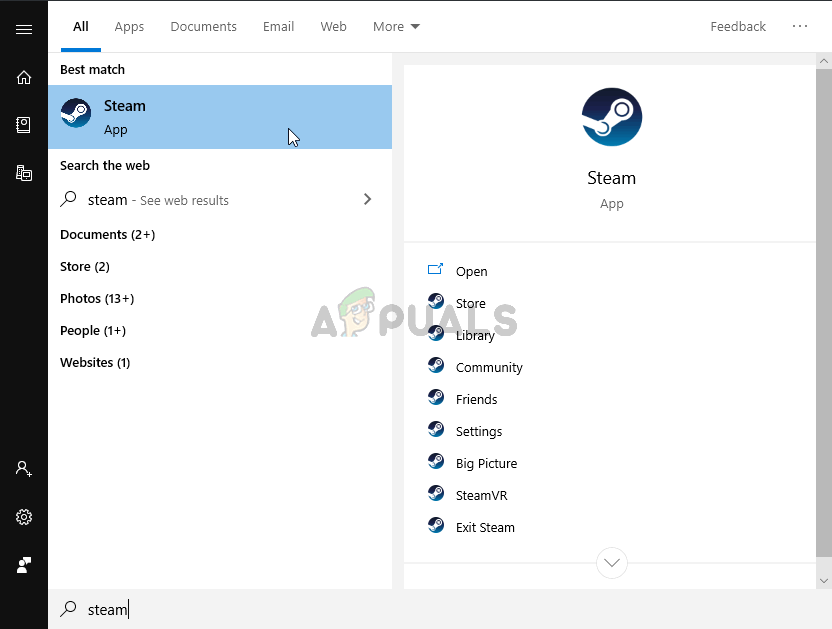
Opening Steam from the Start menu - In the Steam client, select the Library tab, find 7 Days to Die in your list of games, right-click its icon, and choose Properties from the context menu.
- Within the General tab, click Set Launch Options. Enter the following launch parameter. If other options are already present, leave a space between them:
-force-feature-level-10-0
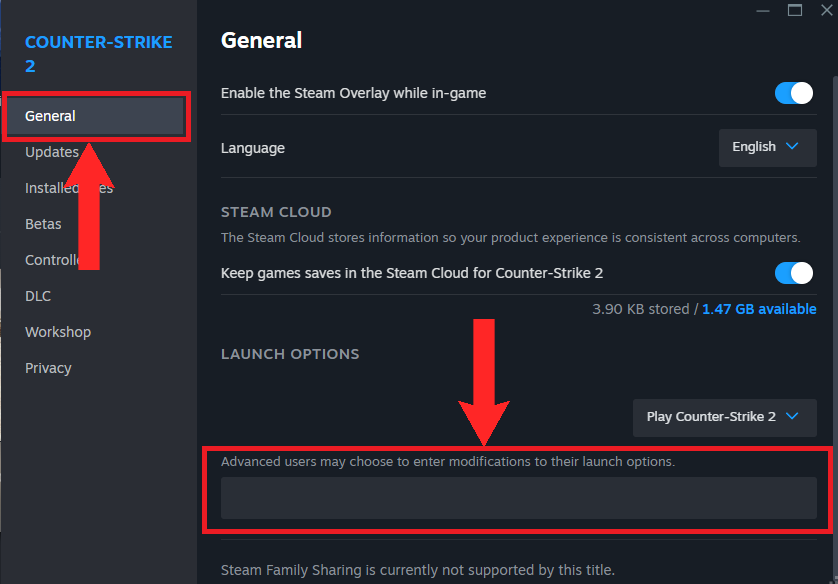
Look for text box under the “Launch Options” heading - Click OK to save your changes. Relaunch the game and check if crashes continue.
Why this step helps: Forcing DirectX 10 ensures compatibility with many graphics cards and system setups, bypassing stability problems related to newer or older DirectX versions that may not function properly with the game.
2. Disable Motion Blur
Disabling the Motion Blur setting is a proven solution for crashes caused by graphic effects. This adjustment only takes a moment and can significantly improve game stability.
- Start the game from your Desktop or through the Start menu. Alternatively, open Steam, navigate to the Library, right-click 7 Days to Die, and select Play Game.
- At the game’s home screen, click Options, then choose Video to open the graphics settings.
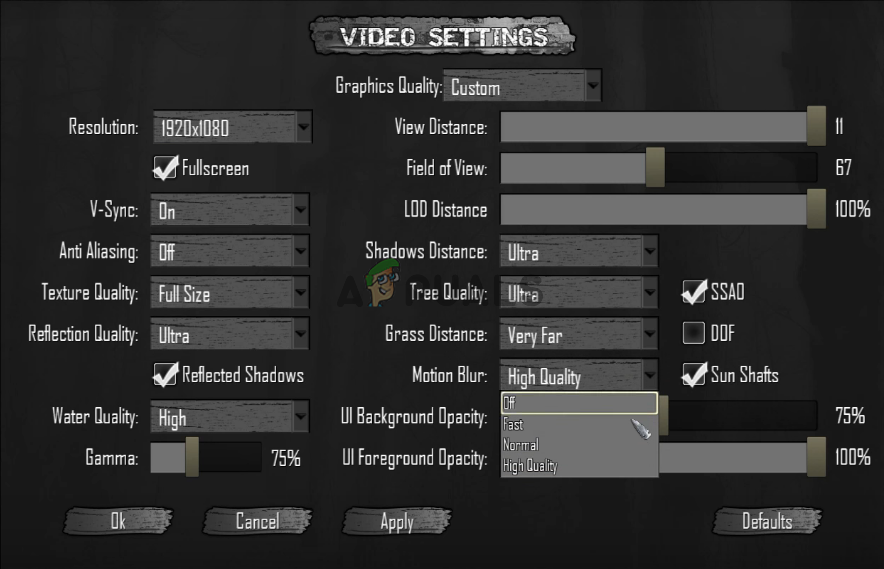
Disabling Motion Blur - Find the Motion Blur option, select Off from the dropdown, and apply the changes. Test to see if disabling this feature has resolved the crashes.
Why this step helps: Turning off Motion Blur eliminates a graphics effect that can overwhelm certain hardware or drivers, reducing the risk of game instability on a wide range of systems.
3. Verify the Integrity of Game Files
This Steam feature automatically scans your game files and replaces any that are missing or corrupted, eliminating a major source of crashes caused by file problems.
- Press the Windows key or click the Start menu button, type “Steam,” and launch the application.
Opening Steam from the Start menu
- In Steam, click Library, locate 7 Days to Die, right-click on it, and select Properties.
- Navigate to the Local Files tab and click Verify the Integrity of Game Files. Allow Steam to scan and repair the installation.
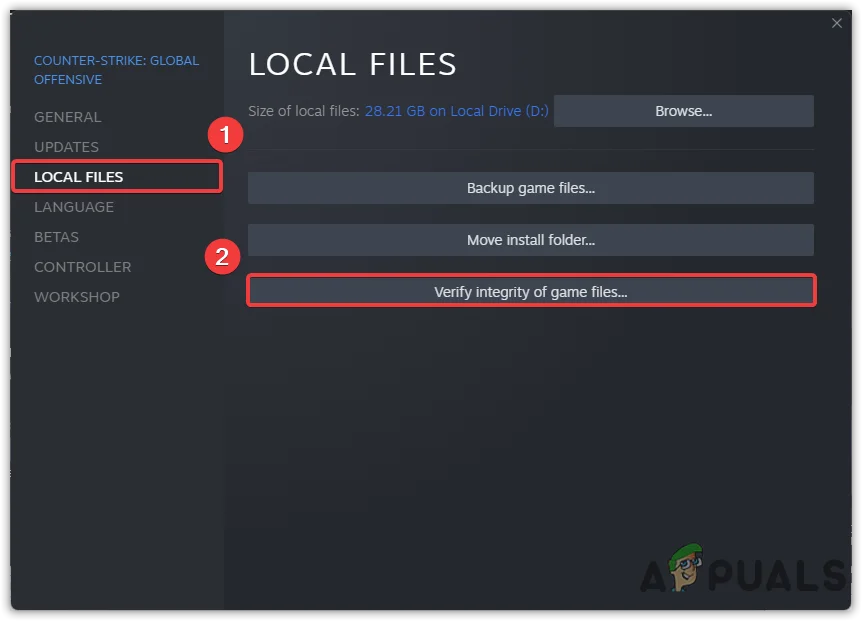
- Let Steam finish downloading any missing or repaired files. Relaunch 7 Days to Die and check if crash issues persist.
Why this step helps: Corrupted or incomplete files can cause frequent crashes. This process ensures you have a complete and healthy game installation, resolving many stability issues automatically.
4. Install the 32-bit Version of the Game Using SteamCMD
In some rare cases, the 64-bit version may not be compatible with your system. Installing the 32-bit version using SteamCMD provides an alternative, particularly helpful for troubleshooting persistent crashes on specific hardware and Windows setups.
- Go to this link to download the SteamCMD ZIP archive. Extract it to a dedicated folder you create for SteamCMD.
- Run SteamCMD for the first time to allow it to update. After updating, it will display a prompt for entering new commands. You can also open a Command Prompt window using Windows Key + R.
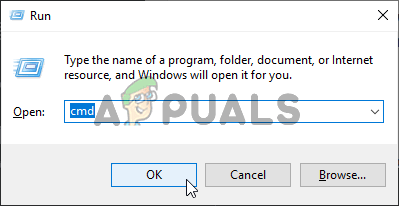
Running Command Prompt
- Open the Run dialog by typing “cmd” and clicking OK. You may also locate Command Prompt via the Start menu.
- In Command Prompt, navigate to your SteamCMD directory and launch SteamCMD by entering:
cd <Path to the SteamCMD folder>
steamcmd
- Substitute
<Path to the SteamCMD folder>with the exact path to your SteamCMD folder (e.g.,C:/SteamCMD). - Enter the following commands to log in and download the 32-bit version of 7 Days to Die:
login <username> <password>
@sSteamCmdForcePlatformBitness 32
force_install_dir ./7dtd/
app_update 251570
- Replace
<username>and<password>with your actual Steam login details. Wait for the install process to finish, then launch the game from the 7dtd folder. Confirm whether the crashes have been resolved.
Why this step helps: Some systems experience compatibility issues with the 64-bit version of the game. The 32-bit version can bypass these problems, allowing the game to run without further crashes.


I’m just getting an error that says”ERROR! Failed to install app ‘251570’ (Invalid platform)”