How to Fix ‘511 CPU Fan not detected’ Error During Boot
The system stops during startup and shows the error “511-CPU Fan not detected,” often with a loud beep and a request to press F1 to continue. This message means the BIOS cannot find a working CPU fan, which can cause the computer to overheat.
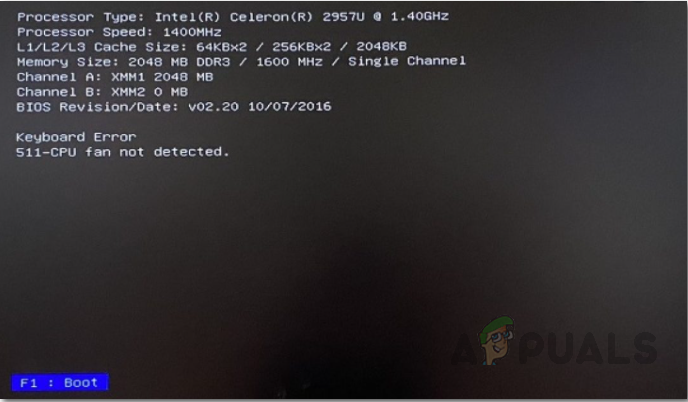
The most common reason is that the fan is plugged into the wrong port—usually CHA_FAN instead of CPU_FAN. Other possible causes include loose cables, dust blocking the fan, or a broken fan.
Now that we have identified the possible causes of the “511-CPU fan not detected” error, let’s go through the proven methods to resolve it.
1. Check for Physical Damage
Begin by unplugging your PC and carefully opening the case. Inspect the CPU fan, fan rotors, heatsink, and motherboard for any visible signs of physical damage. Physical damage, such as a broken fan blade or damaged circuit traces on the motherboard, can prevent the fan from functioning properly and lead to this error.
Important: Before handling any internal components, ensure you are properly grounded to avoid electrostatic discharge, which can damage sensitive parts.
If you discover any damaged components, replacing or repairing them is necessary to fix the ‘511-CPU fan not detected’ error.
2. Clean the Internal CPU Fans and Heatsink
Routine cleaning is vital for optimizing PC performance and longevity. Dust buildup can hamper fan movement and obstruct heat dissipation, resulting in overheating and system errors.
- Using a can of compressed air or a blower, thoroughly remove all dust, paying particular attention to the fan blades, rotors, and heatsink.Note: While cleaning, prevent the fans from spinning, as spinning can generate voltage and potentially damage your components.
- After cleaning, plug in your PC and power it on without closing the side panel.
- Visually inspect the CPU fan to confirm it is moving as expected.
3. Check and Secure CPU Fan Connections
A loose or improperly connected CPU fan cable can prevent your computer from detecting the fan. Double-check all connections to ensure proper contact.
- Turn off your PC and unplug all cables.
- Disconnect the CPU fan cable from the motherboard, then reconnect it, ensuring it is firmly and correctly seated.
- Restart your PC and observe whether the fan error message still appears.
4. Reset BIOS Settings to Default
The BIOS checks and manages hardware components on startup, including the CPU fan. Incorrect BIOS settings can result in the fan failing the diagnostic check, thus causing the “511-CPU fan not detected” error. Resetting the BIOS to its default settings often resolves this issue.
The safest and most straightforward way to reset BIOS settings is through your PC’s boot menu. There are two main approaches to accessing your BIOS configuration: from within Windows or directly during startup.
4.1. Access BIOS Settings from Desktop
- Open the Settings app from the Windows Start menu.
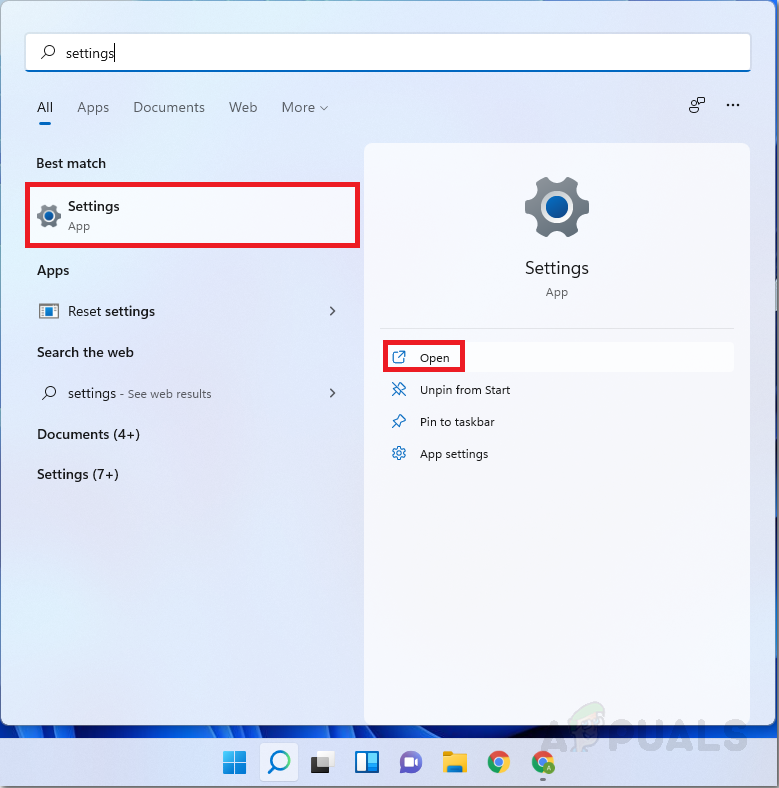
Navigate to the settings app - Within the Settings app, click Updates and Security on the left sidebar, then navigate to Advanced Options.
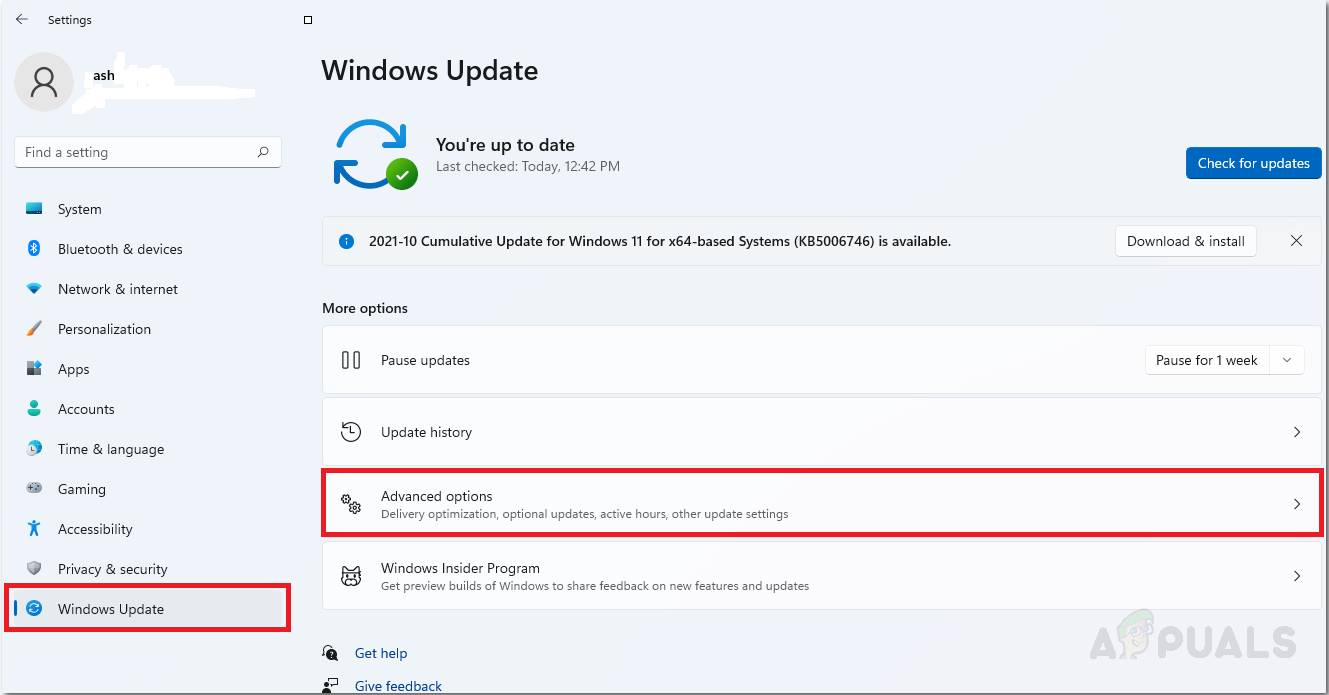
Navigate to advanced setup from the Windows settings app - Under the “Additional Options” tab, select Recovery.
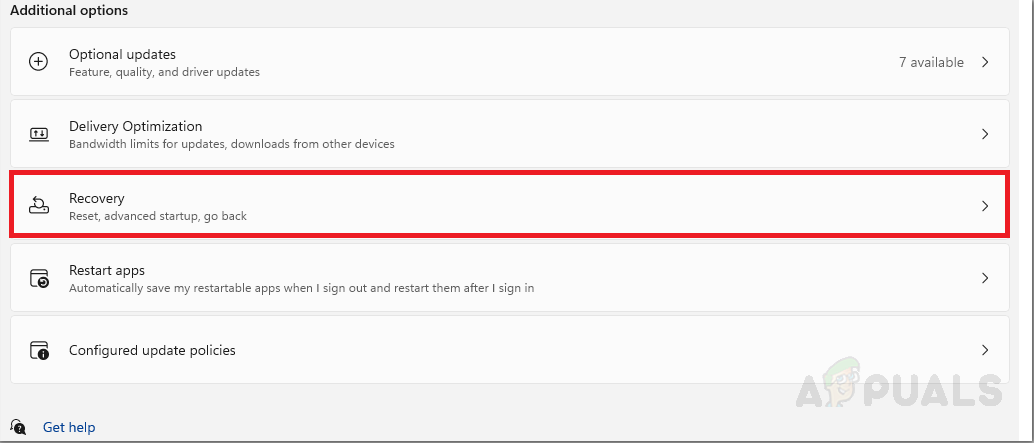
Navigate to Recovery Settings - In the Advanced startup section, click Restart now.
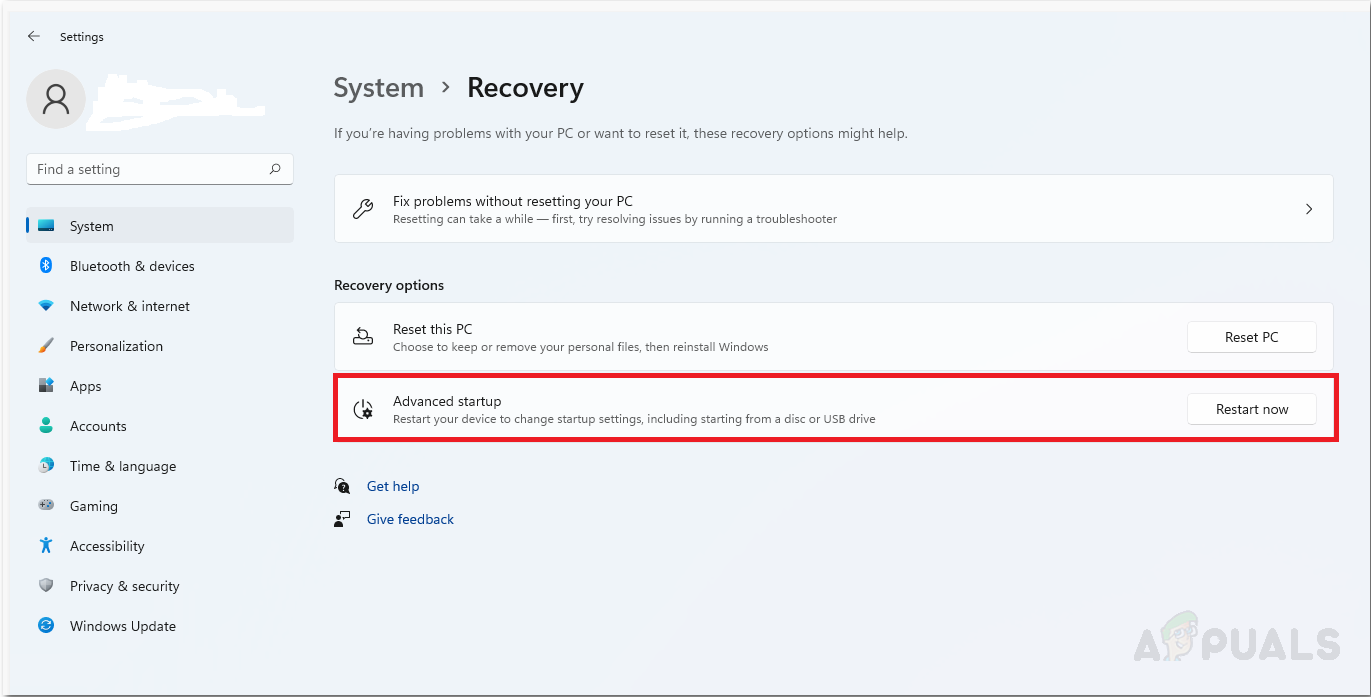
Restart your PC through Advanced Startup - After restarting, your PC will display the recovery menu. Select ‘Troubleshoot‘.
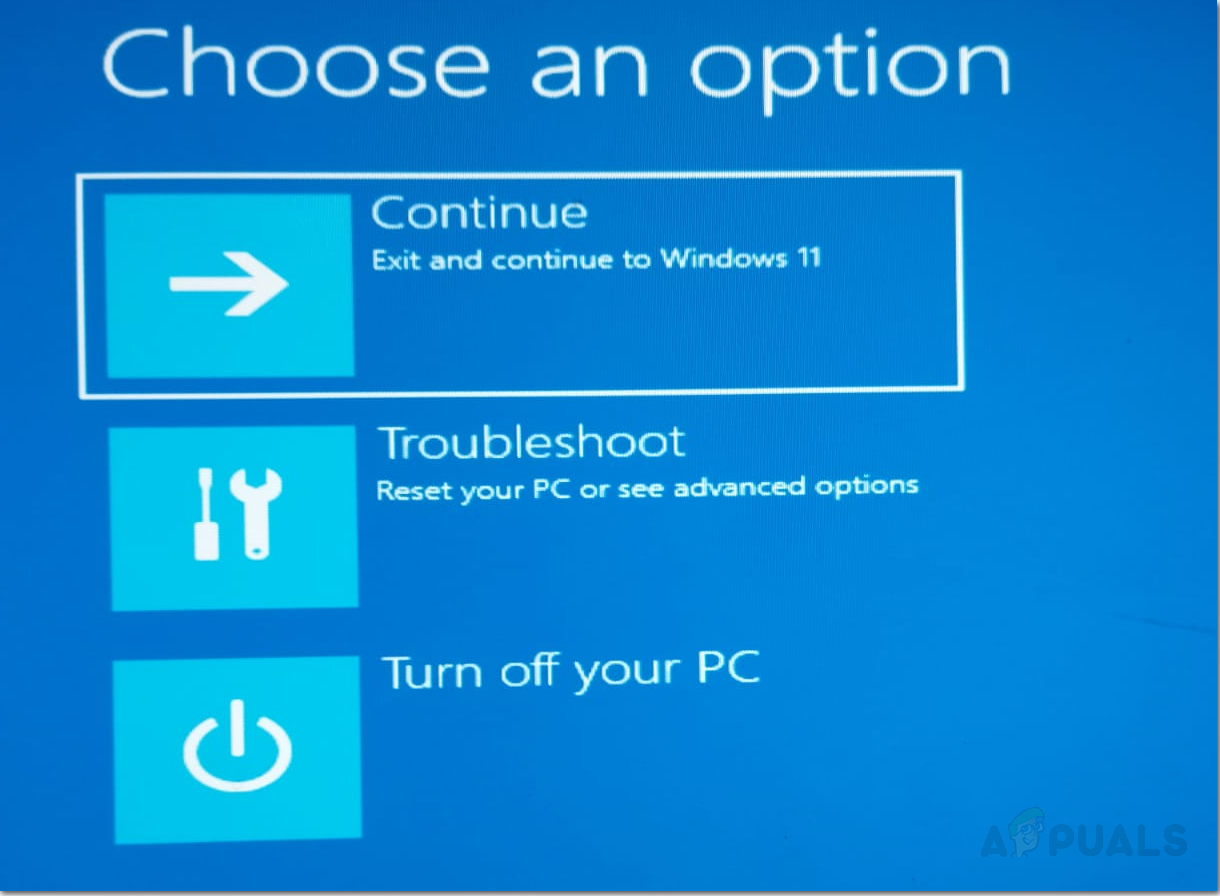
Select Troubleshoot from the new boot menu - In Advanced Options, select UEFI Firmware Settings, then click Restart.
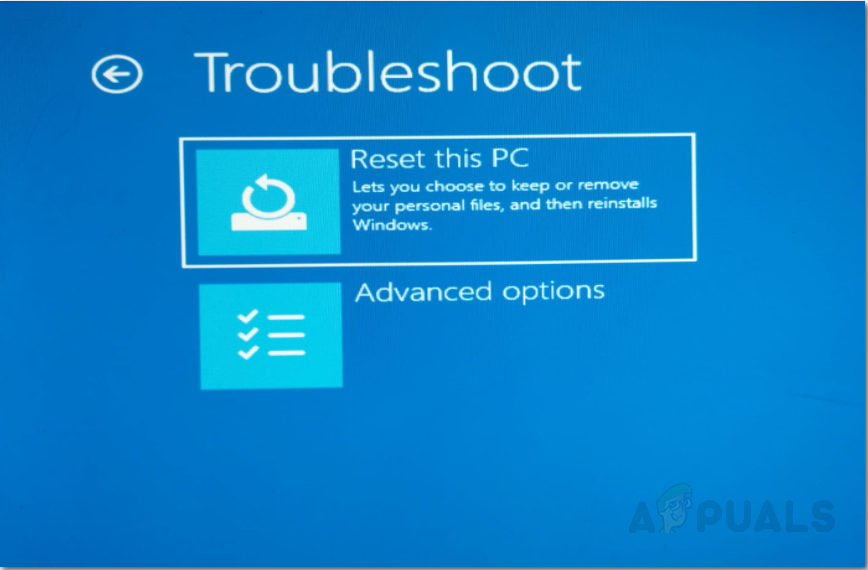
- Click on Reset this PC and access UEFI firmware settings
- Your PC will reboot into the BIOS settings menu. The appearance and navigation may differ based on your manufacturer, so search for the “Reset to default” or “Load optimized defaults” option. Save changes and restart your PC. Check if the “511-CPU fan not detected” error still appears.
4.2. Access BIOS Settings from Startup Screen
If you are unable to access Windows, you can enter BIOS directly during startup. The required key varies by manufacturer, most commonly F2 or F12.
Press the appropriate key during your PC’s initial boot sequence to access the BIOS menu. Locate the “Reset to default” or “Load setup defaults” option, save your changes, and reboot your PC. Then, verify if the problem has been resolved.
5. Contact Manufacturer Support or Replace the Fan
If none of the solutions above resolve the issue, it may indicate a hardware malfunction that requires professional assistance. Contact the support team for your PC’s manufacturer (OEM) for further diagnostics and repair options. As an alternative, you can purchase and install a compatible replacement fan.


