How to Fix Windows 10 (Version 1709) Fails to Update?
The update process for Windows 10 Version 1709 often gets stuck—commonly at 33% or 85%—and then rolls back to the previous version without any warning. You might see error code 0x80070002, which indicates that Windows cannot find a required file.

This usually happens because some update files are missing or corrupted. The most common cause is a problem with the SoftwareDistribution folder, which stores update files. Other possible causes include registry issues, driver problems, or interference from third-party antivirus software.
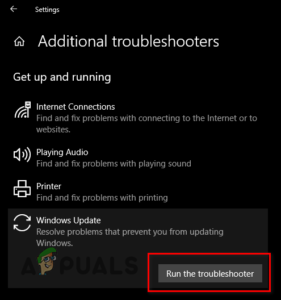
1. Run the Windows Update Troubleshooter
If Windows fails to install an update, the built-in Windows Update Troubleshooter can detect and resolve common issues automatically. It scans your system for errors and provides recommended solutions to fix them.
- Open Windows Settings by pressing the Win + I keys simultaneously.
- Go to Update & Security > Troubleshoot.
- Select Windows Update under “Get up and running.”
- Click on Run the troubleshooter to begin the diagnostic process.
- Once the troubleshooter finishes detecting problems, review and apply the suggested solutions.
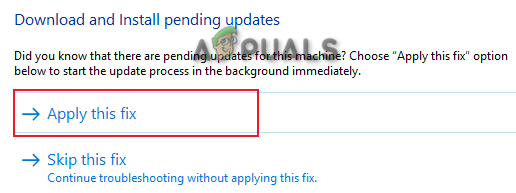
Selecting Troubleshooter Solution - Restart your computer to ensure all changes are applied.
2. Run System Scans
System file corruption is a frequent cause of update failures. Running built-in system scans helps detect and repair these corrupt files.
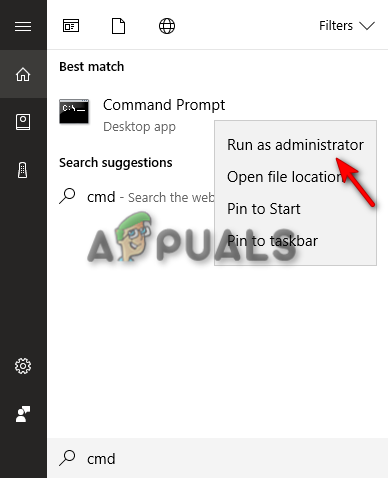
- Open the Start Menu by pressing the Win key.
- Type cmd in the search bar.
- Right-click Command Prompt and choose Run as administrator.
Running the Command Prompt as an administrator. - Enter the following command and press Enter:
sfc /scannow
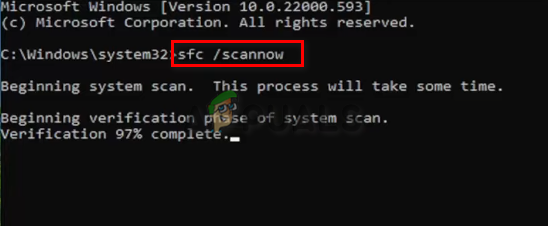
Running system file checker on the command prompt. - The System File Checker will automatically detect and repair any corrupted system files.
- Copy and paste the following command into Command Prompt and press Enter:
Dism.exe /online /cleanup-image /restorehealth
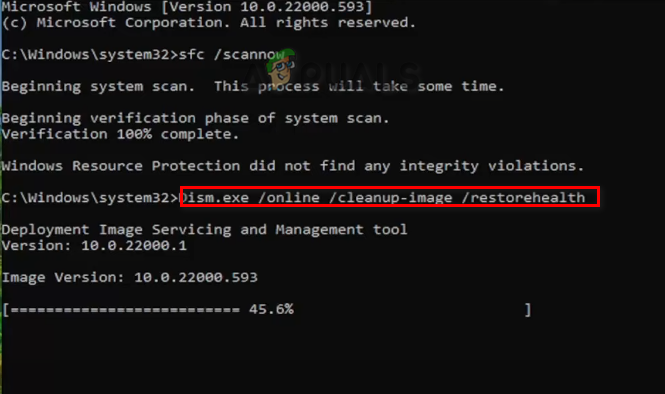
Running DISM Command on the Command Prompt
- To check your disk for errors, enter the following commands (replace “C” if your system drive is different), pressing Enter after each:
Chkdsk C: /r
Chkdsk C: /f
- Restart your computer to allow Windows to fix any detected disk problems.
These scans will help ensure your system is in optimal condition for updating.
3. Update Time and Region Settings
Incorrect time and region settings can interfere with the Windows Update process. When your system time or time zone does not match your actual region, Windows Update can fail to install. To prevent this, you should synchronize your computer’s time and region with the correct settings.
- Verify your local time online.
- Open Windows Settings (Win + I).
- Navigate to Time & Language > Date & Time.
- Turn off both Set time automatically and Set time zone automatically.
- Click Change and set the correct time zone as shown online.
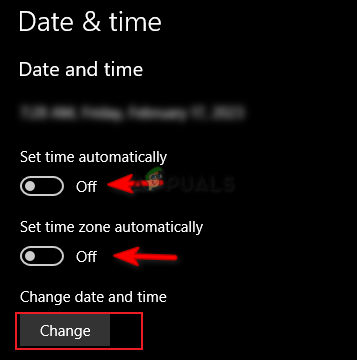
Changing the time zone - Go to the Region tab and select your corresponding region.
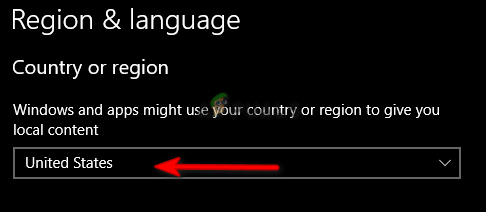
Setting the Region
This ensures that Windows communicates correctly with update servers, resolving potential update errors.
4. Temporarily Disable Windows Security and Third-Party Antivirus
Windows Security and third-party antivirus programs are essential for protecting your system, but sometimes they may interfere with Windows Update. Temporarily disabling these security measures can help updates install smoothly.
- Open Windows Settings (Win + I).
- Navigate to Update & Security > Virus & threat protection.
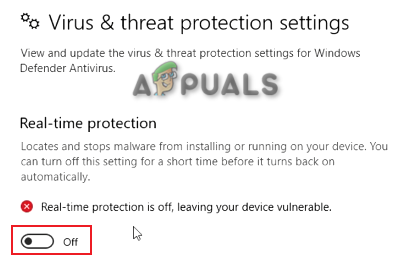
- Click on Manage settings under Virus & threat protection settings.

Managing Virus and Threat Protection settings - Disable Real-time protection by toggling it off.
Turning Real-time protection Off - If you have third-party antivirus software, such as Avast, you should disable it temporarily.For Avast: Open the program, navigate to Menu > Settings > Protection > Core Shield, and turn off Core Shield.

Turning off the Avast Core Shield
Remember to enable your security software after the update process is complete to maintain protection.
5. Update Windows Without an Internet Connection
Disconnecting your device from the internet before attempting to update can sometimes resolve update errors. This technique prevents Windows from checking for the latest update files mid-process, which might cause conflicts.
5.1. Disable Wi-Fi Connection
- If you are on Wi-Fi, click the Wi-Fi icon in the taskbar.
- Select Airplane mode to disable all wireless connections.

Enabling the Airplane Mode
5.2. Disable Ethernet Connection
If you are using a wired Ethernet connection, simply unplug the Ethernet cable from your computer to disconnect from the internet.
5.3. Proceed with the Windows Update
- Open Windows Settings (Win + I).
- Go to Update & Security > Windows Update.
- Click Check for updates to search for available updates.
- When prompted, select Download to install the latest version.
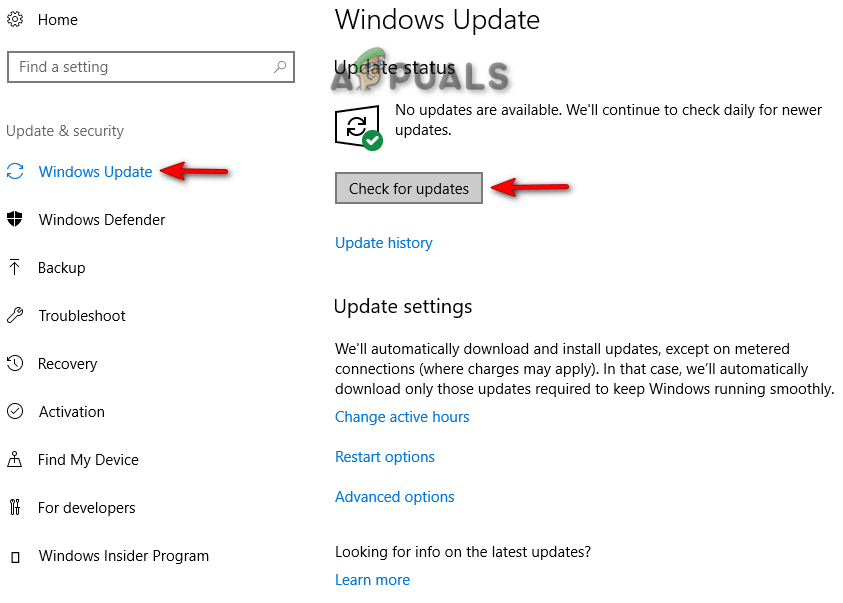
Checking Windows Update - Restart your computer to apply all new updates.
This process prevents any mid-update downloads that might conflict with the update installation, reducing errors.
6. Manually Update Your Windows
If the automatic update continues to fail, you can manually download the correct update file from the Microsoft Update Catalog. This method allows you to install the update directly without relying on Windows Update.
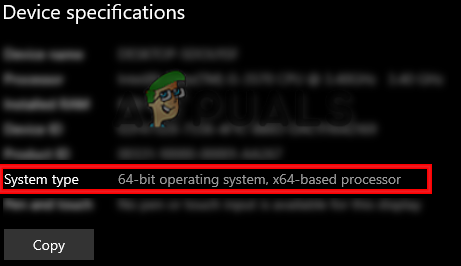
- Open Windows Settings (Win + I).
- Go to System > About and check the System type under Device specifications (e.g., x64-based processor).
Checking device specifications - Visit the official Microsoft Update Catalog website.
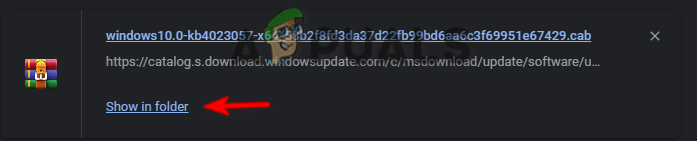
- Locate and download the relevant Windows 1709 update (KB4023057) by clicking Download.
- Select a save location and confirm by clicking Save.
- Open the browser’s downloads page via the three dots menu.
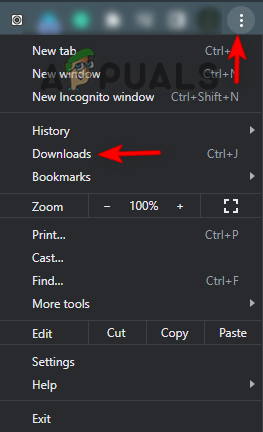
Opening the Downloads tab - Choose Show in folder to navigate to the file location.
Showing file in the folder - If the file is compressed (such as a ZIP or RAR file), extract it by right-clicking and choosing Extract Here.

Extracting the file - Run the installer file by right-clicking and selecting Open.
- After installation, restart your computer to complete the update process to Version 1709.
7. Restart the Recent Items List
Windows uses features such as Quick Access and the Recent Items list to provide easy access to files. If the Recent Items list becomes corrupted, it may interfere with Windows Update. Restarting this feature will clear any errors and allow updates to proceed smoothly.
- Open Windows Settings (Win + I).
- Go to Personalization > Start.
- Toggle off Show recently opened items in Jump Lists on Start or the taskbar.
- Wait a few seconds, then toggle the feature back on to refresh the list.
Recent Item List feature
This action helps clear any potential corruption that could block the update process.
8. Download and Run Windows Update Reset.bat
If the update problem persists, you can manually reset Windows Update components using a script file. The Windows Update Reset.bat script automates resetting update services and components.
- Download the Windows Update Reset.bat file.
- Open your browser’s Downloads page by clicking the three-dot menu and selecting Downloads.
Opening the Downloads tab - Navigate to the file location by clicking Show in folder.

Showing file in folder - Right-click the file and select Run as administrator to execute the script with elevated permissions.
Running file as an administrator - Allow the process to complete. The script will automatically reset update components and resolve related issues.
After completing these steps, you should be able to install Windows 10 Version 1709 without encountering errors. Each method is designed to address a specific cause of update failures and ensure your system remains secure and up to date.


