Fix: (0xC19001-0x40021) Error While Upgrading to Windows 11
During the Windows 11 upgrade process, the system may freeze at a specific percentage (commonly around 75%) or display a blue screen error such as “INVALID_DATA_ACCESS_TRAP,” ultimately reverting to the previous Windows version with error code 0xC1900101 – 0x40021.
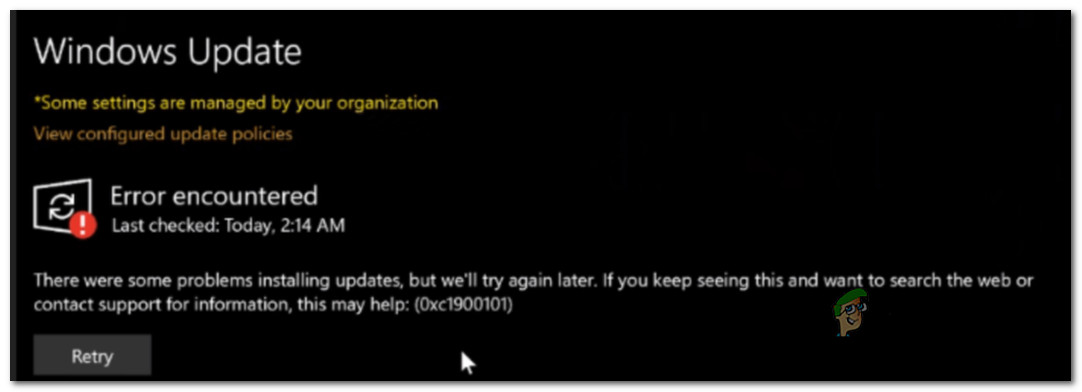
This error indicates that the installation failed in the SECOND_BOOT phase during the SYSPREP_RESPECIALIZE operation, suggesting a failure in reconfiguring the system during the setup process.
The most common cause is incompatible or outdated drivers, particularly those related to storage devices, network adapters, or USB controllers. Additional factors include outdated BIOS firmware, connected external peripherals, antivirus software interference, or corrupted system files.
Now that you’re familiar with the main causes of the 0xC19001-0x40021 error, let’s explore several proven methods used by other users to overcome this issue and successfully upgrade to Windows 11.
1. Check if the Hardware is Compatible with Windows 11
Due to Windows 11’s stringent requirements, it is crucial to verify if your system supports the new operating system before troubleshooting further.
Microsoft has introduced mandatory requirements such as TPM 2.0 and Secure Boot, along with other hardware standards. If you are uncertain about your PC’s compatibility, you can use Microsoft’s PC Health Check app to confirm whether your computer meets the minimum requirements.
Note: The PC Health Check app, after initial inaccuracies in reporting, has since been updated by Microsoft and is now reliable.
- Open your default web browser and download the latest version of the PC Health Check app.
- After downloading, double-click on the installer and select Yes in the User Account Control prompt to grant the required permissions.
- Follow the on-screen prompts on the installation screen and click Install to complete the setup.
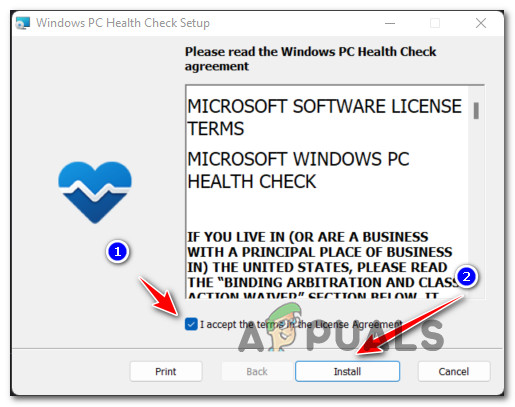
Install the Health Check Utility Note: You will need to accept the License Agreement to enable the install button.
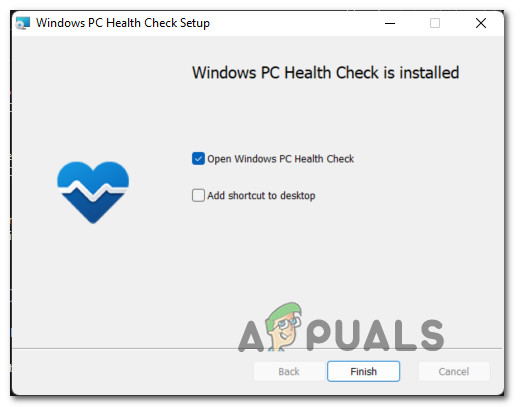
- Upon completion, check the box for Open Windows PC Health Check and click Finish to launch the app.
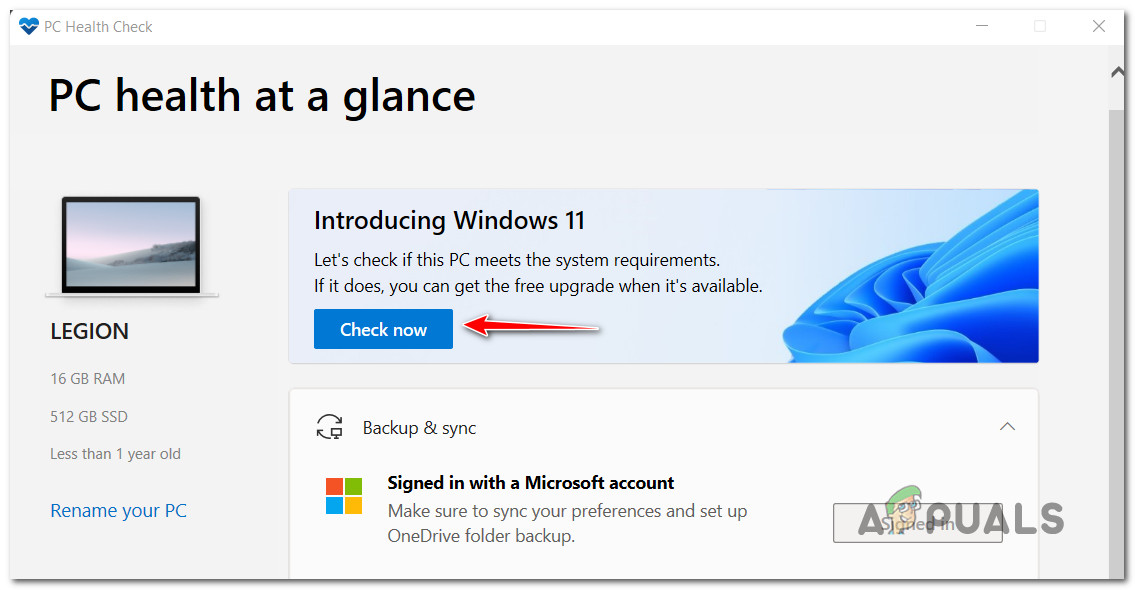
Running the PC Health Check utility - Inside the PC Health Check app, click Check Now at the top of the screen.
Checking if Windows 11 is compatible - Wait for the results to be generated, then click See all results in the pop-up window.
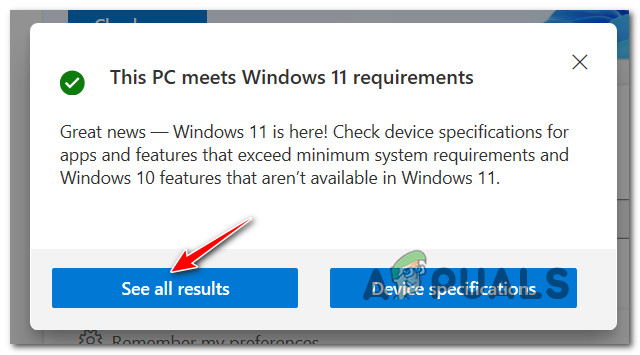
See all results for Windows 11 - Review the compatibility results. If you see ‘This PC meets Windows 11 requirements‘ at the top, your PC is ready for the upgrade.
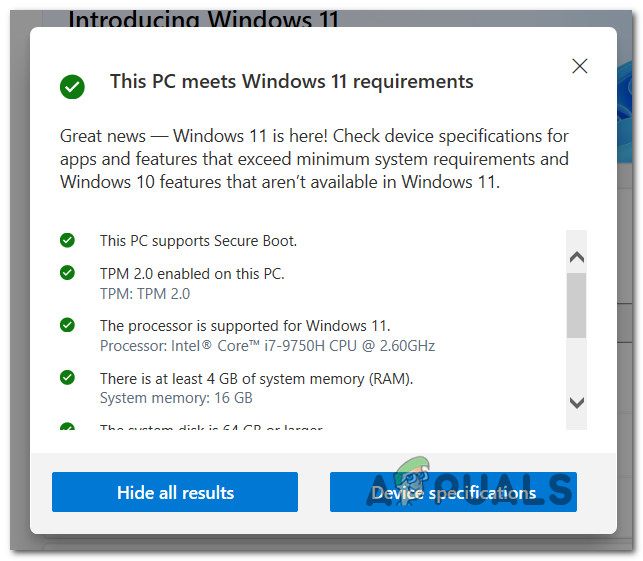
PC meets minimum requirements Note: If your PC is flagged as incompatible, this is likely the root cause of the 0xC19001-0x40021 error.
2. Run the Windows Update Troubleshooter
Once you have verified compatibility, the next step is to check if a Windows Update component is preventing the upgrade.
Various issues can impact Windows Update. The Windows Update Troubleshooter automatically detects and repairs many of these common problems. It is equipped with automated repair strategies that address scenarios known to hinder Windows updates, including OS upgrades.
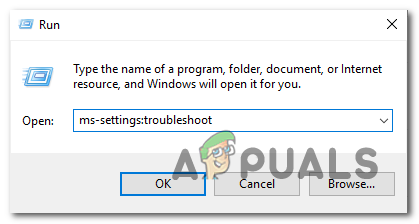
- Press Windows key + R to open a Run dialog box. Type ms-settings:troubleshoot and press Enter to open the Troubleshoot section of the Settings app.
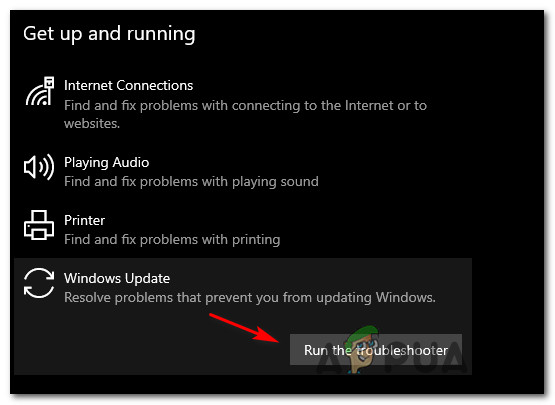
Opening up the Troubleshoot tab - Within Troubleshooting, scroll down to the Get up and running section and click on Windows Update.
- Click Run the troubleshooter from the menu.
Running the Windows Update troubleshooter - Allow the tool to scan your system for Windows Update issues.
- If the troubleshooter finds an issue, click Apply this fix to automatically resolve it.

Applying the recommended fix Note: Depending on the fix, you may be prompted to perform some manual steps.
- Restart your PC after the recommended fix has been applied, and attempt the Windows 11 upgrade again.
3. Reset All Windows Update Components
If the troubleshooter did not resolve the issue, there may still be underlying corruption affecting the Windows Update components.
To thoroughly address possible corruption, you should reset Windows Update components and all related dependencies. Additionally, clear both the Catroot2 and SoftwareDistribution folders, as they store update files and can sometimes become corrupted.
- Press Windows key + R to open the Run dialog. Type cmd and press Ctrl + Shift + Enter to launch an elevated Command Prompt.
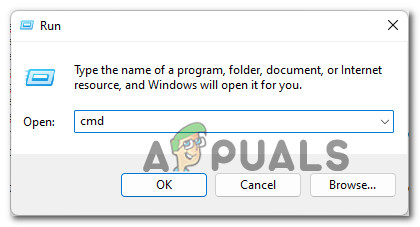
Opening up an elevated CMD prompt - When prompted by the User Account Control, select Yes.
- Enter the following commands one by one, pressing Enter after each, to reset all Windows Update components:
net stop wuauserv
net stop cryptSvc
net stop bits
net stop msiserver
ren C:\Windows\SoftwareDistribution SoftwareDistribution.old
ren C:\Windows\System32\catroot2 catroot2.old
net start wuauserv
net start cryptSvc
net start bits
net start msiserver
- Once all commands have executed successfully, close the Command Prompt window and restart your computer. Attempt the upgrade to Windows 11 again.
4. Run SFC, DISM, and CHKDSK Scans
If resetting Windows Update does not resolve your issue, your system may have deeper corruption affecting files or storage sectors. Windows provides built-in utilities to detect and repair such damage: SFC (System File Checker), DISM (Deployment Image Servicing and Management), and CHKDSK (Check Disk).
Each tool addresses different aspects of system integrity:
- SFC repairs corrupted or missing system files using locally cached data.
- DISM restores the system image by downloading healthy components from Microsoft servers.
- CHKDSK checks for and fixes disk errors.
- Press Windows key + R, type cmd, and press Ctrl + Shift + Enter to open Command Prompt as administrator.
Opening up an elevated CMD prompt - When prompted, click Yes to confirm admin access.
- Run the SFC scan by entering:
sfc /scannow
Note: The SFC scan uses system-protected cached files to replace any corrupted ones.
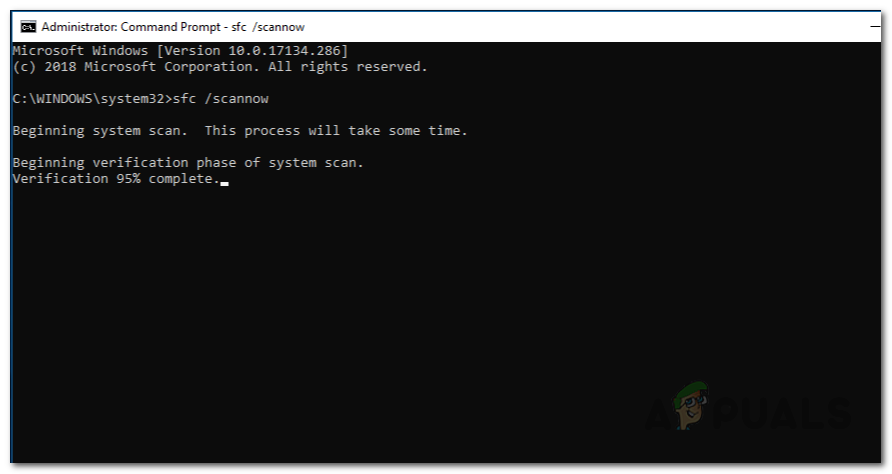
System File Checker scan - Once the SFC scan completes, initiate a DISM scan by entering:
DISM /Online /Cleanup-Image /RestoreHealth
Note: DISM requires an internet connection to download replacement files as needed.
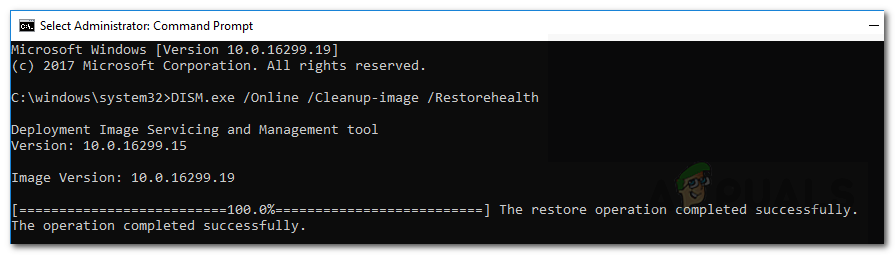
DISM scan - After DISM completes, run CHKDSK using the following command, changing C: to your OS drive if necessary:
chkdsk /f /r C:
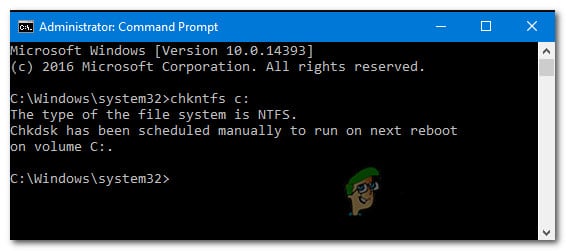
Chkdsk Scan - When all scans are finished, restart your PC and attempt the upgrade to Windows 11 again.
5. Downgrade to an Older Windows 10 Build (If Applicable)
If previous solutions have not worked and you are running an Insider or unsupported version of Windows 10, the upgrade may be blocked.
Some users have discovered that downgrading to an earlier, stable version of Windows 10 (such as 20H2 or builds released before March 20, 2021) enables the Windows 11 upgrade to proceed without errors.
- Open your browser and visit the ADGuard.net download page here.
- Select Windows (final) and then choose Windows 10, Version 2009 – 20H2 (build 19042.508) from the list.
- Select your preferred language, then choose the OS architecture (32-bit or 64-bit) to match your current installation.
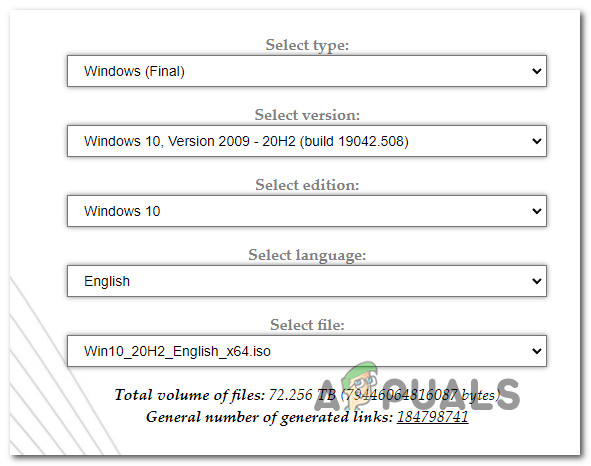
Select which Windows OS version to downgrade Note: To check your current OS architecture, right-click This PC in File Explorer and select Properties. Look under System > System Type.
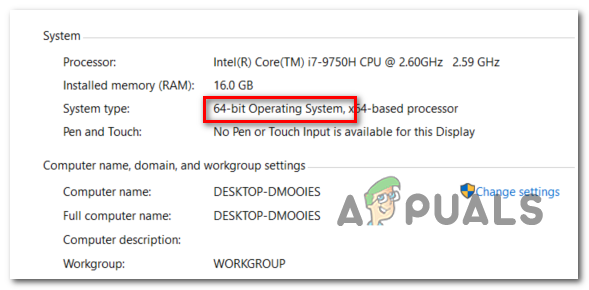
Checking your operating system architecture - Click the red Download button and wait for the ISO file to finish downloading.
- Mount the downloaded ISO, follow the prompts to downgrade your Windows 10 version, and then try upgrading to Windows 11 again.
6. Uninstall ASUS Xonar Driver Prior to Upgrading (If Applicable)
If you have ASUS hardware, the ASUS Xonar sound driver is reported to interfere with the Windows 11 upgrade process, causing the 0xC19001-0x40021 error. Removing this driver through Device Manager often resolves the issue.
- Press Windows key + R, type devmgmt.msc, and press Enter to open Device Manager.
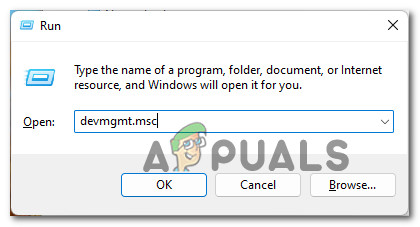
Opening up Device Manager - If prompted by User Account Control, select Yes.
- In Device Manager, expand Audio inputs and outputs, then right-click and choose Uninstall device for every entry related to ASUS Xonar.
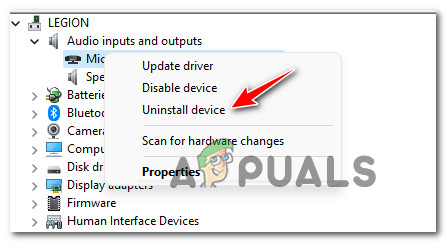
Uninstall the device Note: If you can’t see certain devices, click View from the ribbon and select Show Hidden Devices.
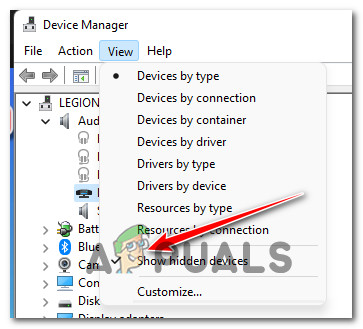
Ensure that hidden devices are shown - Confirm the uninstallation when prompted.
- Do not immediately reboot your PC, as Windows may reinstall the same driver automatically. Instead, proceed directly to re-attempting the upgrade to Windows 11.
7. Disable DRM Software That Interferes with the Windows 11 Upgrade (If Applicable)
A known upgrade blocker is the legacy DRM software, Aladdin Knowledge Systems, which can conflict with the Upgrade Assistant. If this module is present, it serves no practical purpose for modern systems and can be safely disabled.
- Press Windows key + R, type regedit, and press Ctrl + Shift + Enter for registry access with administrative privileges.
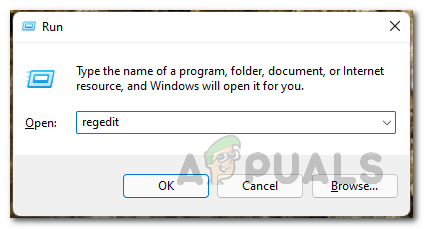
Opening up the Regedit tab - At the User Account Control prompt, select Yes.
- In Registry Editor, navigate to:
HKLM\System\CurrentControlSet\Services\aksfridge
Note: You may navigate manually or paste the path in the address bar for quick access.
- Locate the Start entry in the right pane.
- Double-click Start, set Base to Hexadecimal, and change the Value data to 4.
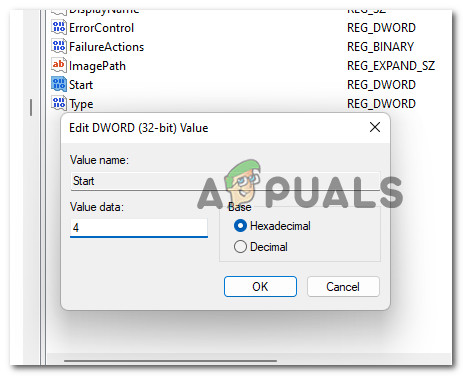
Modify the value data of Start - Click OK to save changes, close Registry Editor, and reboot your computer.
- After restarting, attempt the Windows 11 upgrade again.
8. Temporarily Disable Antivirus or Security Software (If Applicable)
Third-party antivirus or firewall programs are another common reason why upgrades to Windows 11 fail, especially suites like Zone Alarm. These applications may block or interfere with the upgrade installer by restricting file or registry access.
To check whether your antivirus is responsible, disable its real-time protection temporarily before starting the upgrade process.

Note: Most antivirus programs allow you to disable real-time protection from their system tray icon or within their settings. If not, you can consider uninstalling the security suite completely, especially if it also functions as a firewall.
9. Remove Secondary SSDs and External Devices (If Applicable)
Another documented cause of the 0xC19001-0x40021 error is the presence of additional drives or peripherals during the upgrade process. Although the exact reason is unclear, disconnecting any unnecessary external or internal SSDs, HDDs, and non-essential USB devices has helped many users complete the upgrade.
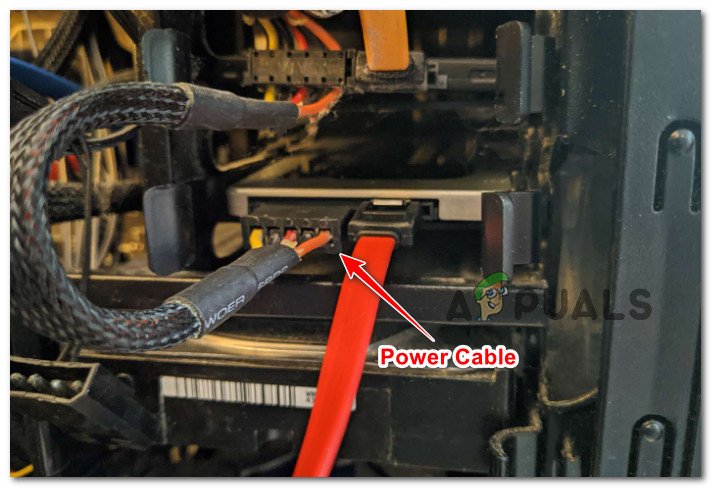
To do this, unplug all devices not needed for basic PC operation. If you have a secondary or data-only internal drive, consider disconnecting it physically by removing its data or power cable.
After disconnecting non-essential devices, retry the Windows 11 upgrade.


