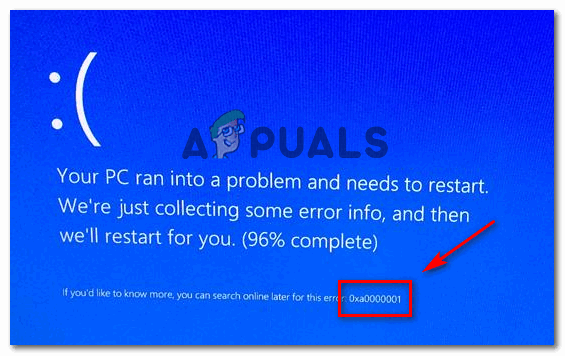
The 0xA0000001 Blue Screen of Death (BSOD) error on Windows 10 usually appears when you are running tasks that use a lot of graphics power, such as playing games or watching videos. This error often causes your computer to crash or restart suddenly. It is most commonly related to AMD graphics drivers, specifically the atikmdag.sys or amdkmdag.sys files, which control how the graphics card works with Windows.
BSOD Error 0xa0000001
The main reason for this error is unstable or insufficient power being delivered to the AMD graphics card. This often happens if the external power connector to the GPU is loose, not properly connected, faulty, or if the power supply unit (PSU) does not provide enough power. Other common causes include outdated or damaged AMD drivers, leftover files from old driver installations, and conflicts with other third-party software on your computer.
In this article, we will discuss different ways to solve this error.
1. Install All Pending Windows Updates
Windows 10 can sometimes produce this BSOD error due to bugs or incompatibilities with certain GPU models. Keeping your system fully updated ensures that the latest compatibility fixes and patches are applied, which can resolve this error.
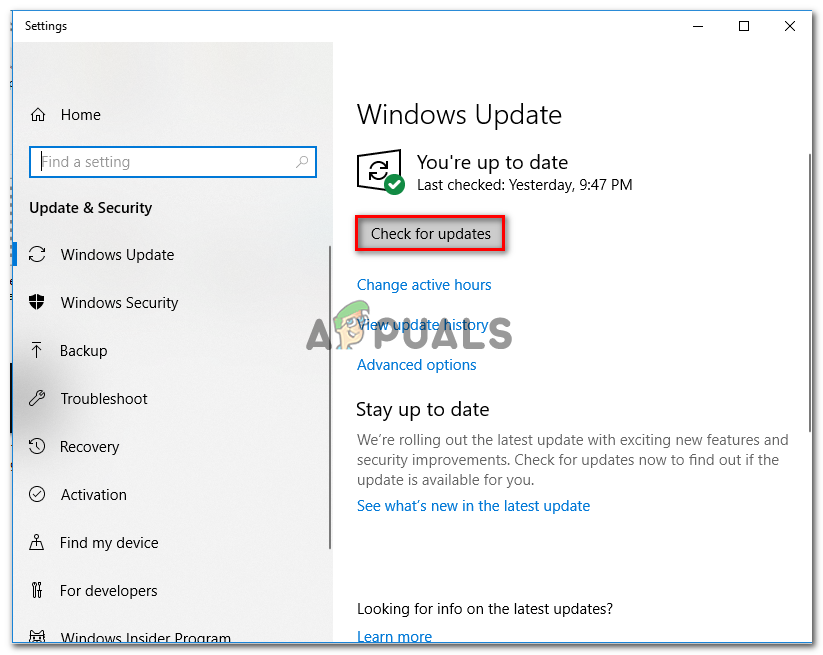
Press Windows key + R to open the Run dialog. Type ms-settings:windowsupdate and press Enter to open the Windows Update section in Settings. Run dialog: ms-settings:windowsupdate
On the Windows Update screen, click Check for updates to start the scan for available updates. Installing every pending Windows update
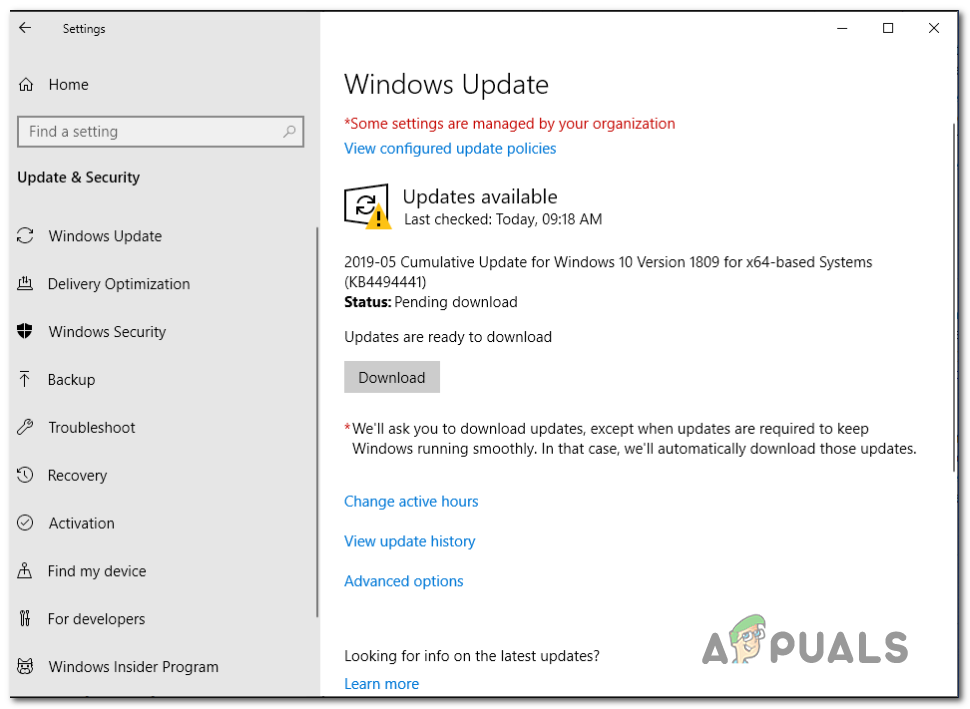
Once Windows scans for updates, follow the prompts to download and install all available updates. Downloading the pending Windows Updates
Note: If you are asked to restart your system before installing all updates, do so as instructed, then return to this screen and continue installing any updates that remain.
After installing all updates, restart your system and check if the 0xa0000001 BSOD error persists.
2. Remove Third-Party Antivirus Software
Overly aggressive antivirus suites are a common source of the 0xa0000001 error, particularly with software such as AVG, Kaspersky, and Comodo AV. These programs may interfere with critical system processes, resulting in BSODs.
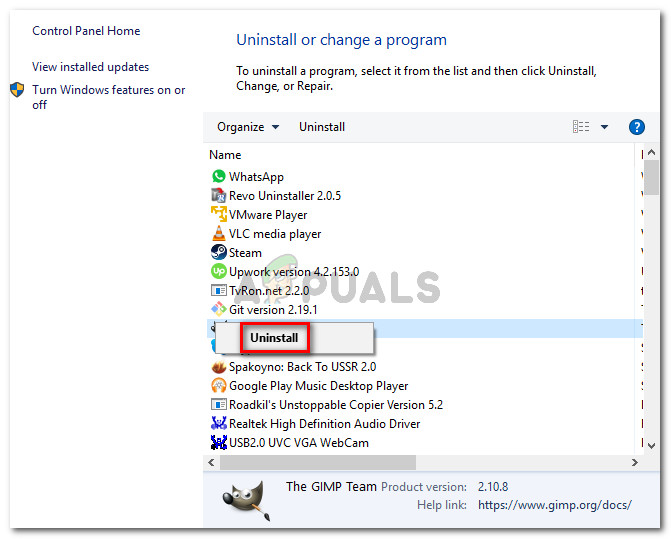
Press Windows key + R to launch the Run dialog. Type appwiz.cpl and press Enter to open the Programs and Features window. Type appwiz.cpl and Press Enter to Open Installed Programs List
In the Programs and Features menu, locate your third-party antivirus software in the list of installed programs.
Right-click on your antivirus application and select Uninstall. Uninstalling the security suite
Follow the on-screen instructions to complete the uninstallation, then restart your computer.
Upon restarting, Windows Defender will automatically activate to keep your system protected. Monitor your PC for the BSOD error.
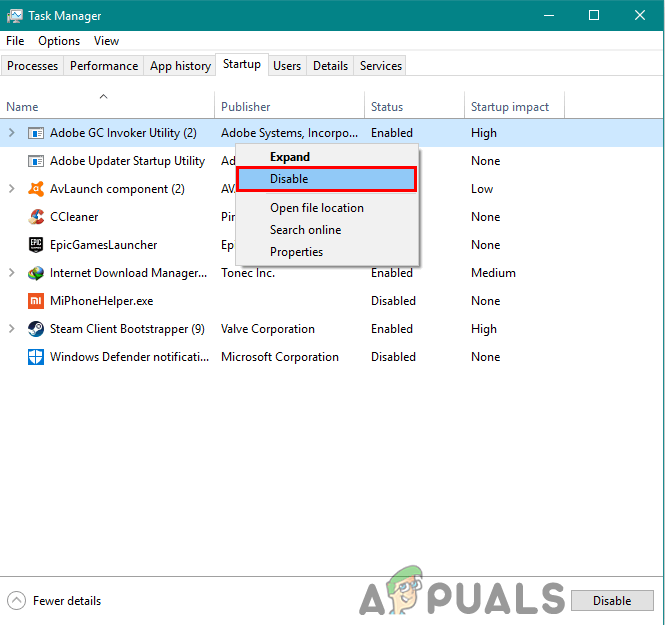
3. Perform a Clean Boot
If you are not using third-party antivirus software or the previous method was not effective, another program may be interfering with system processes. Starting Windows in a clean boot state lets you identify and eliminate problematic third-party software.
A clean boot starts Windows using a minimal set of drivers and startup programs, preventing software conflicts:
Disabling the Startup programs for a clean boot
If the BSOD no longer appears in clean boot mode, the issue is indeed due to third-party software. You can then systematically re-enable startup items one at a time to identify the culprit.
For a detailed clean boot guide, refer to this article.
4. Update Your GPU Driver
Outdated or corrupted GPU drivers are a frequent source of BSODs, especially on systems with AMD graphics cards. Updating your GPU drivers ensures compatibility and performance, and can resolve this error.
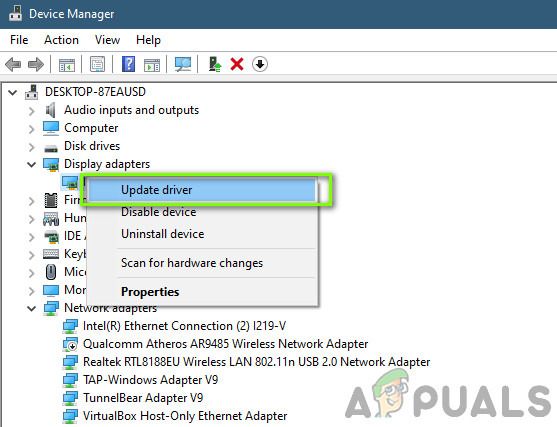
Press Windows key + R to open the Run dialog. Type devmgmt.msc and press Enter to launch Device Manager. Running Device Manager
In Device Manager, expand Display Adapters to view your installed GPU(s).
Right-click your GPU and select Update driver. Updating Graphics Driver Manually
Note: If your system has both integrated and dedicated GPUs, update both devices.
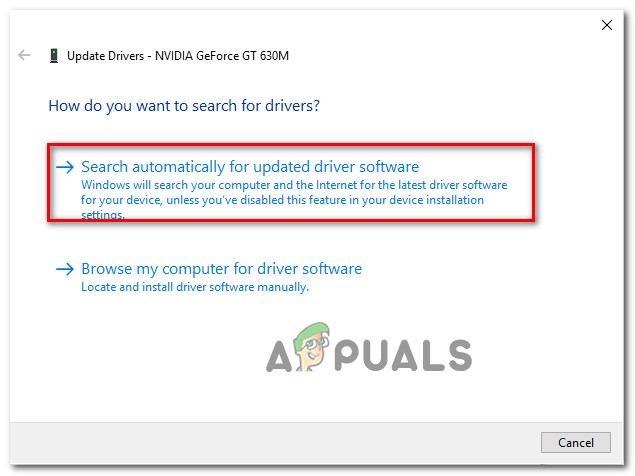
In the next window, click Search automatically for updated driver software. Follow the prompts to install any available updates. Searching for the newest driver automatically
If a new driver is found and installed, restart your system and check if the BSOD persists.
Note: If no new drivers are available or the issue remains, use your GPU manufacturer’s proprietary update tool:
If none of the prior solutions resolved the issue, your BIOS/UEFI configuration might be causing instability. Resetting BIOS/UEFI to its default settings restores stability and eliminates misconfigured boot settings.
5.1. Reset UEFI Settings to Default
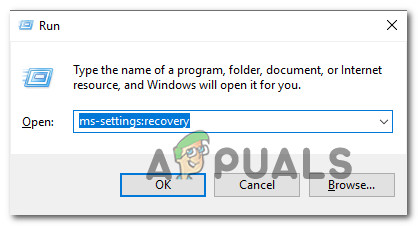
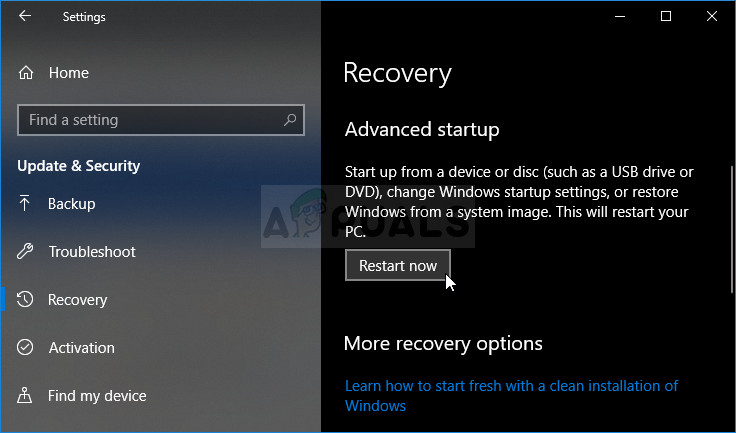
Press Windows key + R to open the Run dialog. Type ms-settings:recovery and press Enter to open the Recovery section. Accessing the Recovery tab
Under Advanced Startup, click Restart now. Accessing Advanced Startup using Settings
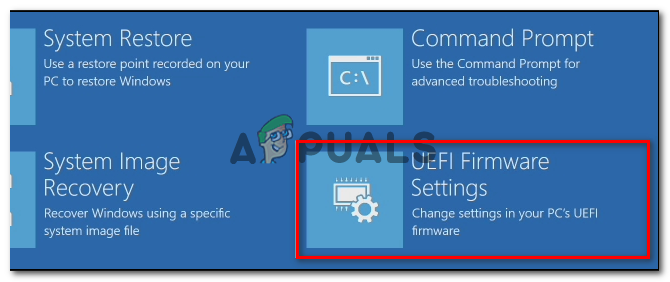
Your PC will reboot into the Advanced Options menu. Navigate to Troubleshoot > Advanced Options and select UEFI/BIOS Firmware Settings. Accessing the UEFI firmware settings
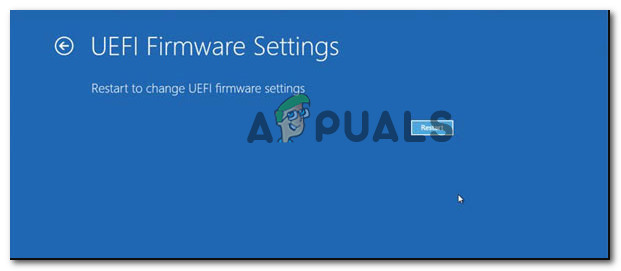
Click Restart to access UEFI/BIOS setup. Restarting the computer directly into the UEFI Setup
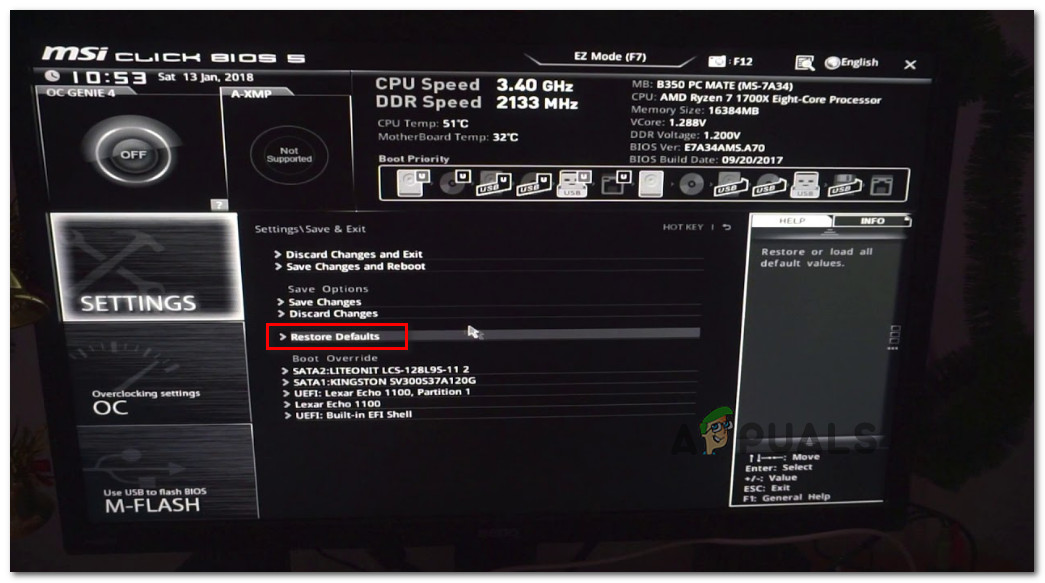
Within the UEFI interface, locate and select Restore Defaults (the exact menu name may vary depending on your motherboard). Restore UEFI settings to the defaults
Confirm when prompted, then restart your computer normally.
5.2. Reset BIOS Settings to Default
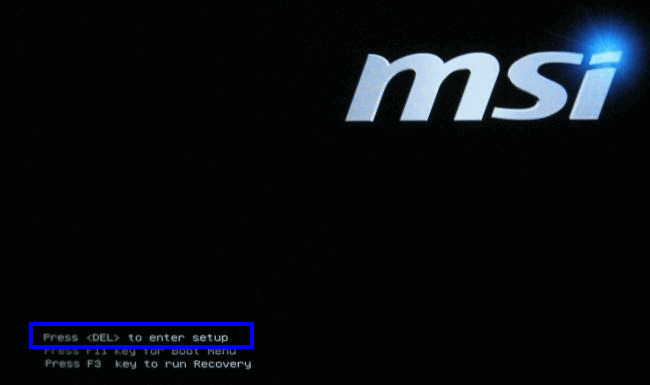
Restart your PC and repeatedly press your system’s Boot/Setup key (often Esc, F1, F2, F4, F8, F12, or Del) at startup to enter BIOS setup. The correct key is usually shown on-screen during boot. Press [key] to enter setupNote: If unsure which key to use, consult your PC manual or look up your motherboard online.
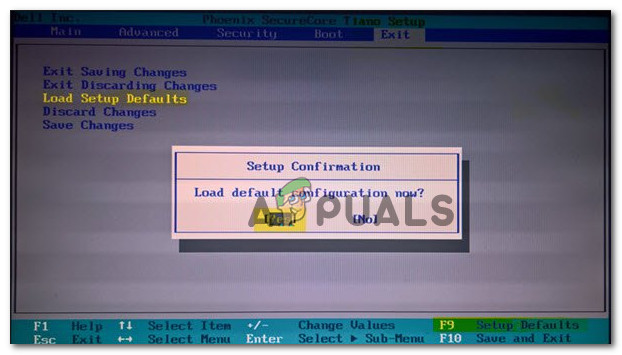
In the BIOS interface, find and select Setup Defaults (or Reset to Default, Factory Default, etc.), then confirm. Load default system configuration
Tip: Most BIOS versions allow you to quickly load defaults by pressing F9.
Save changes and exit BIOS. Allow your system to boot normally.
6. Reset All Windows Components
If none of the above solutions worked, it’s possible that your Windows installation is severely corrupted. Resetting all Windows components will address deep-seated operating system issues that can trigger the 0xa0000001 BSOD.
You have two reliable options:
Repair install – This option reinstalls Windows without removing your applications, files, or settings. You will need a compatible Windows installation media, but it is highly effective against corruption and system file errors.
Clean install – This method completely wipes your system and reinstalls Windows. It’s the easiest to start but removes all personal files, programs, and custom settings unless you have backed them up first.
7. Test or Replace Your GPU
If all software solutions have failed, a hardware problem with your GPU is the most likely cause. Persistent BSODs after a clean Windows installation strongly indicate a defective graphics card.
Many users have reported that faulty AMD GPUs, in particular, can cause the 0xa0000001 error. If your graphics card is under warranty, consider sending it for repair or replacement. Alternatively, run manufacturer-recommended GPU diagnostic tools to further evaluate your hardware.
By following these targeted steps, you can confidently identify and resolve the 0xa0000001 BSOD error. Each method addresses different root causes, guiding you efficiently towards a solution and minimizing system downtime.
Kevin Arrows is a highly experienced and knowledgeable technology specialist with over a decade of industry experience. He holds a Microsoft Certified Technology Specialist (MCTS) certification and has a deep passion for staying up-to-date on the latest tech developments. Kevin has written extensively on a wide range of tech-related topics, showcasing his expertise and knowledge in areas such as software development, cybersecurity, and cloud computing. His contributions to the tech field have been widely recognized and respected by his peers, and he is highly regarded for his ability to explain complex technical concepts in a clear and concise manner.