How to Fix Error 0x8024500c When Installing Windows Updates
The error 0x8024500c often stops Windows Updates from installing, which can leave your computer unable to download important updates. This error code usually points to a problem with the Windows Update components, most often related to the Background Intelligent Transfer Service (BITS) or the Windows Update service itself.
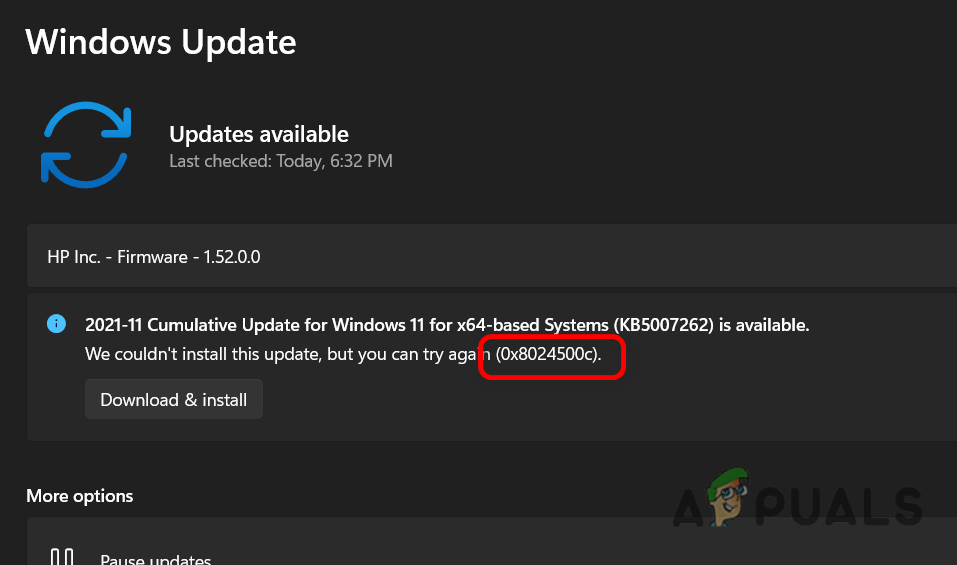
The most common reason for this error is a corrupted or misconfigured Windows Update component. However, it can also happen due to network problems or when your antivirus software interferes with the update process.
In this article, we will discuss different solutions to solve this error.
1. Reset Windows Update Services & Cache
Windows depends on certain services to update properly. If these services are stopped or disabled by a third-party program, your system won’t be able to update. In this step, we will restart these services and make sure they’re enabled at startup.
- Download the batch file we’ve prepared for you (here).
- After downloading, right-click on it and select “Run as administrator.”
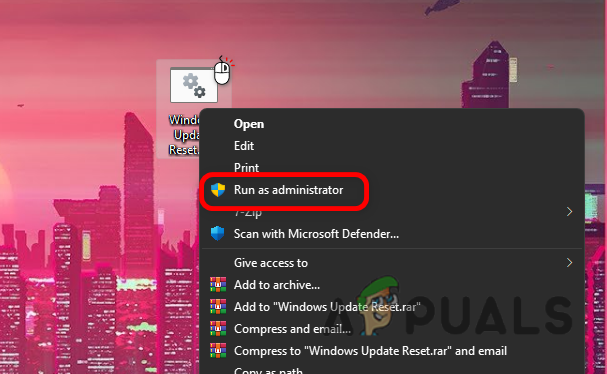
Running the Batch file as an administrator - Wait for the repair process to finish.
- Once it’s done, restart your computer.
2. Update Windows Manually
If you’re having trouble with Windows Update, you can try installing the update manually from the official Microsoft Windows Update catalog. This method downloads the update file directly and often bypasses common errors.
- Go to the official Windows Update catalog.
- Search for the update number you need.
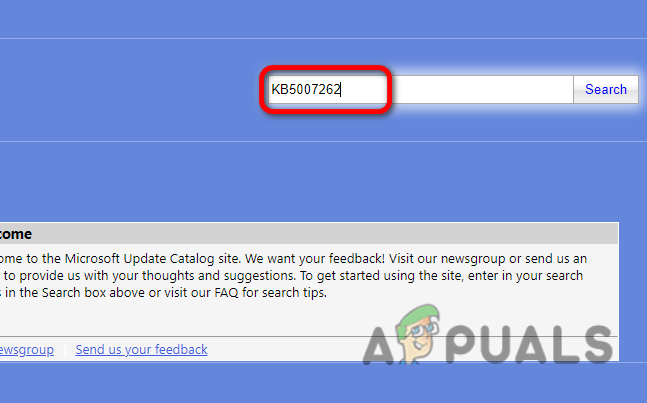
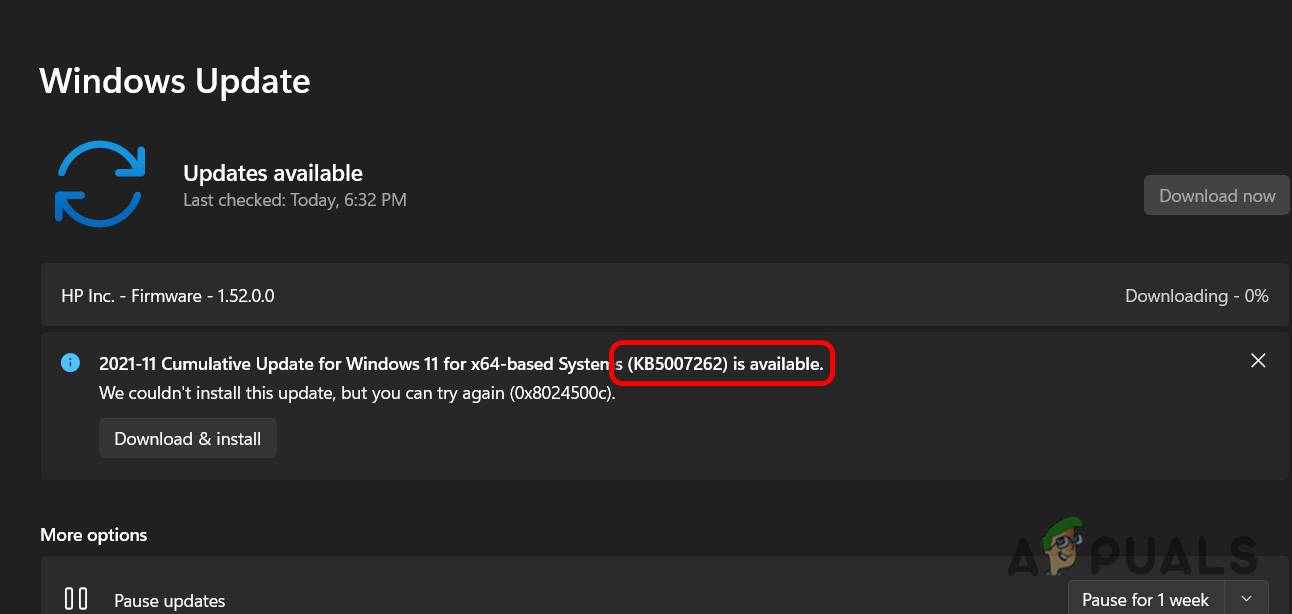
Searching for Update in Catalog Note: You can find the KB (Knowledge Base) version from your Windows Update settings page.
Finding your Windows Update Version - Match the name and version of the update in the catalog to the one in your Windows Update settings. There are many versions for different system types (like 32-bit, 64-bit, ARM). If you choose the wrong one, you might see a message like ‘This update is not applicable to your computer.’
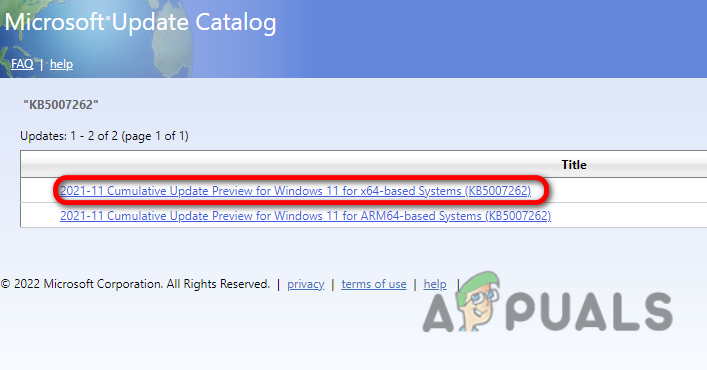
Downloading the Correct Architecture of Update - When you find the correct update, click the “Download” button next to it. This will open a pop-up window.
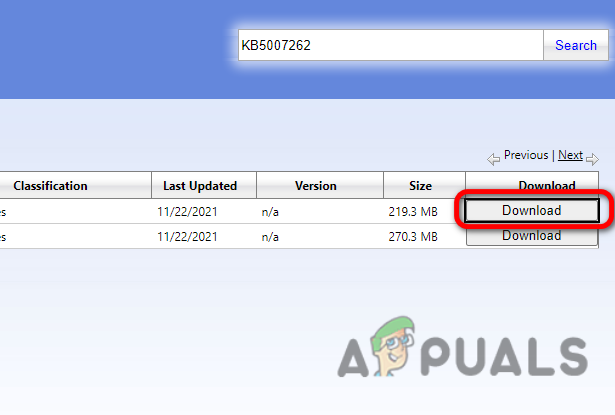
Downloading the Update - Click the link in the pop-up window to start the download.
- Once the update file is downloaded, double-click it to run it.
- After the initial check, click “Yes” if prompted.
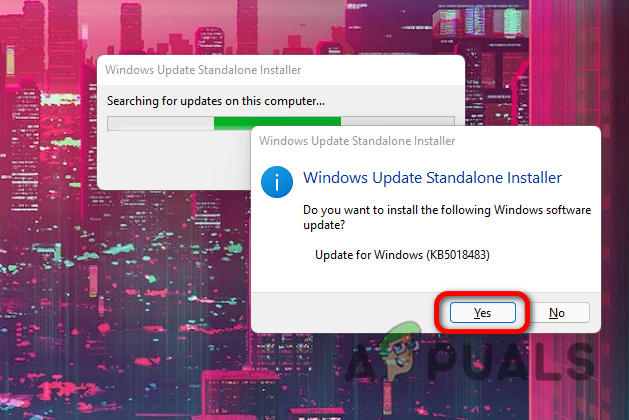
Press the Yes button to Start Windows Update Installer - Let the update process complete, following any instructions on the screen.
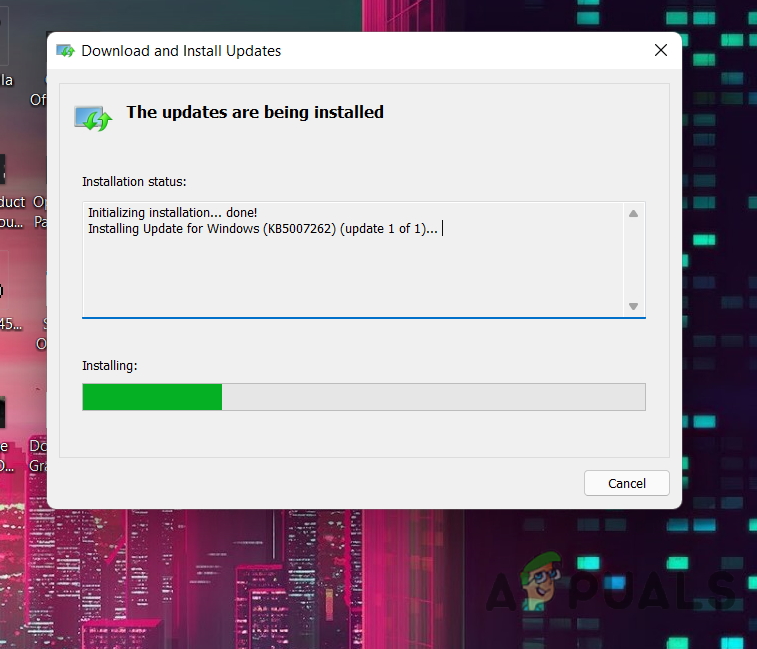
Updates Installing
3. Ignore the Update
This error is most often reported on Windows 11, especially since it’s still fairly new and receives frequent updates – some of which may have bugs. Sometimes, it’s best to simply ignore the problematic update for a while. If the update is not installing, it may be an issue on Microsoft’s end. In those cases, you might not need to change anything on your computer and just wait for a new update.
- Press Windows + I to open Settings.
- Go to Windows Update (or Update & Security on Windows 10).
- Click on the Pause updates drop-down menu.
- Choose a date (up to 5 weeks) to pause automatic updates.
- If needed, click Resume updates to manually unpause them anytime.
4. Install the Update through an ISO File
Another way to update Windows is by using an official ISO file. This method doesn’t rely on the usual Windows update services.
- Download the latest ISO file from the official Microsoft website. In this example, we’ll use a Windows 10 ISO file.
- After the ISO file is downloaded, double-click it to mount it as a virtual drive.
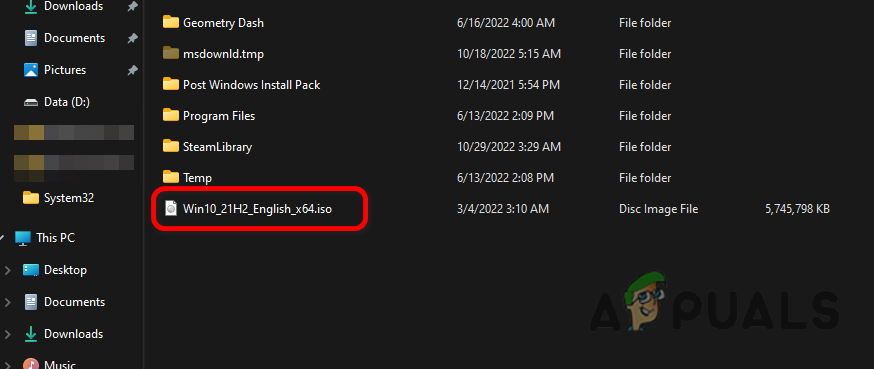
Double-click the ISO file Downloaded - Now, open the “Setup.exe” file inside the ISO.
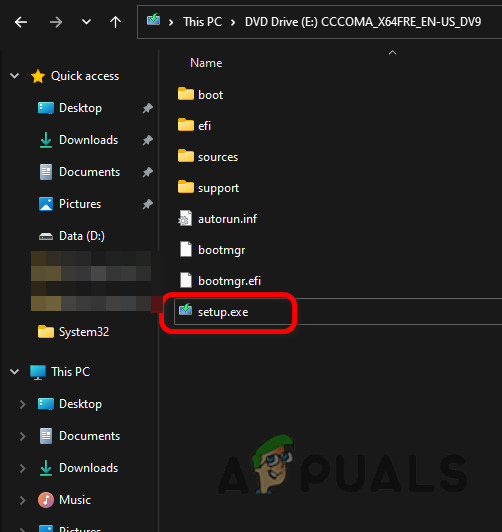
Opening Setup.exe file - When the setup window appears, click “Next.”
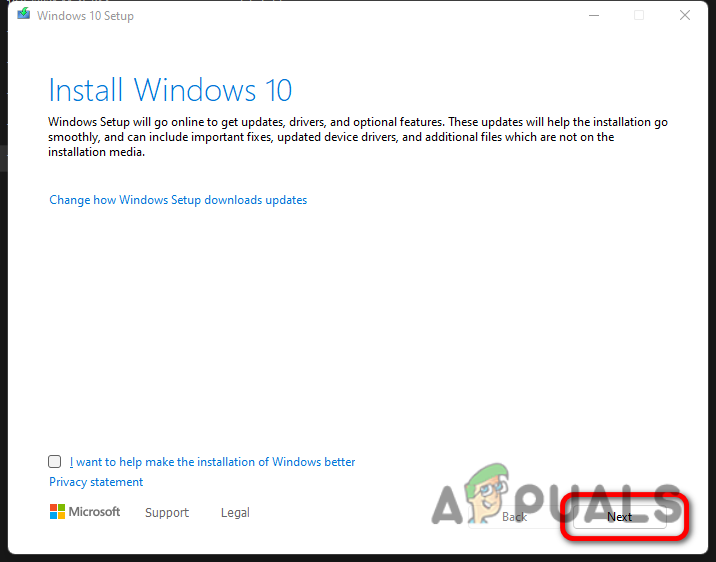
Press Next button in Startup - Let the setup check for updates and review your PC.
- Accept the license terms.
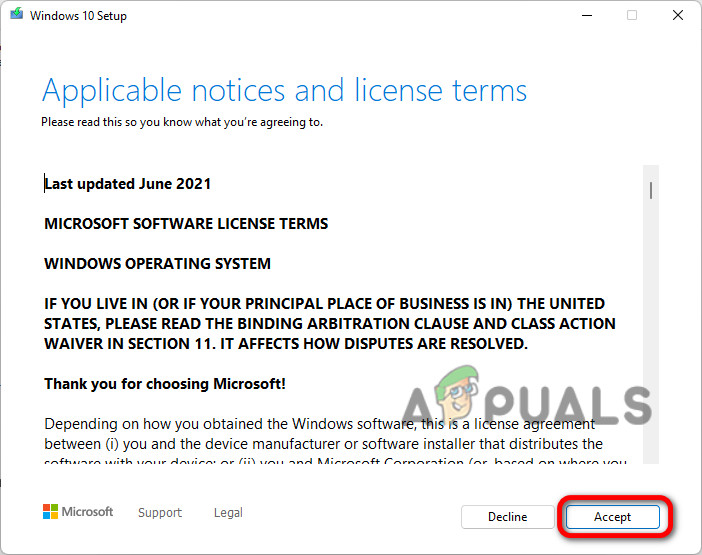
Accepting Terms and Conditions - Choose “Keep Personal Files and Apps” and then click “Next.”Note: If “Keep Personal Files and Apps” is greyed out, check this article here for a solution.
- Continue following the on-screen steps to upgrade Windows to the latest version.


