Error 0x80240061 when Installing Intel Management Engine Interface Driver
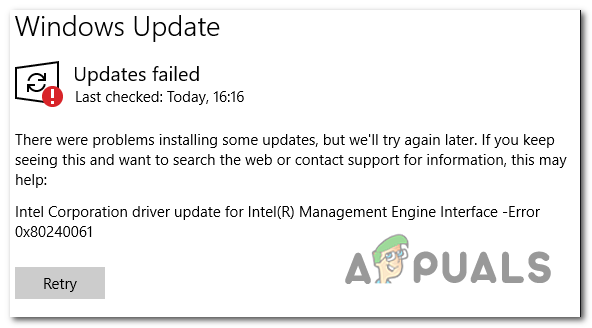
The error 0x80240061 is encountered when Windows 10 users try to update the Intel Management Engine Interface driver via the Windows Update component. If this update is failing, Windows retry the operation at later date – often with the same end results.
What’s causing the Error 0x80240061?
- Windows Update glitch – In some cases, the issue will occur due to a temporary glitch that can be resolved fairly easily by running the Windows Update troubleshooter to scan and identify for common inconsistencies that might cause updates to fail.
- Incompatible driver – One of the most common causes that will produce this error is a scenario in which the WU component will keep trying to install the Intel Management Engine Interface driver even though it’s not actually compatible with the current hardware. In this case, you should be able to fix the issue by hiding the driver that is incompatible.
- WU is incapable of finding the latest version – As some affected users have reported, Windows Update is not always able the latest available version for the Intel Management Engine Interface. If this is the case, you can resolve the issue by doing the installation manually (either by using the Driver & Support Assistant program or by installing the driver version yourself).
How to Fix the Error 0x80240061?
A. Running the Windows Update Troubleshooter
Before you try any other repair strategies, you should see if your Windows version is not capable of resolving the issue automatically. Several affected users that were also struggling to fix the error 0x80240061 confirmed that the issue went away after they ran the Windows Update troubleshooter.
As it turns out, this fix will be effective in situations where your WU components keep trying to install a driver that is actually incompatible (that’s why the installation fails). If this scenario is applicable, you should be able to resolve the issue by running the Windows Update troubleshooter, which ends up clearing the pending queue, so that the utility will not display the same error in the future.
Here’s a quick guide on running the Windows Update troubleshooter to fix the error message in relation to the Intel Management Engine Interface driver:
- Open up a Run dialog box by pressing Windows key + R. Next, type ‘ms-settings:troubleshoot’ and press Enter to open up the Troubleshooting tab of the Settings app.
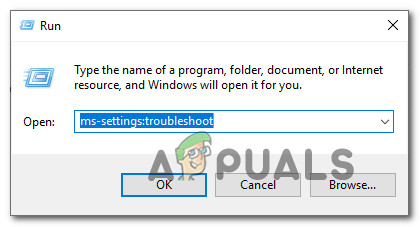
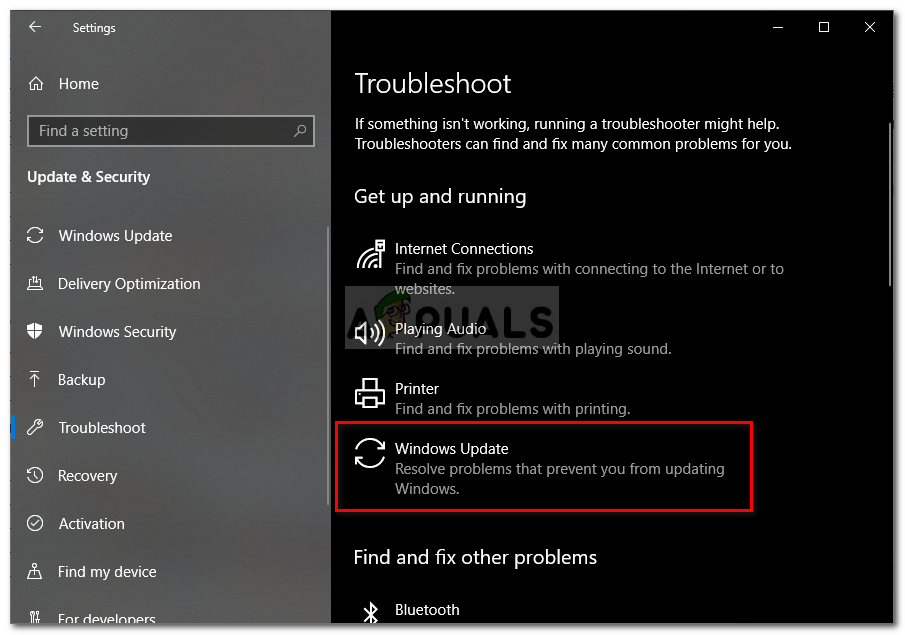
Accessing the troubleshooter menu - Once you’re inside the Troubleshooting tab, move down to the right-hand section and scroll down to the Get up and running section. When you get there, click on Windows Update and then click on Run the troubleshooter to launch the repair utility.
Running Windows Update Troubleshooter - Wait until the initial scan is complete, then click on Apply this fix if a viable repair strategy is identified.

Apply this fix - After the repair strategy is applied, close the utility and restart your computer. At the next computer startup, open Windows Update and see if the Intel(R) Management Engine Interface driver is still pending.
If the problem is still not resolved, move down to the next method below.
B. Using Driver & Support Assistant
Since it’s entirely possible that Windows Update will try t install a version of the Intel(R) Management Engine Interface that’s actually incompatible with your Windows 10 version, the logical step here would be to try and install the correct driver with a proprietary tool.
Several affected users have confirmed that they were able to resolve the issue after they used the Intel Update utility to scan & install the latest compatible version of the Intel(R) Management Engine Interface. And after doing this and restarting their computer, most users have confirmed that the pending Windows update that was continually failing with the error 0x80240061.
Here’s a quick guide on using the Driver & Support Assistant to install the pending Intel driver:
- Visit this link (here) and click on the Download Now driver to begin the download of the installation executable of Intel Driver & Support Assistant.
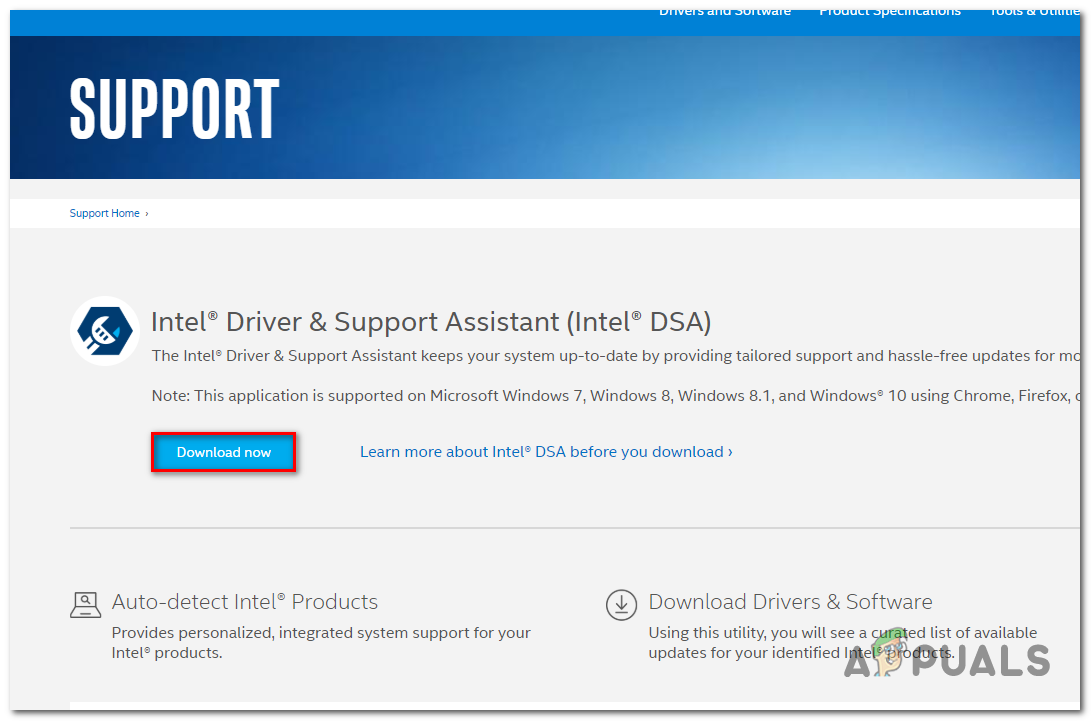
Downloading the installation executable of Intel® DSA - Once the download is complete, open the installation executable and follow the on-screen prompts to complete the installation.
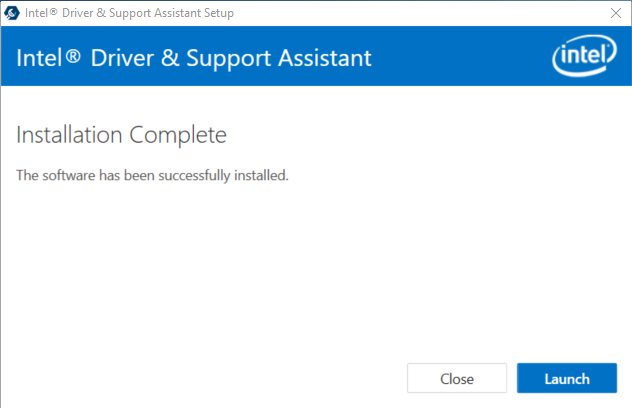
- Wait until the initial scan is complete. It might take several minutes until the operation is complete.
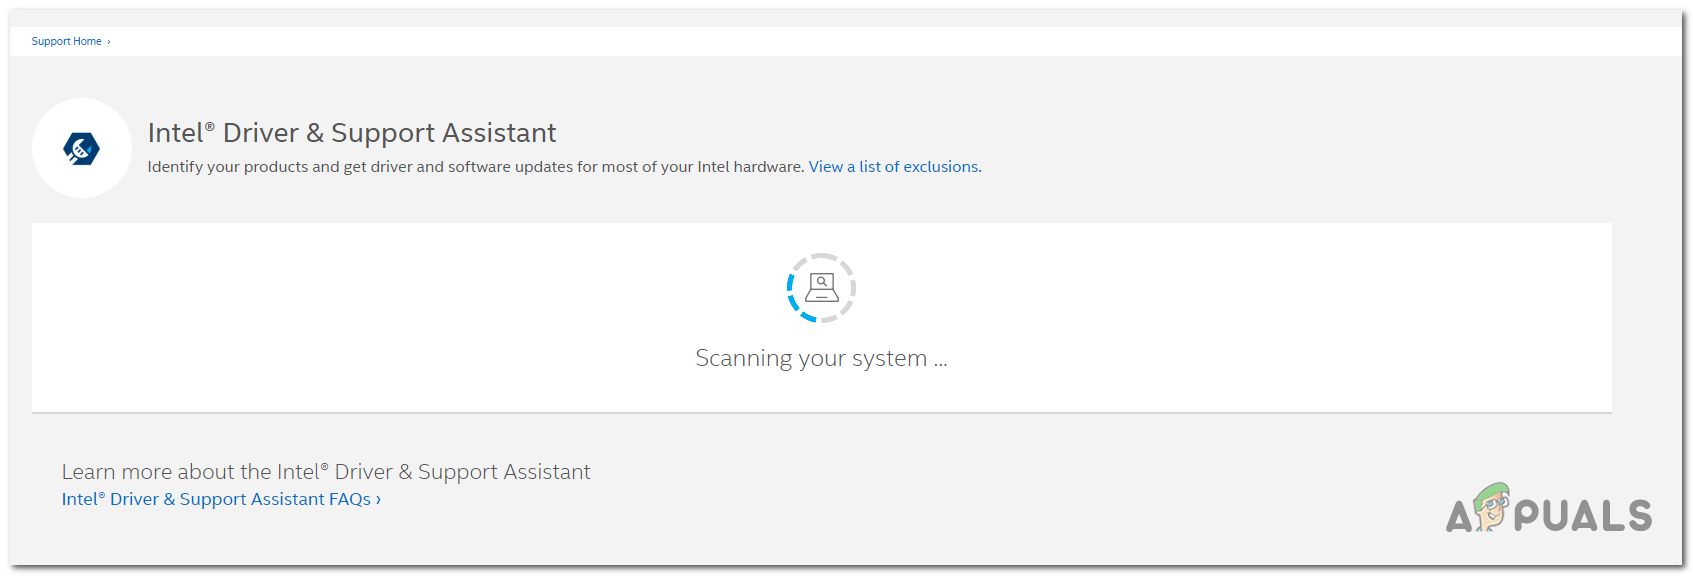
Scanning your system - Once the operation is complete, you will get a summary of all the drivers that need to be updated. Hopefully, the Intel(R) Management Engine Interface driver is on that list. To install every pending update, simply click on Download all updates.

Downloading all updates - Once the download is complete, follow the on-screen instructions to install every pending update and bring your suite of Intel Drivers up to date.
- Restart your computer and see if the issue is resolved at the next system startup.
If the same issue is still occurring, follow the instructions down below for a different repair strategy.
C. Installing the MEI driver manually
If the method above didn’t work or it updated the driver but you still seeing frequent attempts of the WU (Windows Update) to install the incompatible version, there’s a different way that might allow you to deal with the 0x80240061 error indefinitely.
This driver (Intel Management Engine Interface) enables communications between the host operating system and the Intel Management Engine firmware.
A couple of affected users have reported that they managed to fix the issue by installing the package corresponding to the Intel Management Engine Interface (MEI) driver manually. This operation was confirmed to be successful by a lot of Windows 10 users that encountered the issue on notebooks.
Here’s a quick guide on installing the MEI driver manually:
- Visit this link (here) and download the sp75509 version of the MEI driver.
- Once the download is complete, double-click on the installation executable, then follow the on-screen prompts to complete the installation of the MEI driver.
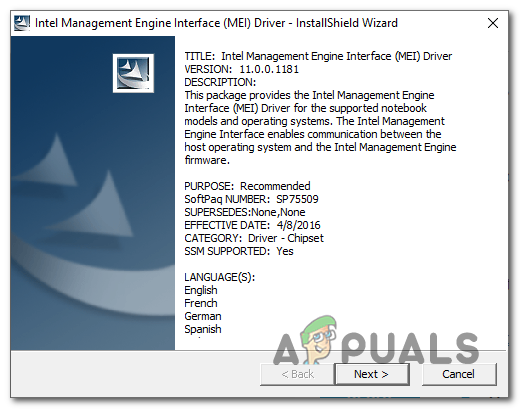
Installing the MEI driver - Once the installation is complete, restart your computer and see if the issue is resolved at the next computer startup.
If the same problem is still occurring, follow the method below for instructions on hiding the update that is failing to install.
D. Hiding the problematic update
If none of the methods above have allowed you to resolve the, it’s probably because Windows Update keeps trying to install an updated version that is not actually compatible with your hardware. Most often than not, the correct driver is already installed on affected computers.
If this scenario is applicable, you should be able to resolve the issue by hiding the update that ends up displaying the 0x80240061 error code. This will force your OS to disregard the installation of this update indefinitely.
Here’s a quick guide on ensuring that the Windows update causing the 0x80240061 error will not be attempted to be installed:
- Start by downloading & install the Microsoft Show or Hide Troubleshooter package from this link here.
- After the installation executable of the utility is fully downloaded, double-click on it. At the first screen, click on Advanced and then check the box associated with Apply Repairs Automatically.
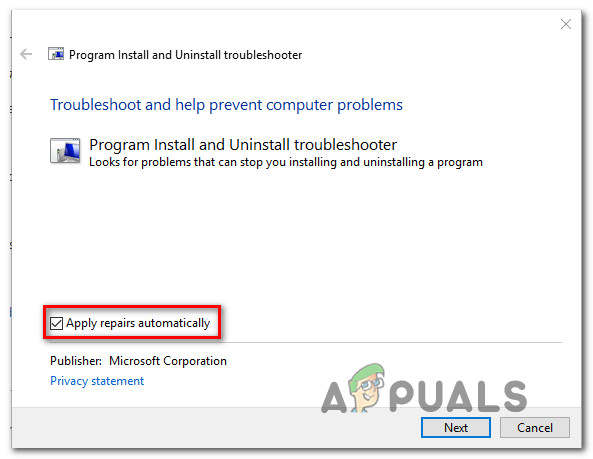
Applying repairs automatically - Click Next to advance to the next menu. Now that the utility is started, wait until the initial scan is finished. Once the scan is complete, click on Hide Updates.
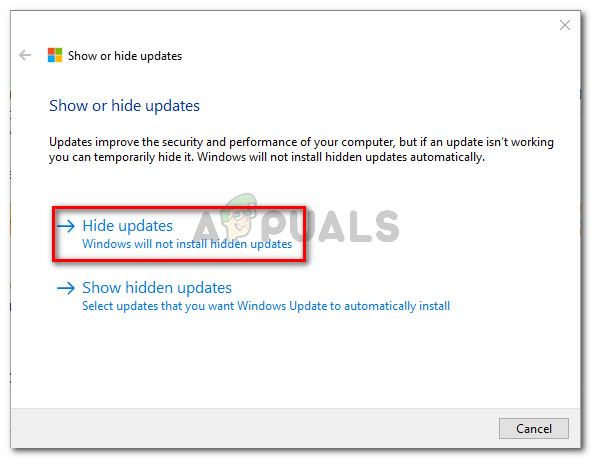
Click on Hide Updates - From the list of available updates, check the box associated with the update that you want to hide, then click on Next to advance to the final screen.
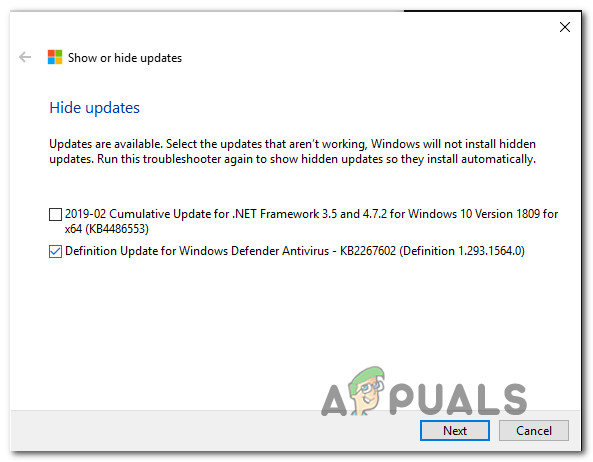
Hiding updates - Wait until the procedure is complete, then restart your computer to make the changes permanent.


