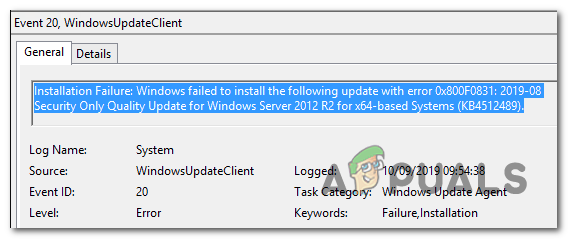
Error 0x800f0831 Installation Failure, Failed to Install the following updates
When attempting to install Windows updates, the process may stuck at 100% and then fail with error code 0x800f0831, often accompanied by messages like “Installation Failure” or “Failed to install the following updates” . Error code 0x800f0831 corresponds to CBS_E_STORE_CORRUPTION, indicating that the update process cannot proceed due to missing or corrupted package manifests required for the installation.
This issue commonly arises when a cumulative update depends on a previous update’s manifest that is missing or inaccessible, especially in environments lacking access to Microsoft Update services. Additional causes include corruption within the Component-Based Servicing (CBS) store, disabled or missing .NET Framework 3.5, and incompatible drivers .
In this article, we will discuss different ways to solve this error.
1. Install the Missing Update Manually
If you want a quick solution, the best way is often to manually install the update that’s failing. The update KB4512489 is a common source of this error, but any update can trigger it.
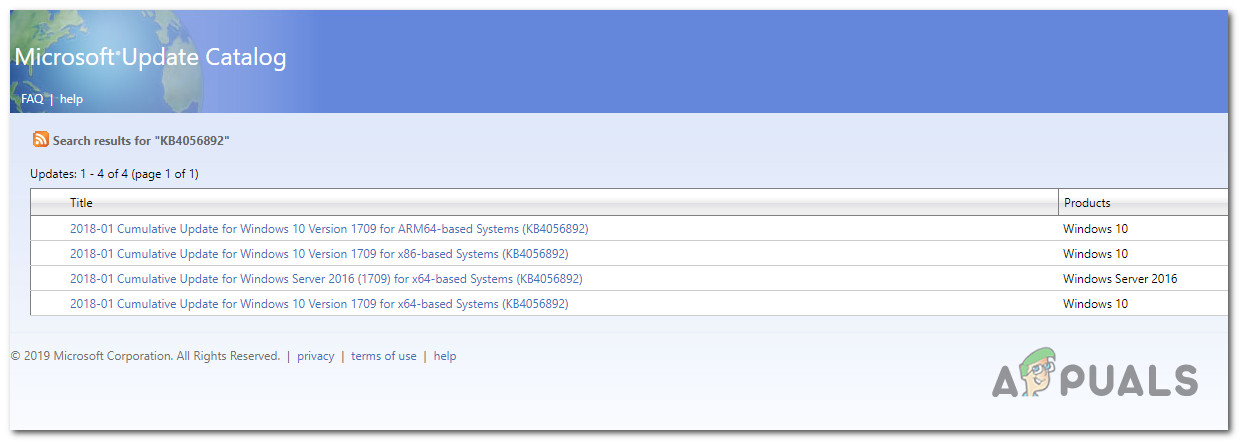
You can use the Microsoft Update Catalog to find and install the relevant package. This works well when the Windows Update tool is having trouble due to a broken dependency. Many users have found success with this method.
- Open your web browser and go to this Microsoft Update Catalog.
- In the search box at the top right, type the name of the update you need (for example, KB4512489) and press Enter.

Searching for the update you want to install manually - From the list of search results, find the update that matches your computer’s Windows version and CPU type.
Choosing the right Windows Update - Click the Download button next to the correct update and wait for the download to finish.
- Once downloaded, go to where the update is saved, right-click the .inf file, and pick Install.
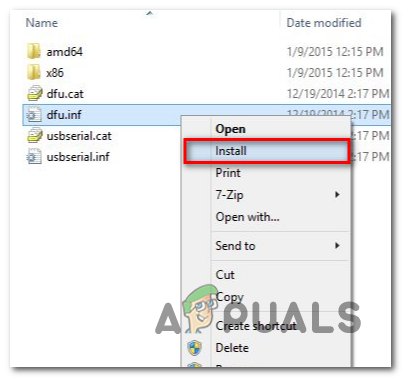
Installing the Inf driver - Follow the on-screen instructions to complete the installation. Restart your computer afterward.
2. Disable VPN or Proxy Server (If Applicable)
Another frequent cause of this error is interference from VPN software or proxy servers, which can block the connection between your computer and the Windows Update server.
Many users have fixed this error simply by uninstalling their VPN software or disabling their proxy connection.
We’ve provided easy-to-follow guides for both scenarios. Choose the one that fits your situation.
Note: If you don’t use a VPN or proxy, simply skip to Method 3.
2.1. Disable a VPN Connection
- Press Windows key + R to open the Run dialog. Type ‘appwiz.cpl’ and press Enter to open Programs and Features.

Type appwiz.cpl and Press Enter to Open Installed Programs List - Scroll through the list to find your VPN program.
- Right-click on your VPN software and select Uninstall.

Uninstalling a VPN tool - Follow the prompts to uninstall, then restart your computer.
- After your computer restarts, try installing the update again.
2.2. Disable a Proxy Server
- Press Windows key + R. Type ms-settings:network-proxy and press Enter to open the Proxy settings.
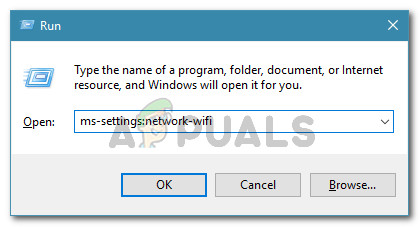
Running dialog: ms-settings:network-wifi - Scroll down to the “Manual proxy setup” section and switch off “Use a proxy server“.
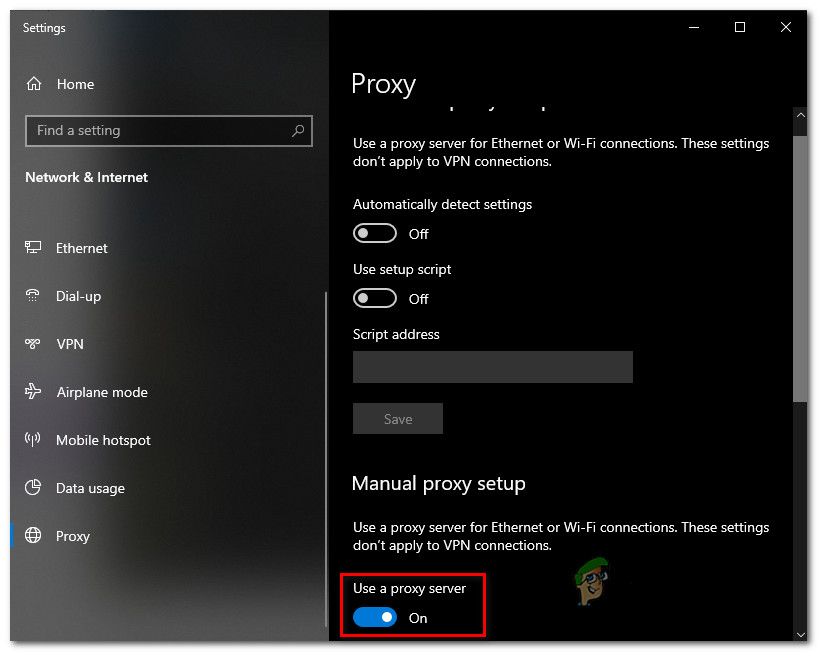
Disabling the use of a proxy server - Restart your computer and check if the update installs successfully.
3. Set Windows Update Service to Automatic
Sometimes, a network policy or a system optimization program might disable the Windows Update service, especially on work or school computers.
You can fix this by making sure the service is set to “Automatic” so it runs whenever your computer starts.
Note: These steps work on all modern Windows versions.
- Press Windows key + R, type ‘services.msc’, and hit Enter.
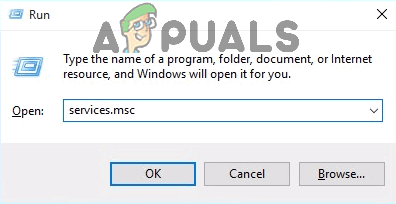
Type “services.msc” into the Run dialog and press Enter Note: If prompted by UAC (User Account Control), click Yes.
- In the Services list, find Windows Update. Double-click it or right-click and choose Properties.
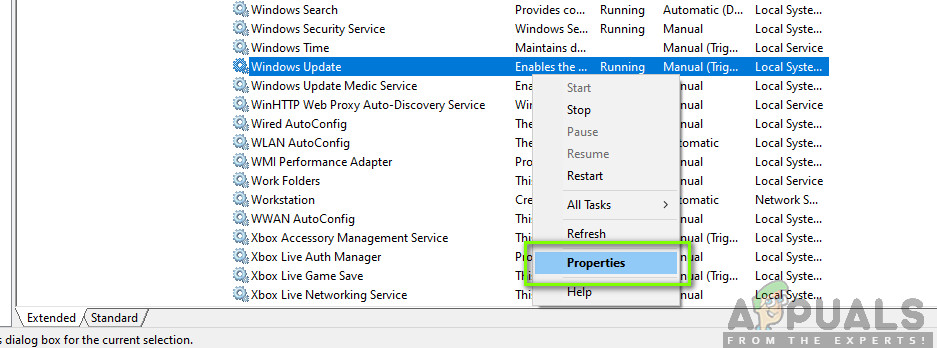
Windows Update Properties - In the Properties window, make sure the Startup type is set to Automatic.
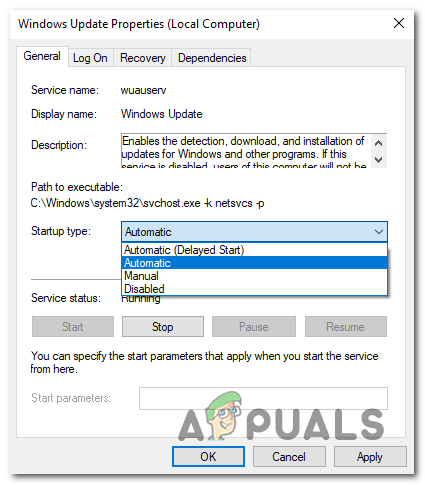
Setting the Startup type of Windows Update service to Automatic - Click Apply, then restart your computer to see if the problem is fixed.
4. Enable .NET Framework 3.5
If you encounter this error during a cumulative update, the .NET Framework 3.5 might be turned off. Many Windows updates need this framework to install correctly.
- Press Windows key + R, type ‘appwiz.cpl’, and press Enter.
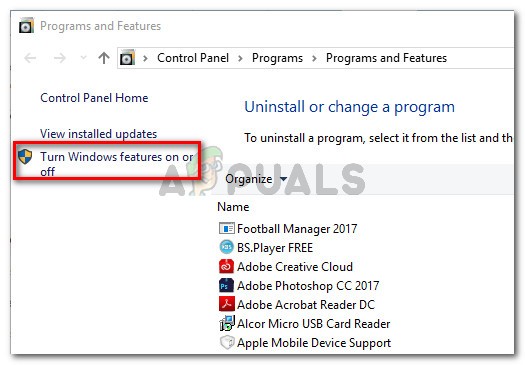
Type appwiz.cpl and Press Enter to Open Installed Programs List - Click Turn Windows features on or off on the left side.
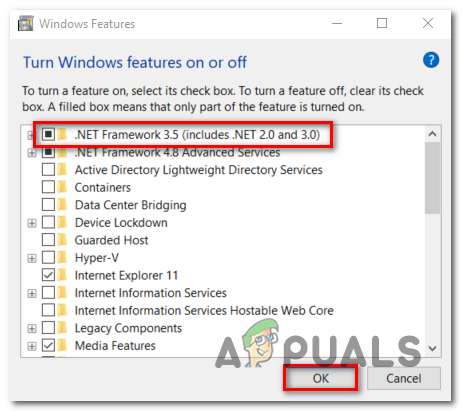
In Programs and Features, click on Turn Windows Features On or Off - In the Windows Features window, make sure .NET Framework 3.5 (includes .NET 2.0 and 3.0) is checked. Click OK.
Enabling the .NET Framework 3.5 - Agree to any prompts to enable it. Restart your computer afterwards and try updating again.
5. Install .NET Framework 3.5 via Command Prompt
If Windows Features gave you an error or the .NET 3.5 option wasn’t there, you can install it using Command Prompt and your Windows installation media.
You’ll need a Windows installation disc or USB drive. If you don’t have one, you can make one using these guides for Windows 7 (here) and Windows 10 (here).
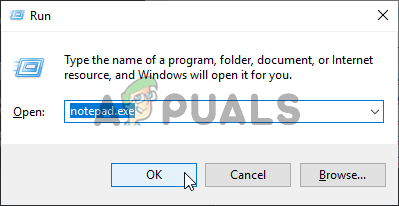
- Press Windows key + R. Type ‘notepad.exe’, then press Ctrl + Shift + Enter to open Notepad as administrator. Click Yes if prompted.
Opening an elevated Notepad window - Copy and paste this code into Notepad:
@echo off
Title .NET Framework 3.5 Offline Installer
for %%I in (D E F G H I J K L M N O P Q R S T U V W X Y Z) do if exist "%%I:\\sources\install.wim" set setupdrv=%%I
if defined setupdrv (
echo Found drive %setupdrv%
echo Installing .NET Framework 3.5...
Dism /online /enable-feature /featurename:NetFX3 /All /Source:PLACEHOLDER:\sources\sxs /LimitAccess
echo.
echo .NET Framework 3.5 should be installed
echo.
) else (
echo No installation media found!
echo Insert DVD or USB flash drive and run this file once again.
echo.
)
pause
Note: Replace PLACEHOLDER with the letter of your installation media drive.
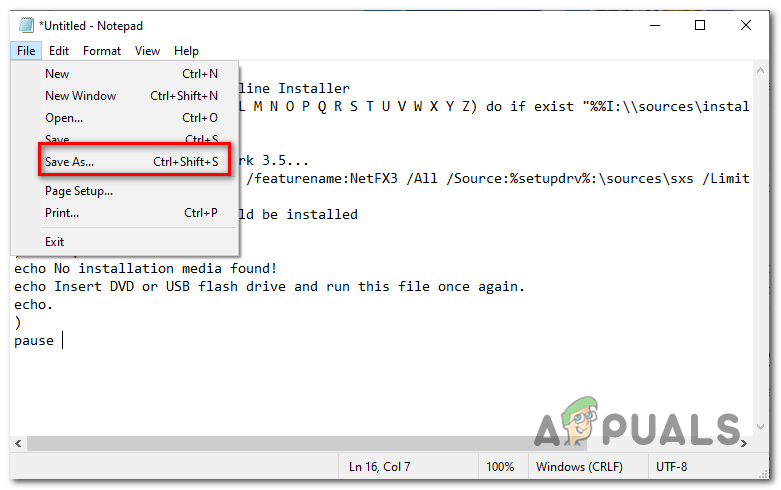
- Go to File > Save As and save the file with the .cmd extension in a convenient location.
Saving the script in a custom location - Find your saved file, right-click it, and select Run as administrator. Click Yes if prompted.
- Wait for the process to complete, then restart your computer.
6. Run SFC and DISM Scans
If the above fixes have not worked, your system files might be corrupted. You can use Windows built-in tools—SFC and DISM—to check and repair these files.
– SFC (System File Checker) uses a local cache to repair missing or damaged files.
– DISM (Deployment Image Servicing and Management) downloads healthy files online, so make sure you’re connected to the internet before running it.
- Press Windows key + R, type ‘cmd’, then press Ctrl + Shift + Enter. Click Yes if prompted.
Type “cmd” into the Run dialog - Type this command and hit Enter:
sfc /scannow
Note: Let the scan finish—don’t close the window or restart your computer while it’s running.
- When it’s done, restart your computer.
- After restarting, open Command Prompt as administrator again and type:
dism /online /cleanup-image /restorehealth
Note: This may take a while and requires internet.
- Restart and check if Windows Update works now.
7. Use System Restore
If this issue appeared after a recent update, driver install, or sudden shutdown, using System Restore can help. This tool lets you return your computer to a point in time before the problem started. By default, Windows saves restore points when you make significant system changes, unless you’ve turned this feature off.
Note: Any changes made after the restore point—including apps and system settings—will be lost.
- Press Windows key + R, type ‘rstrui’, and press Enter.
Opening the System Restore wizard via Run box - Click Next on the initial screen.
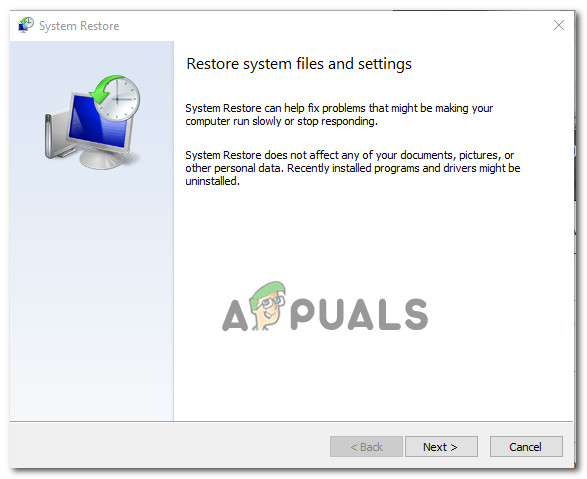
Using System Restore - Tick Show more restore points. Then, select a point before the error started (don’t pick one too far back to avoid losing too much recent work).
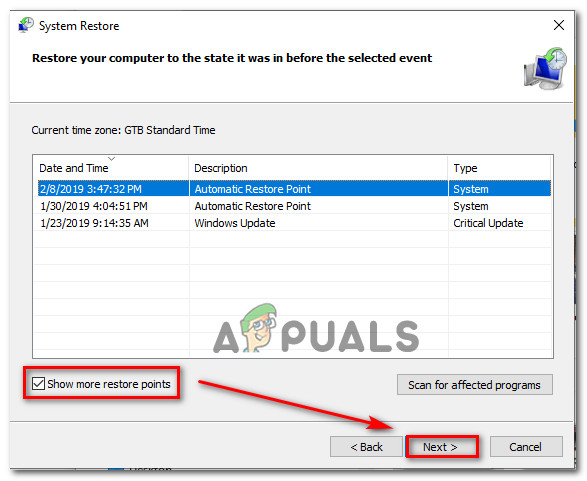
Restoring your system to a previous point in time Note: Avoid picking a very old restore point to minimize data loss.
- Click Next, then Finish. Your PC will restart and restore itself to the chosen date.
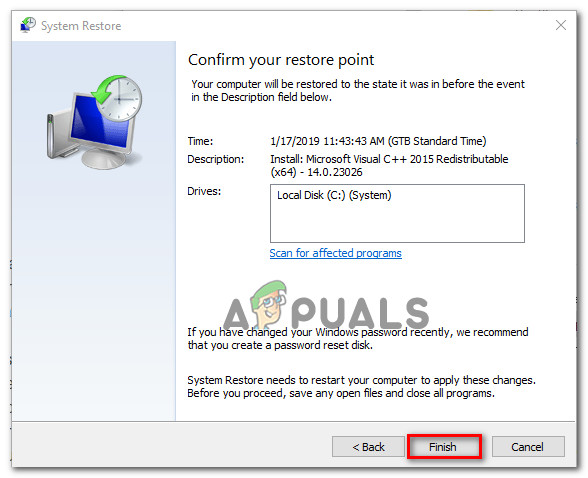
Starting the System Restore process
8. Perform a Clean Install or Repair Install
If none of the methods above work, your system might have deeper corruption that ordinary repairs can’t fix. In that case, the best way forward is to reinstall or repair Windows.
Checkout our detailed article on:
- Clean install – This is the simplest approach. You can do it directly from Windows, but it will erase your files and programs unless you back them up first.
- Repair install – This option lets you reinstall Windows while keeping your personal data, apps, and settings. You’ll need a Windows installation disc or USB drive, but it’s much less disruptive.


