How to Create a Bootable Windows 10 ISO from a Windows 10 ESD File
Whenever a person upgrades to a newer build of Windows 10 through Windows Update, the ESD (Electronic Software Delivery) format is used to provide their computer with the installation files it needs to install the new Windows 10 build. Among these installation files is the install.esd file – a compressed and encrypted version of the install.wim file that is typically used to perform clean installs of the Windows Operating System. The install.wim file has everything you need for a complete Windows installation from scratch.
Many Windows 10 users wondered whether or not they can convert the installation files downloaded during Windows Updates into bootable Windows 10 ISOs that can be burned to DVDs/USBs and then used to perform clean installs of Windows 10. Well, this is, through a bit of hardship, entirely possible. The install.esd file that is downloaded to your computer when you choose to upgrade to a newer build of Windows 10 via Windows Update can be used to create a bootable Windows 10 ISO to be burned to a DVD/USB and used for a Windows 10 install from scratch instead of an upgrade.
There are three phases to turning a Windows 10 install.esd file into a traditional Windows 10 ISO file – downloading and setting up a little utility known as ESDtoISO, procuring an install.esd file and using ESDtoISO to create a bootable Windows 10 ISO from a Windows 10 install.esd file.
Phase 1: Downloading and setting up the ESDtoISO tool
Click here to navigate to the OneDrive page from which you can download the ESDtoISO (by TenForums). Once the OneDrive page loads up, right-click on the ESDtoISO folder and click on Download in the contextual menu to begin downloading a .ZIP file containing the ESDtoISO utility.
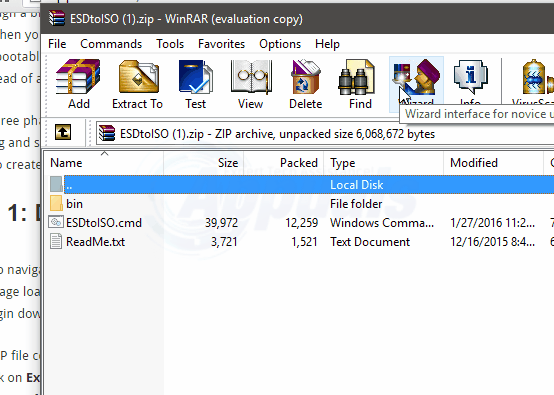
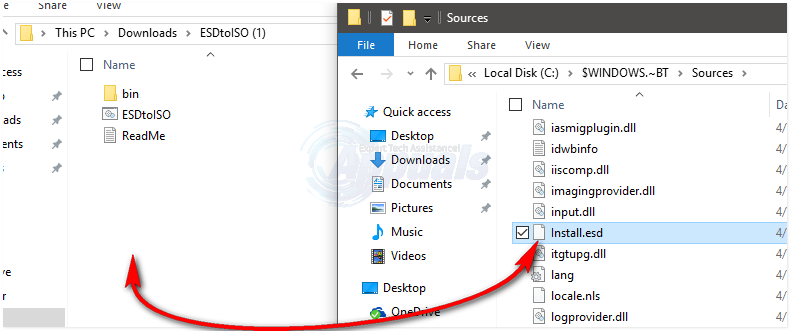
Once the .ZIP file containing the ESDtoISO tool has been downloaded, navigate to and double-click on it to open it. Click on Extract All in the File Explorer In the window that pops up, specify a destination folder for the contents of the .ZIP file and click on Extract to begin the extraction. Among the contents of the .ZIP file will be a file named ESDtoISO.cmd – this is the actual ESDtoISO utility.
Phase 2: Download an install.esd file
In order to create a bootable Windows 10 ISO from an install.esd file for a build of Windows 10, you are actually going to need an install.esd file. An install.esd file is only downloaded to your computer and saved to a hidden folder when you choose to install a Windows Update that contains a new build of Windows 10. To obtain an install.esd file, you need to:
Open the Start Menu.
Click on Settings.
Click on Update & Security.
Navigate to Windows Update in the right pane.
Click on Check for updates in the left pane.
If an update to a new build of Windows 10 is available, let Windows Update download it.
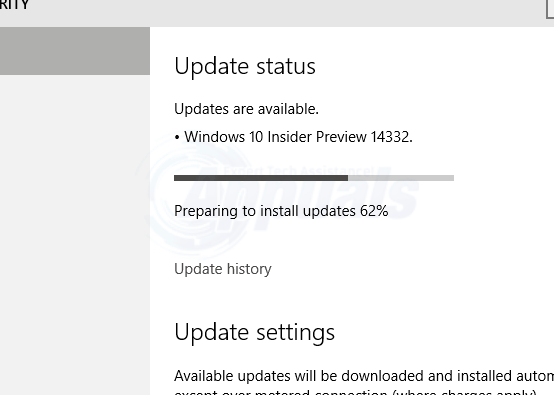
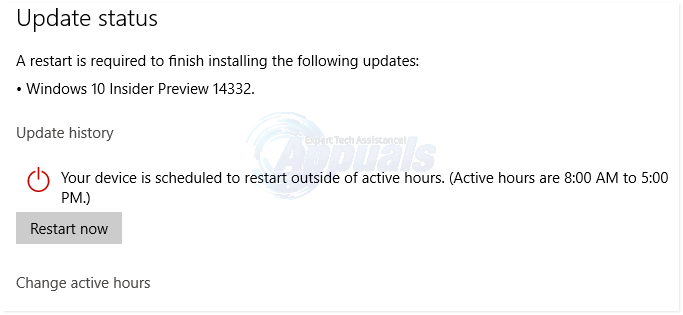
As soon as the esd file has been downloaded to your computer and Windows Update has prepared the update, it will inform you that a restart of your computer has been scheduled.
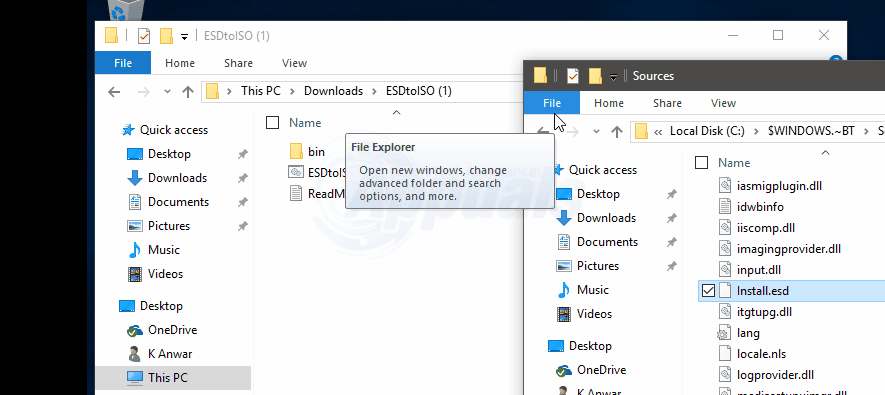
It is at this point that you will see an esd file when you launch File Explorer (by pressing the Windows Logo key + E) and navigate to the following hidden directory:
C:\$Windows.~BT\Sources
Note: Delay the Windows Update. DO NOT choose to restart your computer at that very moment.
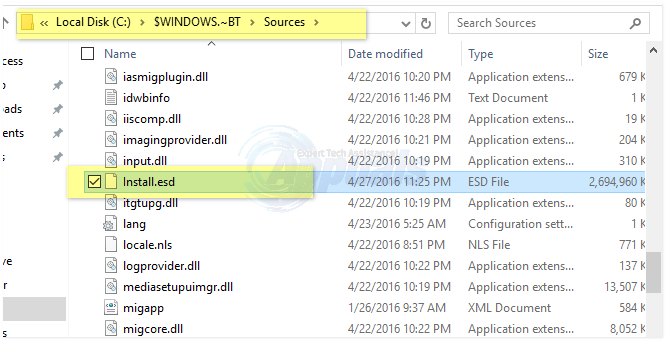
Move the esd file to the same folder you extracted the contents of the .ZIP file you downloaded in Phase 1 to, i.e. the same folder that contains the ESDtoISO.cmd file.
Phase 3: Using ESDtoISO to create a Windows 10 ISO from an install.esd file
Once the ESDtoISO tool has been downloaded and setup, all there is left is actually using it to create a Windows 10 ISO from an install.esd file for a build of Windows 10. In order to do so, you are going to have to:
Navigate to the directory that contains the cmd file.
Right-click on cmd and click on Run as administrator. This will launch the ESDtoISO tool and it will automatically find the install.esd file you placed in the same folder that it is in.
Select the bootable Windows 10 ISO file that you want to create by pressing 1 (for a Windows 10 ISO that contains an wim file), 2 (for a Windows 10 ISO that contains an install.esd file) or 0 (to quit the utility) and press Enter. Both of these options can be used in the same way to clean install Windows 10 – burned to a DVD/USB and then used to install Windows 10 from scratch on a virtual drive or a computer. However, if you’re not really sure which option to go with, just know that an install.wim based ISO will take longer to be created but will clean install Windows 10 faster, whereas an install.esd based ISO will be created relatively quicker but will take longer to clean install Windows 10.
As soon as you have made a decision as to whether you will be going with Option 1 or Option 2, the ESDtoISO utility will get cracking on creating a bootable Windows 10 ISO file for you, which can take up to half an hour (or even more) depending on the hardware of the computer you are using. During the process, the utility may display an error pertaining to a missing key – ignore this error. When ESDtoISO is done working its magic, you’ll have a Windows 10 ISO file that you can burn to a DVD or USB and use to clean install Windows 10.