How to Fix “Error Code: 0x800c0005” on OneDrive?
The error appears when trying to install or update OneDrive and the setup fails to retrieve required resources from the internet. The code 0x800c0005 means that a file or URL could not be downloaded, typically due to a network-related interruption.
The most common cause is a third-party firewall or antivirus blocking OneDrive’s connection. Additionally, proxy misconfigurations, DNS issues, and unregistered DLLs during system-level installations can also contribute to this error. Now that you know the causes, let’s discuss the solutions.
1. Disable 3rd Party Firewall
Third-party antivirus or firewall software is one of the most common causes of this error. These tools can block OneDrive or Windows Update from reaching Microsoft’s servers, even if they appear to be disabled. Start by turning off real-time protection, and if that doesn’t help, completely uninstall the security software. This ensures no background drivers or network filters interfere with the connection.
If you think your third-party firewall is causing the problem, Uninstall your Security Program Completely, including all leftover files.
Once you’ve done this, restart your computer and check if the problem is resolved.
2. Re-register the .DLL Files
If you get the 0x800c0005 error while trying to install .NET Framework 4 or when installing pending Windows Updates, it’s likely because certain Dynamic Link Library files (Softpub.dll, Wintrust.dll, and Initpki.dll) are not properly registered. If Windows can’t use these files correctly, errors can occur.
- Press Windows key + R to open the Run dialog. Type ‘cmd’, then press Ctrl + Shift + Enter to launch Command Prompt as an administrator. When prompted by the User Account Control (UAC), click Yes.
Running Command Prompt - Type each of the following commands one line at a time, pressing Enter after each, to re-register the DLL files:
regsvr32 Softpub.dll
regsvr32 Wintrust.dll
regsvr32 Initpki.dll
- Once done, close the Command Prompt and restart your computer.
- Try the action that gave you the 0x800c0005 error again to see if it’s fixed.
3. Reset Windows Update Components
When this error appears during Windows Updates, it may be caused by corrupted services or cache directories. Resetting the Windows Update components stops the related services, clears old update data, and restarts everything fresh. This solution is safe and commonly used to fix stuck or failed updates without reinstalling Windows.
- Press Windows key + R, type ‘cmd’, then press Ctrl + Shift + Enter to open Command Prompt as an administrator. Click Yes when prompted by UAC.
Running Command Prompt - To stop essential update services, type these commands one at a time and press Enter after each:
net stop bits
net stop wuauserv
net stop appidsvc
net stop cryptsvc
Note: These stop the BITS, Windows Update, and Cryptographic services.
- Next, rename the SoftwareDistribution and CatRoot2 folders using these commands:
Ren %systemroot%\SoftwareDistribution SoftwareDistribution.bak
Ren %systemroot%\system32\catroot2 catroot2.bak
Note: This creates new folders for Windows Update, removing any corrupted files in the process.
- Restart the services by typing:
net start bits
net start wuauserv
net start appidsvc
net start cryptsvc
- Restart your computer and check if the error is fixed.
4. Power-Cycling the Xbox One Console (Xbox Only)
If you see the 0x800c0005 error code on your Xbox One while downloading a game or starting a party, some temporary files or cached data might be causing problems.
- With your Xbox One turned on, press and hold the Xbox button on the console until the front lights turn off.
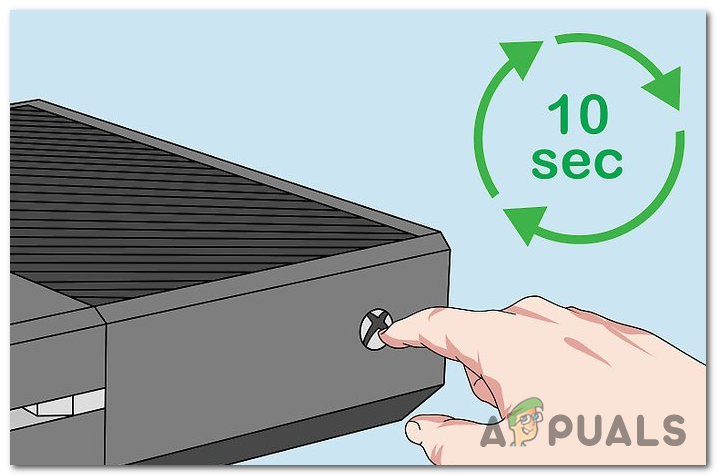
Power-cycling Xbox One console - Once off, unplug the power cable from the outlet and wait at least 30 seconds. This clears out all remaining power and any temporary data stored in hardware.
- Plug the power cable back in and turn on your console. Watch for a longer startup animation (about 5 seconds), which shows the full power cycle was successful.

Xbox One long starting animation - Try to do the action that caused the error again to see if the problem is fixed.
5. Enable UPnP or Forward the Required Ports Manually
You might see this error if your NAT (Network Address Translation) is closed. This can block certain network activities on both PC and Xbox One.
If your router supports it, you can turn on Universal Plug and Play (UPnP) in your router settings. This allows the right ports to open automatically for your console or game.
If your router doesn’t support UPnP, you’ll need to forward the required ports manually in your router’s settings.
6. Switch to Google DNS
Slow or misconfigured DNS servers from your ISP can prevent successful access to Microsoft servers. Switching to Google’s public DNS (8.8.8.8 and 8.8.4.4) improves reliability and speed when resolving domains. This fix often resolves download errors and connection timeouts, especially in networks with unstable routing.
The steps are different for Xbox One and Windows — pick the set that applies to your device.
6.1. Switching to Google DNS on Xbox One
- From the main dashboard, open the Guide menu, go to Settings > Network, then select Advanced Settings.
- In Advanced Settings, select DNS settings, then choose Manual.

Xbox One Advanced Network Settings - For DNS settings, set the Primary DNS to 8.8.8.8 and the Secondary DNS to 8.8.4.4.
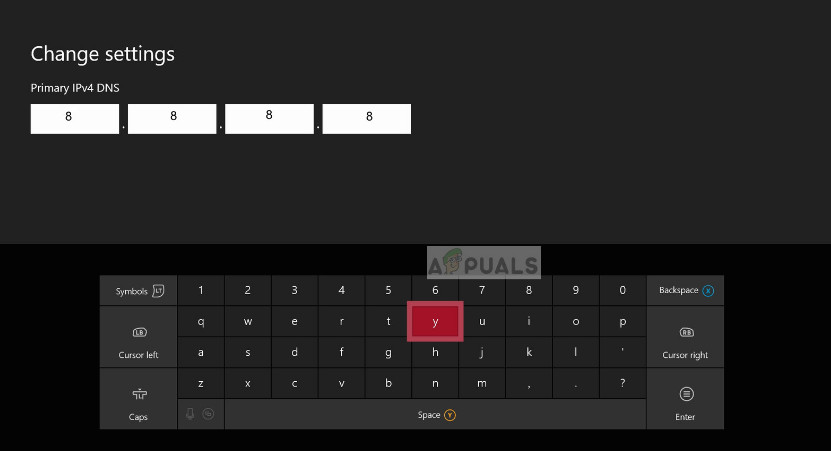
Changing DNS in Xbox Note: For IPv6, use:
Primary DNS - 208.67.222.222
Secondary DNS - 208.67.220.220
- Save and restart your Xbox One. Now check if the issue is fixed.
6.2. Switching to Google DNS on Windows
- Press Windows key + R, type ‘ncpa.cpl’, and press Enter to open the Network Connections menu.
- Right-click your current network. For wireless, right-click Wi-Fi (Wireless Network Connection); for wired, right-click Ethernet (Local Area Connection). Choose Properties.
- In the Properties window, go to the Networking tab, then select Internet Protocol Version 4 (TCP/IPv4) and click Properties.
- In the next screen, select Use the following DNS server addresses and enter:
8.8.8.8
8.8.4.4
- Repeat step 3 and 4 for Internet Protocol Version 6 (TCP/IPv6) using:
2001:4860:4860::8888
2001:4860:4860::8844
- Save your settings, restart your PC, and retry the task that was causing the 0x800c0005 error.