How to Fix 0x800710FE when Trying to Delete a File
The error code 0x800710FE typically appears while trying to delete a file that looks normal but refuses to be removed, showing a message that it is “currently not available for use on this computer.” This code means that the file is managed by the Offline Files feature and the system cannot access it from its local cache.
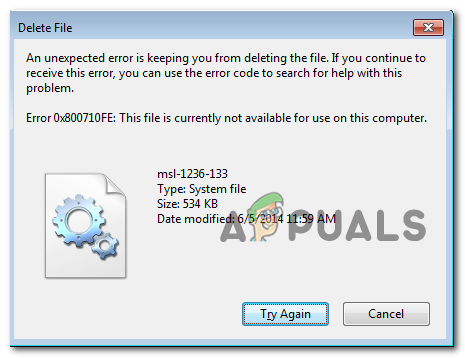
The most common cause is corruption in the Client-Side Caching (CSC) database or that the file is no longer available on the source server. It can also happen if Offline Files are enabled, but the network share is inaccessible or permissions have changed.
In this article, we will discuss different ways to solve this error.
1. Perform a CHKDSK Scan
Using a Ubuntu Live image to force-delete a directory can sometimes result in bad sectors or minor corruption on your drive. It’s important to address that right away. Thankfully, Windows has a built-in tool called CHKDSK that can scan for and fix these types of errors and any damage left after a forced deletion.
In Windows 10, CHKDSK is very effective, but you’ll need to run it in an elevated Command Prompt for best results.
If you’re not sure how to run CHKDSK, follow this guide here on running CHKDSK.
Note: These instructions should work on any version of Windows where you’re having this problem.
2. Disable Offline File Synchronization
In many cases, this problem is caused by files or dependencies related to Offline File Synchronization. If this applies to you, you can usually fix the issue by opening the Classic Control Panel, going to Sync settings, and turning off Offline Files from the Manage Offline Files menu.
Note: These steps should apply no matter which version of Windows you use.
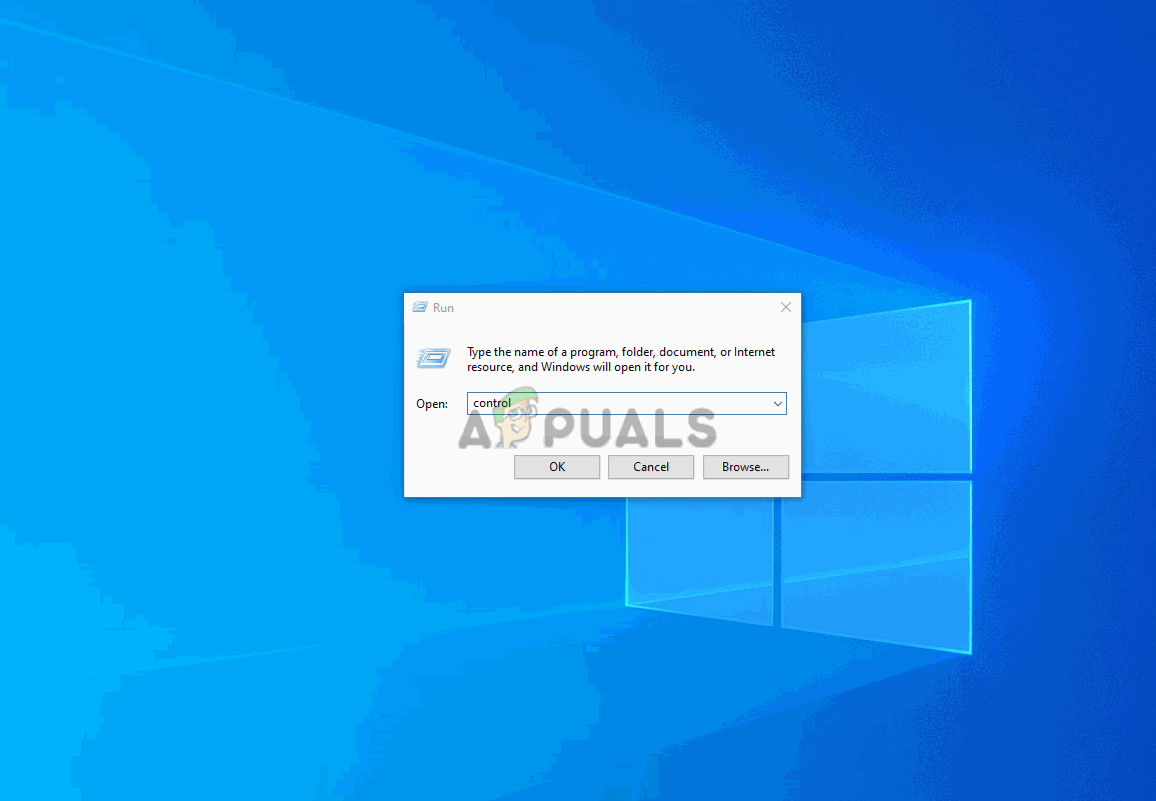
- Press Windows key + R to open a Run dialog. Type ‘control’ and press Enter to open the classic Control Panel.
- Inside Control Panel, use the search box in the upper-right to type ‘sync center‘ and press Enter.
- Double-click Sync Center from the results list.
- On the left menu, click Manage offline files.
- In the Offline Files window, select the General tab and click Disable offline files.
- If prompted by User Account Control (UAC), click Yes to allow it.
- Once you’ve disabled Offline Files, try the action that previously caused the 0x800710FE error.
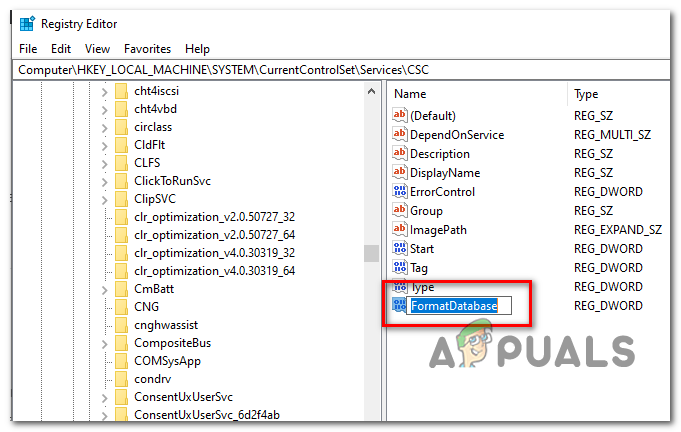
3. Format the CSC Database via Registry Editor
f turning off file synchronization didn’t help, the next step is to use the Registry Editor to create a FormatDatabase key. This resets any data clusters that could be causing the 0x800710FE error due to permission issues.
- Press Windows key + R to open the Run dialog box. Type
regeditand press Enter. If prompted by UAC, click Yes to open the Registry Editor. - In the Registry Editor, navigate to the following key:
HKEY_LOCAL_MACHINE\System\CurrentControlSet\Services\CSC\Parameters
Note: If the Parameters subkey does not exist under
CSC, right-clickCSC, choose New → Key, and name it Parameters. - Inside the
Parameterskey, right-click on the right pane, choose New → DWORD (32-bit) Value, and name it FormatDatabase. - Double-click FormatDatabase. In the dialog box that appears, set:
Base = Hexadecimal Value Data = 1
Then click OK.
- Close the Registry Editor and restart your PC. Upon restart, Windows will reinitialize the CSC cache and rebuild the Offline Files database.
After the reboot, check if the file or folder that was showing the 0x800710FE error can now be accessed or deleted.
4. Disable Sync Center via Command Prompt
Another common cause of the 0x800710FE (This file is currently not available for use on this computer) error is the Sync Center. While this feature is off by default, it might be enabled if you previously synced network files or folders for offline use.
If one of those synced folders or files is causing the error, you can usually fix it by disabling the Sync Center driver and service, clearing the Client-Side Cache, disabling scheduled tasks, and stopping Sync Center from starting up with Windows.
- Press Windows key + R to open a Run dialog. Type ‘cmd’ and press Ctrl + Shift + Enter to open an elevated command prompt. When asked by UAC, click Yes.

Running the Command Prompt - In the command prompt window, type the below command and press Enter to disable the Sync Center driver and service:
for %G in ("CSC","CscService") do sc config "%~G" start= disabled - Next, type these commands one by one and press Enter after each to clear the Client-Side Cache (CSC):
takeown /f "%windir%\CSC" /a /r icacls "%windir%\CSC" /grant:r *S-1-5-32-544:F /t /c /q icacls "%windir%\CSC" /grant:r *S-1-5-18:F /t /c /q for /d %G in ("%windir%\CSC\v2.0.6\namespace\*") do rd /s /q "%~G" - Afterward, disable the scheduled tasks for Sync Center by running these commands (press Enter after each):
schtasks /change /tn "\Microsoft\Windows\Offline Files\Background Synchronization" /disable
schtasks /change /tn "\Microsoft\Windows\Offline Files\Logon Synchronization" /disable
- Finally, stop Sync Center from starting with Windows by running these commands. Press Enter after each:
reg add "HKCU\Software\Classes\Local Settings\Software\Microsoft\Windows\CurrentVersion\SyncMgr" /v "StartAtLogin" /t REG_DWORD /d 0 /f reg add "HKCU\Software\Classes\Local Settings\Software\Microsoft\Windows\CurrentVersion\SyncMgr\HandlerInstances\{750FDF10-2A26-11D1-A3EA-080036587F03}" /v "Active" /t REG_DWORD /d 0 /f reg delete "HKCU\Software\Microsoft\Windows\CurrentVersion\SyncMgr" /f reg delete "HKCU\Software\Classes\Local Settings\Software\Microsoft\Windows\CurrentVersion\NetCache" /f reg delete "HKCU\Software\Classes\Local Settings\Software\Microsoft\Windows\CurrentVersion\SyncMgr\HandlerInstances\{750FDF10-2A26-11D1-A3EA-080036587F03}\SyncItems" /f - Once all commands run successfully, close the command prompt and restart your computer.
- When your computer restarts, try deleting the file or folder that caused the error to see if it now works.
5. Delete the File via a USB Ubuntu Drive
If the above solutions haven’t worked, try creating a Live Ubuntu USB drive and boot from it to remove the file or folder causing the 0x800710FE error.
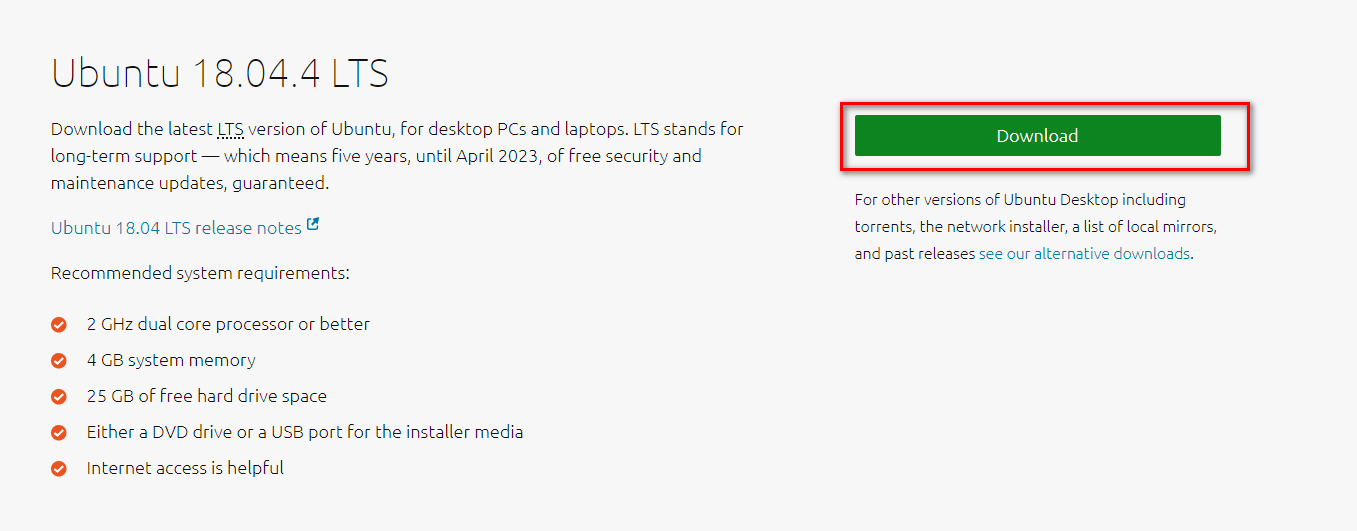
- Go to this link (here) and download the latest Ubuntu ISO image. For best results, download the LTS version. Just click the Download button when you reach the page.
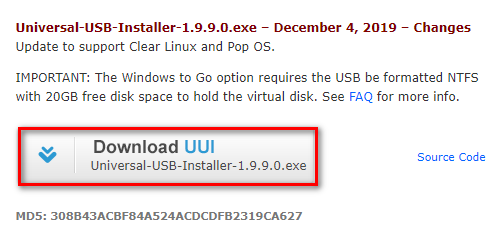
Downloading the latest Ubuntu version - While Ubuntu downloads, head to this link (here) and download the Universal USB Installer via the Download UUI button (just scroll down to find it).
Downloading the latest version of the Universal USB Installer - Insert a flash drive you want to use as your Ubuntu Live image. Be sure to back up any important data, as this process will erase it.
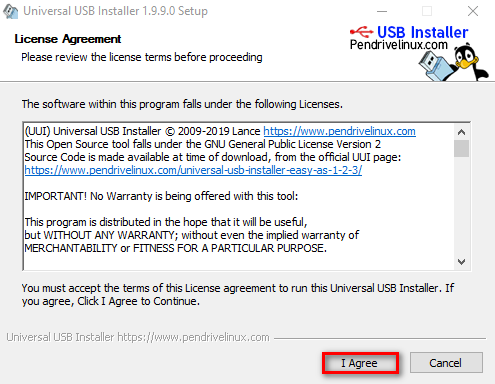
- Once UUI has finished downloading, double-click it, accept the License Agreement, and follow the instructions to install it.
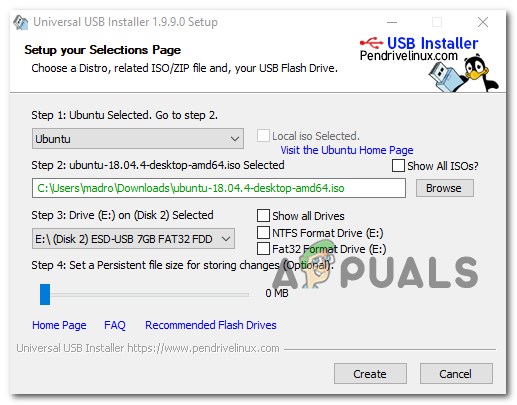
Agreeing with the Universal USB installer - On the next screen, select Ubuntu in the dropdown (under Step 1), click Browse (for Step 2), and select the ISO image you downloaded in step 1.
- Under Step 3, choose the drive letter for your USB drive.
- Check the Fat32 Format Drive box, then click Create and wait for the process to finish.
Creating the Ubuntu Live Image - After the creation is complete, restart your computer. At startup, enter your boot menu (usually F2, F10, or F12) and choose your USB drive to boot from the Ubuntu Live image.
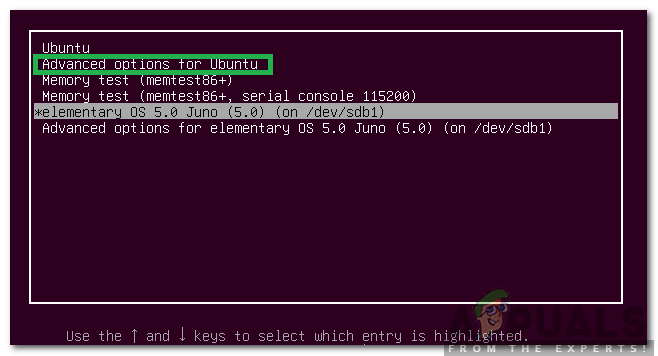
Selecting Advanced Options for Ubuntu - Once Ubuntu loads, open a Terminal window, and type this command, then press Enter to remove the directory causing the 0x800710FE error:
rm -r MyDirectory
Note: Replace MyDirectory with the actual folder or file location you want to delete.
- After deleting the file or folder, restart your computer and remove the Ubuntu flash drive so your computer boots from your normal hard drive or SSD.


