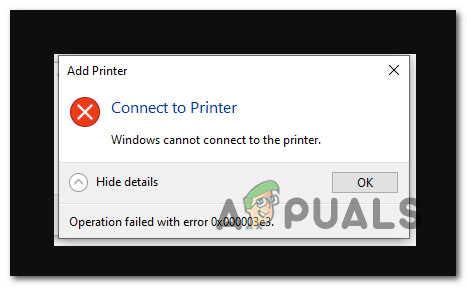
How to Fix 0x000003e3 Printer Error on Windows?
The 0x000003e3 printer error appears during network printer setup, often halting installation after a driver prompt fails. This error means the I/O operation was aborted because a thread exited or an application requested termination, disrupting communication with the printer.
The most consistent cause is a Windows update targeting the PrintNightmare exploit, which tightened printer driver permissions and broke legacy sharing setups. Other contributing factors include corrupt or unsigned drivers, missing dependencies like mscms.dll, or a malfunctioning Print Spooler service.
Follow the methods below for a set of proven solutions that will help you troubleshoot and hopefully fix the issue.
1. Run the Printer Troubleshooter
You can resolve most common printer connection problems (including the 0x000003e3 error) by using the built-in Printer Troubleshooter and following any recommended fixes—assuming a Windows Update isn’t the root cause.
Note: The Printer Troubleshooter automatically checks your printing components for issues as soon as you launch it. If it finds a problem, it will recommend a way to fix it for you.
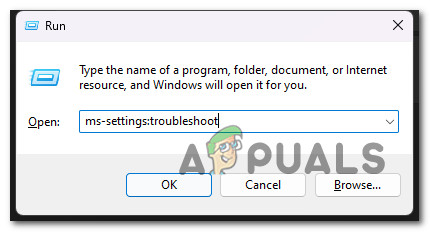
- Press Windows key + R to open the Run dialog. Type “ms-settings:troubleshoot” into the field and hit Enter to open the Troubleshoot tab in the Settings app.
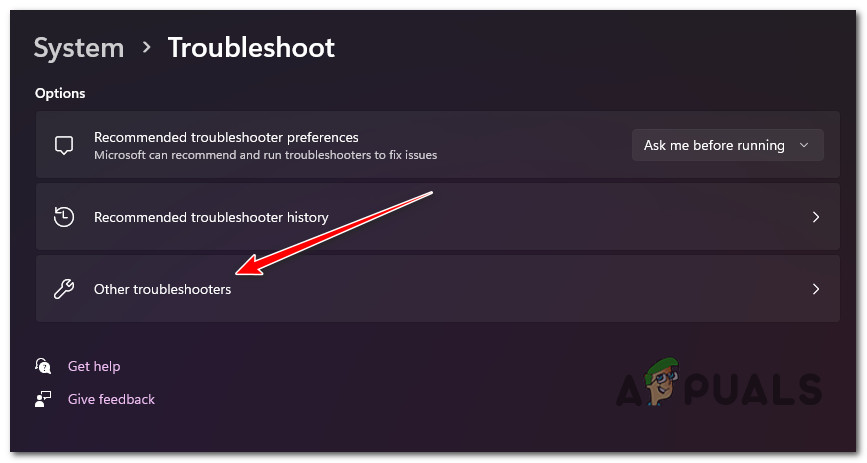
Accessing the Troubleshoot tab - Click on Other Troubleshooters from the menu on the right side.
- Click the Run button next to Printer in the Other Troubleshooters menu.
Access the Other Troubleshooters tab - Wait for the scan to finish. If a problem is detected, you’ll see an option to apply the recommended fix.
- Click Apply this fix to use any repair the troubleshooter has suggested.
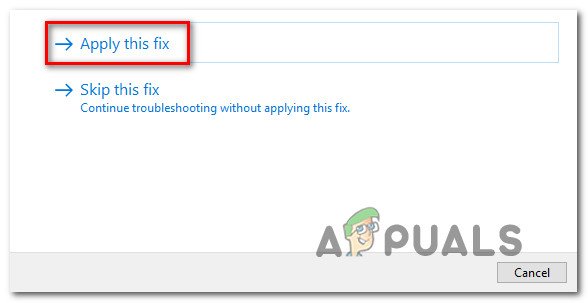
Apply this fix and repair the printing component Note: Depending on the fix, you may need to perform some manual steps as directed.
- Restart your computer and check if your network printer is now accessible.
2. Update your Windows Build to the Latest Version
If the 0x000003e3 error code started appearing after a recent Windows update or installation, it’s a good idea to check for further updates. Sometimes Microsoft releases a hotfix that resolves these issues.
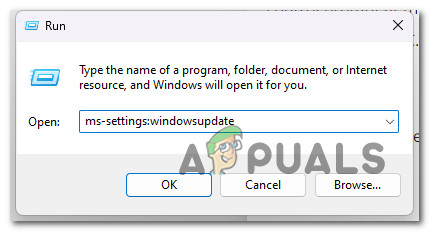
- Press Windows key + R to open the Run dialog.
- Type “ms-settings:windowsupdate” and press Enter to go to the Windows Update tab in the Settings app.
Access the Windows Update screen Note: If you see a User Account Control prompt, choose Yes to grant the necessary permissions.
- On the right side, select Check for Updates.
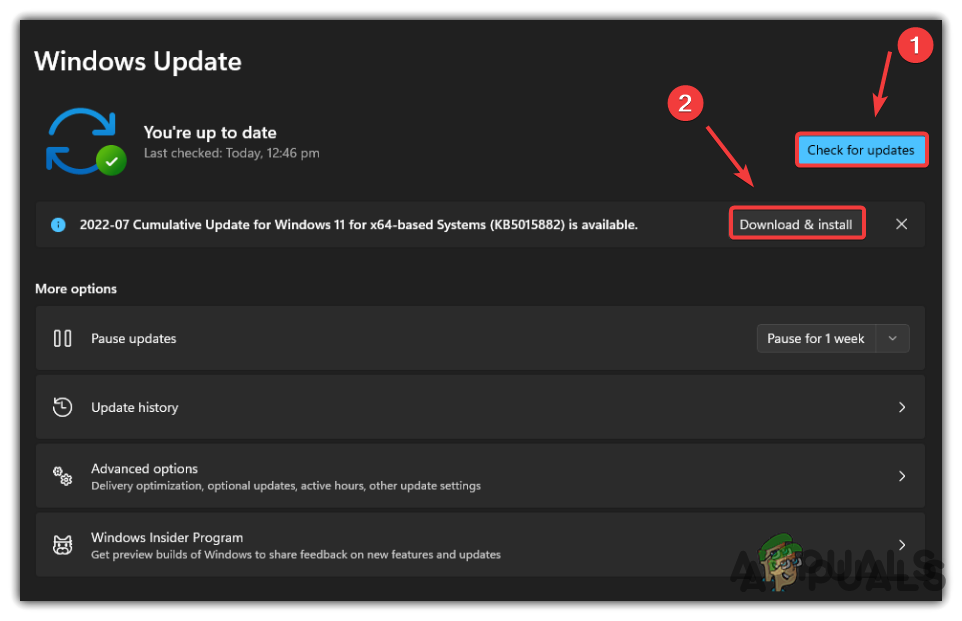
Checking for updates - If there are new updates, click Download & Install and follow the prompts to install them.
Download & Install pending updates - Restart your computer and check if the error is resolved.
3. Uninstall the Latest Problematic Update
If updating didn’t help and the issue appeared after a recent update, you may need to uninstall that update. Sometimes, rolling back the latest Windows update can resolve compatibility problems with your printer.
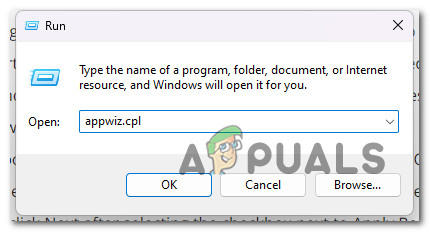
- Press Windows key + R to open the Run dialog.
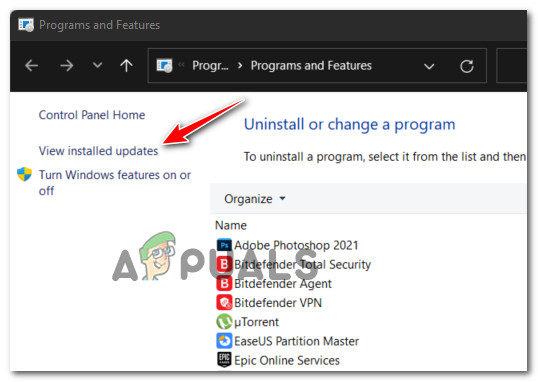
- Type “appwiz.cpl” and press Ctrl + Shift + Enter to open the Programs and Features panel.
Open up the Programs and Features menu - On the left, select View installed updates.
Accessing the View Installed updates menu - Find the most recent update in the Installed Updates list, right-click on it, and select Uninstall.
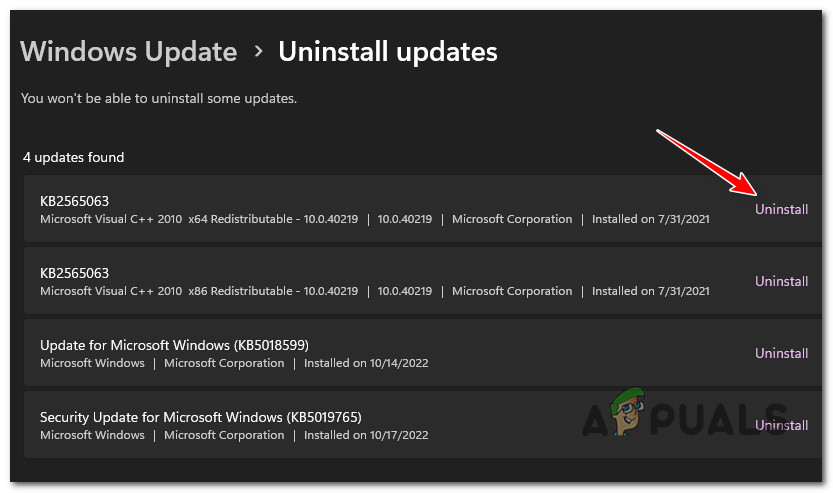
Uninstall the latest update - Click Yes when asked if you’re sure, and let the uninstall complete.
- Do not restart your computer yet. Instead, go to the official Microsoft Show or Hide Update Troubleshooter download page.
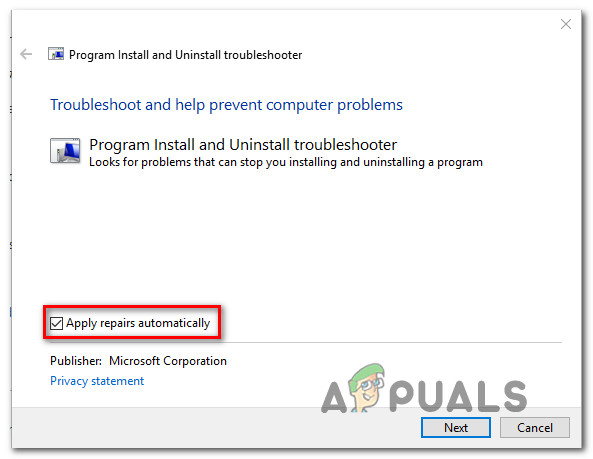
Note: If you restart your computer now, Windows may reinstall the update you just removed. - The download should start automatically. After it’s done, open the .diagcab file and click Advanced.
- Tick Apply Repairs Automatically, and then click Next.
Configure the Show & Hide Troubleshooter - The program will search for pending or hidden updates. Select Hide Updates when it appears.
- Check the box for the latest Windows update that you just uninstalled, and click Next to hide it from reinstalling.
- Now, restart your PC and try connecting to your printer again.
4. Install the Manufacturer-Specific Driver
If your network printer still fails to connect, the issue may be caused by Windows automatically installing a generic printer driver during setup. These basic drivers often lack full compatibility, especially with older or business-class printers, resulting in this errors.
To ensure full support for your printer’s features and communication protocols, download and install the official driver from your printer manufacturer’s support website.
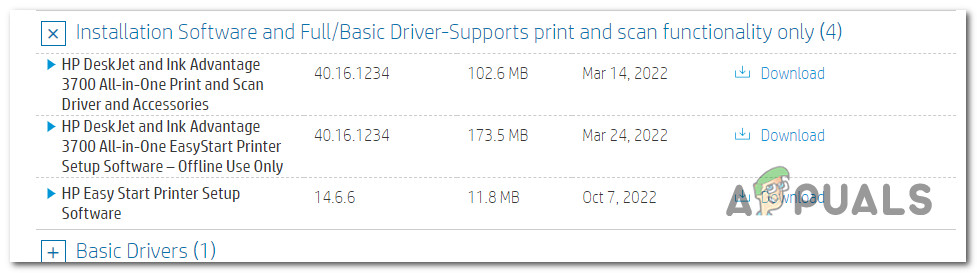
- Open your web browser and search for your printer’s driver using this format: “[Printer manufacturer] + [printer model] + driver download“.
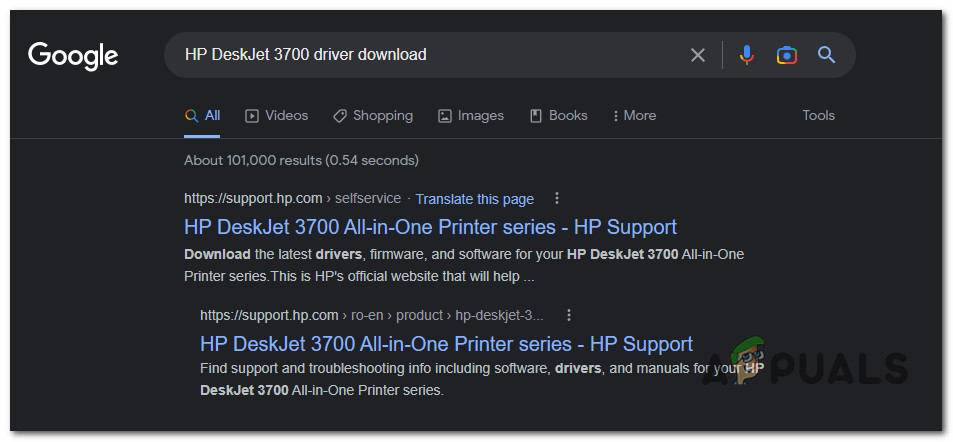
Search for the official driver page Note: Replace “Printer manufacturer” and “printer model” with the brand and model of your own device (e.g., “HP DeskJet 3700 driver download”).
- Click the official support link from the search results. Usually, it’s one of the first links shown.
- Look for any official tool your manufacturer offers to automatically update drivers. For HP printers, for example, use the HP Smart App.
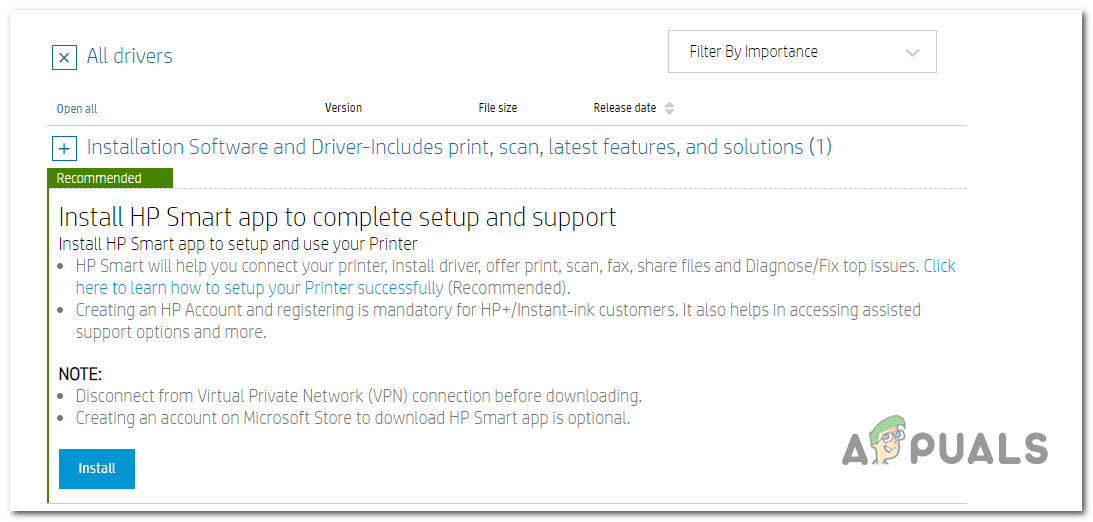
Downloading and installing the HP Smart app Note: If your manufacturer doesn’t provide an automatic tool, manually download the latest driver. For network printers, make sure to download the online version, if available.
Download the printer driver - Follow the on-screen instructions to install the app or driver, and then restart your PC.
Note: If you installed the official app (such as HP Smart), run a system scan with it. The app will install the latest driver and replace any generic Windows driver. - After rebooting, try to connect to your printer again and see if the error is fixed.
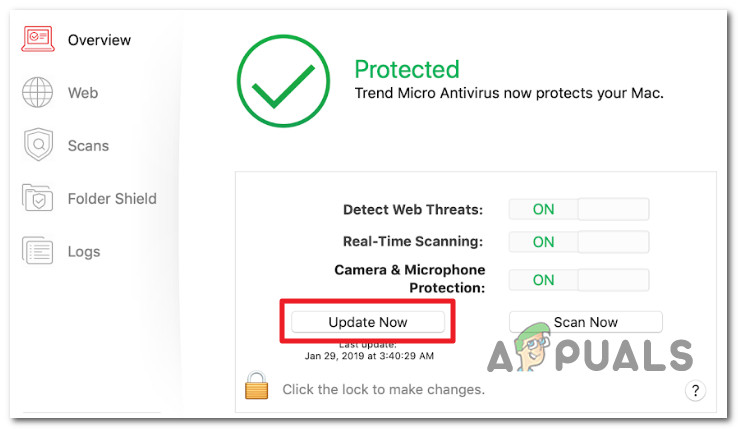
5. Update or Uninstall TrendMicro (if applicable)
If you’re using TrendMicro security software on your network, it could be interfering with your printer’s print spooler service—a common issue with some security solutions.
TrendMicro has released a patch to fix this. If you’re running TrendMicro build 12.0.4440, simply update to a newer version, and the issue should be resolved.
If updating isn’t possible, you may need to uninstall TrendMicro completely. You can follow this step-by-step guide to remove it without leaving any leftover files.
If the problem persists, try the next method below.
6. Delete all Printer Keys & Restart Print Spooler Service
In some cases, the 0x000003e3 error is caused by corrupt or conflicting registry entries—particularly those under the Client Side Rendering Print Providers key. These entries can interfere with network printer communication and prevent proper driver initialization.
To solve this, you’ll manually delete the problematic registry key and restart the Print Spooler service, which handles all print-related operations in Windows.
Warning: Editing the Windows Registry can break essential system functionality if done incorrectly. Before proceeding, make sure to create a full Registry backup or a System Restore Point. Only follow these steps if you’re confident, and do not modify any key outside of the instructions.
- Press Windows key + R to open the Run dialog. Type “regedit” and press Ctrl + Shift + Enter to open the Registry Editor as an administrator.

Open the Registry Editor - If prompted by User Account Control, click Yes to continue.
- In Registry Editor, navigate to:
HKLM\SOFTWARE\Microsoft\Windows NT\CurrentVersion\Print\Provider
Note: You can manually browse there or paste the entire path into the navigation bar at the top of the Registry Editor.
- Once there, right-click the Providers key and select Delete.
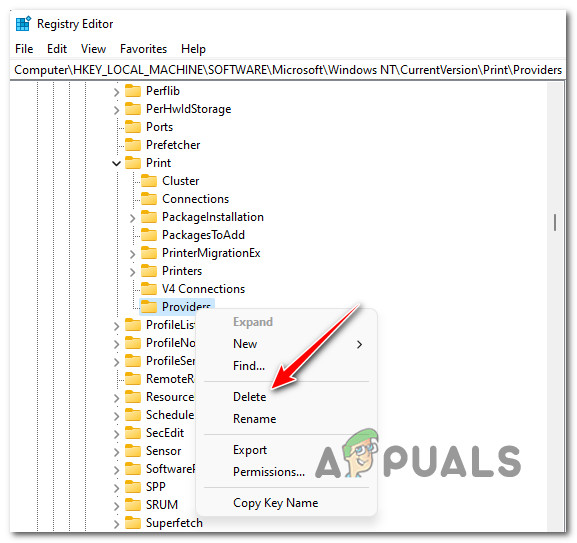
Delete the providers key - Close Registry Editor.
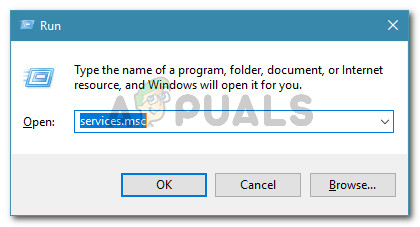
- Press Windows key + R again, type “services.msc”, and press Enter to open the Services panel.
Open the Services screen Note: Allow administrative access if prompted.
- Scroll down to find Print Spooler in the list, right-click it, and choose Restart.
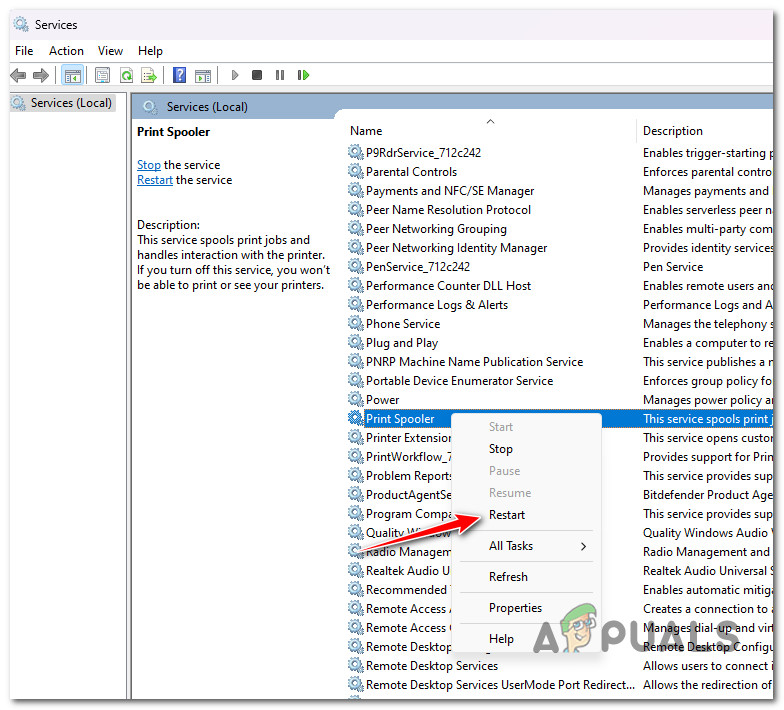
Restart the Print Spooler Service - Close the Services window. Re-add your printer and see if the error is resolved.


