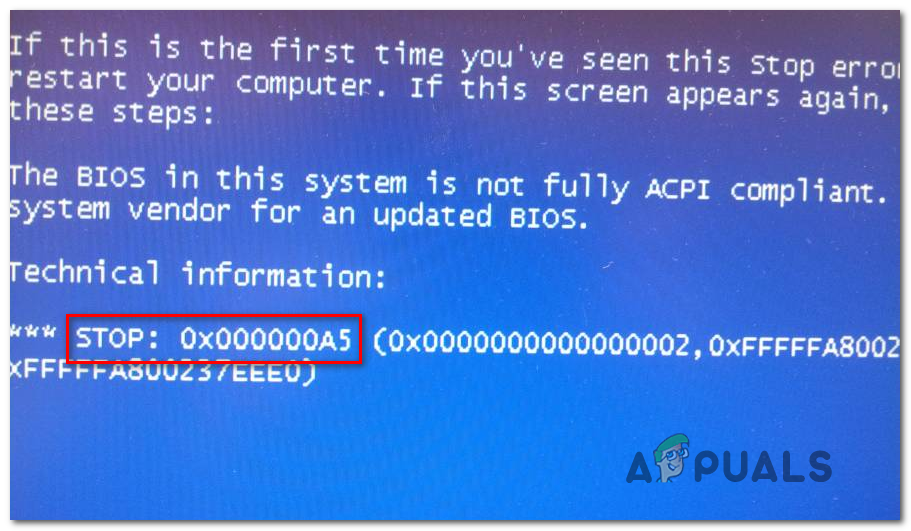
When attempting to install Windows 7, the system may abruptly display a blue screen with the error code 0x000000A5, halting the installation process. This error signifies that the system’s BIOS is not fully compliant with the Advanced Configuration and Power Interface (ACPI) specification, which is essential for power management and hardware configuration.
STOP Error “0x000000A5” during Windows 7 installation
The primary cause is an outdated or incompatible BIOS that lacks proper ACPI support; additional factors include incorrect BIOS settings, such as enabled UEFI or Secure Boot, and the use of USB 3.0 ports during installation. Now that you know the causes, let’s move to the solutions.
1. Update your BIOS to the latest version
In most cases, this error is caused by a mismatch with your BIOS. The stop code usually means that your BIOS version doesn’t fully support the Advanced Configuration and Power Interface (ACPI) needed for Windows 7.
If this is the case, updating your BIOS to the latest version should resolve the problem. But since BIOS interfaces are different depending on the motherboard manufacturer, step-by-step instructions will vary.
The best way to find the right steps for your motherboard is to search online for ‘BIOS Update + [your motherboard model]‘ and carefully follow the instructions found on the official website.
Most motherboard brands have their own BIOS update tools, such as E-Z Flash for Asus and MFlash for MSI.
Updating your BIOS version
Here are official BIOS update guides for some popular motherboard manufacturers:
If you need some general guidance for updating your BIOS using a USB flash drive, follow the steps below:
Note: Always consult your manufacturer’s documentation for detailed instructions. The following steps are general recommendations.
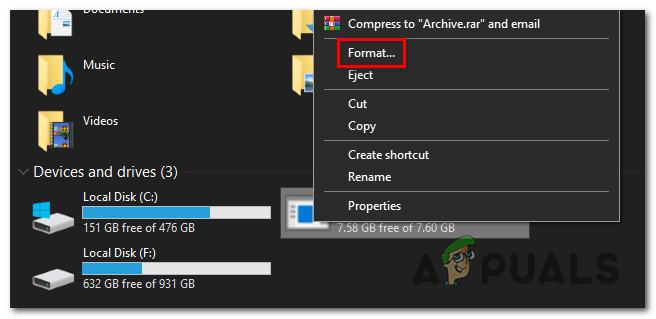
Prepare an empty USB flash drive. If it contains files, back them up, then right-click on the flash drive and choose Format. Formatting the USB drive
On the Format screen, set the file system to FAT32, check the Quick Format box, and click Start. Formatting the removable drive
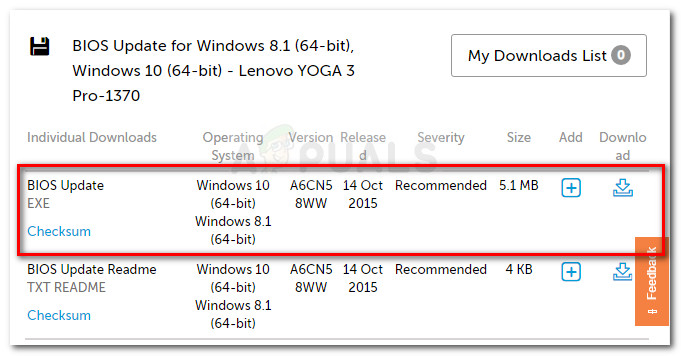
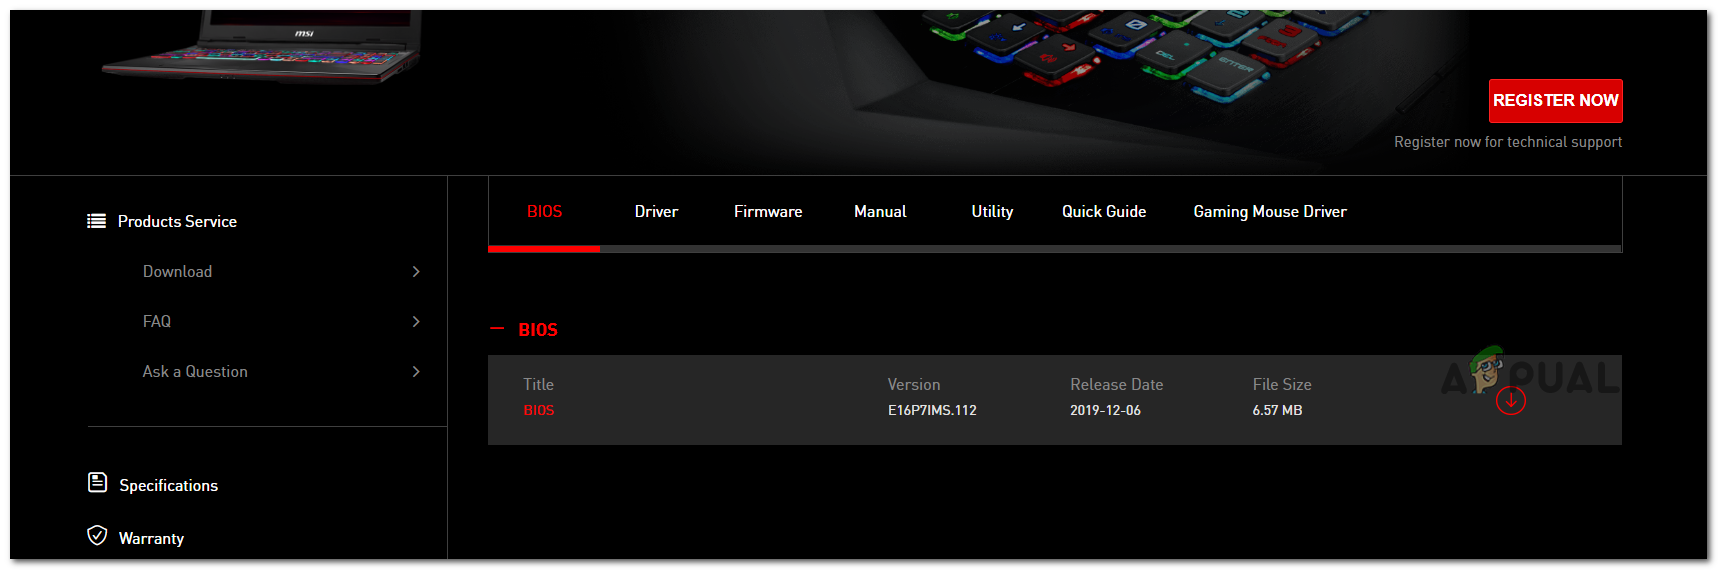
After formatting, visit your motherboard manufacturer’s website, review the BIOS update instructions, and download the latest BIOS file. Copy this file to your USB drive. Downloading the latest BIOS version
Note: Some manufacturers may require you to modify the files before the update. Always read the official instructions first.
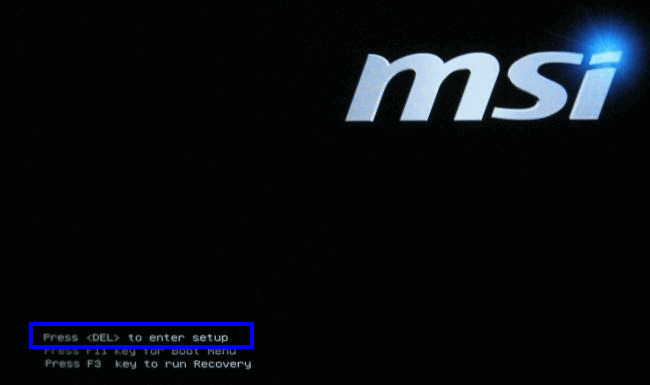
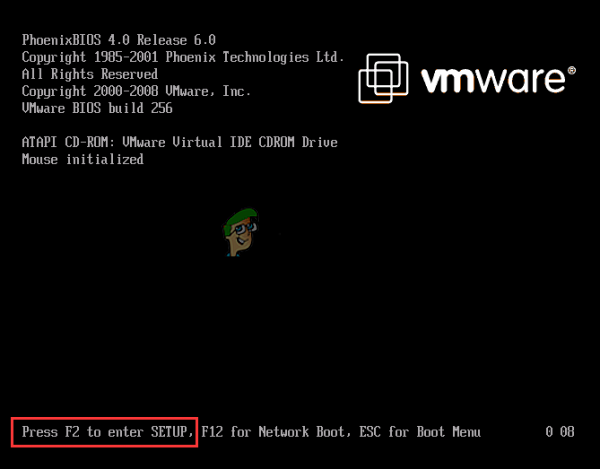
Once you have copied the BIOS update file to your USB drive, restart your computer and press the appropriate Setup key to access BIOS during startup. Press [key] to enter setupNote: If you’re not sure which key to press, try Esc, Del, or one of the F keys (F2, F4, F6, F8, or F12), or search for your motherboard’s specific key online.
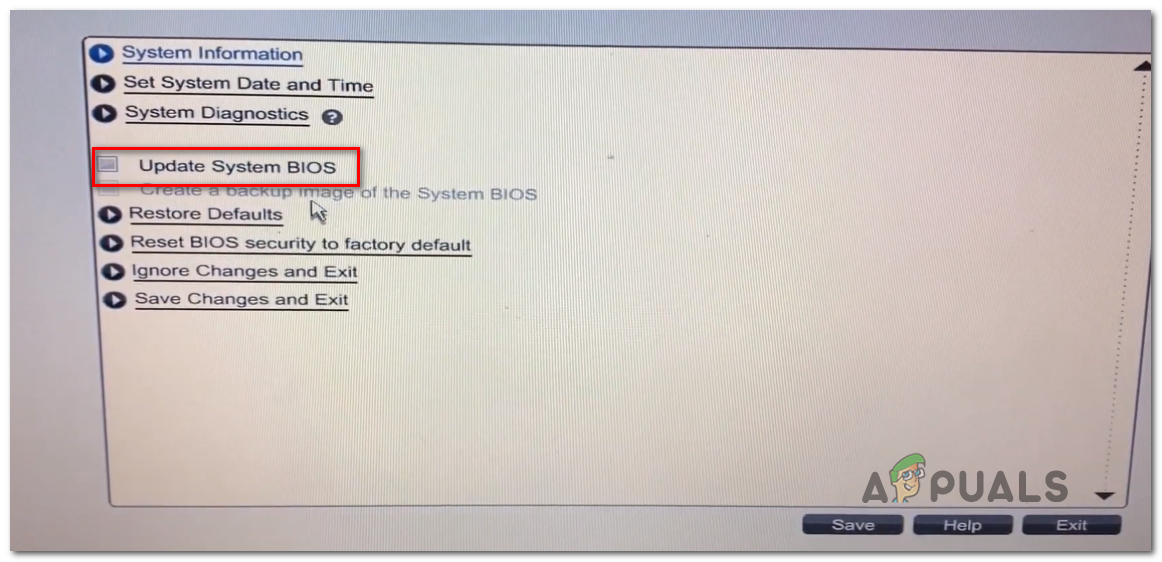
Inside the BIOS menu, look for Advanced settings or something similar, and find the option for Update System BIOS (names may vary). Updating the System BIOS via USB flash
After the update is done, restart your computer and wait for it to start up completely. At this point, you can remove the USB flash drive.
If you have already updated your BIOS and are still seeing the error, move on to the next possible solution.
2. Adjust the LPSS & SCC Configuration
For older motherboards and traditional hard drives, Stop Error 0x000000A5 can happen if there’s a configuration mismatch with WIMBoot. WIMBoot is not meant for traditional spinning drives or hybrid drives.
To fix this, enter your BIOS settings and change the LPSS & SCC Configuration to work properly with Windows 7. Many users have found that after making this change, they could complete the Windows 7 installation without running into Stop Error 0x000000A5.
Turn on your computer and, at the first screen, repeatedly press the Setup key. Pressing the Setup key to enter BIOS settings
Note: The required key will usually be shown on screen. If not, look it up online using your motherboard model.
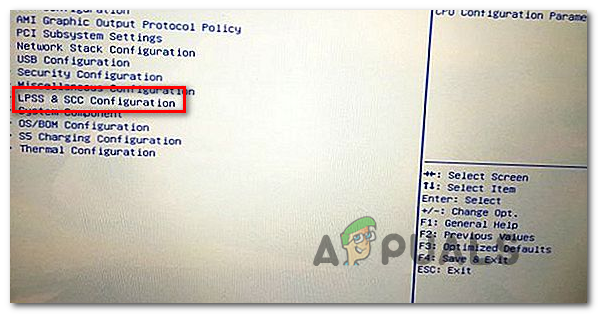
In the BIOS menu, go to Advanced settings and select LPSS & SCC Configuration. Accessing the LPSS & SCC Configuration menu
In LPSS & SCC Configuration, set the Operating System dropdown to “7”.
Save and exit BIOS, then try installing Windows 7 again to see if the error is resolved.
3. Replace the RAM or Using a Different Slot
The Stop Error 0x000000A5 can sometimes be caused by improperly seated memory, a failing RAM stick, or a dusty/faulty RAM slot. If you’re seeing this issue randomly, especially at startup, this might be the reason.
Some users have solved this by running a memory diagnostic or simply by moving the RAM stick to a different slot.
If you have overclocked your RAM, restore those settings to default and use a tool like HWmonitor to check for unusual voltage or temperature.
You can also run Memtest to test your RAM for errors.
If the RAM passes all tests, try using another RAM slot. If the error no longer appears after changing slots, it’s likely your original RAM slot has a problem. In that case, you may want to consult a technician for further help.
4. Install the Standard PC Hardware Abstraction Layer (HAL)
On some older computers, you may face the Stop Error 0x000000A5 because your BIOS isn’t fully ACPI compatible. In this case, you can force Windows to use the Standard PC HAL instead.
Here’s how to do it:
Restart your computer to get to the Windows Setup screen.
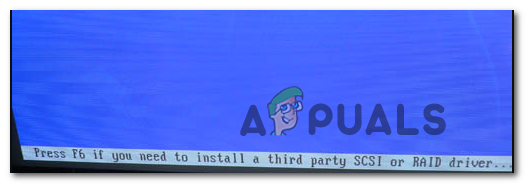
When prompted with ‘Press F6 if you need to install a third-party SCSI or RAID driver‘, press F7 (not F6). This will bypass the ACPI check and let Windows use the Standard PC HAL. Installing the Standard PC HAL
Continue with the installation. The error should no longer interrupt the process.
5.Reverting BIOS / UEFI to Default Settings
If you’ve tried everything above, updated your BIOS/UEFI, and ensured the Standard PC HAL is active, your last option is to reset your BIOS or UEFI back to default settings.
Since BIOS and UEFI interfaces can be different depending on your PC, here are two separate guides:
5.1. Reset BIOS Settings to Default
Restart your computer and press the Setup (boot) key as soon as the first screen appears. Pressing the setup key
Note: If you don’t know which key to press, try Esc, Del, F1, F2, F4, F8, or F12, or look up the key for your specific motherboard.
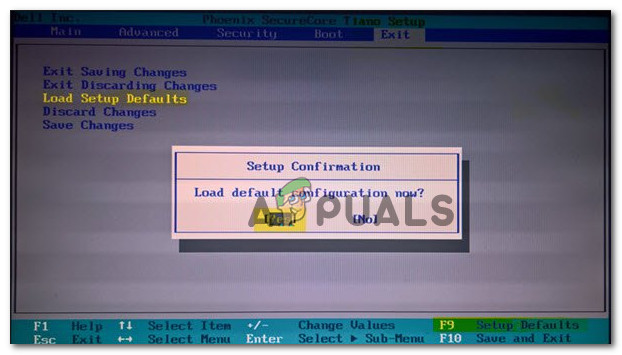
Once in BIOS, look for Setup Defaults (also called Setup Default, Factory Default, or Reset to Default), confirm, and save the changes. Load default system configuration
Note: On many BIOS versions, you can restore defaults by pressing F9 once you’re in the BIOS menu.
After saving, exit BIOS and try installing Windows 7 again.
5.2. Reset UEFI Settings to Default
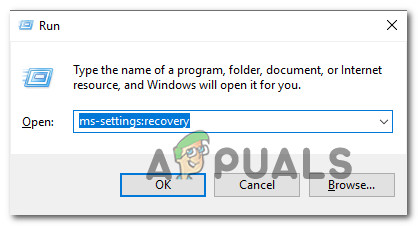
Press Windows key + R to open the Run box. Type ‘ms-settings:recovery‘ and press Enter to open the Recovery menu in Settings. Accessing the Recovery tab
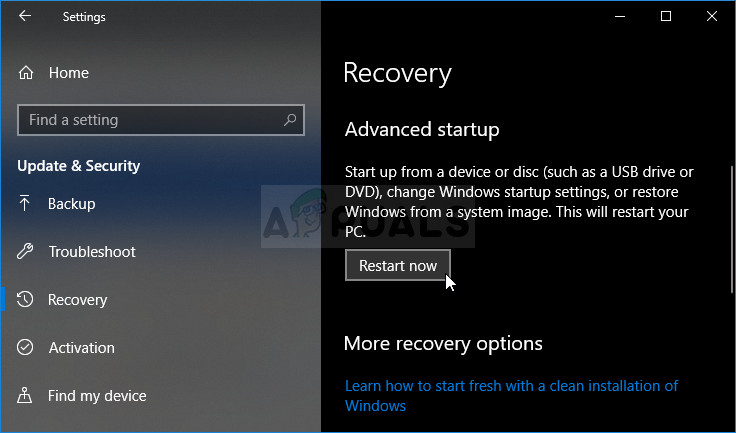
In Recovery, click Restart now under Advanced startup. Accessing Advanced Startup using Settings
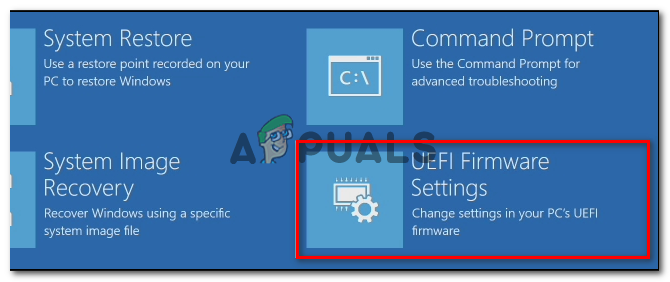
Your PC will restart into the Advanced Options menu. Go to Troubleshoot > Advanced Options, then select UEFI/BIOS Firmware settings. Accessing the UEFI firmware settings
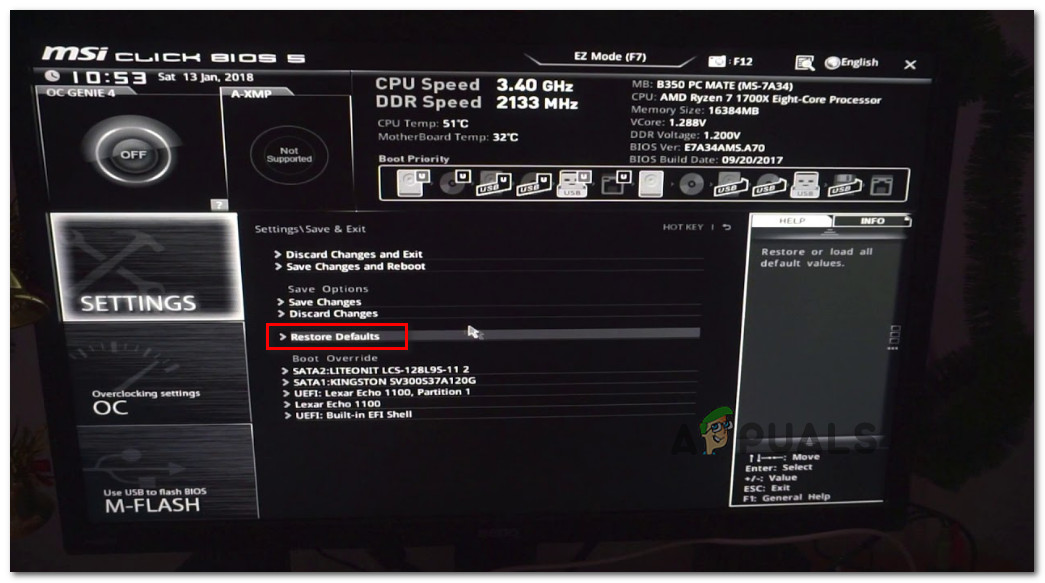
In the UEFI settings, go to the Settings menu and look for Restore Defaults (or a similar option). Restore UEFI settings to the defaults
Finish the operation and make sure to save changes before exiting UEFI.
At the next startup, attempt the Windows 7 installation again to confirm if the Error 0x000000A5 is gone.
Kevin Arrows is a highly experienced and knowledgeable technology specialist with over a decade of industry experience. He holds a Microsoft Certified Technology Specialist (MCTS) certification and has a deep passion for staying up-to-date on the latest tech developments. Kevin has written extensively on a wide range of tech-related topics, showcasing his expertise and knowledge in areas such as software development, cybersecurity, and cloud computing. His contributions to the tech field have been widely recognized and respected by his peers, and he is highly regarded for his ability to explain complex technical concepts in a clear and concise manner.