Exporting and Importing Virtual Machines in Hyper-V 2019
Back in August 2019, we wrote four articles that explain the procedure of installing Hyper-V 2019, configuring and deploying the virtual machine. If you have missed these articles, you can read them on the links below:
Part 1: How to install Hyper-V 2019 Server Core?
Part 2: Hyper-V 2019 Core Server – Initial Configuration
Part 3: Hyper-V 2019 Core Remote Management
Part 4: Create Your First Virtual Machine in Hyper-V 2019
In this article, we will talk about exporting and importing the virtual machine from one to another Hyper-V 2019 Server. We will export and import virtual machine, configuration files, checkpoints and smart paging file.
In order to show how to do it, we use two Hyper-V 2019 instances that are hosted on different physical server models and different hardware configurations. But that is not an issue as soon as imported virtual machine has enough resources to run operating system, apps, and services.
There are two ways to connect to the Hyper-V 2019 host. We can do it remotely from Windows 10 Pro or Enterprise machine or to connect directly to the Hyper-V 2019 server (if you are not using Core Server). If you would like to connect to the Hyper-V server from your Windows 10 Pro or Enterprise machine, please follow the instructions from article Part 3: Hyper-V 2019 Core Remote Management. In our case, we will connect to Hyper-V remotely from Windows 10 Pro machine.
This article has two parts. The first part includes exporting the virtual machine and the second part includes importing the virtual machine. So, let’s start with the first part.
- Log on your Windows 10 machine
- Left-click on Start menu and search for Hyper-V Manager
- Click on Hyper-V Manager
- On the left side choose your Hyper-V Server
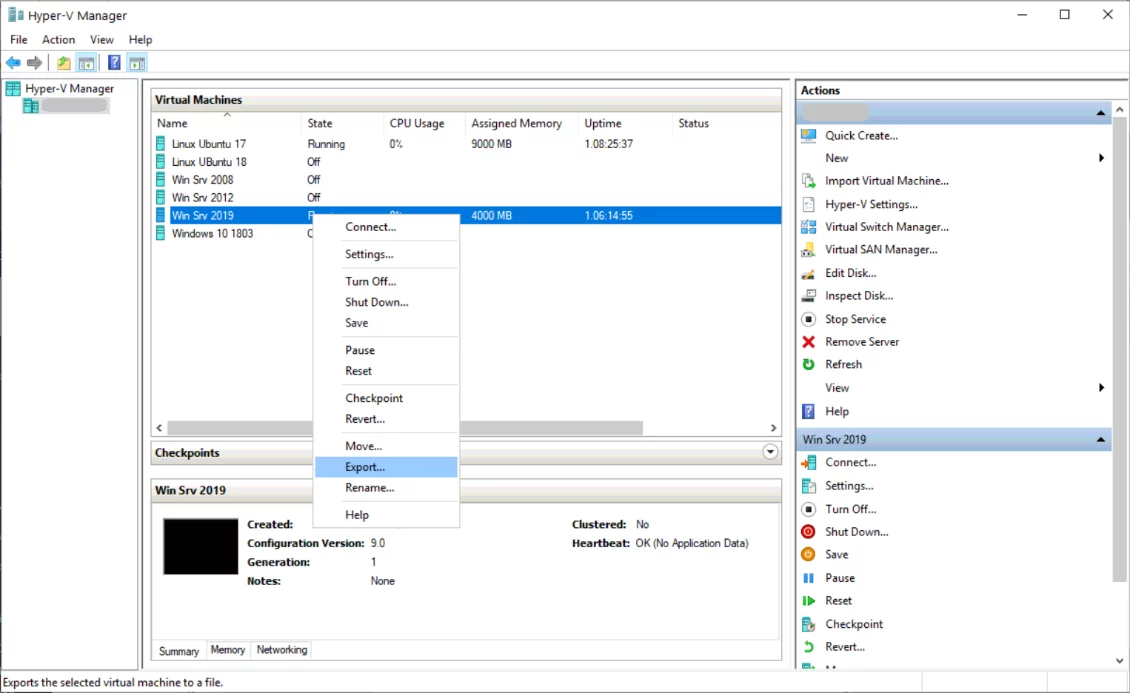
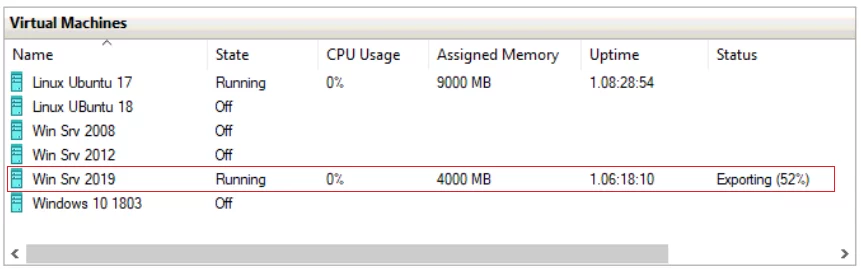
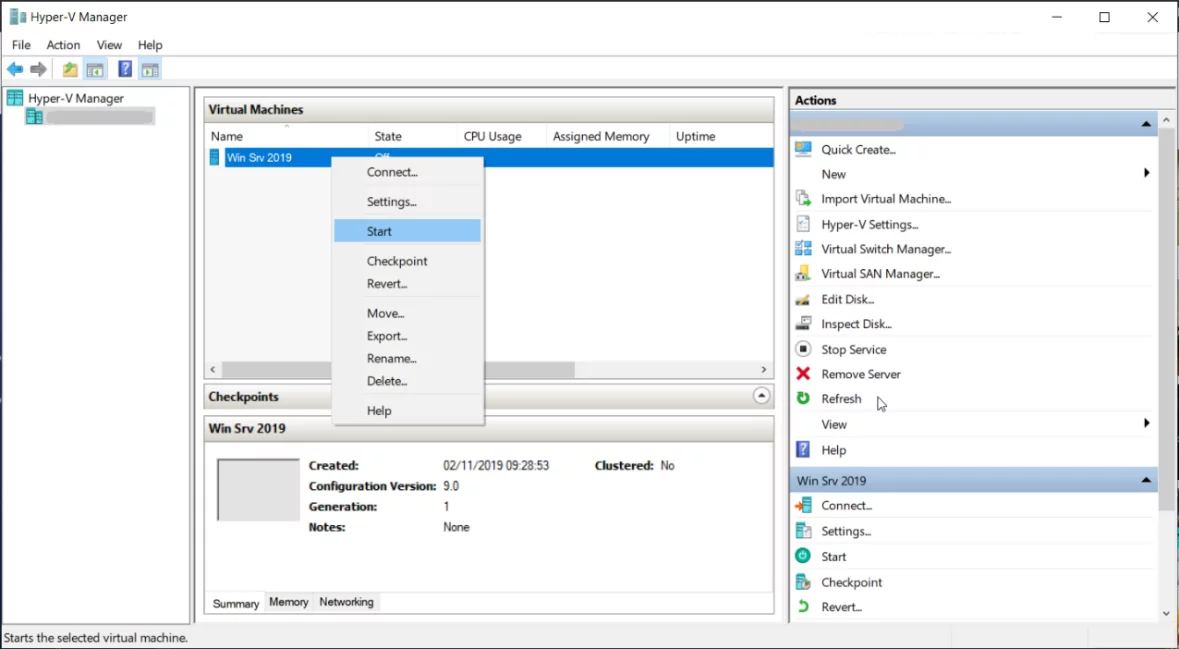
- Select the virtual machine that you want to export
- Right-click on the virtual machine and then click Export
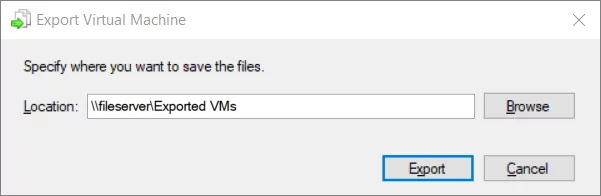
- Click Browse to find a location where you would like to export your virtual machine and then click Export. You can export it on local disk, external disk or shared storage. In our case, we will export to shared network storage. The “FileServer” is the name of our file server.
- Wait until Hyper-V finishes exporting the virtual machine to a selected storage location.
- Congratulations. You have successfully exported virtual machine.
In the second step, we will import the virtual machine to an empty Hyper-V Server. If you have exported virtual machine to local disk or external disk, you will need to make it accessible on the destination server. As we exported virtual machines to shared network storage, we don’t need to do anything except to add a proper network path. Please follow the instructions below.
- Connect to Windows 10 Pro machine
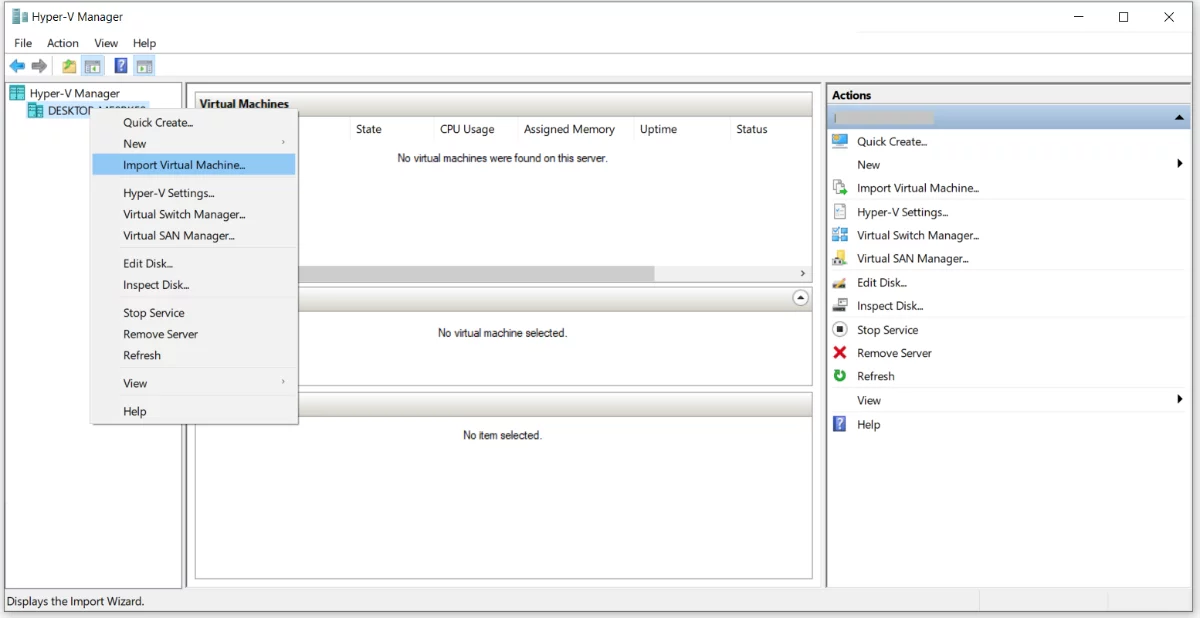
- Open Hyper-V Manager as explained in the previous part
- On the left side choose your destination Hyper-V Server
- Right click on the Hyper-V Server and then click Import Virtual Machine…
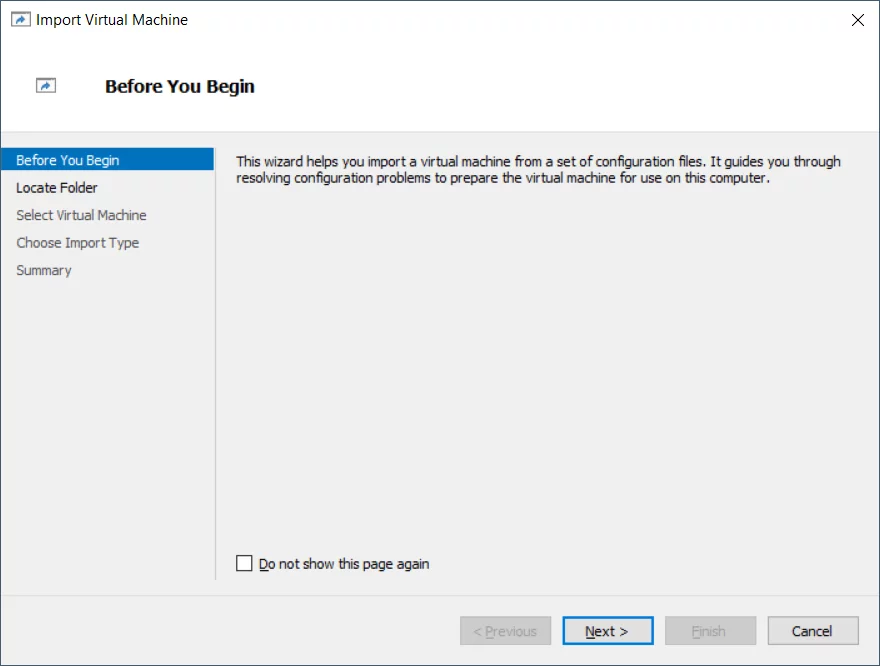
- Under Before You Begin click Next
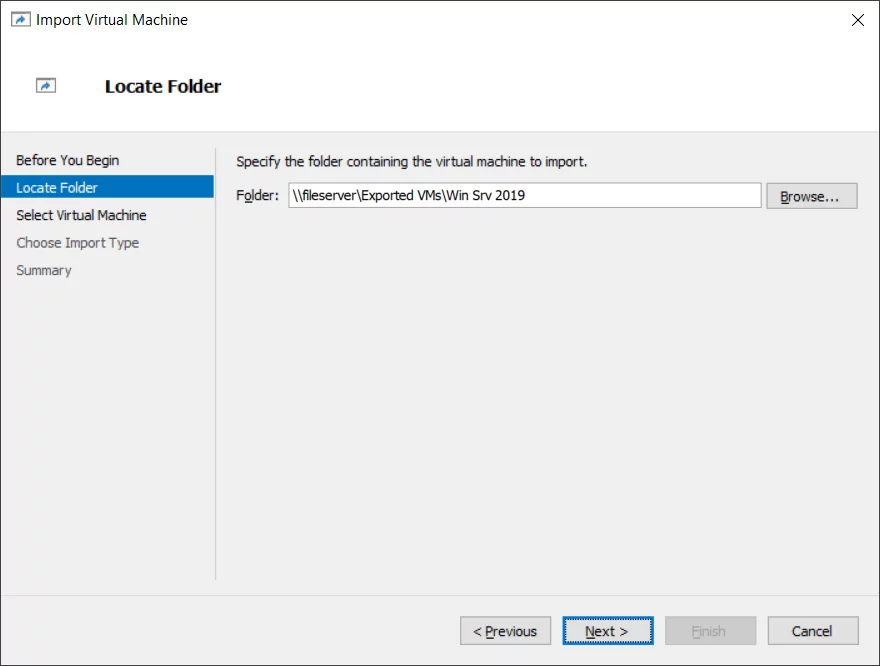
- Under Locate Folder click Browse and add location path where you exported your virtual machine. In our case, it is network share \\fileserver\Exported VMs\Win Srv 2019.
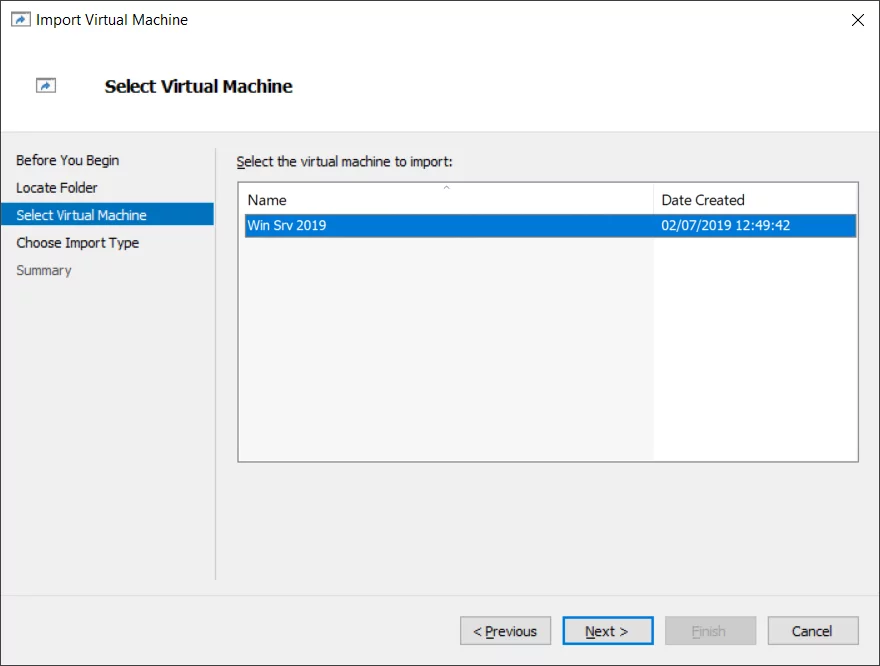
- Under Select Virtual Machine, select virtual machine and click Next
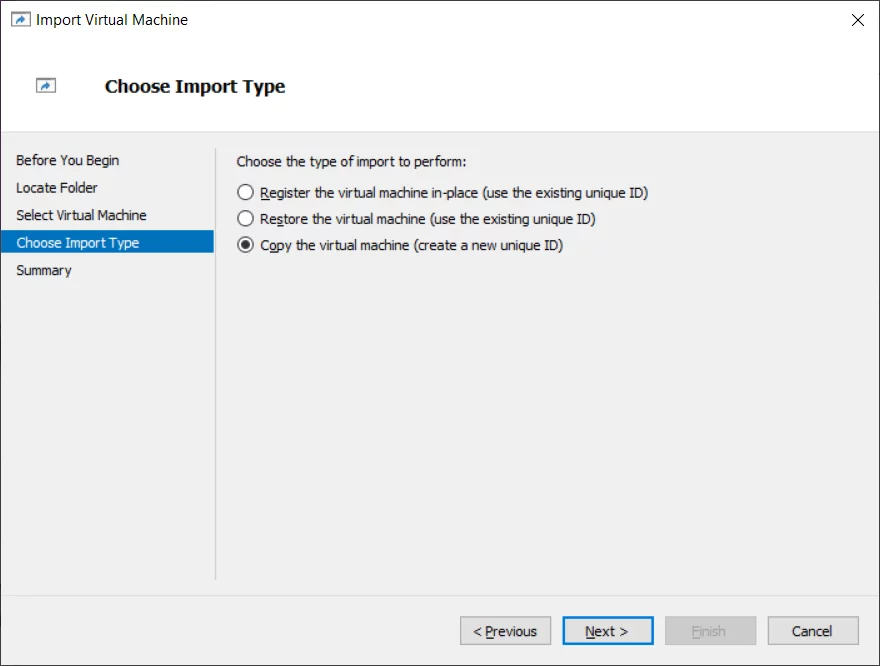
- Under Choose Import Type select the type of import that you would like to use and then click Next. There are three import types including:
- Register the virtual machine in-place (use the existing unique ID)
- Restore the virtual machine (use the existing unique ID)
- Copy the virtual machine (Create a new unique ID)
In our case, we will import the virtual machine by creating a new unique ID.
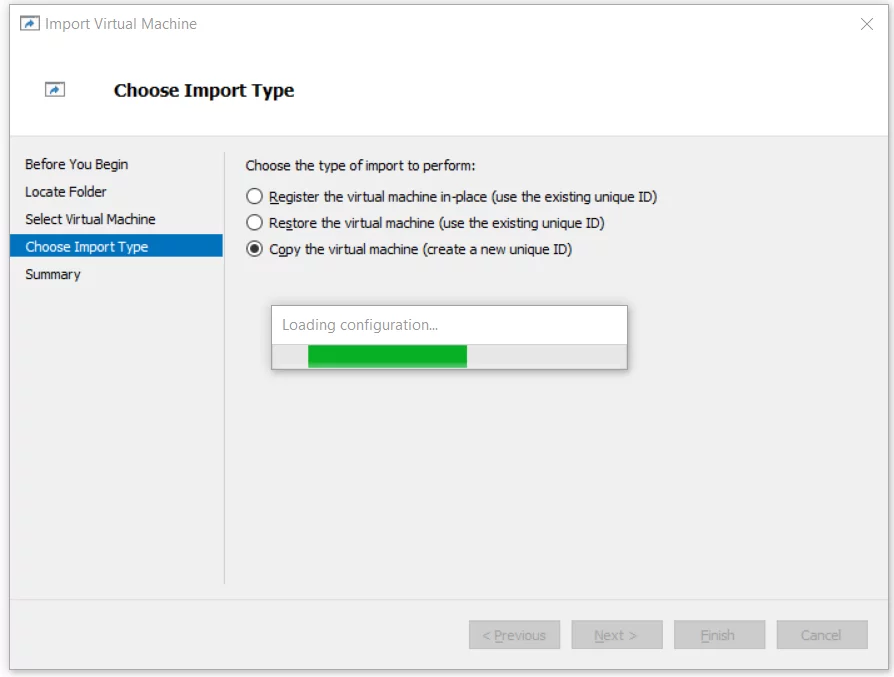
- Wait until Hyper-V loads configuration of the virtual machine.
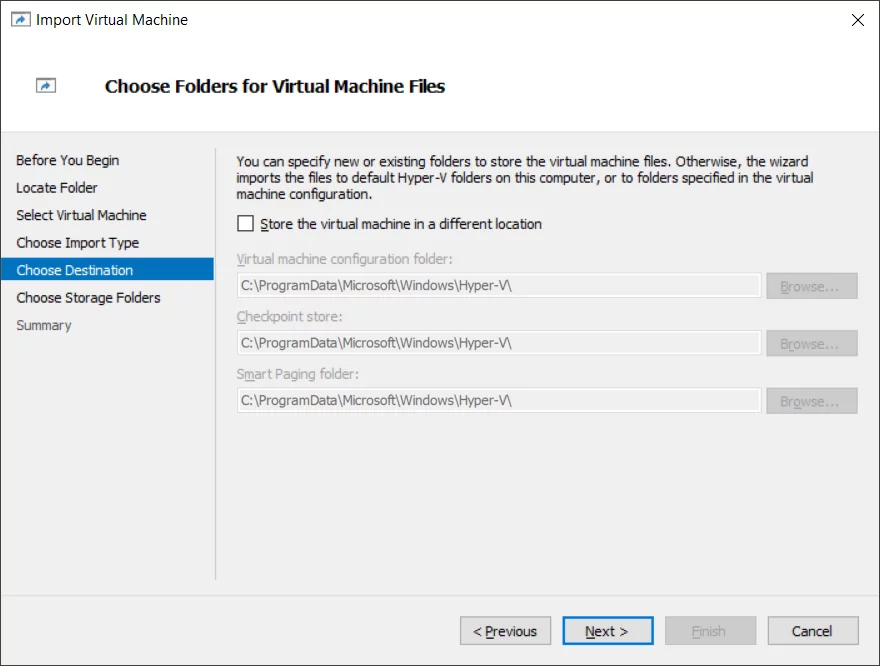
- Under Choose Destination choose the folder where you would like to store your virtual machine files. You can choose different locations for different files including:
- Virtual machine configuration file
- Checkpoint store
- Smart Paging folder
By default Microsoft stores all data in the C:\ProgramData\Microsoft\Microsoft\Hyper-V, but you can change it if you need it. If you want to change the storage locations, please select Store the virtual machine in a different location and then change location paths.
In our case, we will choose default locations and then click Next.
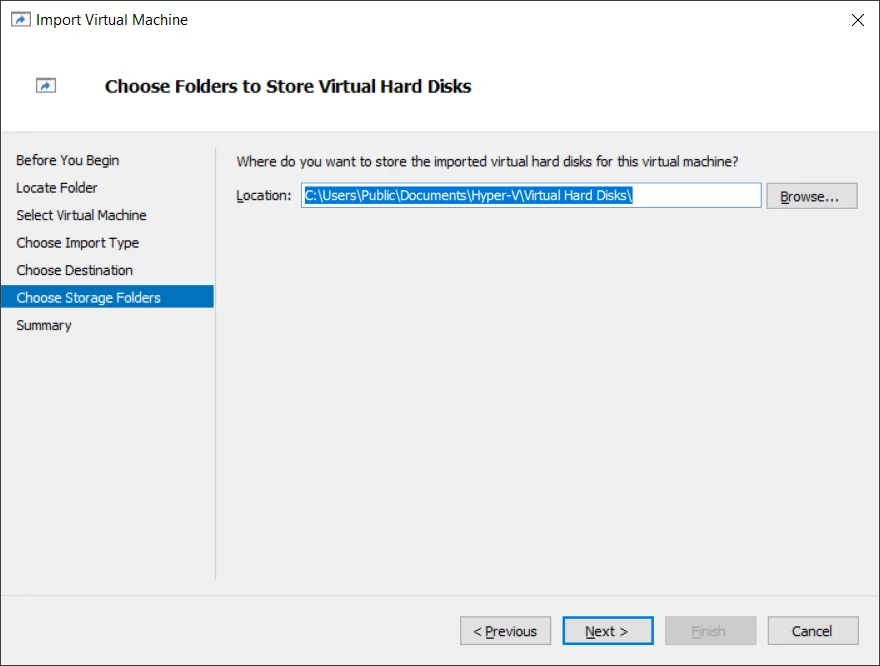
- Under Choose Folders to Store Virtual Hard Disk choose the location where you want to store the imported virtual machine and then click Next. In our case we will keep the default location path: C:\Users\Public\Documents\Hyper-V\Virtual Hard Disks\.
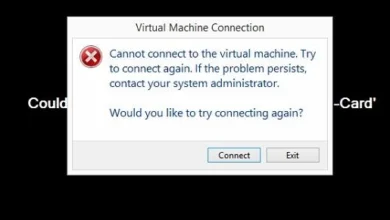
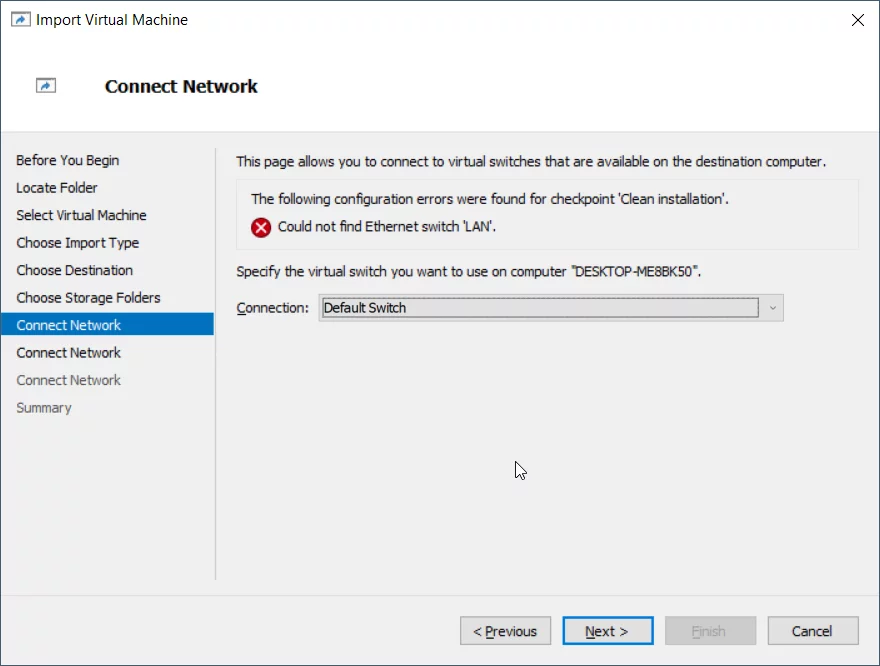
- If you have multiple checkpoints, you will need to specify the virtual switch that will be used on the destination Hyper-V server. Under Connect Network select the appropriate network connection. As we have multiple checkpoints on the imported virtual machine, we will need to specify a virtual switch that is used when checkpoint was created. You can see an error that says Could not find Ethernet switch “LAN”: An exported virtual machine has used a network adapter that is called “LAN”. That adapter doesn’t exist on the destination Hyper-V server. We would need to create the same or similar adapter. That depends on the required network settings. In our example, we will choose “Default switch” and then click Next.
- Repeat the same for all checkpoints and then click As we have three checkpoints we will need to do it for all of them.
- Under Summary, check if all settings are correct and then click Finish
- Wait until the Hyper-V copies virtual machine files
- Right-click on the imported virtual machine and then click Start
- Congratulations. You have imported virtual machine successfully.