Create Your First Virtual Machine in Hyper-V 2019
It is time to create and configure your first virtual machine in Hyper-V 2019 Core Server. If you have missed previous three articles please check them on the links below:
Part 1: How to install Hyper-V 2019 Server Core?
Part 2: Hyper-V 2019 Core Server – Initial Configuration
Part 3: Hyper-V 2019 Core Remote Management
The procedure of creating virtual machines is the same as the procedure in other Hyper-V versions including Hyper-V 2012, Hyper-V 2016 and Hyper-V Client in Windows 8, Windows 8.1 and Windows 10. Our focus in this article is to create a virtual machine that will host Windows 10. We will not focus on the details, but only necessary steps to create the first virtual machine.
We will break this article into two steps. The first one will show you how to create a virtual switch so that our virtual machine is reachable via the network. The second step described the way how to create a virtual machine.
Step 1: Create a virtual switch
The first step is to create virtual switches that will provide virtual machines the possibility to communicate with the rest of the network. In order to do so, please follow the instructions below.
- Log on Windows 10
- Click on Start Menu and type Hyper-V Manager
- Open Hyper-V Manager on your Windows 10
- Select your Hyper-V 2019 Server. In our case it is Hyper-V
- On the right side click on Virtual Switch Manager
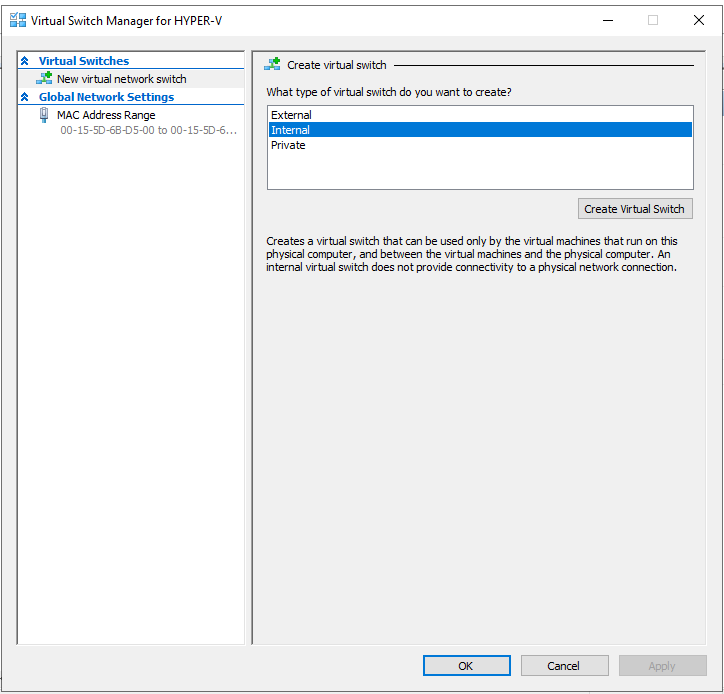
- Under Create virtual switch click Internal and then click Create Virtual Switch
- Type the name of virtual switches. In our example it is Internal.
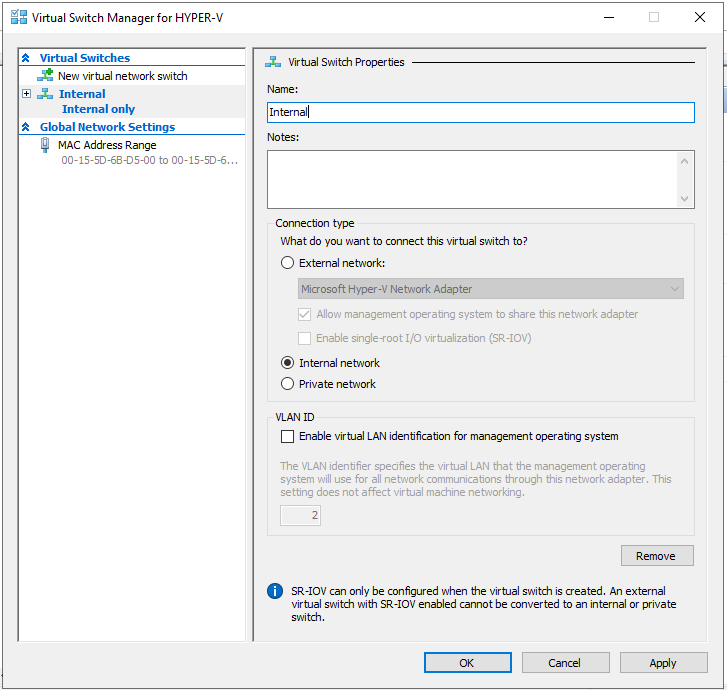
- Click Apply and then OK
Step 2: Create a Virtual Machine and install Windows 10
- Open Hyper-V Manager
- Select your Hyper-V 2019 Server. In our case it is Hyper-V.
- On the right side click on New and then click on Virtual machine
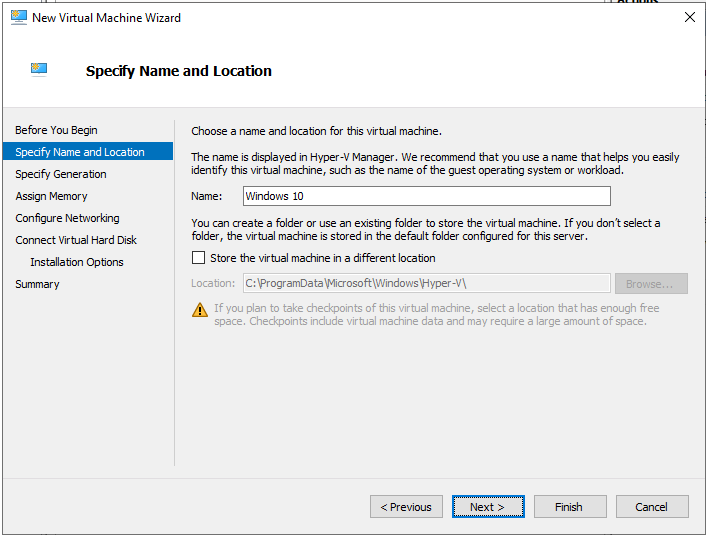
- Under Before You Begin click Next
- Under Specify Name and Location type Windows 10
- Choose the generation of the virtual machine and click Next. In our case, we will choose Generation 1.
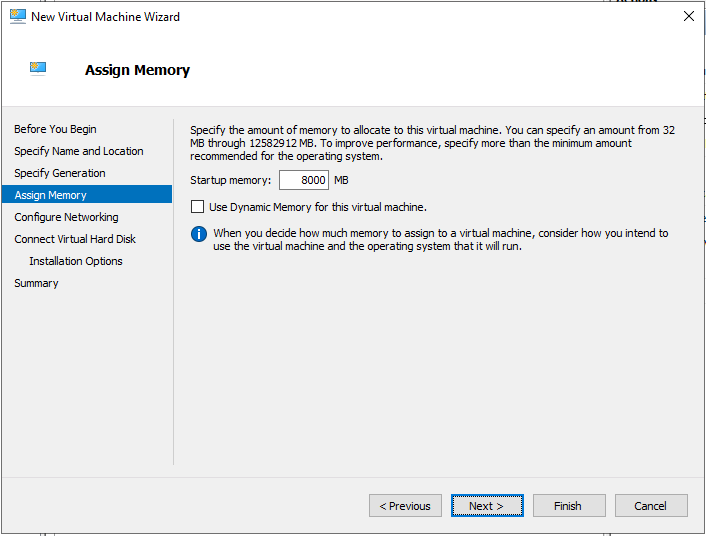
- Assing system memory to the virtual machine and deselect „Use Dynamic Memory for this virtual machine“. In our case, we have assigned 8 GB.
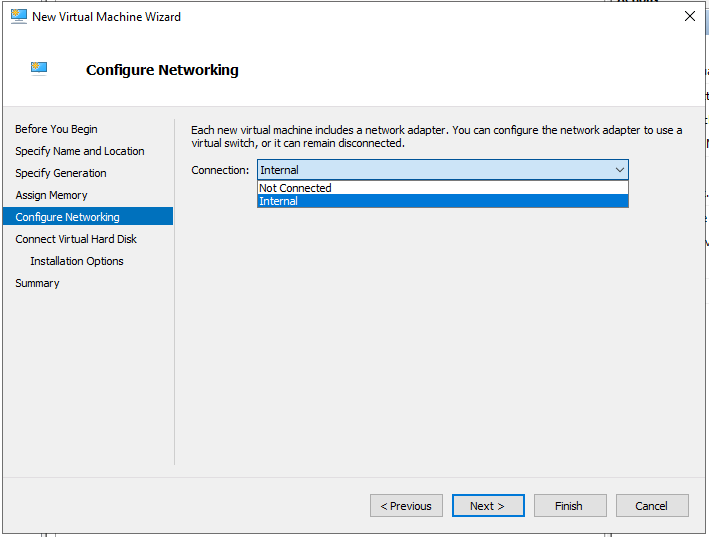
- Under Configure Network choose the network card that we added in the previous step and then click Next. It should be Internal.
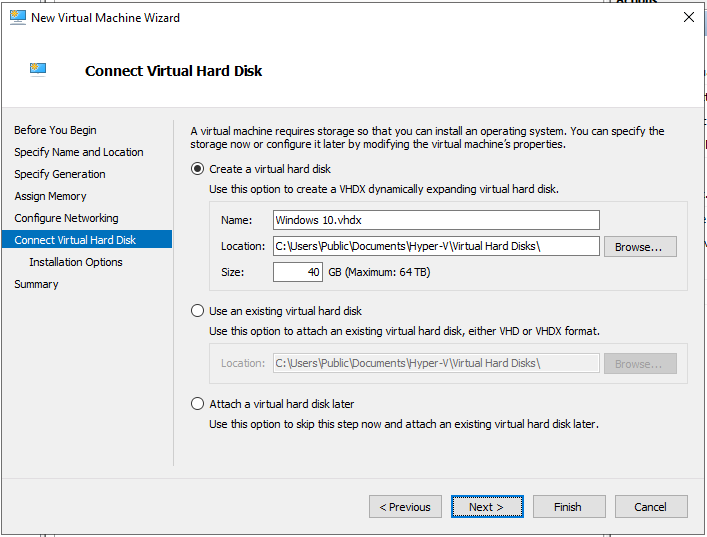
- Under Connect Virtual Hard Disk, choose the location and the size of the hard disk and then click Next. In our case, it is default location and 40 GB of disk size.
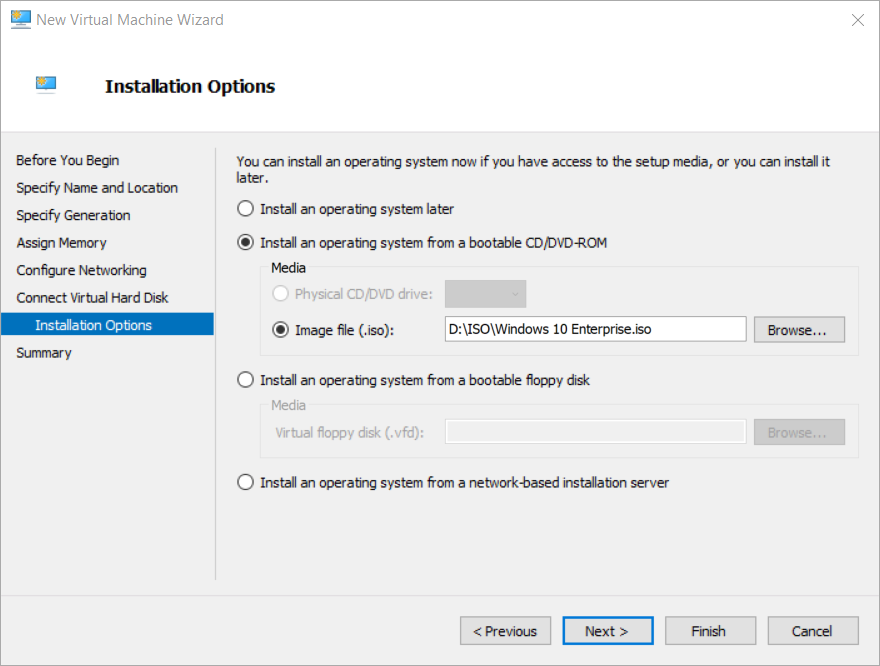
- Under Installation Options, select Install an operating system for a bootable CD/DVD-ROM
- Select the Image file (.iso) and browse for Windows 10 ISO file and then click Next
- Click Finish
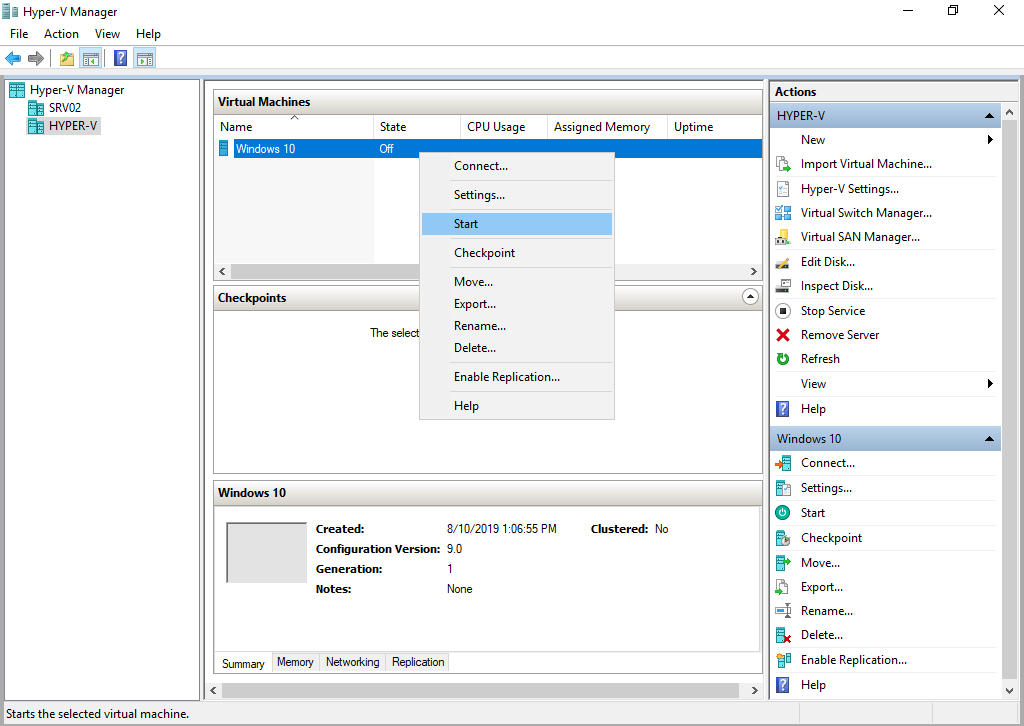
- Right click on created VM and click Start
- Install Windows 10
- Congratulations, you have done it!