How to Fix HYPERVISOR Blue Screen of Death on Windows 10/11
The Hyper-V is a feature within Microsoft Windows that allows users to create and manage virtual machines. As an integral part of Windows 10 and Windows 11 Pro and Enterprise editions, it’s particularly useful for running multiple operating systems or configurations on a single computer. However, some users may encounter a ‘HYPERVISOR_error’ that can result in a blue screen of death (BSOD) in Windows.
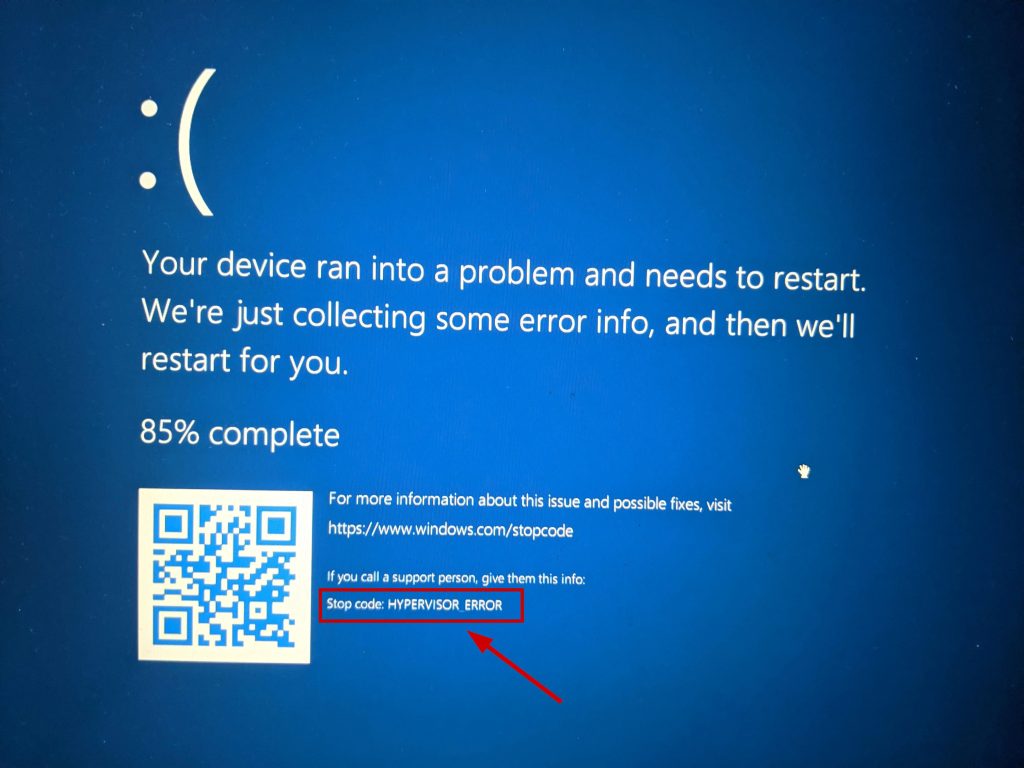
This error typically occurs if the Hypervisor on your PC crashes or stops working due to incompatible or outdated drivers, bad drive sectors, or corrupted virtual machine image files.
Fortunately, there are several methods to fix this error, and we will explore all the possible solutions below.
1. Enable Virtualization in BIOS if Your CPU Supports It
Firstly, ensure the Virtualization option is enabled in your PC’s BIOS if your CPU supports it. If it’s disabled, enable it and restart your PC.
- Right-click on the bottom taskbar.
- Select Task Manager.
- Go to the Performance tab > CPU and check whether Virtualization is enabled or disabled.
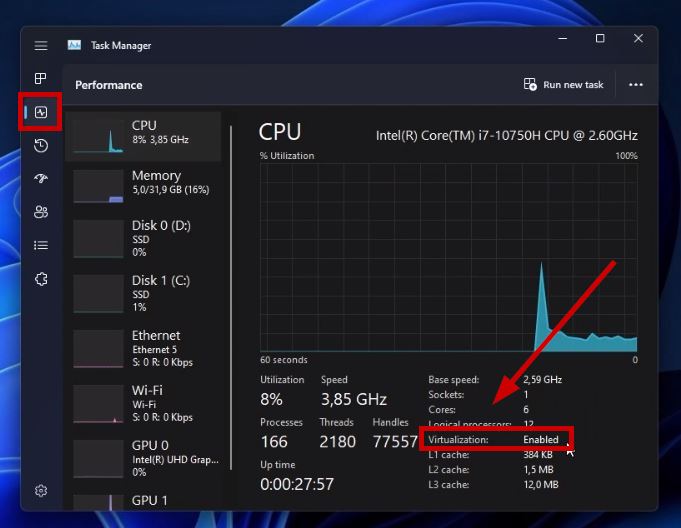
- If it is not listed, your PC likely does not support it. Verify this on the manufacturer’s website.
- If Virtualization is disabled, you must enable it.
Access your system’s BIOS by pressing keys like F2, F9, F10, Del, etc., as your system boots up. The specific key often appears on the bottom of the initial splash screen when the computer starts. You can also visit our BIOS key guide. For precise instructions, refer to the manual or check the manufacturer’s website.
While in BIOS, follow these steps:
- Navigate to the Advanced tab and check the status of Intel (R) Virtualization Technology.
- If disabled, enable it.
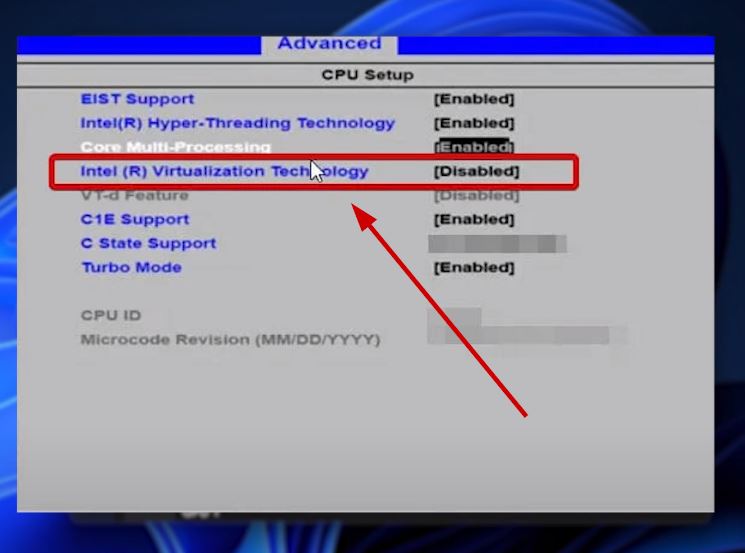
- Save the changes and exit the BIOS.
- Recheck the Virtualization status in Task Manager.
2. Restart the Hyper-V Virtual Machine Management Service
This service is responsible for managing virtual machines. If you encounter the Hypervisor error when running a VM, restart this service before trying again.
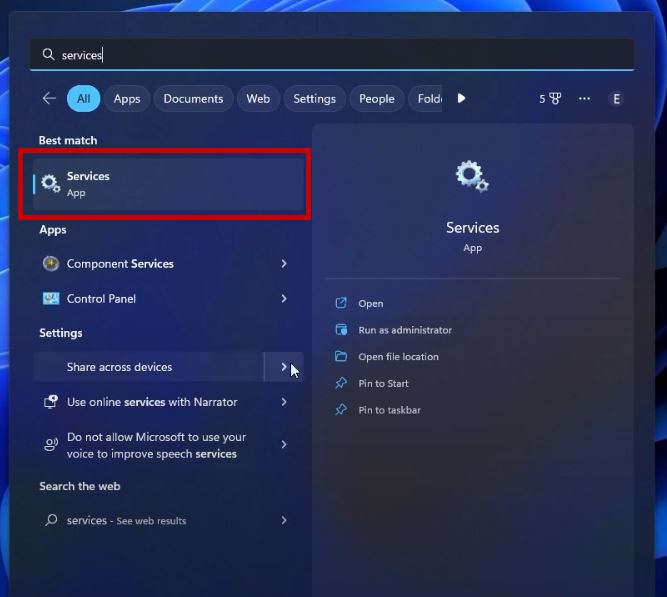
- Type Services in the Start menu search and open it.
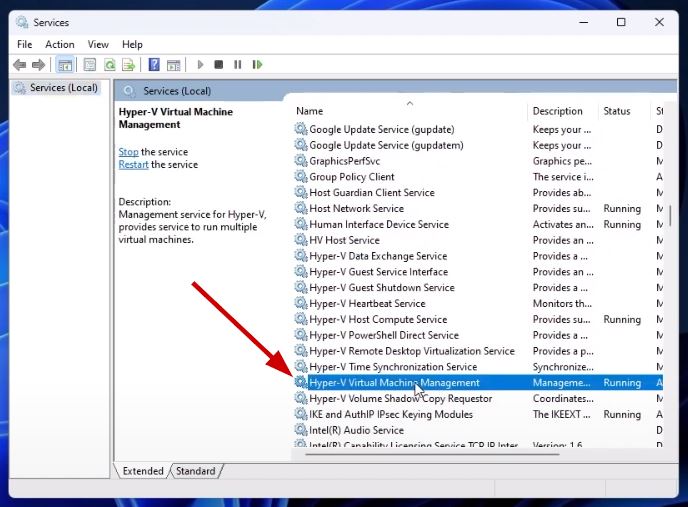
- Find the Hyper-V Virtual Machine Management service and double-click on it.
- Click Stop, wait a few seconds, and then click Start.
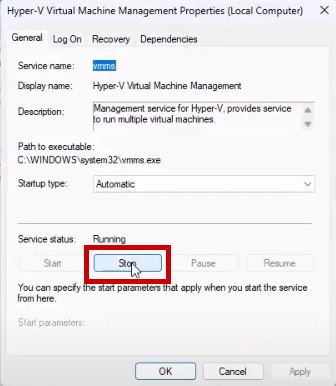
- After doing so, select OK and restart your computer.
3. Use the Command Prompt to Auto-Start Hypervisor
- Open the Start menu, type cmd, and run the Command Prompt as an administrator.
- Enter the following command and press Enter:
bcdedit /set hypervisorlaunchtype auto
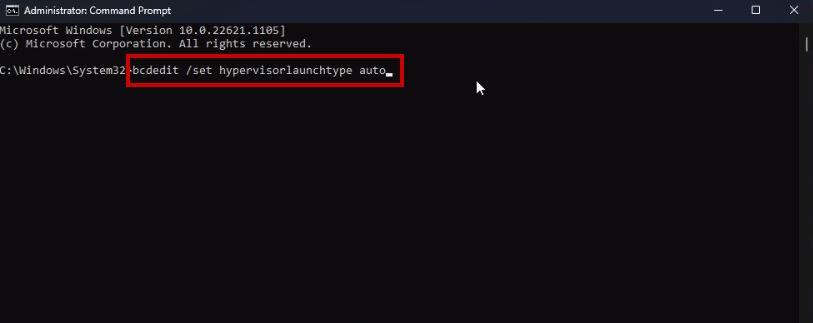
- Restart your system to see if the error is resolved.
4. Update Your Virtualization Drivers
Obsolete virtualization drivers might cause the Hypervisor Error on your PC. Ensure these drivers are updated to the latest version.
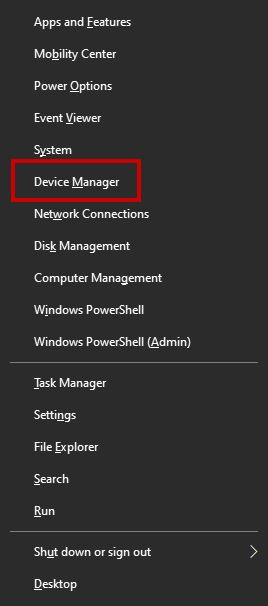
- Press WIN + X and select Device Manager.
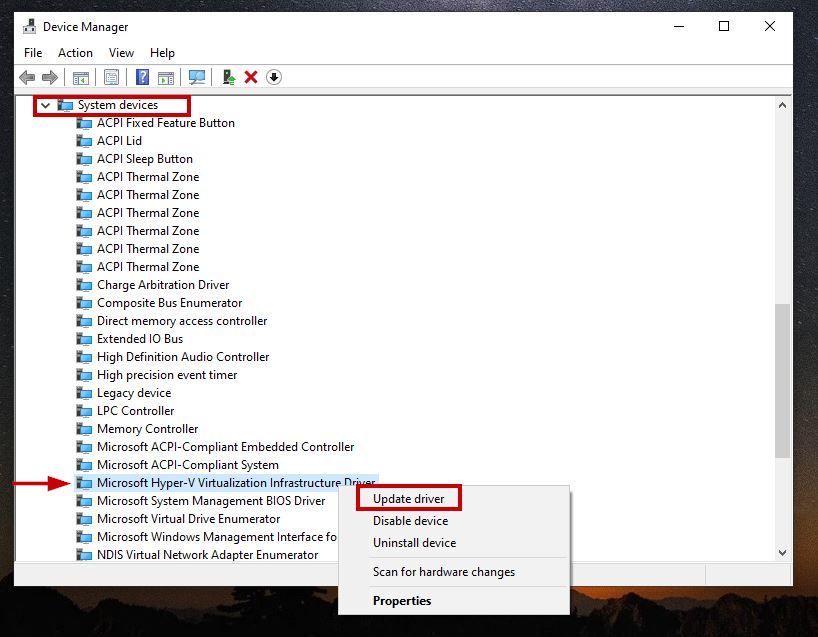
- Expand the System Devices category.
- Right-click on the Microsoft Hyper-V Virtualization Infrastructure Driver and choose Update driver.
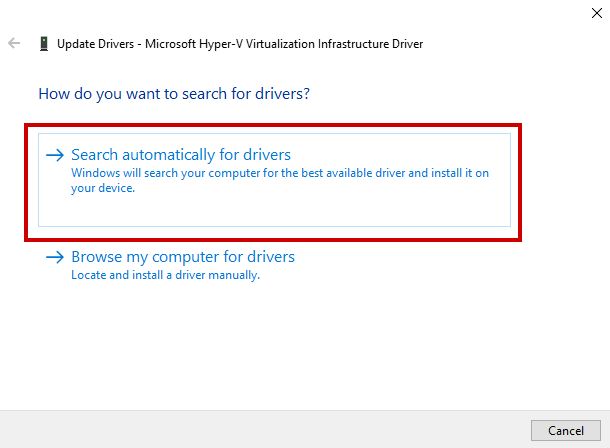
- Click Search automatically for drivers and follow the on-screen instructions.
5. Disable the Hyper-V Feature
Third-party virtualization applications can conflict with Hyper-V, potentially causing it to stop managing virtual machines effectively.
- Open Command Prompt as administrator and enter the following to disable Hyper-V:
dism.exe /Online /Disable-Feature:Microsoft-Hyper-V
- To re-enable the service, use the following command:
dism.exe /Online /Enable-Feature:Microsoft-Hyper-V /All
Restart your computer once commands are executed.
6. Run the Windows Memory Diagnostic Test
Run this tool to scan your CPU’s RAM for issues that could contribute to blue-screen errors.
- Save all open files.
- Press Win + R, type mdsched.exe, and hit Enter.
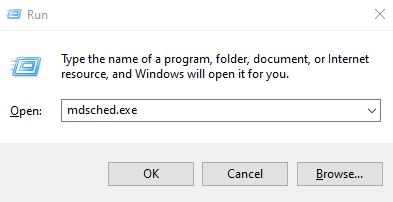
- Choose the Restart now option.
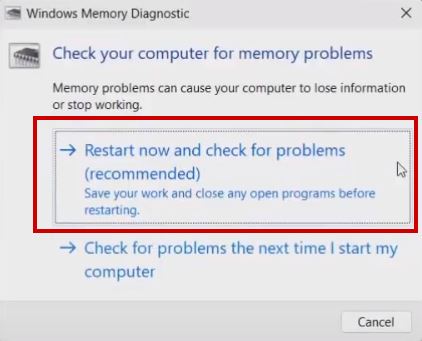
- The tool will start running the test.
- Wait for the scan to complete, after which Windows will boot automatically.
7. Run the SFC Scan
The System File Checker (SFC) scan examines your PC for damaged files that might be causing the Hypervisor error and fixes or replaces them.
- Search for cmd in the Start Menu and open it as administrator.
- When prompted by User Account Control (UAC), click Yes.
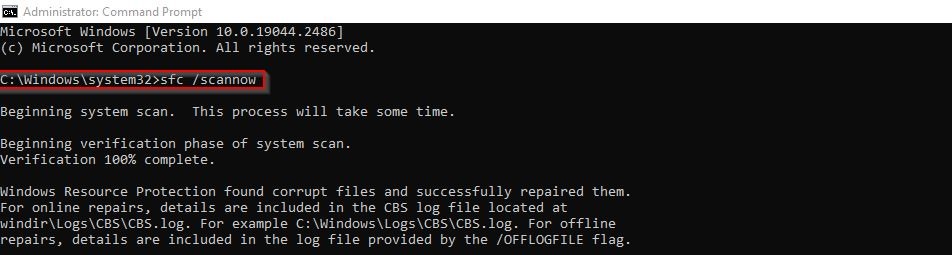
- In Command Prompt, enter the following and press Enter:
sfc /scannow
- Wait for the scan to finish.
8. Update Your Windows
Keeping Windows updated helps your computer operate more efficiently and can prevent errors like the Hypervisor error.
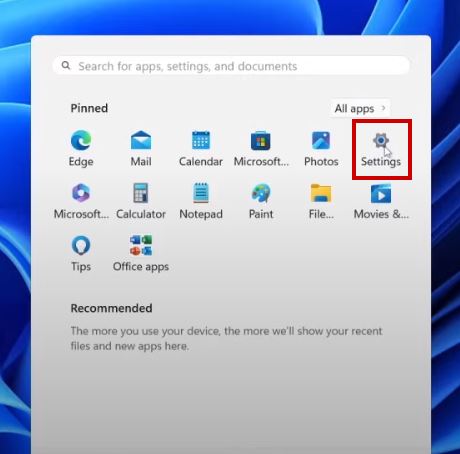
- Open Settings.
- Select Windows Update, then click Check for updates.

- If updates are available, choose Download & Install.
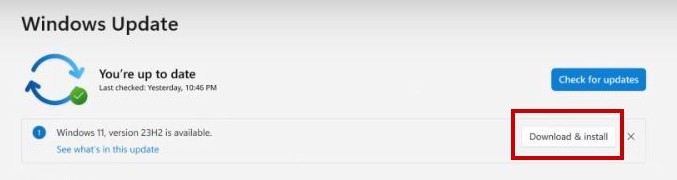
- After installation, restart your computer to apply the updates. You can schedule this restart if necessary.

Should the HYPERVISOR error persist, seek further assistance from Microsoft support.