Fix: ‘Your connection has timed out’ Zoom Meeting
Zoom is a popular video conferencing service that offers web, desktop, and mobile applications. Thousands of people rely on Zoom Meetings every day to attend meetings remotely. However, at times the users may experience Zoom Meeting connection issues when trying to access the services. Zoom might display various error codes on the screen or indicate that your connection is unstable. In the first case, Zoom services will shut down with an Error notification display including some specific code e.g., 5003. And in the second case, you’ll experience video or audio buffering issues, and frequent disconnects.
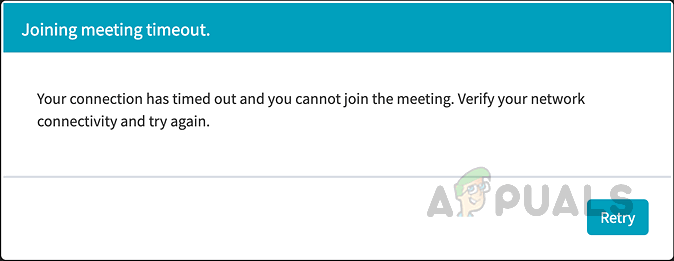
In addition to the first case of error codes, lately, users have been reporting on Zoom support forums that they are unable to join their meetings due to a strange network connection error without any error code. The error notification reads out to be “Your connection has timed out and you cannot join the meeting. Verify your internet connectivity and try again”, as shown in the error notification above. No.w let us jump to the causes behind this error so that we may effectively sort out this problem.
What Causes Zoom Meetings Network Connection Error?
The Zoom meeting connection issues are usually attributed to network issues or security software blocking the connection. Here are the most popular causes that may lead to this problem:
- Wi-Fi Range: You’re too far away from the Wi-Fi router which causes signals to drop while you are connecting to the meeting. Zoom tries to keep up the connection but due to multiple connections and disconnection with the Wi-Fi, it may lead to the error under consideration.
- Outdated Public IP Address: If two devices on your network have the same IP address, or if your router doesn’t have an up-to-date public IP address, your connection might break. This will ultimately produce the error under consideration.
- ISP Infrastructure Issues: There are temporary ISP (Intrusion Prevention System) infrastructure issues that may lead to the problem under consideration. These temporary issues usually occur when protocol failures are noticed.
- Peer Issues: There are peering issues with Zoom servers. Peering is a method that allows two networks to connect and exchange traffic directly without having to pay a third party to carry traffic across the Internet. When your device can not be connected to the Zoom server’s peers then you are most likely to get this error.
Pre-requisites:
Before jumping to major solutions, the following workarounds have been provided for you to easily rectify the problem. Even if you do not resolve your problem from these workarounds, these are still helpful to clear some cut corners. These workarounds are as follows:
- First, test your internet speed and check if it is fast enough for Zoom video conferencing. You’ll need at least 2 Mbps upload and 2 Mbps download as recommended by the Official Zoom Support team to avoid any network connectivity issues.
- Move closer to the Wi-Fi router or, better yet, use a wired Ethernet connection if possible. Move around till you get better cellular coverage if no other connections are available.
- Restart your modem, router, and device you’re running Zoom on e.g. computer, smartphone, etc. You may also update your router’s firmware if that’s available as it will enhance your router software integration.
- Check if your ISP is having temporary issues. You can do it by navigating through their official support or communications page i.e. Twitter, Facebook, etc.
- If you have 2 or more Internet connections available around, use them at once. Most likely, you have cellular data available on your smartphone, so you can combine that with your home Internet using a third party application.
- At times, the antivirus solution installed on your computer can block outgoing connections by a third-party app. To fix the issue, disable your antivirus temporarily, launch Zoom client, and check if the connection goes through.
Solution 1: Clear DNS Server Cache and Winsock Catalog
Expired IP addresses or other issues with a computer’s current IP address lease are often the reason for network connectivity issues. This ultimately leads to the problem under consideration (as already stated in causes). Now, renegotiating an IP address lease with the DHCP server and resetting Winsock to get rid of any possible socket errors should fix this problem. This will allow windows to have a stable connection with DNS Server and the problem under consideration will be fixed. This solution proved to be helpful for a lot of users online. Follow the steps given below to resolve this error:
- Click Start, search Command Prompt and click on Run as administrator. This will run Command Prompt with admin privileges, which is used for automation & control in Windows operating system.
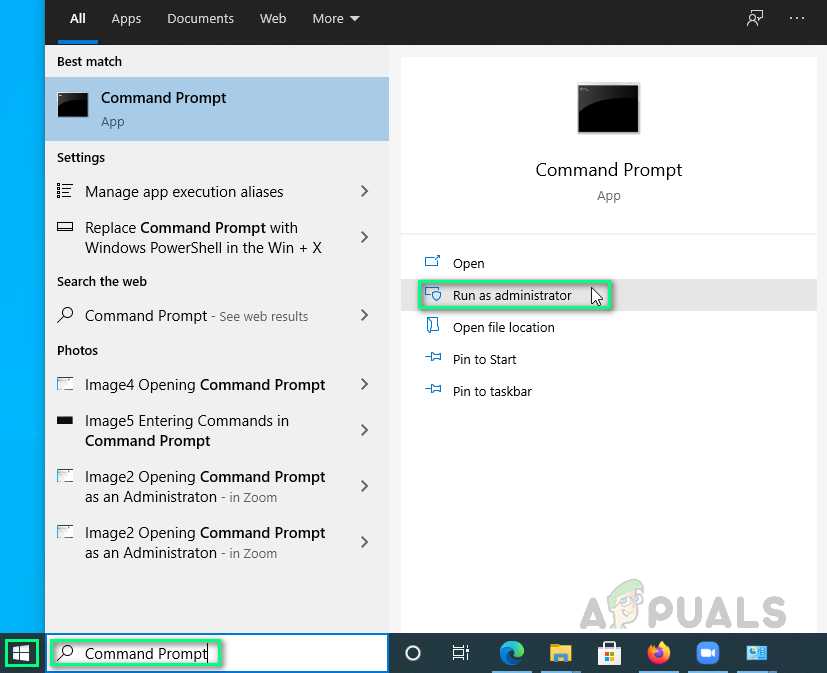
Opening Command Prompt as an Administrator - Copy-paste the following command in the command prompt and press Enter. This will order your DHCP client to renegotiate an IP address lease with the DHCP server on your router.
Ipconfig/flushdns
- Similarly, copy-paste the following command in the command prompt and press Enter. This will recover the computer from any possible socket errors which may arise when you download some unknown files, or due to some malicious script on the computer.
Netsh winsock reset
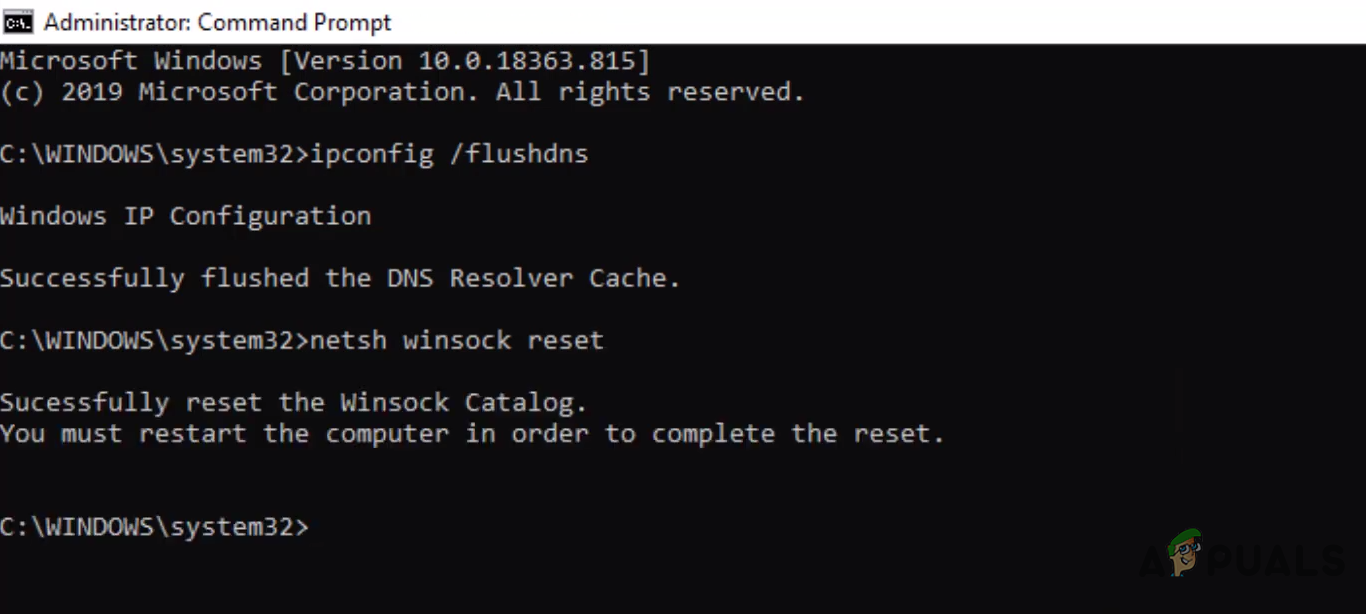
Executing FlushDNS & Winsock Reset Commands in CMD - Restart your PC. This is done because the task of replacing files cannot be done when they are being used by the operating system or other applications. Furthermore, the restart will allow Windows to absorb the changes made to the system.
- Try running Zoom and connect to your scheduled meetings. You will no longer be receiving the error under consideration. If this does not fix your problem then it means that your DNS Server Settings are outdated or corrupted and these need to be properly configured. For this, proceed with our final solution given below.
Solution 2: Configure DNS Server Settings
DNS servers translate human-friendly domain names to machine-friendly IP addresses. You’re probably using a DNS server supplied by your ISP (Internet Service Provider), one whose quality is unknown. Switching to a third-party DNS service can both speed your internet activity and protect against tricky DNS-based attacks. Since you are encountering the Zoom Meetings Timeout problem, changing your current DNS settings to the OpenDNS servers will be a safe, reversible, and beneficial configuration adjustment that will solve your problem under consideration, without harming your computer or your network. Follow the steps given below to resolve the connection error:
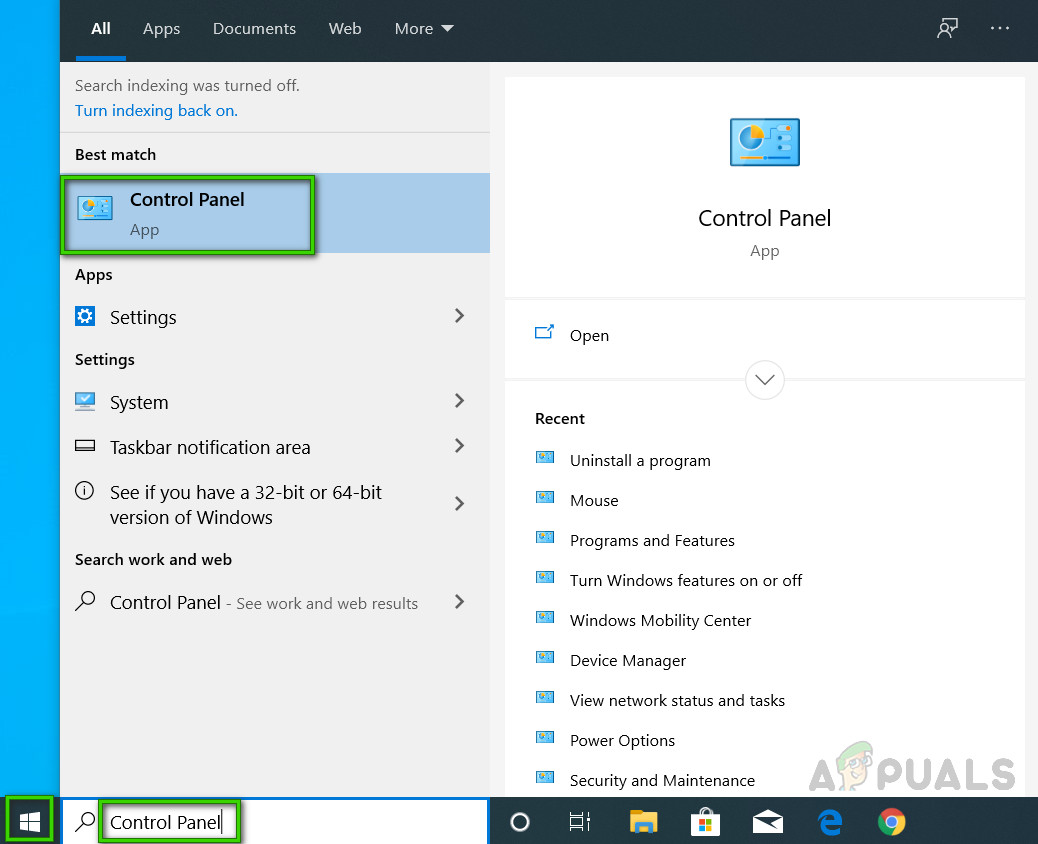
- Click Start, search Control Panel, and open it. This will open Control Panel which is a hub for all user-based settings available on your Windows operating system i.e., System and Security, Programs, Network, and Internet, etc.
Opening Control Panel - Click on the Network and Internet option. This will take you to a new window with all options related to Network and Internet i.e., Network and Sharing Center, Internet Options, etc.
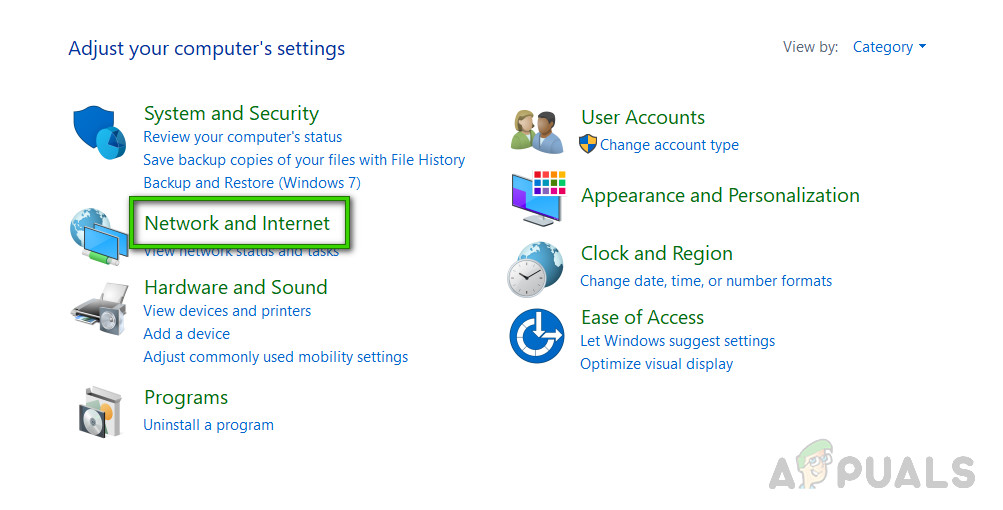
Opening Windows Network and Sharing Center - Click on Network and Sharing Center. This will take you to a window with different options related to the category i.e., Basic network information, Changing adapter settings, Media streaming options, etc. From the left tab, select Change Adapter Settings. This will take you to a window with all adapters available i.e., LAN, WAN, etc.
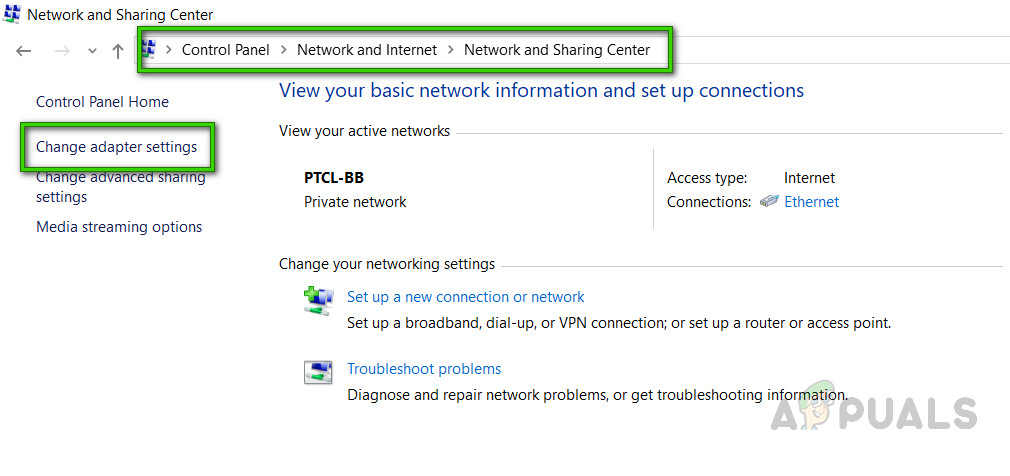
Opening Available Adapter Settings
Now there are two possibilities; you may be using an Ethernet connection or a Wi-Fi connection. Solution steps will differ, depending upon the adapter you are using for internet access i.e., Ethernet or Wi-Fi. These steps are categorized as follows:
Wi-Fi Adapter:
- Now right-click on Wi-Fi and select Properties. A popup window will appear with different Network & Sharing tabs and related options.
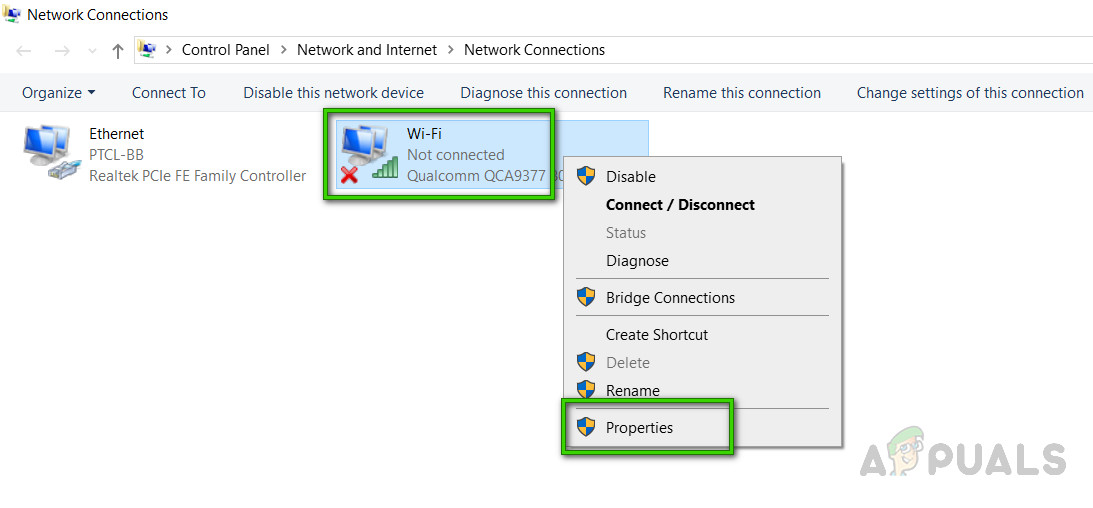
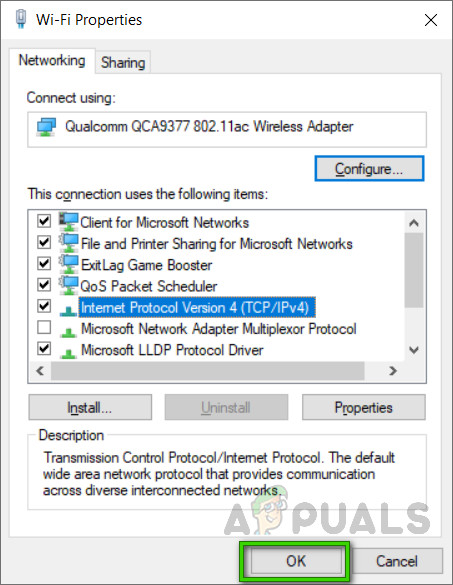
Opening Wi-Fi Adapter Properties - Under the Networking tab, select Internet Protocol Version 4 (TCP/IPv4) and open its Properties. This will open another window that contains different settings for IPv4. Internet Protocol version 4 (IPv4) is the fourth version of the Internet Protocol (IP). It is one of the core protocols of standards-based inter-networking methods on the Internet and other packet-switched networks.
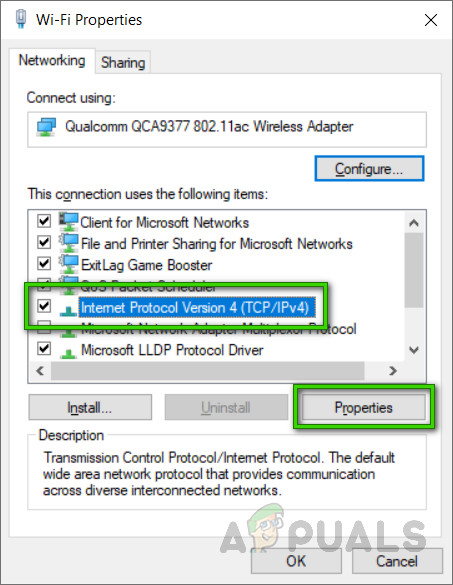
Opening IPv4 Properties - Under the General tab, select Use the following DNS server addresses and type 8.8.8.8 in a Preferred DNS server and 4.4.4.4 in an Alternate DNS server respectively. These are Google’s public use DNS server that will help you resolve the Zoom Meeting Timeout error.
Note: DNS essentially translates what you type into the address bar into something the computer can understand (and vice versa). If you type example.com into the address bar, for example, your DNS translates it to 93.184.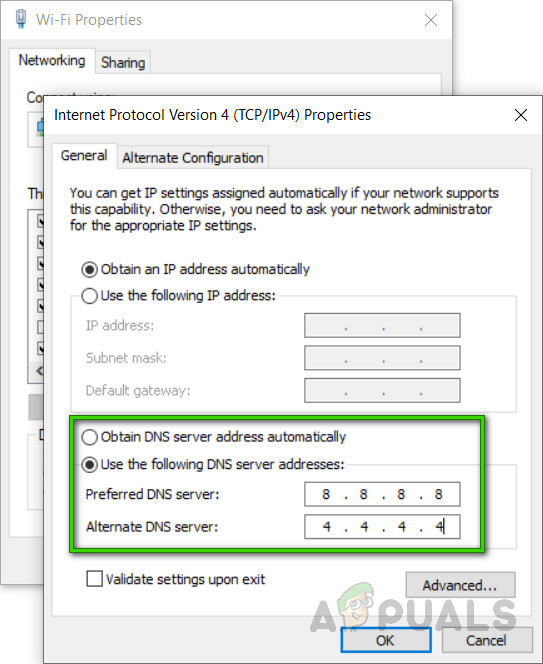
DNS Server Addresses for Wi-Fi Connection - Click OK and then click Close to shut down the Wi-Fi adapter properties window. This will also save the changes you have made.
Closing Wi-Fi Adapter Properties
Ethernet Adapter:
- Now right-click on Ethernet and select Properties. A popup window will appear with different Network & Sharing tabs and related options.
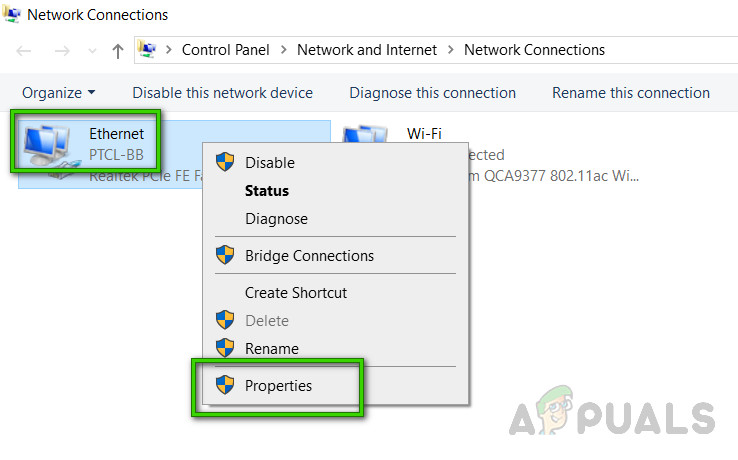
Opening Ethernet Adapter Properties Note: If there are multiple Ethernet adapters available then choose the one you are using currently for internet access.
- Under the Networking tab, select Internet Protocol Version 4 (TCP/IPv4) and open its Properties. This will open another window that contains different settings for IPv4. Internet Protocol version 4 (IPv4) is the fourth version of the Internet Protocol (IP). It is one of the core protocols of standards-based internetworking methods on the Internet and other packet-switched networks.
- Under the General tab, select Use the following DNS server addresses and type 1.1.1.1 in a Preferred DNS server and 1.0.0.1 in an Alternate DNS server respectively. These are public DNS resolver servers operated by Cloudfare that offer a fast and private way to browse the internet. Unlike most DNS resolvers, 1.1.1.1 does not sell user data to advertisers. Therefore, it’s highly secure and safe to use it too.
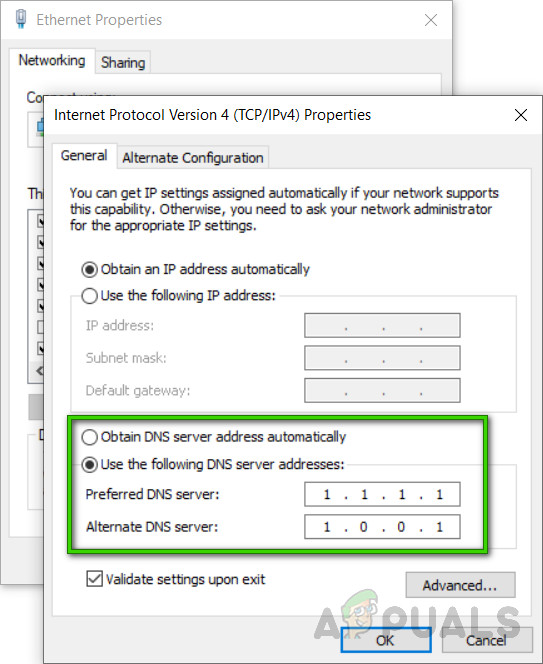
DNS Server Addresses for Ethernet Connection - Click OK and then click Close to shut down the Ethernet adapter properties window. This will also save the changes you have made.
Once you are done, restart your PC to save the changes made to the system. Afterward, try running Zoom and connect to your scheduled meetings. You will no longer be receiving the connection error under consideration.


