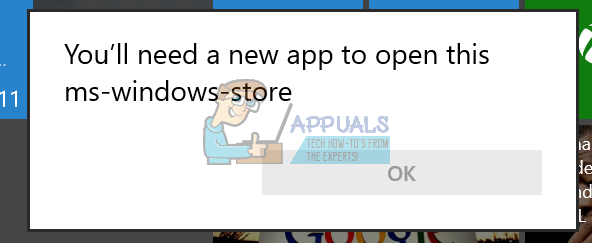
Solved: You’ll need a new app to open this ms-windows-store
Windows Store is a concept introduced in the Windows 8.1 OS but it’s not something new for the world of technology as the vast majority of smartphone operates by using an app store which is used to download apps and games to your device. However, this makes the process of installing programs and games on a PC much easier as you only need to click once or twice in order to download and install an app.
This process may become buggy due to various reasons and it is not much you can do at the moment except for doing some research online on how to fix the issue you are dealing with. That is why we have decided to come with this article which should help you deal with the problem!
Fix the “You’ll need a new app to open this ms-windows-store” Error on Windows Store?
This error usually strikes out of nowhere and users have even reported that the Windows Store installed on their computer worked an hour or two before the error began to occur.
The error manifests itself in the error message which appears shortly after you try to open the Store, next to the blue screen with the Store logo located on it. There are several reasons why this error may be occurring so try to follow through the entire article before calling it done!
Solution 1: Use the Following Advanced Solution
The real solution to this issue is somewhat hard to find since there are a lot of solutions that generally don’t lead anywhere and they won’t help you fix the problem. This particular method consists of quite a lot of steps and it can help you deal with your Windows Store error efficiently along with some of the side effects which usually follow this error, such as the Start menu not working like it should and similar.
Follow the instructions below carefully and make sure you don’t do something you weren’t supposed to do.
- Turn your PC on and log into the administrator account you usually use as the owner of the computer. If you are not the owner of the computer or if you don’t have administrator privileges, please consult with the real owner of the computer or follow the instructions below this solution in order to create it.
- Navigate to the following location on your main hard drive or disk partition:
C: \ Users \ <user id> \ AppData \ Local \ Packages
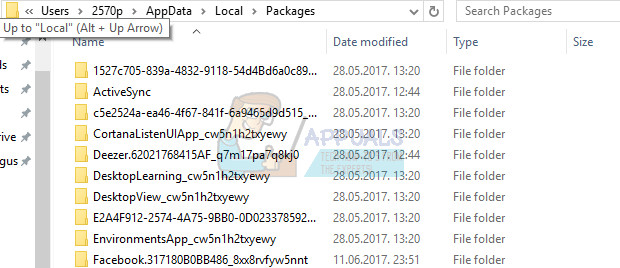
- Delete everything you find in these folders and try to ignore the error messages some of the files you choose may throw at you.
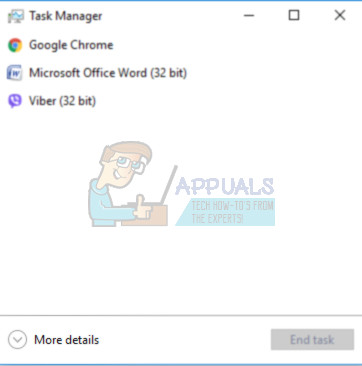
- Use the Ctrl + Shift + Esc key combination in order to open the Task Manager. You can also use Ctrl + Alt + Delete and choose if from a list of options or you can simply search for it in the Start menu.
- If this is your first time trying to view all of the processes located on your computer, you may need to click on the More details option located at the bottom of the Task Manager windows.
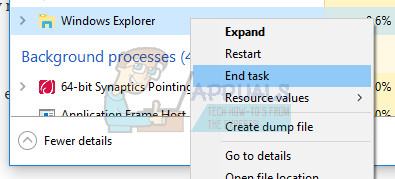
- End the following two processes in this exact order by right-clicking on them and choosing the End task option from the context menu:
Windows Explorer (the taskbar, start menu, desktop icons, etc, will disappear and you shouldn’t be alarmed because of this as this is standard and expected behavior.)
- Navigate back to the same location displayed below and try to delete everything you locate in the folder. You should be able to delete all of the files; even the ones you weren’t allow to delete at the beginning of the solution.
C: \ Users \ <user id> \ AppData \ Local \ Packages
- If you succeed, you will be able to remove everything except Cortana.
- This next step will require you to be quick in its operation as you will need to end the Cortana process quickly and delete its folder (the one which remained in the Packages folder) before the process restarts itself automatically. Skipping this particular step may result in a successful process that will solve your problem but the solution genuinely works as a whole. You can try both ways and check which one works the best.
- Once you have finished working on the Packages folder, you should notice that the folder is empty. This means that the process has been successful.
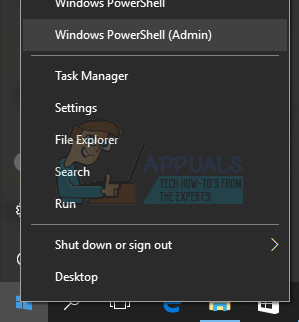
- Once the Packages folder is empty, right-click on your Start menu and choose the Windows PowerShell (Admin) option or search for it in the Start menu.
- Copy and paste the following command in the administrative PowerShell prompt. Make sure you click Enter afterward in order to run the command. If the command gets stuck, run it several times one after another until the process ends with success.
Get-AppXPackage -AllUsers | Foreach {Add-AppxPackage -DisableDevelopmentMode -Register "$($_.InstallLocation)\AppXManifest.xml"} Since most of the steps we have mentioned can be simplified if you used an administrator account (the steps can be undertaken with an ordinary local account), you should use an administrator account provided by the owner of the computer. However, for the purpose of this particular solution to the problem, you can activate the hidden administrator account easily by using Command Prompt. Follow the instructions below in order to do this:
- Luckily for you, you don’t even need to be logged in to an account to access the Command Prompt.
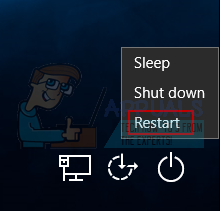
- On the login screen, click on the Power icon and hold the Shift key while clicking restart.
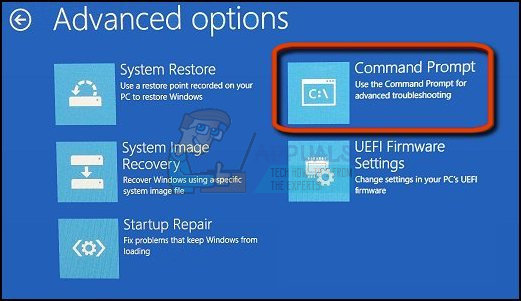
- Instead of restarting, a blue screen will appear with several options. Choose Troubleshoot >> Advanced Options >> Command Prompt.
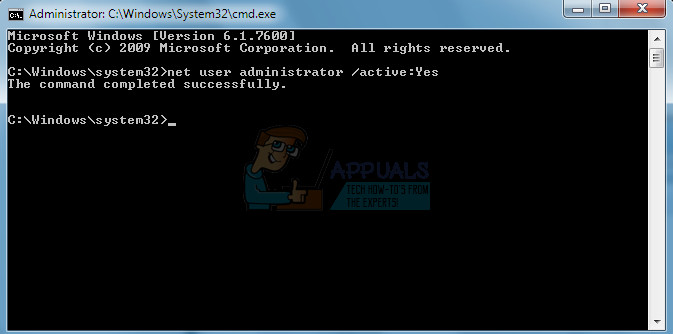
- Copy and paste the following command in Command Prompt and click Enter. You should be able to see the “The command completed successfully” message in no time.
net user administrator /active:yes
- Log into this admin account and wait for a couple of minutes before everything is ready.
- This will enable you to access your computer if your only account is locked out.
- After you are finished with the hidden administrator account, you can disable it again by opening an administrative command prompt and typing the following command:
net user administrator /active:no
Solution 2: Do a Repair Install of Windows 10 with an In-place Upgrade
This solution has been suggested by several users on forums that were dealing with this issue in particular and the users have been curious about whether it really works. To be honest, it does, but it requires a certain amount of dedication and people usually prefer dealing with this solution only after they have run out of alternatives. Follow the instructions below!
- Turn your PC on and log into the administrator account you usually use as the owner of the computer. If you are not the owner of the computer or if you don’t have administrator privileges, please consult with the real owner of the computer or follow the instructions from Solution 1 in order to activate the hidden administrator account.

- If you didn’t do it already, you will have to disable or delete any 3rd party antivirus or security program you have on your PC first in order to prevent it from interfering with the upgrade to Windows 10. You can reinstall it after Windows 10 has finished with the installing process.
- There are several ways through which you can perform this method and they are all the same. The easiest option for you is to use the Media Creation Tool in order to perform this amazing fix.
- Don’t use the Media Creation Tool to perform a repair install with if you have an older version of Windows 10 installed and wish to keep it after the Media Creation Tool performs its process. The Media Creation Tool will not include support for older builds. The tool will update your device to the latest version of Windows 10 after the update.
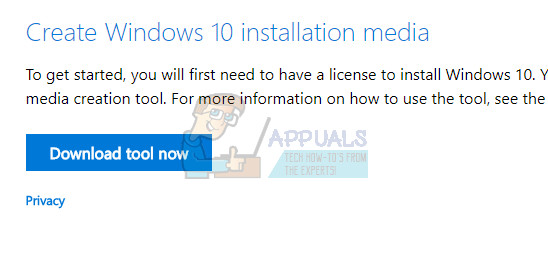
- Click on this link in order to go to Microsoft, and click on the Download tool now button located at the Microsoft’s site in order to download the Media Creation Tool.
- Download the MediaCreationTool.exe file to your desktop or some other convenient location and run it.

- If the UAC (User Account Control) pop-up message appears, click Yes and follow the instructions in order to install the tool correctly. It shouldn’t be difficult.
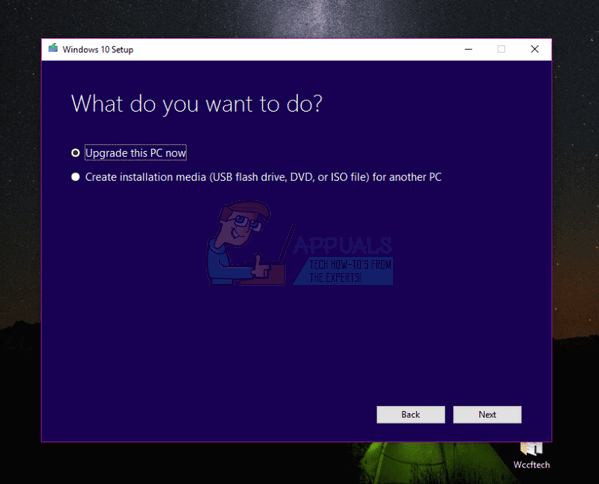
- The Upgrade this PC now option should appear immediately so choose it and click next. Windows 10 will start downloading if there are pending updates for your particular build.
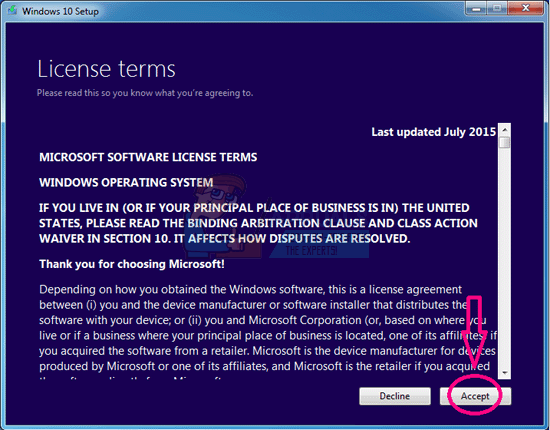
- The Download and install updates option can be selected by choosing it and clicking on Next. You should read the license terms before clicking either the Accept or Do not accept option. Note that you will have to agree to the terms if you want to proceed with the install process.
- When the tool gets ready, you will be prompted with the option to choose the Install option which will start the repair install of your computer.
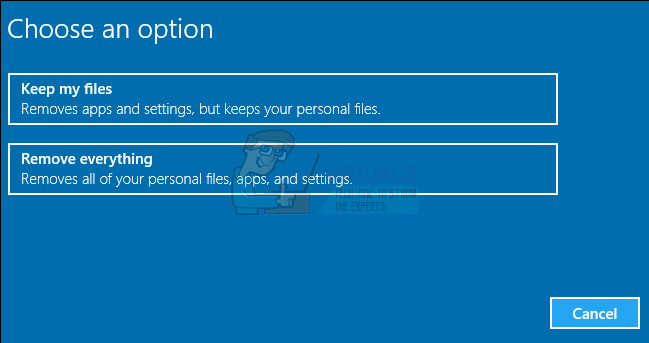
- You can choose just what to do you want to save. If you choose the first option, you will be able to keep your personal files and installed apps. The second option lets you preserve your personal files but it gets rid of apps and you can also remove everything.
- The Windows 10 Setup tool will now start the update process needed to repair your installation of Windows. Note that the process can sometimes be quite long, especially if you haven’t updated your device in a while.
- Your computer will proceed to boot to the login screen after the installation and reparation process is over. You will probably need to reset your time and date settings before proceeding with your device.
Solution 3: Create a New Account
Users have reported that creating a new account on your computer can help you deal with the issue at hand. This is actually a workaround that can help you use the apps via another account on the same computer. This is a good fix if you were using a local account with not a lot of info attached to it. Find out how to create a new account in Windows 10 below!
Creating a Microsoft Account
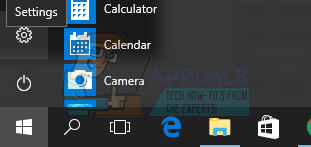
- Open Settings either by clicking on the gear icon which is located just above the power button in the Start menu or by searching for it in the search bar.
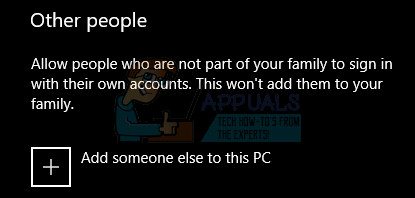
- Open the Accounts section in Settings and select the Other accounts option.
- Choose the Add someone else to this PC option located there.
- You will need to provide info about the account you are about to add in this process by doing it according to the instructions below:
- If the account you’re adding already exists under a Microsoft email, enter it now.
- If the account you’re adding is not a Microsoft account, enter the email you wish to use for it. Make sure you choose a valid email
- If you want to create a new email address straight from the Add an account menu, click Sign up for a new email address.
- Add a child’s account is useful if the user you are creating the account for is a child.
- Follow the instructions to finish setting up the account.
Creating a Local Account
- Open Settings either by clicking on the gear icon which is located just above the power button in the Start menu or by searching for it in the search bar.
- Open the Accounts section in Settings and select the Other accounts option.
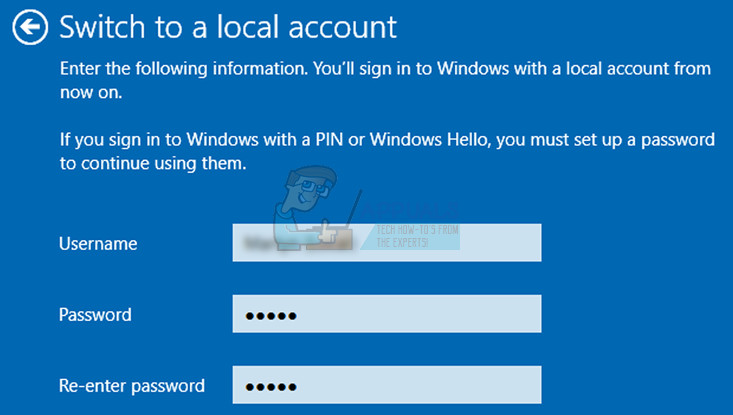
- Choose the Add an account option located there, and then click on the Sign in without a Microsoft account option which is usually not recommended.

- Create a Local account and proceed.
- Enter a username for this new account.
- If you want this account to be password-protected, you can add a character password, a password hint, and proceed by clicking Next.
- Click the Finish button in order to finish creating a new account.
Solution 1 is perfectly worked for me, many thanks 🙂