Fix: You’ll need a new app to open this ms actioncenter link
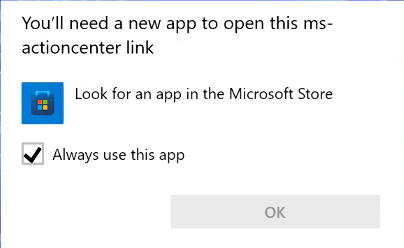
If clicking the Notification Center (bell/date) or Quick Settings icons shows “You’ll need a new app to open this ms-actioncenter link”, Windows is failing to call the built-in ms-actioncenter: protocol that opens these panels.
This usually happens when shell AppX registrations are corrupted (after debloat tools or broken updates), a policy disables notifications/Action Center, or system files are damaged.
- On Windows 11, these panels are Notification Center and Quick Settings.
- On Windows 10, the combined panel is Action Center.
The underlying ms-actioncenter protocol is shared by both versions.
The error usually appears when you click the notification bell/date, the network/volume/battery area, or use related shortcuts. The fixes below restore the shell’s ability to open the panel in different ways. Start with the quick ones.
![]()
1. Repair Notification Center (Re-register AppX)
Taskbar panels depend on built-in AppX packages. If their registrations break, the ms-actioncenter: handler fails and you see this prompt. Re-registering built-in apps often restores the handler.
Note: This command re-registers built-in apps for all users. It can take a while and may show some red errors, which can be normal for apps not installed for everyone.
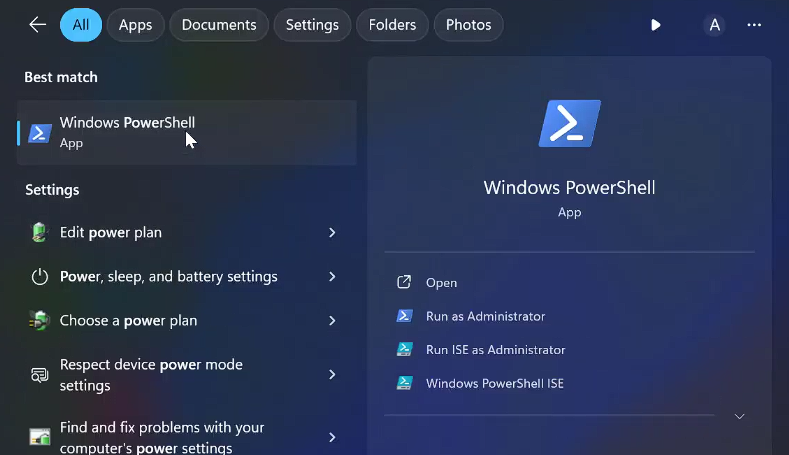
- Search for PowerShell and click Run as administrator.
- Run this command:
Get-AppxPackage -AllUsers | ForEach-Object { Add-AppxPackage -DisableDevelopmentMode -Register "$($_.InstallLocation)\AppXManifest.xml" }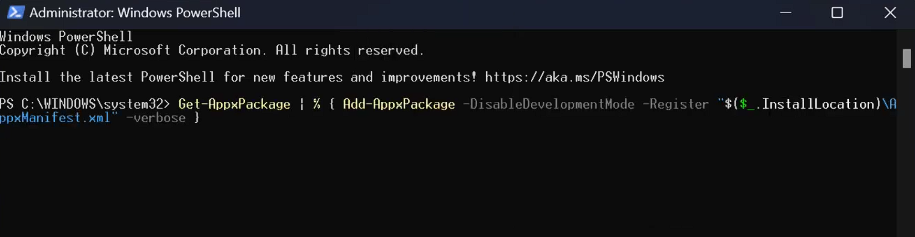
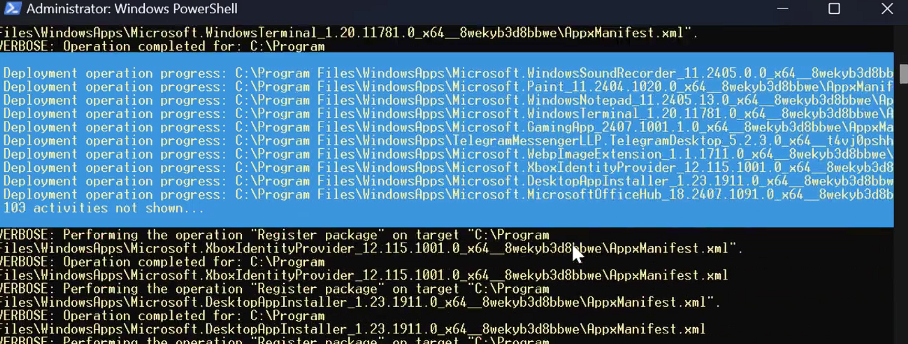
- Wait until PowerShell returns to a prompt, then restart your PC.
- Test Notification Center or Quick Settings again.
2. Remove Notification/Action Center Policies (Registry)
Group Policy or debloat tools can disable Notification Center/Action Center. When these policies are set, Windows may block the panels and trigger the ms-actioncenter error.
Warning: Editing the registry incorrectly can cause issues. Change only the keys mentioned. On managed work/school PCs, policies can come back after restart.
- Press Win + R, type regedit, press Enter.
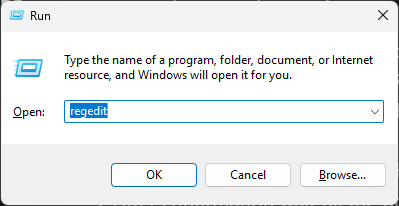
- Go to:
Computer\HKEY_CURRENT_USER\Software\Policies\Microsoft\Windows
- Under Windows, look for Explorer. If missing, right-click Windows > New > Key and name it Explorer.
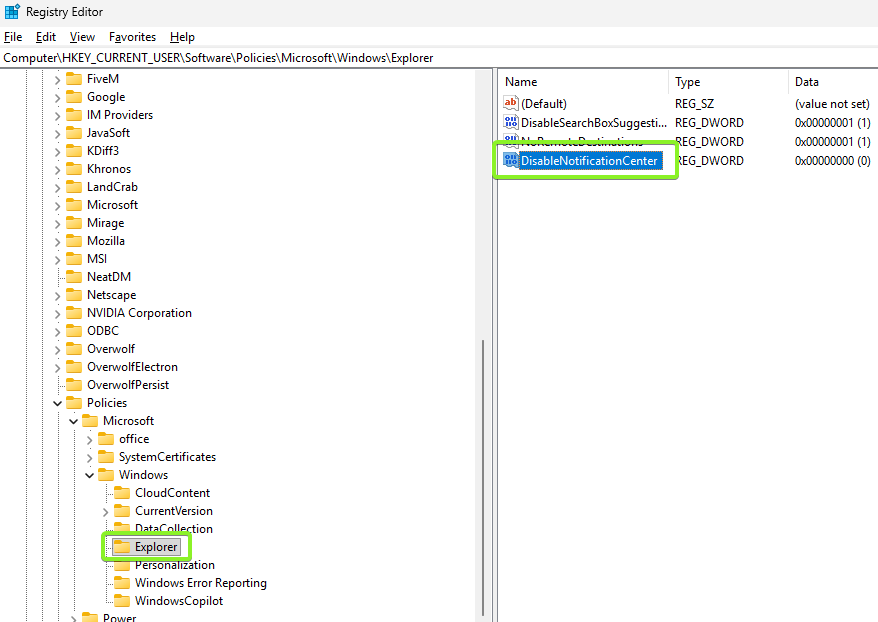
- With Explorer selected, check for these values:
- DisableNotificationCenter
- DisableActionCenter (older naming)
If any exist and are set to 1, change them to 0.
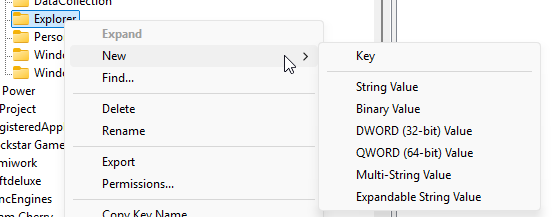
- If DisableNotificationCenter does not exist, create it:
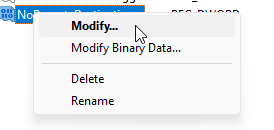
Right-click the right pane > New > DWORD (32-bit) Value > name it DisableNotificationCenter.
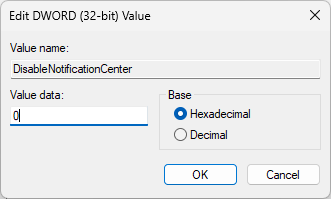
- Double-click DisableNotificationCenter and set Value data to 0.
- Also check the machine-wide location:
Computer\HKEY_LOCAL_MACHINE\Software\Policies\Microsoft\Windows\Explorer
If DisableNotificationCenter or DisableActionCenter exists and is set to 1, change it to 0.
Only delete values if you are sure they came from a tweak/debloat tool, not your organization. - Restart your PC and test Notification Center / Quick Settings.
3. Uninstall the Latest Quality Update (If It Started After an Update)
If the problem started right after a Windows quality update, rolling back the latest cumulative update can fix shell regressions without touching your files.
Tip: Look for recent Cumulative Update entries with KB numbers in update history. Uninstall the one installed just before the issue began. Windows may later reinstall it, so pause updates if the bug returns.
- Go to Settings > Windows Update > Update history > Uninstall updates. Remove the most recent Quality/Cumulative Update, then reboot and test.
- If that option is not available, use Advanced Startup:
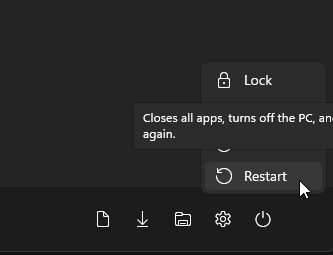
- Open Start > Power.
- Hold Shift and click Restart.
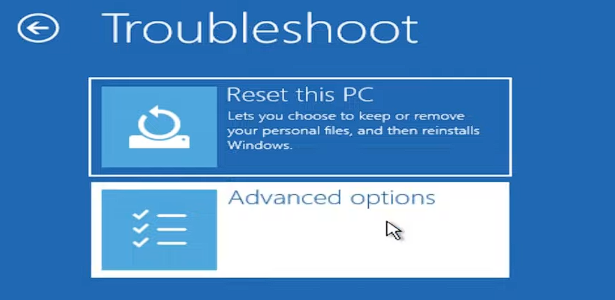
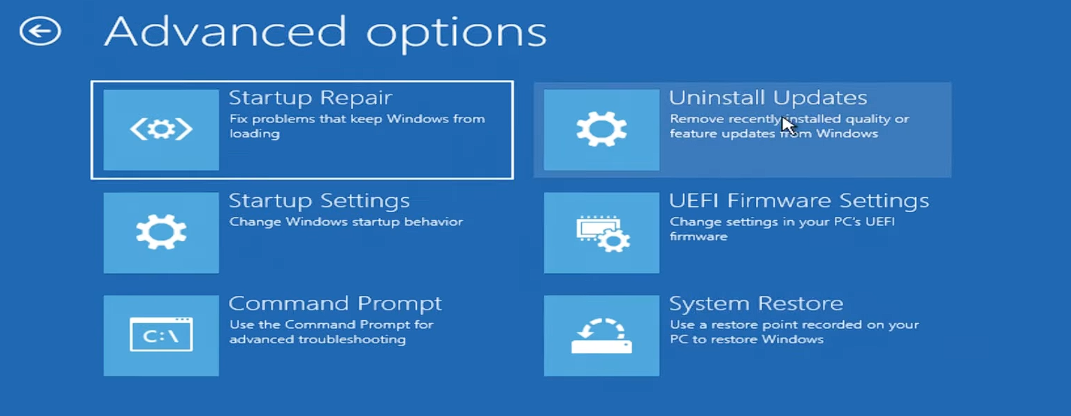
- Choose Troubleshoot > Advanced options.
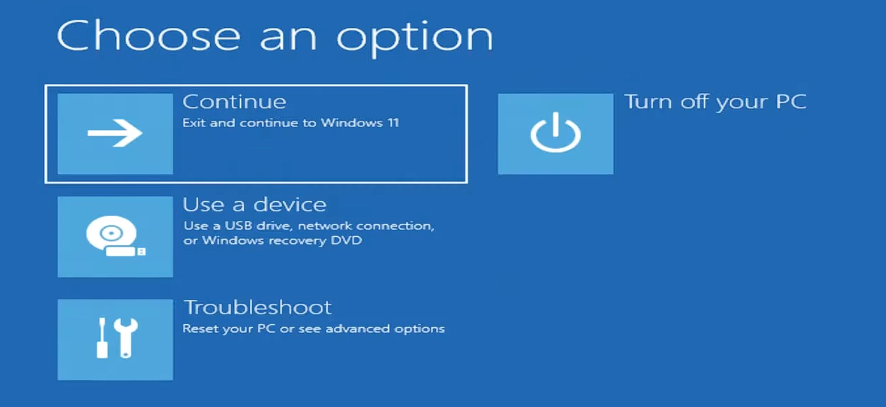
- Select Uninstall Updates > Uninstall latest quality update.
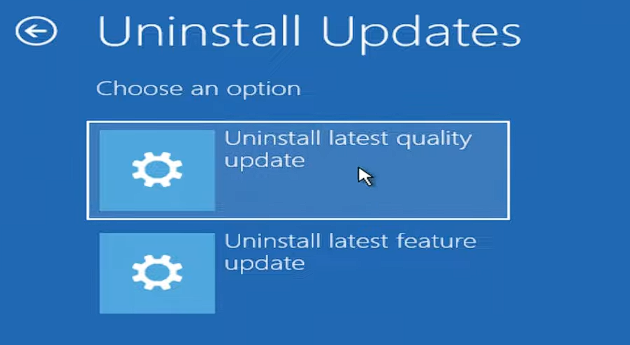
- Let Windows finish the rollback, then test the panels again.
4. Repair System Files (DISM and SFC)
If panels are still broken, system file or component store corruption may be blocking shell components from registering. DISM and SFC can repair this without a full reinstall.
- Open Command Prompt as administrator (search cmd > Run as administrator).
- Run:
DISM /Online /Cleanup-Image /RestoreHealth
Note: DISM can appear stuck for a while at certain percentages. Let it complete.
- Then run:
sfc /scannow
If SFC reports unfixable files: restart and run it one more time. If it still cannot repair, consider an in-place repair install.
- Restart and test the taskbar icons.