What is XVDD SCSI Miniport? Resolve XVDD SCSI Miniport Issues
The Xen Virtual Disk Driver (XVDD) is a virtual disk driver emulated for your Windows system. The Small Computer System Interface (SCSI) represents a set of standards and protocols that devices use to connect to a Windows machine, while Miniport serves as the display output for these devices.
When installing an Xbox Game Pass game on a PC, a prompt may appear requesting the installation of the Miniport virtual device. Xbox games utilize these virtual devices to simulate gameplay, which is essential for their operation.
However, you may occasionally encounter issues such as:
- Disk Usage: The Miniport process may exhibit high disk usage in the Task Manager.
- Freezing: Games, particularly non-Xbox games, may experience stuttering or freezing.
- Multiple Devices: In Device Manager, there might be numerous instances of the Miniport device, potentially in the hundreds.
- Connection and Disconnection Sounds: Frequently, you may hear sounds indicating that devices are connecting or disconnecting each time an XVDD drive is emulated.
- Restart Required: A repeated “Restart Required” message for completing the XVDD SCSI Miniport setup may persist despite multiple restarts, indicating unresolved issues.
1. Basic Troubleshooting
It is advisable to begin with some basic troubleshooting steps before proceeding to more complex solutions.
- Restart: Switch off the system and disconnect the power cable. After a minute, reconnect the power and turn on the PC.
- Update: Ensure that your system, drivers, BIOS, applications, and games are up to date.
- Clean Boot PC: Perform a clean boot of your Windows PC to reduce the potential interference from third-party applications.
2. Disable Bluetooth Connection
If your PC uses a Bluetooth connection to pair with a device that employs the Miniport device, this could be the source of the SCSI pop-up issue. Disabling the system’s Bluetooth connection may resolve the problem.
- Right-click the Windows button and select Settings.
- Navigate to the Bluetooth and Devices section.
- In the right pane, toggle off Bluetooth and restart your system.
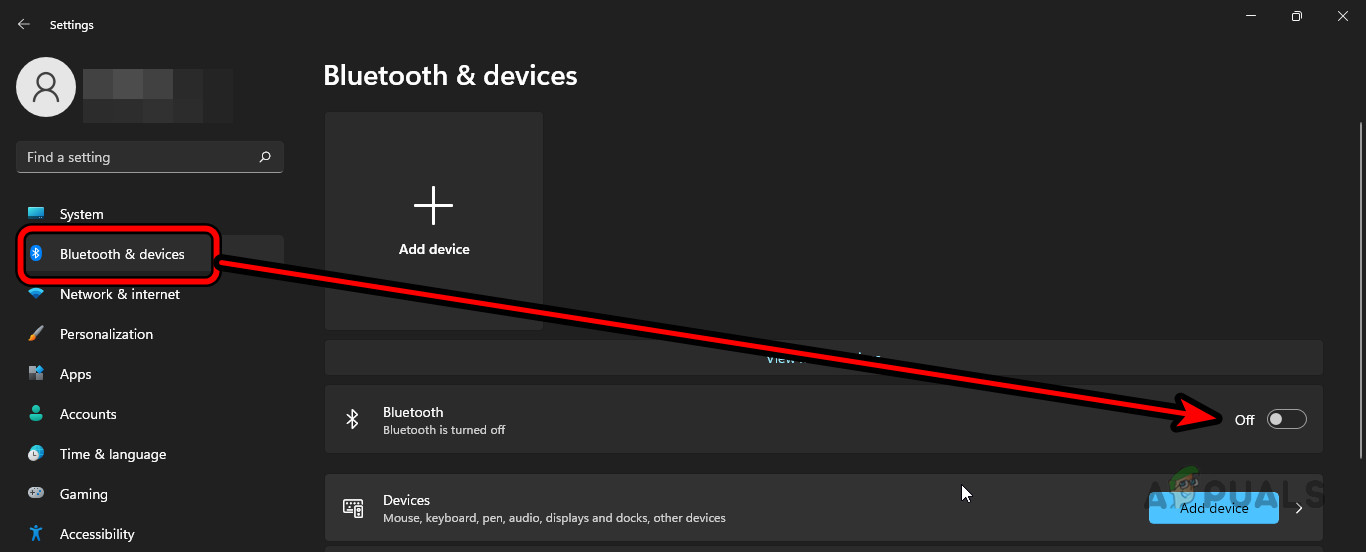
Disable Bluetooth in the Windows Settings
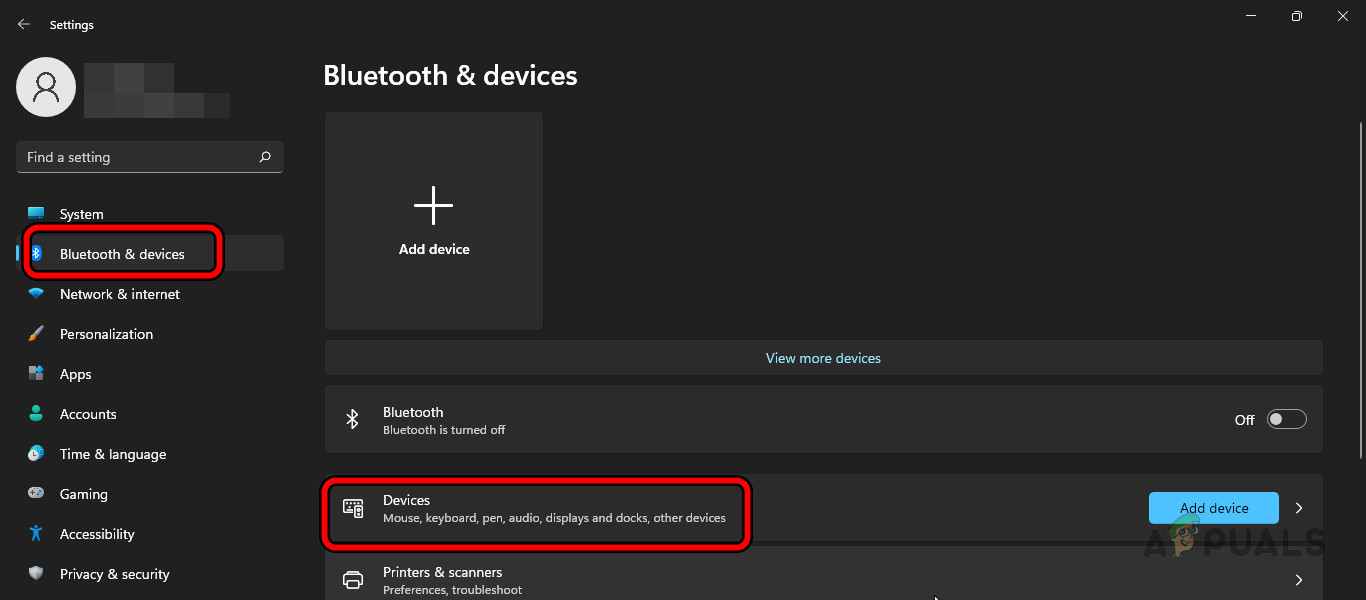
3. Disconnect USB Devices and Remove Devices
The frequent connection and disconnection of USB devices using the XVDD SCSI Miniport can result in the erratic behavior of virtual drives and related problems. Disconnecting non-essential USB devices from the system might resolve the problem.
- Shut down your PC and unplug all non-essential USB devices, including hubs, chargers, and headsets.
- Power on the PC and assess the behavior.
- Access Settings by right-clicking the Windows button if the problem persists.
- Go to the Bluetooth & Devices section.
- Select Devices and choose a device from the list.
Remove Problematic Devices from the Windows Settings - Click on Remove Device and approve the removal.
- Repeat the process for other non-essential devices and restart your system.
4. Disable SSDP Service
The Simple Service Discovery Protocol (SSDP) facilitates communication among networked devices. However, these devices’ activity could potentially cause the XVDD issues described. Thus, disabling the SSDP service may be a solution; nonetheless, this action might affect the network discovery features of some devices.
- Press the Windows key, type “Services,” and select Run as Administrator.
- Approve the UAC prompt and, in the Services window, locate SSDP Discovery.
- Double-click on it and change the Startup Type to Disabled.
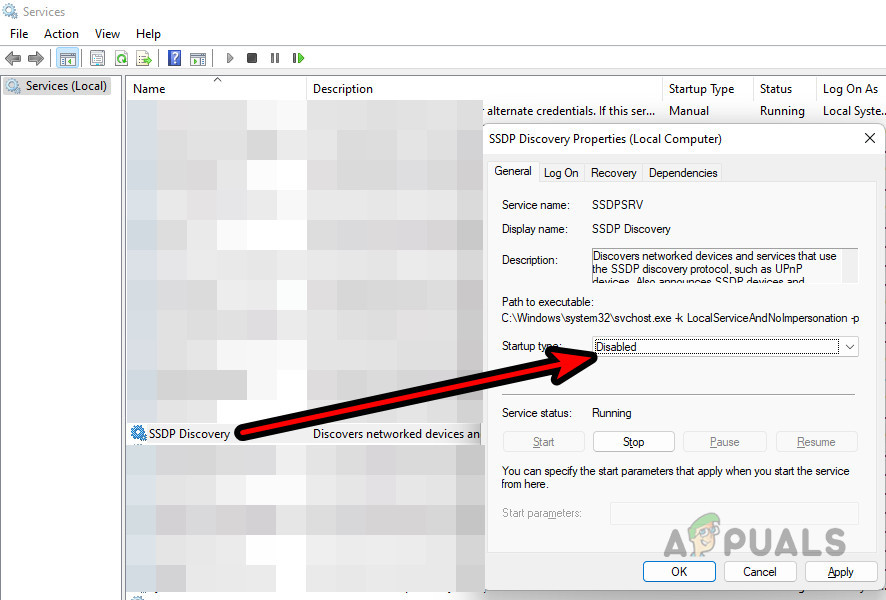
Disable SSDP Discovery Service - Hit Stop, then apply the changes and click OK.
- Restart the system and check if the Miniport issue has been resolved.
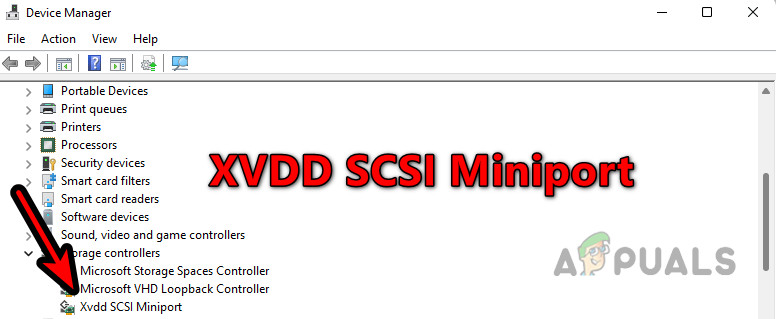
5. Disable or Remove the XVDD Device from Device Manager
Incorrect installation of the Miniport device driver could be the cause of certain issues. Disabling or removing the XVDD driver from the Device Manager could help remedy such problems. However, be aware that disabling or removing the device may lead to the non-functionality of certain Xbox Game Pass games.
If the device is responsible for freezes in non-Xbox games, consider disabling it temporarily and re-enabling it only when playing an Xbox game.
5.1. Disable
- Right-click on the Windows button and choose Device Manager.
- Locate the Storage Controllers section and right-click on the XVDD SCSI Miniport.
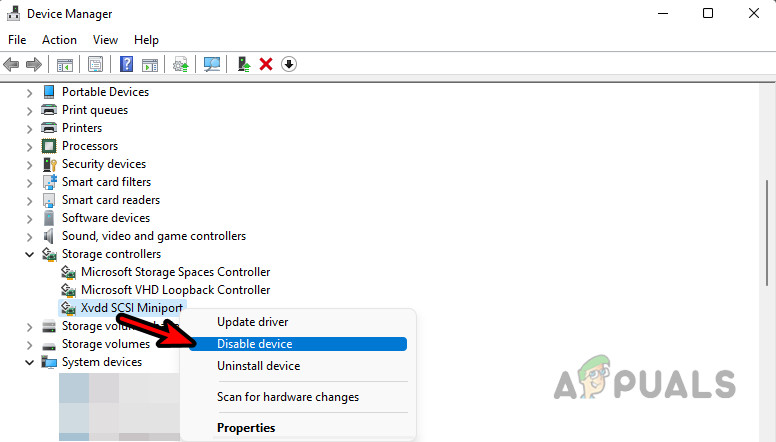
Disable XVDD SCSI Miniport in the Device Manager - Select Disable Device and confirm the operation.
- Restart the system and check the outcome.
5.2. Uninstall
- If the problem persists, repeat steps 1 to 3 from the above section, but at step 3, opt for Uninstall Device and tick the box to Attempt to remove the driver for this device.
- Click Uninstall, then restart your system once the process completes.
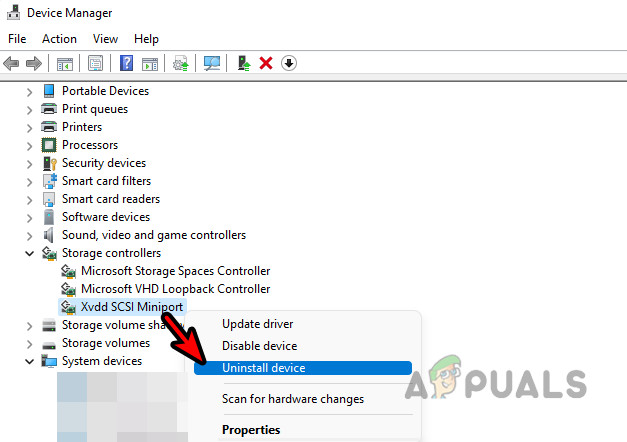
Uninstall XVDD SCSI Miniport in the Device Manager
5.3. Uninstall Hidden XVDD Devices
- Access the Device Manager and select the View menu.
- Choose Show Hidden Devices and expand the Storage Controllers category.
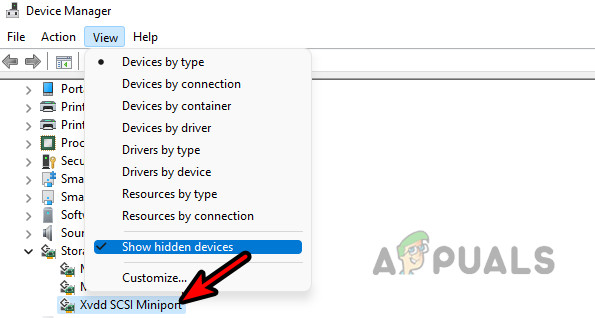
Show Hidden Device in the Device Manager and Uninstall Any Hidden XVDD Devices - Right-click and uninstall any greyed-out XVDD devices by selecting Uninstall Device.
- Confirm the removals and restart your system to see if the issue is resolved.
6. Disable Microsoft Device Association Root Enumerator
The Microsoft Device Association Root Enumerator is responsible for keeping an updated inventory of system devices. A continuous attempt to add a SCSI device can lead to problems. Disabling this enumerator may resolve the issue, but be aware that this could result in certain devices, applications, or games not functioning correctly.
- Navigate to Device Manager by right-clicking the Windows button.
- Expand Software Devices and find the Microsoft Device Association Root Enumerator.
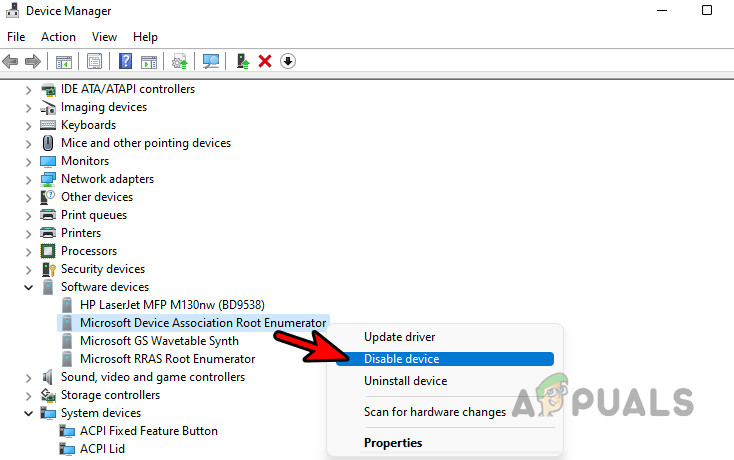
Disable Microsoft Device Association Root Enumerator - Click on Disable Device and approve.
- Reboot your system and evaluate the effectiveness of the solution.
7. Scan Your System for Malware
Malware, such as crypto miners that emulate virtual drives, can frequently cause “Restart Required” messages for the XVDD SCSI Miniport. A malware scan may resolve this issue.
- Install and run Malwarebytes to scan your system for any malicious software.
Scan the System for Malware - After completing the scan, restart your system and verify if the issue has been resolved.
8. Disable or Uninstall Xbox Gaming Services
Xbox Gaming Services are responsible for managing the virtual disks emulated by XVDD. Disabling or uninstalling these services may solve the issue if they are not in use, but be aware that doing so will render many Xbox games inoperative.
8.1. End Processes in Task Manager
- Right-click the Windows icon and launch Task Manager.
- Locate Gaming Services, right-click it, and select End Task.
- Do the same for the XBLAuthManager process.
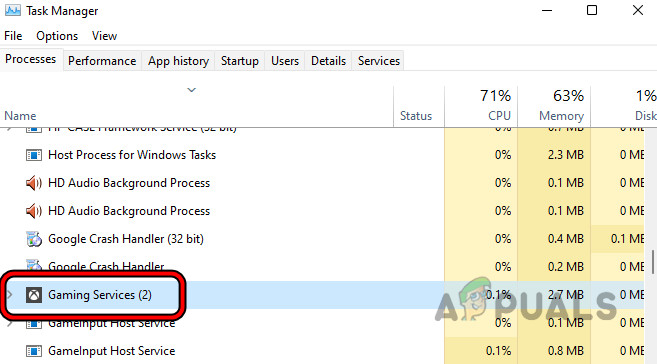
End Gaming Services Process in the Task Manager - Test the problematic game to determine if the XVDD prompt is still present.
8.2. Remove Gaming Services Through PowerShell
- Press the Windows key, type “PowerShell,” right-click on Windows PowerShell, and choose Run as Administrator.
- Input the following command:
get-appxpackage Microsoft.GamingServices | remove-AppxPackage -allusers
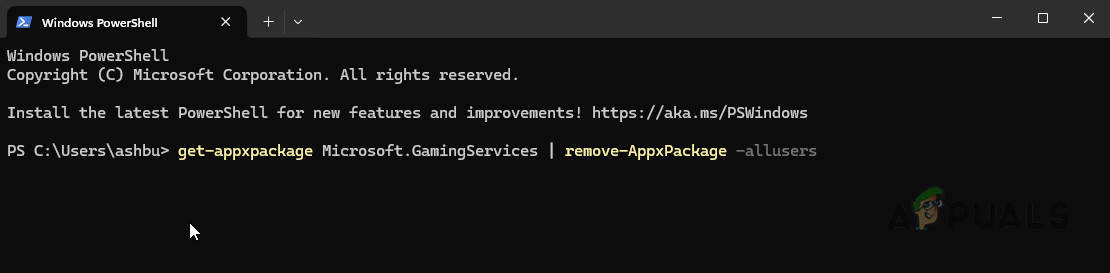
Remove GamingServices Through the PowerShell - Restart your system upon exiting PowerShell.
8.3. Disable Gaming Services Through System Registry
Warning: Exercise caution when modifying the system registry, as improper edits can jeopardize the stability of the system or operating system.
- Hit the Windows key, type Registry Editor, and select to run it as Administrator.
- Approve the UAC prompt, then navigate to the following path:
Computer\HKEY_LOCAL_MACHINE\SYSTEM\CurrentControlSet\Services\GamingServices
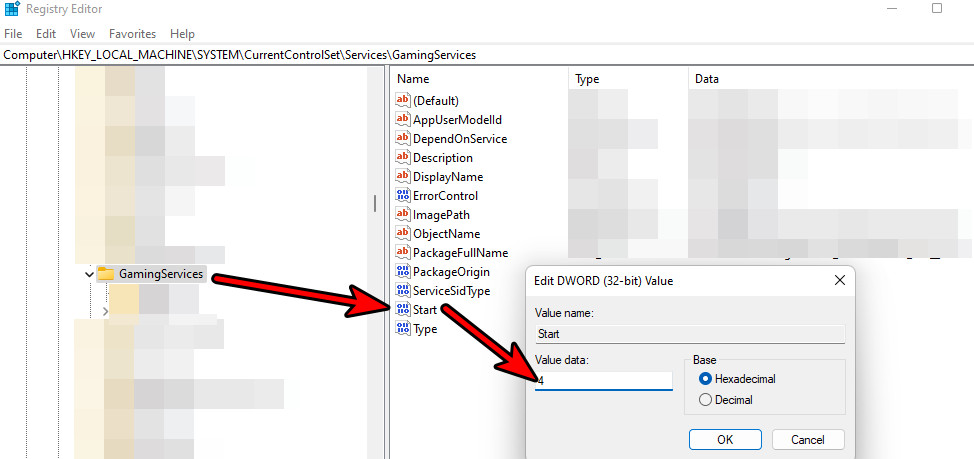
Set Start Value to 4 for the Gaming Services in the System’s Registry - Double-click on Start and set its value to 4.
- Next, go to:
Computer\HKEY_LOCAL_MACHINE\SYSTEM\CurrentControlSet\Services\GamingServicesNet
- In the right pane, change the Start value of GamingServicesNet to 4.
- Close the Registry Editor and reboot your system.
- If the issue remains, open the Registry Editor with administrator privileges and revisit the previously mentioned paths.
- Alter the ImagePath to an unavailable drive letter by changing the “C” to “D”.
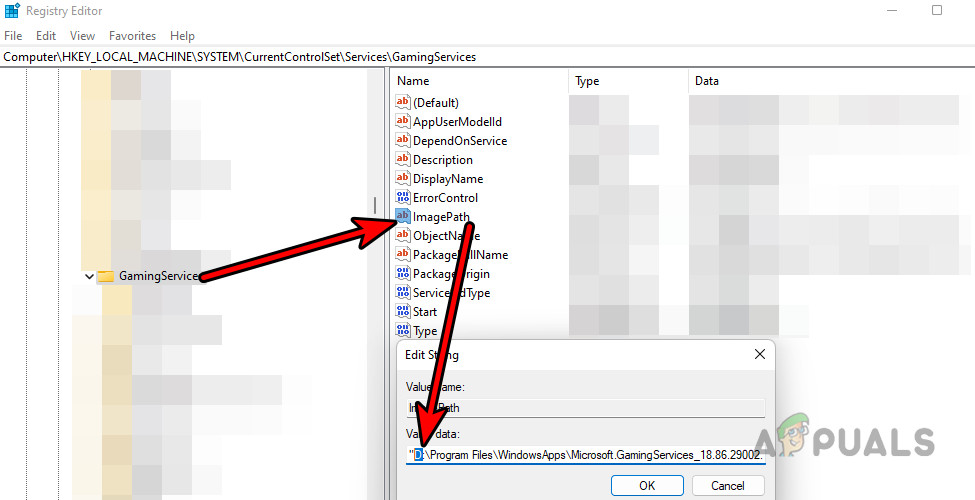
Edit the Image Path of the Gaming Services in the System’s Registry - Confirm by clicking OK, close the Registry Editor, and restart your PC to test.
- If the issue persists, run the following PowerShell commands as an Administrator to completely remove the associated registry entries and settings.
Get-AppxPackage -Name "Microsoft.GamingServices" | Remove-AppxPackage -PreserveApplicationData:$false -Verbose
Get-AppxPackage -Name "Microsoft.GamingServices" | Remove-AppxPackage -AllUsers -Verbose
Remove-Item -Path "HKCU:\SOFTWARE\Classes\Local Settings\MrtCache*Microsoft.GamingServices*" -Recurse -Verbose
Remove-Item -Path "HKLM:\SYSTEM\CurrentControlSet\Services\GamingServicesNet" -Recurse -Verbose
- After executing these commands, restart your computer.
9. Uninstall the Xbox App, Xbox Games, and Daemon Tools
Applications such as the Xbox app and Daemon Tools might inadvertently create multiple virtual disk drives. Uninstalling these applications could resolve the issue. Please note that Xbox games will not function on your PC until you reinstall the Xbox app.
- Navigate to Apps & Features by right-clicking the Windows button.
- Search for the Xbox app and click on its options button.
- Press Uninstall and confirm your decision.
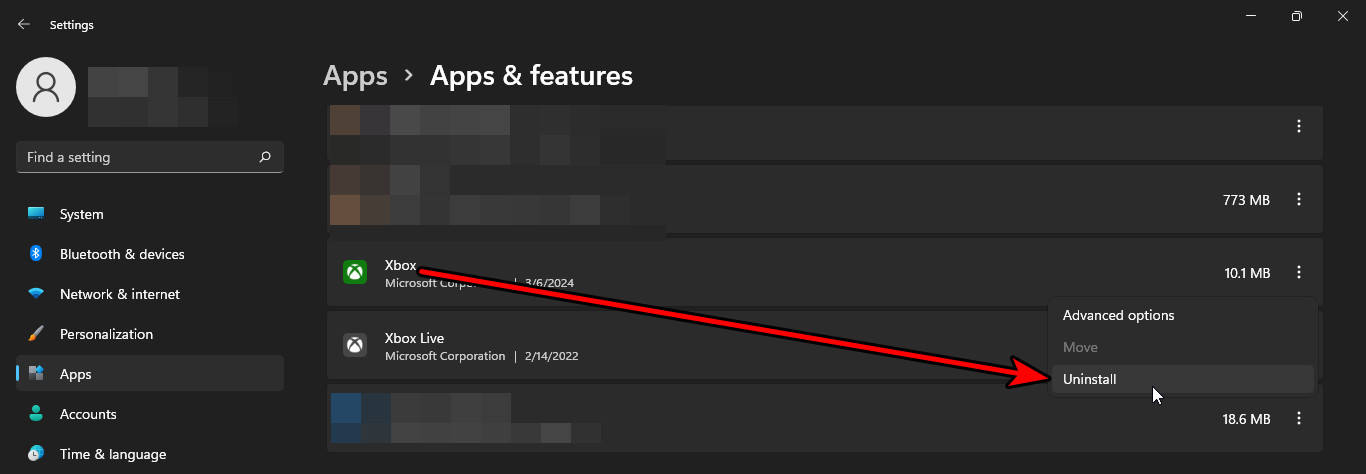
Uninstall the Xbox App - Locate any Xbox Game Pass games you have installed, such as Forza Horizon 5, and select to uninstall them as well.
- If you have Daemon Tools or any other virtual disk creation tools installed, uninstall them, then restart your PC.
If the aforementioned solutions fail to resolve the issue, you might have to perform a clean installation of Windows on your PC.


